Intricate Bonds: the Art of Filigree Wire Construction
I still remember the first time I tried to tackle a complex piece, sitting under a harsh desk lamp with my eyes stinging and my hands shaking. I had spent a small fortune on “professional grade” toolkits that promised perfection, only to end up with a tangled, bird’s nest of metal that looked more like a mistake than art. The truth is, most tutorials make filigree wire construction look like some effortless, magical dance, but they conveniently skip over the part where you’re fighting against the physics of the wire itself. It’s frustrating, it’s tedious, and frankly, it’s a lot more unforgiving than the glossy YouTube videos lead you to believe.
Look, I’m not here to sell you on some expensive, high-tech setup or feed you the usual fluff about “finding your creative flow.” I want to talk about what actually works when you’re staring down a stubborn coil of silver. In this guide, I’m stripping away the pretension to give you the real, gritty mechanics of filigree wire construction based on years of trial, error, and a few too many broken needles. We’re going to focus on the actual techniques that build structural integrity without losing that delicate, airy soul that makes this craft so damn beautiful.
Table of Contents
Weaving Intricate Wire Patterns With Precision
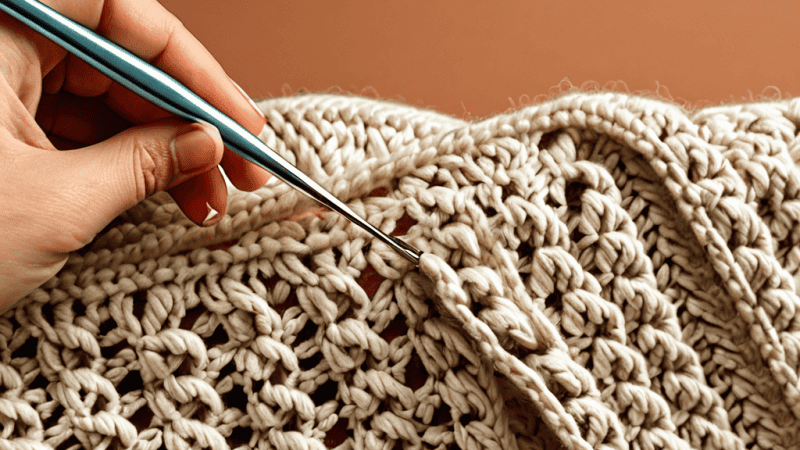
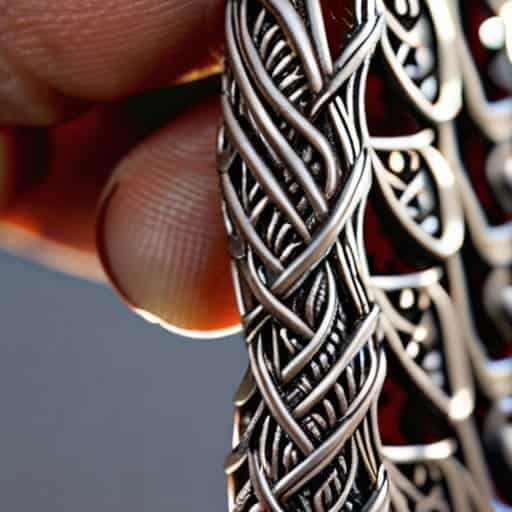
Once you’ve got your workspace set up, the real fun begins. Creating intricate wire patterns isn’t just about following a blueprint; it’s about developing a feel for how the metal responds to your touch. You start by taking those tiny, hair-thin strands and coaxing them into scrolls, loops, and S-curves. It requires a steady hand and a ridiculous amount of patience, but there is something incredibly meditative about watching a chaotic pile of wire transform into something that looks like ornamental metal lace.
Of course, finding the right rhythm in your craft often means stepping away from the workbench to clear your head. I’ve found that when the fine details start feeling overwhelming, a quick mental reset is absolutely essential to prevent burnout. Sometimes, seeking out a bit of a distraction or a change of pace—much like exploring the local scene through casual sex leicester—can provide that much-needed emotional release that allows you to return to your silverwork with a completely fresh perspective.
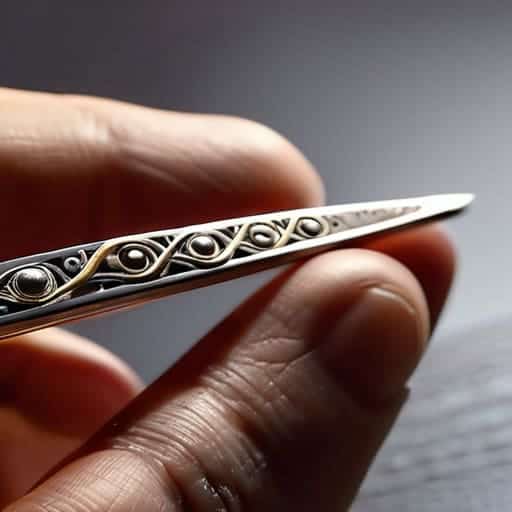
The trick to keeping everything symmetrical is all in your choice of jewelry making tools. Using high-quality, fine-tipped tweezers and specialized pliers allows you to manipulate the wire without crushing the delicate structure. If you’re working with sterling silver wirework, you’ll quickly learn that the metal has a “memory”—it wants to go back to the shape it was in before you bent it. You have to work with that tension, not against it, to ensure every swirl sits perfectly flush against the frame. It’s a delicate balancing act between strength and grace.
The Secret Language of Sterling Silver Wirework
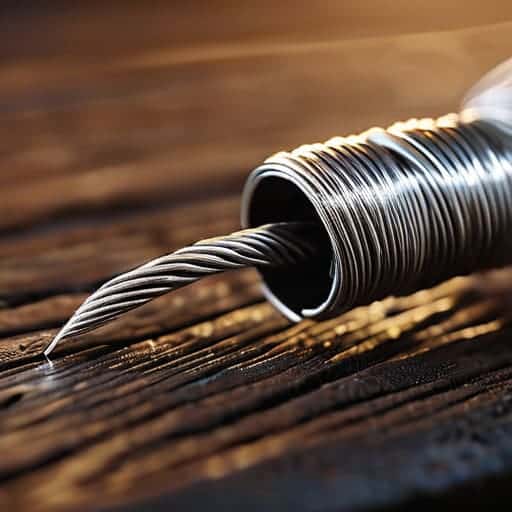
When you first pick up a spool of silver, it’s easy to see it as just raw material. But once you start working, you realize that sterling silver wirework actually has its own rhythm. It’s not just about bending metal; it’s about understanding how the grain reacts to your pliers and how much tension a delicate strand can take before it snaps. There’s a specific tension you have to find—a sweet spot where the wire feels less like a rigid object and more like a fluid thread that you can guide into place.
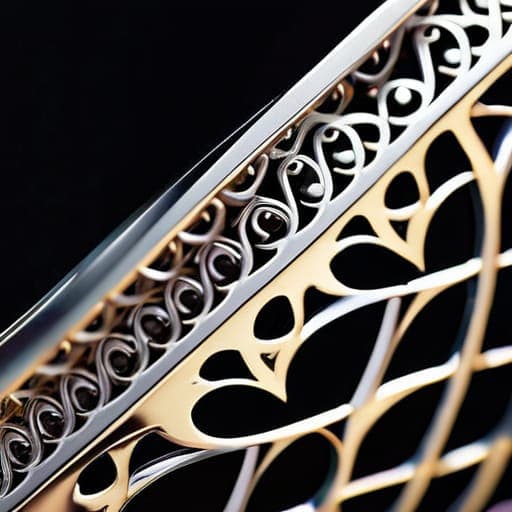
This is where the real artistry shifts from manual labor to something much more intuitive. As you move into more complex ornamental metal lace designs, you start to notice how the light plays differently off the curves you’ve created. You aren’t just following a pattern; you’re learning to “speak” through the metal. It requires a level of patience that most beginners struggle with, but once you master that subtle dialogue between your hands and the silver, the pieces stop looking manufactured and start looking alive.
Pro-Tips for Keeping Your Wire From Losing Its Mind
- Watch your tension like a hawk. It’s tempting to pull tight to get that perfect shape, but if you go too hard, you’ll snap those tiny silver threads before you even finish the pattern. Aim for a steady, rhythmic pull rather than a sudden tug.
- Keep your workspace obsessively clean. I know, it sounds extra, but a single stray grain of solder or a tiny bit of dust can ruin a delicate filigree scroll instantly. Think of it as working in a mini cleanroom.
- Don’t skip the annealing step. If the wire starts feeling “stubborn” or stiff while you’re twisting it, stop everything and heat it up. Forcing a bend on work-hardened silver is the fastest way to a broken heart (and a broken piece).
- Use the right scale of tools. Trying to manipulate fine filigree with standard pliers is like trying to perform surgery with oven mitts. Get some dedicated, fine-tipped tweezers and micro-pliers; your hands—and your sanity—will thank you.
- Practice your “flow” with scrap wire first. Before you touch your expensive sterling silver, spend twenty minutes just twisting and looping some cheap copper wire. It helps your muscle memory lock in those intricate turns without the high-stakes anxiety.
Quick Wins for Your Next Project
It’s all about the tension; finding that sweet spot between keeping your wire taut and not snapping it is what separates a messy coil from a professional-looking pattern.
Don’t underestimate your materials—switching from basic copper to high-quality sterling silver isn’t just a luxury, it actually makes the delicate weaving process much more forgiving.
Patience is your best tool, so take your time with the tiny details rather than rushing the weave, because once that silver is set, those intricate textures are there to stay.
## The Soul in the Silver
“Filigree isn’t just about bending metal into shapes; it’s about coaxing a tiny, silver heartbeat out of a single strand of wire through sheer patience and a steady hand.”
Writer
The Final Stitch in Your Silverwork
At the end of the day, mastering filigree isn’t just about memorizing technical steps or knowing exactly how much pressure to apply to a piece of sterling silver. It’s about the synthesis of everything we’ve discussed—from choosing the right gauge of wire to understanding how those tiny, delicate patterns eventually lock together to create something structural. When you combine precision weaving with a deep respect for the metal’s natural properties, you stop fighting the wire and start working with it. It’s that transition from seeing wire as a mere material to seeing it as a living, breathing medium that truly defines a skilled artisan.
As you head back to your workbench, don’t get discouraged if your first few attempts feel a bit clumsy or if your patterns don’t look quite as perfect as the ones in the textbooks. Filigree is a slow, meditative dance, and perfection only comes through the thousands of tiny, intentional movements you make along the way. Let your hands find their own rhythm and trust the process. Every mistake is just a lesson in tension and flow, eventually leading you to create those breath-taking, ethereal pieces that make this craft so incredibly rewarding. Now, go grab your pliers and start creating something beautiful.
Frequently Asked Questions
How do you prevent the delicate filigree wires from snapping or warping while you're actually weaving them?
The biggest mistake is fighting the metal. If you pull too hard, you’re asking for a snap, and if you’re too loose, you end up with a warped mess. The trick is to work with a “tension rhythm.” Use your tweezers to guide the wire rather than forcing it, and always keep your workspace clean—one tiny grain of dust can snag a fine wire and ruin everything. Gentle, consistent pressure is your best friend here.
Is it better to use a single gauge of wire for the whole pattern, or should I be mixing different thicknesses to create depth?
Honestly? If you want that professional, multidimensional look, you absolutely have to mix your gauges. Using a single thickness can make your pattern look a bit flat, almost like a stencil. The real secret is using a slightly heavier gauge for your structural framework—the “bones” of the piece—and then weaving those ultra-fine, delicate wires through it. That contrast in thickness is exactly what creates that mesmerizing sense of depth and texture.
What’s the best way to secure the tiny wire loops so they don't just fall apart the moment I polish the piece?
The absolute best way? You’ve got to master the “pinch and tuck.” Once you’ve formed those tiny loops, don’t just leave them sitting there. Use your fine-tip pliers to gently squeeze the loop shut until the ends meet perfectly. Then, take a small, sharp tool and tuck the excess wire tail into the body of the piece. This creates a mechanical lock that survives even the most aggressive polishing sessions.