A Guide to Using Window Light for Portraits
I still remember the first time I stumbled upon the magic of window light in photography – it was as if the entire scene came alive. I was working on a guide to using window light for portraits, and I was determined to master this technique. As I experimented with different angles and compositions, I realized that window light is not just a source of illumination, but a storyteller in its own right. It adds depth, texture, and emotion to an image, making it truly unforgettable. Yet, many photographers I’ve met believe that using window light is a complex and intimidating process – a myth that I’m excited to debunk in this article.
As you dive into this guide to using window light for portraits, I promise to share with you my most treasured tips and tricks for harnessing the power of natural light. You’ll learn how to read the light, understanding when to use it to create soft, warm glows or sharp, dramatic contrasts. We’ll explore the best practices for positioning your subject, and how to balance the light with the rest of the composition to create a truly captivating image. By the end of this article, you’ll be equipped with the knowledge and confidence to take your portrait photography to the next level, and to tell stories that shine with authenticity.
Table of Contents
- Guide Overview: What You'll Need
- Step-by-Step Instructions
- A Guide to Using Window Light for Portraits
- Softbox vs Natural Light Elevating Your Portrait Game
- Unveiling North Facing Window Photography Secrets
- Mastering the Art of Window Light: 5 Essential Tips for Portrait Photographers
- Key Takeaways for Mastering Window Light Portraits
- Illuminating the Art of Portrait Photography
- Conclusion: Mastering the Art of Window Light Portraits
- Frequently Asked Questions
Guide Overview: What You'll Need
Total Time: 1 hour 30 minutes
Estimated Cost: $0 – $20
Difficulty Level: Easy
Tools Required
- Camera with manual settings
- Reflector optional, can be improvised with foam board or paper
- Tripod optional, for stabilizing the camera
Supplies & Materials
- Natural Light Source e.g., a window with indirect sunlight
- Backdrops optional, can be colored paper or fabric, approximately 6 feet by 9 feet in size
- Light Meter optional, for measuring light intensity
Step-by-Step Instructions
- 1. First, let’s talk about the importance of scouting your location. When it comes to using window light for portraits, the position and quality of the window are crucial. Look for windows that receive soft, indirect light, ideally during the golden hour when the sun is low on the horizon. This will help you achieve a warm and inviting glow in your portraits.
- 2. Next, consider the time of day you plan to shoot. As I mentioned earlier, the golden hour is ideal for capturing soft, warm light. However, if you’re shooting during the middle of the day, look for windows that are partially shaded or have a sheer curtain to filter the light. This will help reduce harsh shadows and create a more evenly lit scene.
- 3. Now, let’s move on to positioning your subject. When using window light, it’s essential to place your subject at an angle to the window, rather than directly in front of it. This will create a more dynamic composition and add depth to your portrait. Experiment with different angles and poses to find the one that works best for your subject.
- 4. To add some depth and interest to your portrait, consider using the window frame as a compositional element. You can place your subject in the center of the frame, or use the frame to create a sense of layering in your image. This will help draw the viewer’s eye to your subject and create a more engaging portrait.
- 5. When it comes to camera settings, I always shoot in manual mode to have complete control over the exposure. For window light portraits, I recommend using a low ISO (around 100-400) and a wide aperture (around f/2.8-f/4) to create a shallow depth of field. This will help separate your subject from the background and create a beautiful bokeh.
- 6. Now, let’s talk about working with your subject. To capture authentic and relaxed portraits, it’s essential to create a comfortable and relaxed atmosphere. Encourage your subject to move around, stretch, or engage in an activity that makes them feel at ease. This will help you capture genuine expressions and create a more natural-looking portrait.
- 7. Finally, don’t be afraid to experiment and take risks. Window light can be unpredictable, and the best portraits often come from taking chances and trying new things. Don’t be discouraged if your first few shots don’t turn out as expected – keep shooting, and you’ll eventually capture a magical moment that makes the entire shoot worthwhile.
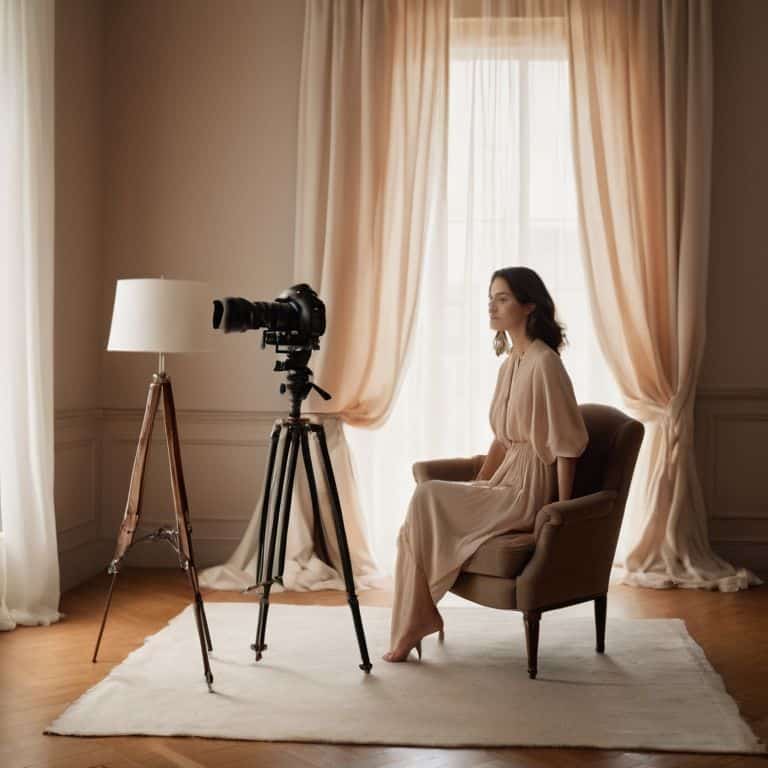
A Guide to Using Window Light for Portraits
As I continue to experiment with natural light, I’ve found that a north facing window can be a game-changer for portrait photography. The soft, indirect light it provides is perfect for capturing subtle expressions and nuances in your subject’s face. I’ve also had success using reflectors to bounce light back onto my subject, adding depth and dimension to the image.
When it comes to setting up your window light setup, I recommend keeping it simple. You don’t need a lot of fancy equipment to get great results. In fact, I often find that a softbox vs natural light debate is unnecessary – there’s just something special about the way natural light falls on your subject. On an overcast day, the diffused light can be especially flattering, and it’s a great opportunity to practice your portrait photography skills.
To take your portraits to the next level, try experimenting with different portrait photography at home techniques. You might be surprised at the amazing results you can achieve with just a few simple adjustments to your setup. For example, using a reflector to add a touch of warmth to your subject’s face can make all the difference. Remember, the key to great portrait photography is to pay attention to the light, and with a little practice, you’ll be capturing stunning images in no time.
Softbox vs Natural Light Elevating Your Portrait Game
When it comes to capturing portraits, I’m often asked about the merits of softbox lighting versus natural light. In my experience, there’s no substitute for the warmth and depth that natural window light can bring to an image. Softboxes can produce a beautiful, soft glow, but they often lack the unique character and subtlety that natural light provides. By embracing the soft, indirect light that streams through a window, you can add a level of nuance and emotion to your portraits that’s hard to replicate with artificial lighting.
I’ve found that the best portraits are those that feel authentic and unposed, and natural window light is a key component in achieving this look. It’s all about embracing the fleeting nature of light and using it to tell a story. Whether you’re shooting near a north-facing window or capturing the golden hour, the key is to be mindful of the light and let it guide your creative vision.
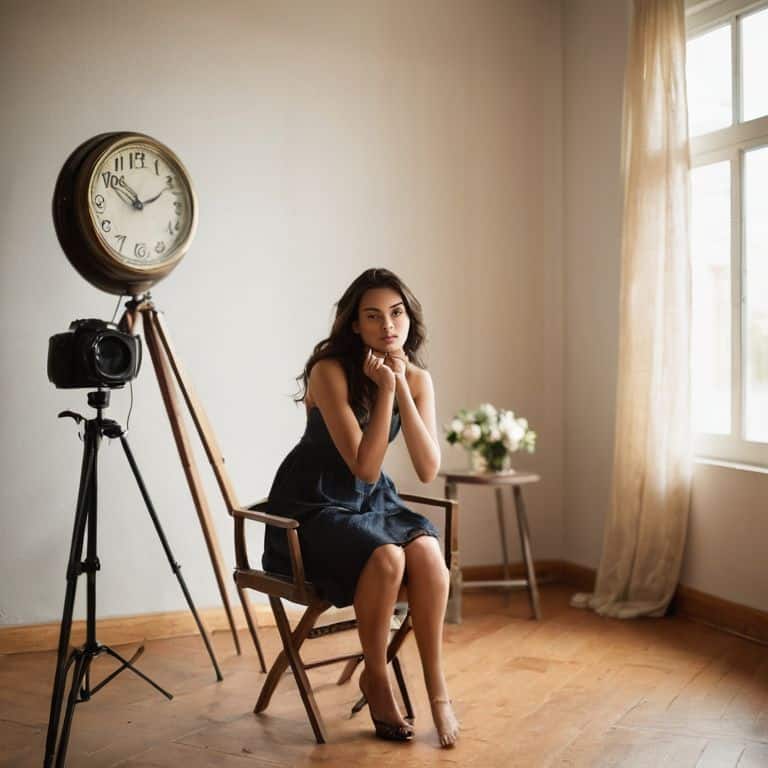
Unveiling North Facing Window Photography Secrets
When working with north-facing windows, I’ve found that the soft, indirect light offers a unique opportunity for capturing portraits with a sense of calm intimacy. The gentle illumination wraps around your subject, reducing harsh shadows and creating a sense of depth. To make the most of this light, I recommend positioning your subject near the window, but not directly in front of it. This will allow the light to skim across their features, accentuating their contours and adding a touch of warmth to the image.
By experimenting with the distance between your subject and the window, you can control the intensity of the light and create a range of effects, from subtle nuances to dramatic highlights. Remember, the key to mastering north-facing window photography is to be patient and observant, waiting for the perfect moment when the light and your subject’s expression come together in harmony.
Mastering the Art of Window Light: 5 Essential Tips for Portrait Photographers

- Position your subject near a north-facing window to capture soft, diffused light that minimizes harsh shadows and emphasizes subtle expressions
- Experiment with the distance between your subject and the window to control the intensity and warmth of the light, creating a sense of depth and dimensionality
- Pay attention to the time of day and the seasons, as the color temperature and quality of window light change dramatically, offering unique opportunities for creative expression
- Use the window frame as a compositional element to add context, texture, and interest to your portraits, drawing the viewer’s eye to your subject
- Shoot during the golden hour, when the light is soft and warm, to capture portraits that exude a sense of warmth, intimacy, and authenticity, perfect for revealing the essence of your subject
Key Takeaways for Mastering Window Light Portraits
Embracing the soft, gentle glow of north-facing windows can add a level of depth and intimacy to your portraits, making them feel more personal and emotive
Understanding the interplay between natural light and artificial light sources, such as softboxes, can help you develop a unique visual style that blends the best of both worlds
By experimenting with different window light setups and techniques, you can uncover new ways to tell stories through your portraits, capturing the fleeting moments and emotions that make life worth photographing
Illuminating the Art of Portrait Photography

Window light is not just a source of illumination, but a storyteller in its own right – it can soften, sharpen, and reveal the depths of our subjects in ways that artificial light simply can’t.
Julian Kade
Conclusion: Mastering the Art of Window Light Portraits
As we conclude this guide to using window light for portraits, let’s recap the essential elements that will elevate your photography skills. We’ve explored the secrets of north facing window photography, and compared the benefits of softbox vs natural light. By understanding how to harness the power of window light, you’ll be able to add depth, dimension, and emotion to your portraits. Remember, the key to mastering window light is to be patient, observant, and willing to experiment with different angles and compositions.
As you continue on your photography journey, I encourage you to keep pushing the boundaries of what’s possible with window light. Don’t be afraid to try new things, and always keep your eyes peeled for that fleeting glow that can make a photograph truly unforgettable. With practice, patience, and a willingness to see the world in a new light, you’ll be well on your way to creating portraits that tell compelling stories and leave a lasting impression on all who see them.
Frequently Asked Questions
How can I determine the best time of day to capture the perfect window light for my portraits?
For me, the best time is usually during the golden hour, just before sunset, when the light is soft and warm. I also love the gentle, diffused light of an overcast day. Experiment with different times to find what works best for your space and style – and don’t be afraid to get creative and adapt to changing light conditions.
What are some common mistakes to avoid when using window light for portrait photography?
When working with window light, I’ve found that common mistakes include underexposing or overexposing, not considering the time of day, and neglecting to experiment with subject placement.
Can you provide tips on how to complement window light with artificial light sources to enhance my portraits?
When combining window light with artificial sources, I love using a subtle fill flash to add depth and dimension. It’s all about balance – let the natural light be the star, and use the artificial light to gently enhance the story you’re telling. Experiment with low-power flashes or continuous lights to find that sweet spot.