A Guide to How to Shoot During Golden Hour for Beautiful Light
I still remember the first time I stumbled upon the magic of how to shoot during golden hour. It was during a photo walk in the city, and the soft, warm light was like a whispered secret, illuminating the streets and the people in them. I was captivated by the way it transformed the ordinary into the extraordinary, and I knew right then that I wanted to master the art of capturing this fleeting glow. As I delved deeper into the world of photography, I realized that many photographers were chasing this same light, but often falling into the trap of thinking that golden hour was just about the technical aspects of photography.
As you read this article, I want to assure you that you’ll get honest, no-hype advice on how to shoot during golden hour. You won’t find any generic tips or tricks here, but rather a personal and practical guide on how to tap into the essence of this special time of day. I’ll share with you my own experiences, from the mistakes I’ve made to the breakthroughs I’ve had, and provide you with the insights you need to take your photography to the next level. Whether you’re a seasoned photographer or just starting out, this article will help you understand the why behind the how, and show you how to capture the beauty of golden hour in a way that’s truly your own.
Table of Contents
Guide Overview: What You'll Need
Total Time: 1 hour 30 minutes
Estimated Cost: $0 – $100
Difficulty Level: Intermediate
Tools Required
- Camera (DSLR or mirrorless)
- Tripod (sturdy and adjustable)
- Remote shutter release (or camera timer)
- Extra batteries (for camera and other equipment)
- Memory cards (with sufficient storage space)
Supplies & Materials
- None
Step-by-Step Instructions
- 1. First, understand your light: before you even think about picking up your camera, take a moment to appreciate the unique qualities of golden hour light. It’s a time of day when the sun is low on the horizon, casting a warm, soft glow over everything. This light is perfect for capturing portraits with a sense of depth and emotion, as it creates a beautiful, flattering illumination on your subject’s face.
- 2. Next, plan your shoot: think about the location, the time of day, and the type of shots you want to capture. Golden hour is a fleeting time, usually lasting around 60 minutes, so it’s essential to be prepared. Scout out your location in advance, and consider the direction of the light and how it will fall on your subject. I like to shoot in areas with interesting textures and backgrounds, as they add an extra layer of depth to the image.
- 3. Now, get your camera ready: I always shoot in manual mode, as it gives me complete control over the exposure, aperture, and shutter speed. For golden hour shots, I typically use a wide-aperture lens (around 50mm or 35mm) to create a shallow depth of field, separating my subject from the background. Make sure you’ve got a spare battery, plenty of memory cards, and a lens cloth to keep your gear in top condition.
- 4. When it comes to posing your subject, I’m a firm believer in keeping things natural and relaxed. Avoid forced poses or awkward positions, and instead, encourage your subject to move freely and naturally. This will help you capture genuine, unposed moments that reveal their true personality. I often ask my subjects to walk towards me or away from me, as this creates a sense of movement and energy in the shot.
- 5. As you start shooting, pay attention to the light: observe how it falls on your subject, and adjust your position and camera settings accordingly. During golden hour, the light can change rapidly, so be prepared to adapt and adjust your shot on the fly. I often find myself moving around my subject to find the perfect angle, where the light is soft and flattering.
- 6. To add an extra layer of depth to your images, experiment with composition: look for interesting shapes, textures, and patterns in the environment, and use them to add context and meaning to your shot. Consider using the rule of thirds, placing your subject off-center, or using leading lines to guide the viewer’s eye through the image. Remember, composition is all about creating a visual narrative that draws the viewer in.
- 7. As the golden hour comes to a close, capture the details: take a moment to shoot some close-up shots of your subject’s face, hands, or other interesting features. These intimate moments can reveal a lot about your subject’s personality and character, and add a sense of emotional depth to your images. I often use a macro lens or a close-up attachment to get in tight and capture the tiny details that make each person unique.
- 8. Finally, review and reflect on your shots: take a moment to go through your images, and think about what worked well and what didn’t. Consider the lighting, composition, and emotional impact of each shot, and use this feedback to improve your craft. I often find myself learning from my mistakes, and using them as an opportunity to grow and develop as a photographer.
Chasing Golden Hour
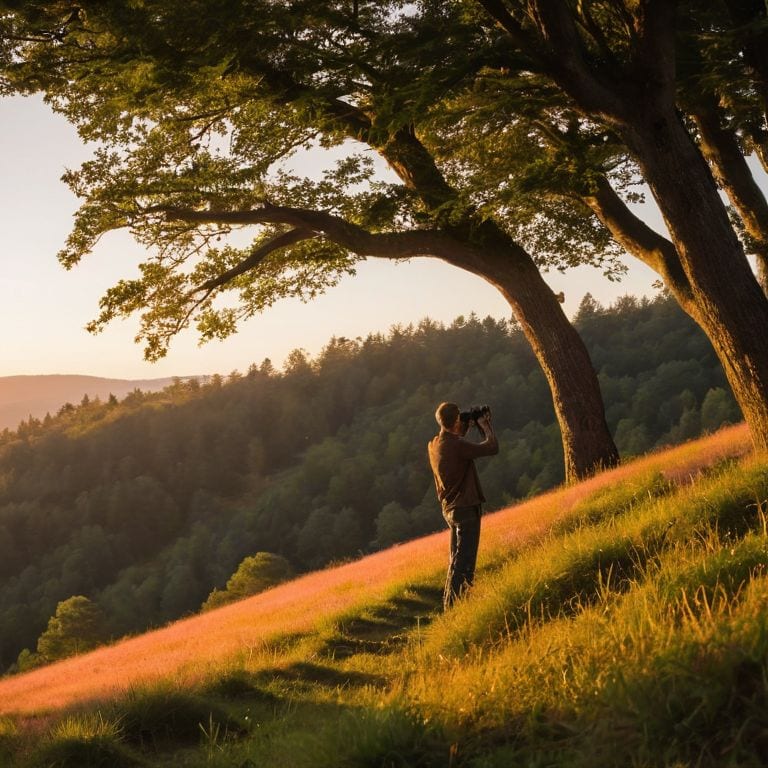
As I venture out to capture the essence of golden hour photography, I’m reminded that it’s not just about the technicalities, but about being present in the moment. The soft, warm light has a way of transforming even the most mundane scenes into something extraordinary. To make the most of this fleeting time, I always try to arrive early, setting up my camera and composition before the golden hour begins.
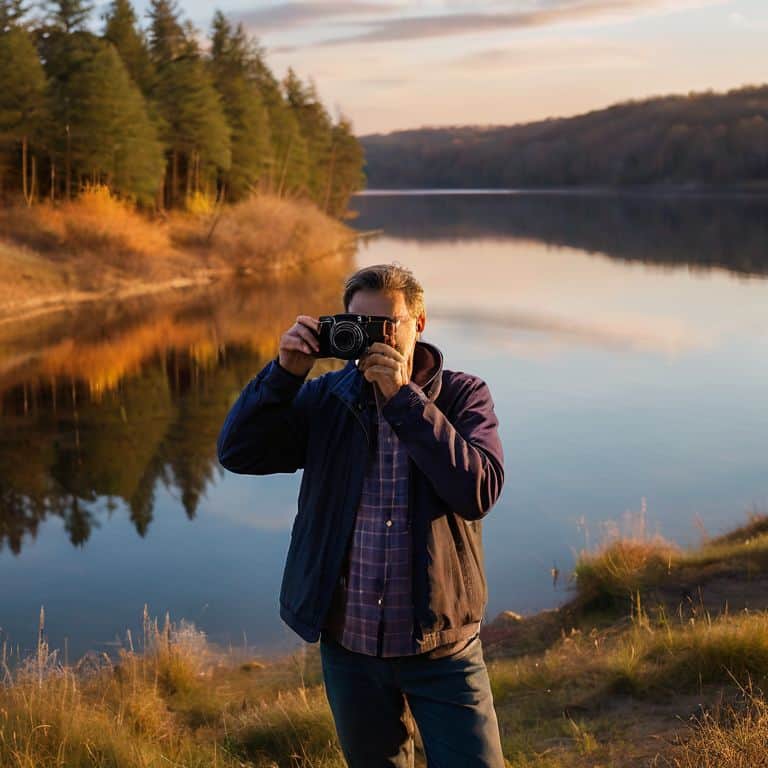
When it comes to golden hour portrait photography, I believe that capturing warm tones is key to creating inviting and intimate images. The soft light wraps around your subject, creating a sense of depth and dimension that’s hard to replicate in any other lighting condition. To achieve this, I often experiment with manual mode, adjusting my camera settings to prioritize the warm tones and subtle textures that golden hour has to offer.
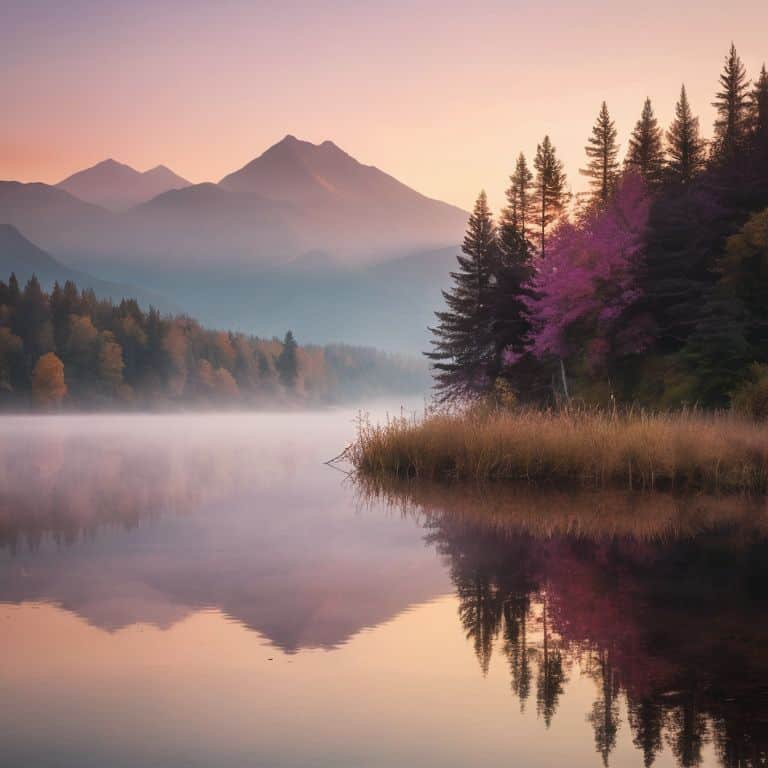
In landscape photography during golden hour, the play of light on the environment is truly mesmerizing. I love to experiment with composition, using the warm light to accentuate the shapes and forms of the natural world. By paying attention to the best camera settings for golden hour, you can unlock a world of creative possibilities, from the subtle nuances of color to the dramatic contrasts of light and shadow.
Capturing Warm Tones Perfectly
To truly capture the essence of golden hour, you need to master the art of warm tones. There’s a subtle dance between the soft, golden light and the shadows it creates, and when you nail it, the result is nothing short of enchanting. I recall a shoot I did in a small village, where the golden hour cast a warm glow on the rustic streets, and the resulting photos told a story of simplicity and charm.
When capturing warm tones, I always shoot in manual mode, adjusting my white balance to cloudier settings to enhance the golden hues. It’s amazing how a slight tweak can transform the entire mood of the image, drawing the viewer into the world you’re creating. By embracing the imperfections of golden hour, you’ll start to see your photos take on a life of their own, infused with a sense of warmth and intimacy that’s hard to replicate in any other lighting condition.
Golden Hour Photography Tips
As I reflect on my own golden hour shoots, I’m reminded that it’s not just about the light – it’s about anticipation and patience. I recall a shoot in Tokyo, where I waited for over an hour for the perfect glow to illuminate a quiet alleyway. The resulting photo, with its soft, warm tones, told a story of serenity in a bustling city. To capture such moments, I always try to arrive at a location before the golden hour peak, scouting out the best vantage points and waiting for the magic to unfold.
By doing so, you’ll not only capture stunning images but also develop a deeper connection with your subject and the environment. This mindset shift will help you tap into the essence of golden hour photography, where the fleeting light becomes a character in your visual narrative.
Unveiling the Secrets of Golden Hour: 5 Essential Tips
- Shoot in manual mode to have complete control over your camera’s settings, allowing you to adjust for the soft, warm light
- Experiment with different angles and compositions to add depth and interest to your photos, leveraging the unique quality of golden hour light
- Look for interesting subjects that can be enhanced by the warm tones of golden hour, such as people, landscapes, or still-life scenes
- Pay attention to the direction of the light and use it to create flattering, soft shadows that add dimension to your images
- Be prepared to shoot quickly, as the golden hour window is fleeting – approximately 60 minutes – and the best moments can pass in an instant
Key Takeaways for Mastering Golden Hour Photography
To truly capture the essence of golden hour, remember that it’s not just about the technical settings, but about anticipating and embracing the fleeting moments of soft, warm light
Experimenting with different angles and compositions during golden hour can dramatically change the mood and story of your photographs, so don’t be afraid to get creative and try new things
The real magic of golden hour photography lies in its ability to evoke emotion and tell a story, so focus on capturing authentic, unposed moments that reflect the beauty and uniqueness of your subject
The Essence of Golden Hour
Shooting during golden hour isn’t just about capturing a time of day, it’s about bottling the essence of a fleeting moment, when the world is bathed in a soft, ethereal light that whispers stories to those who pause to listen.
Julian Kade
Embracing the Golden Glow
As we’ve explored the world of golden hour photography, it’s clear that mastering this technique is all about understanding the dance between light and shadow. We’ve covered the essential steps to capture stunning images during this fleeting time, from chasing the golden hour to fine-tuning our camera settings for optimal results. By applying these principles and tips, such as shooting in manual mode and paying attention to the quality of light, you’ll be well on your way to creating photographs that tell a story and evoke emotion.
So, the next time you find yourself standing in the warm, golden glow of dawn or dusk, remember that it’s not just about capturing a moment – it’s about telling a story that resonates. With practice and patience, you’ll develop your unique visual voice, and your photographs will become a reflection of your perspective and creativity. As you continue to chase the golden hour, always keep in mind that the beauty of photography lies in its ability to capture the essence of a moment, and to share that with the world.
Frequently Asked Questions
How can I predict and prepare for the best golden hour shooting times in my location?
To predict golden hour, I use apps like PhotoPills or The Photographer’s Ephemeris to track sunrise and sunset times in my location. I also consider the time of year, weather, and pollution levels, as these can impact the quality of light. By planning ahead, I can position myself for the perfect shot, capturing that fleeting glow that makes my photos come alive.
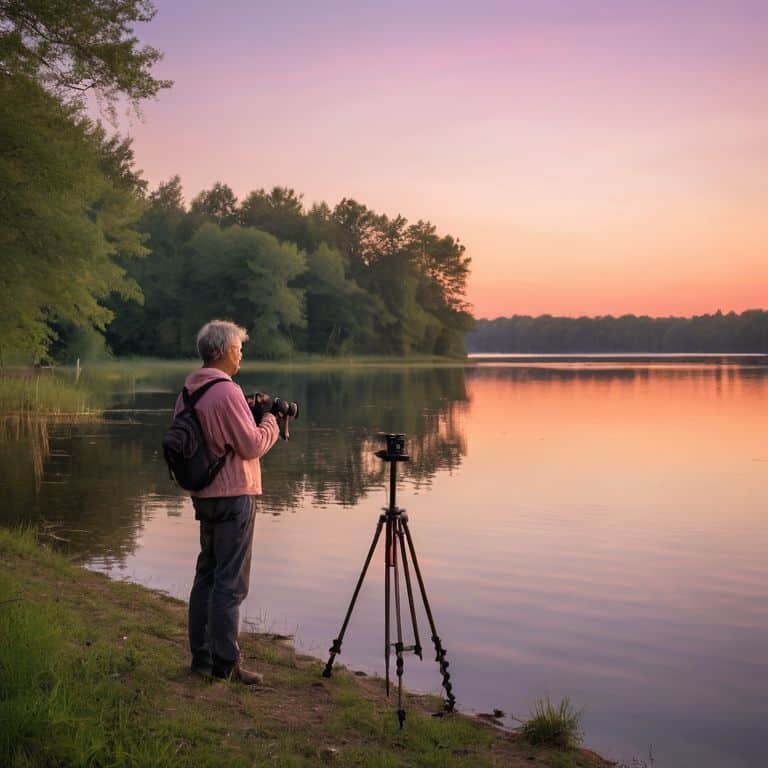
What camera settings and equipment do I need to capture the soft, warm light of golden hour effectively?
To capture the soft, warm light of golden hour, I shoot in manual mode with a low ISO and a wide aperture lens, like my vintage 50mm f/1.4. This allows me to soak up the gentle light and create a sense of depth in my images. A tripod also helps me stabilize the camera for sharper shots.
How can I balance the bright skies and darker landscapes during golden hour to achieve a well-exposed image?
To balance bright skies and darker landscapes, I use exposure compensation or bracketing. I’ll often underexpose by a stop or two to preserve the sky’s detail, then merge later in post-processing. It’s all about capturing the range of light, and being intentional with your exposure decisions to create a cohesive image.