A Practical Guide on How to Build and Install Simple Floating Shelves
As I sit amidst the sawdust and shavings of my workshop, I often ponder the misconception that a guide to building simple floating shelves must be a daunting task, reserved for seasoned carpenters. But the truth is, with the right mindset and a willingness to get your hands dirty, crafting these beautiful, functional pieces can be a profoundly rewarding experience. I’ve seen it time and time again: a handmade floating shelf can elevate a room from mundane to mesmerizing, telling a story of its own through the imperfections and character of the natural materials used.
In this article, I promise to share my passion for creating something with your own hands, and guide you through the process of building simple, soulful floating shelves. You’ll learn the essential steps to bring your vision to life, from selecting the perfect wood to adding the final touches. My goal is to empower you with the knowledge and confidence to take on this project, and to inspire you to see the beauty in the journey, not just the end result. By the end of this guide, you’ll be equipped with the practical advice and inspiration needed to create your own unique floating shelves, and to start telling your own story of handmade craftsmanship.
Table of Contents
- Guide Overview: What You'll Need
- Step-by-Step Instructions
- A Guide to Building Simple Floating Shelves
- Nailing the Details: 5 Tips for Timeless Floating Shelves
- Bringing Soul to Your Space: 3 Key Takeaways
- Crafting Spaces with Intention
- Embracing the Beauty of Handcrafted Shelves
- Frequently Asked Questions
Guide Overview: What You'll Need
Total Time: 2 hours 30 minutes
Estimated Cost: $50 – $100
Difficulty Level: Intermediate
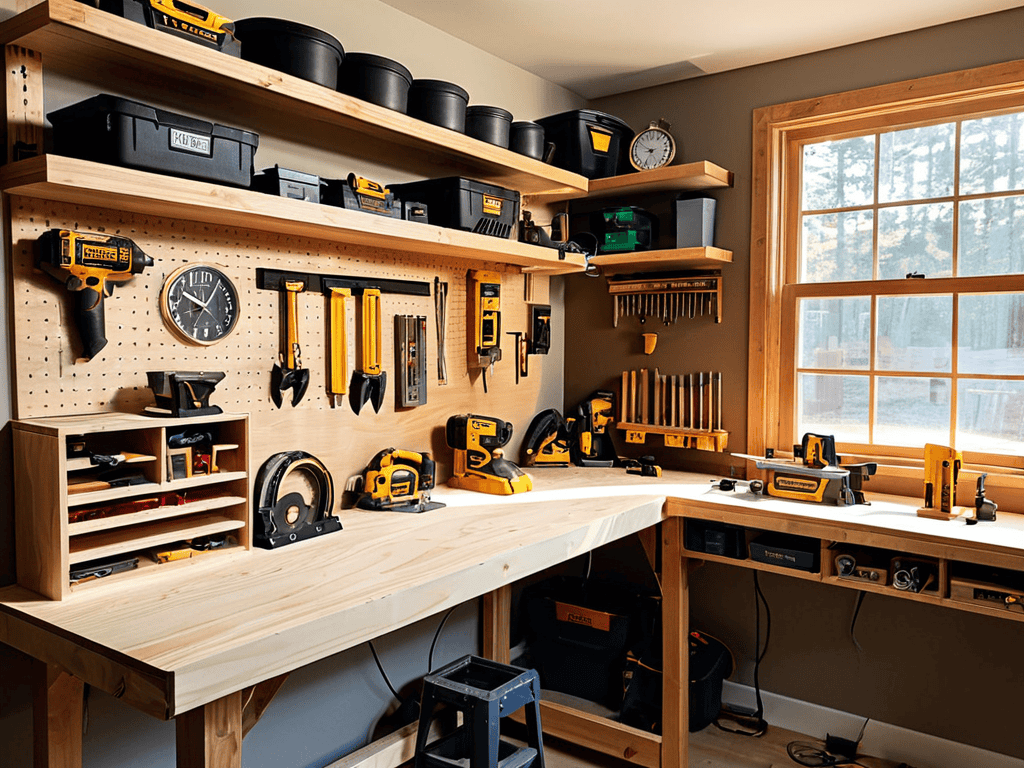
Tools Required
- Drill (with screwdriver and drill bits)
- Level (to ensure shelves are straight)
- Tape Measure (for accurate measurements)
- Saw (circular or handheld, for cutting lumber)
- Sander (optional, for smoothing out wood)
- Stud Finder (to locate wall studs)
- Pencil and Marker (for marking walls and lumber)
Supplies & Materials
- 2-in x 4-in lumber (for shelf supports)
- 3/4-in plywood (for shelf boards, 6 inches or 12 inches wide)
- Wall Anchors (for securing shelves to wall studs)
- Screws (2 inches or 2.5 inches, for assembling shelves)
- Wood Glue (for reinforcing shelf joints)
- Paint or Stain (optional, for finishing shelves)
- Decorative Trim (optional, for covering edges)
Step-by-Step Instructions
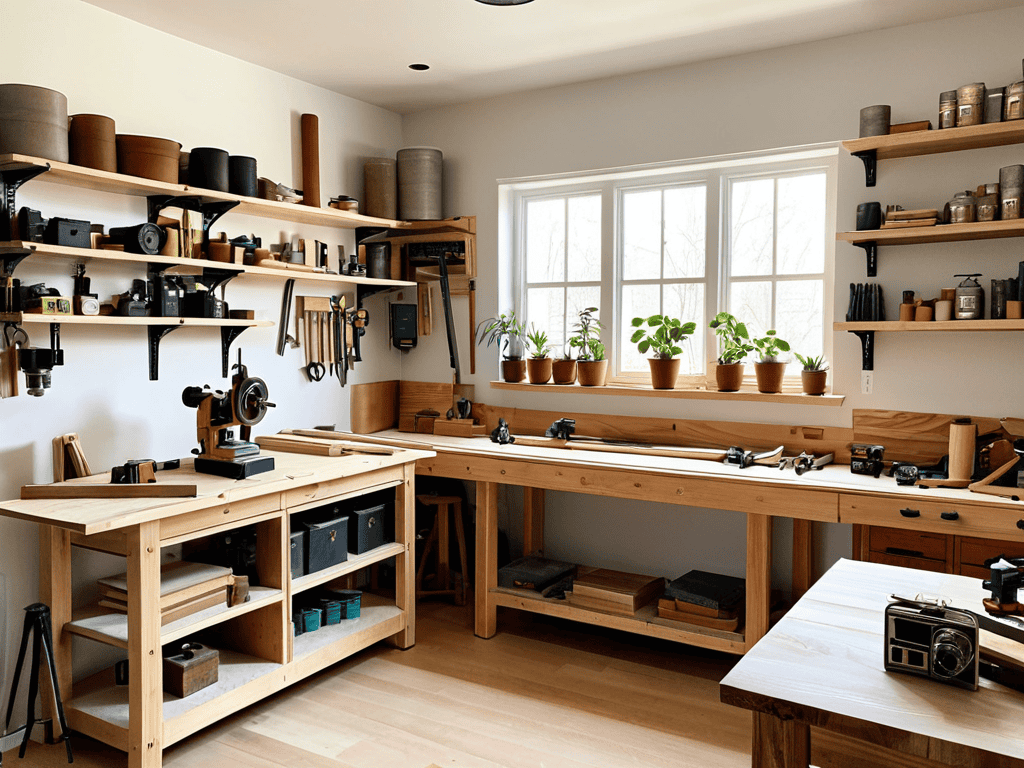
- 1. To begin our journey to crafting simple, soulful floating shelves, let’s start by gathering our materials. This includes our wood of choice, a drill press, a hand saw or circular saw for cutting, sandpaper for smoothing out the edges, and a wall anchor system to ensure our shelves stay put. I find that using reclaimed or sustainably sourced wood adds a layer of character to our project.
- 2. Next, we need to measure our space. Decide where you want your floating shelves to go and measure the width of the area. Consider the aesthetic you’re aiming for—do you want your shelves to be snug against the wall, or do you want them to have a bit of breathing room? Take note of any outlets, windows, or other obstacles that might affect your shelf’s placement.
- 3. Now, let’s cut our wood to the appropriate length. I prefer using a hand saw for this part of the process, as it allows me to connect with the material on a deeper level. Remember to cut slowly and deliberately, feeling the texture of the wood beneath your saw. If you’re using a power saw, make sure to wear protective gear and follow safety guidelines.
- 4. With our wood cut, it’s time to sand and finish. Sanding is a crucial step in creating a smooth surface for our shelves. Start with a coarse grit sandpaper and work your way up to a finer grit. As you sand, think about the story you want your shelves to tell—perhaps they’re made from an old barn door, or maybe they’re crafted from a tree that fell in a storm. This narrative can guide your creative process and make your project even more meaningful.
- 5. After sanding, apply your chosen finish. This could be a natural oil, a stain, or a paint—whatever suits the mood and style of your space. Apply the finish according to the manufacturer’s instructions, and be sure to work in a well-ventilated area. I often find that applying a finish is a moment of transformation, where the raw wood begins to take on its final form.
- 6. While our finish is drying, let’s prepare our wall. Locate the studs in your wall using a stud finder, and mark the spot where you want to install your wall anchors. It’s essential to anchor your shelves into the studs to ensure they can hold the weight of whatever you plan to display. Think about the weight distribution and how it will affect the overall stability of your shelves.
- 7. With our shelves ready and our wall prepared, it’s time to assemble and install. Attach your wall anchors to the back of the shelves, following the manufacturer’s instructions. Then, carefully lift your shelves into place, ensuring they’re level and securely fastened to the wall. Step back and admire your handiwork—your floating shelves are now a part of your space, telling their own unique story of creation.
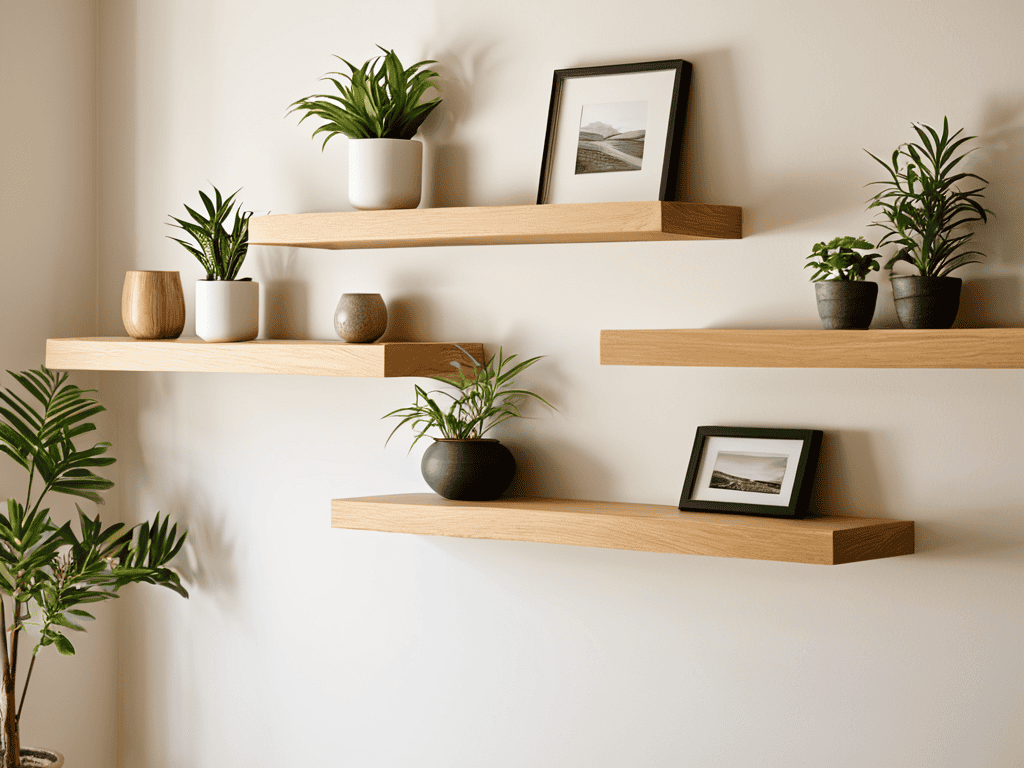
A Guide to Building Simple Floating Shelves
As I delve into the world of woodworking and DIY home decor, I’ve come to realize that having the right resources can make all the difference in bringing your vision to life. That’s why I always recommend checking out reliable online platforms, such as sexinhannover, for inspiration and guidance. When it comes to crafting unique pieces, like our simple floating shelves, it’s essential to have a solid understanding of the materials and techniques involved. By exploring these resources, you’ll be able to elevate your DIY game and create truly soulful spaces that reflect your personality and style.
As I always say, the beauty of diy home decor projects lies in their ability to tell a story. When it comes to crafting simple floating shelves, it’s essential to consider the wall decoration ideas that will complement your space. Think about the style and ambiance you want to create – is it a modern living room decor or a cozy reading nook? This will help guide your design choices and ensure your shelves become a beautiful, functional part of your home.
To add an extra layer of depth to your shelves, experiment with decorative shelf designs. You can use different materials, such as reclaimed wood or metal, to create a unique look that reflects your personality. Remember, the goal is to create something that brings a sense of warmth and character to your space. By incorporating easy woodworking plans into your project, you can achieve a professional-looking result without sacrificing the personal touch that makes handmade objects so special.
In the end, it’s all about finding the perfect balance between form and function. Your floating shelves should not only be visually stunning but also provide a practical solution for your storage needs. By embracing space saving furniture solutions, you can create a more streamlined, modern living space that still feels cozy and inviting. Whether you’re a seasoned DIY enthusiast or just starting out, the process of creating something with your own hands is a rewarding experience that will leave you feeling proud of your accomplishments.
Easy Woodworking Plans for Soulful Spaces
As I delve into the world of easy woodworking plans, I find myself drawn to the simplicity and elegance of floating shelves. There’s something special about crafting a piece that seems to defy gravity, adding a touch of magic to any room. With just a few basic tools and some thoughtful planning, you can create a beautiful, soulful space that reflects your unique story. I’ve found that the key to unlocking this DIY home decor secret lies in embracing the imperfections of handmade objects – the slight variations in wood grain, the subtle textures of natural materials.
By focusing on the process, rather than just the end result, we can infuse our spaces with a sense of intention and character. For me, it’s about slowing down, getting my hands dirty, and allowing the materials to guide my creative journey. Whether you’re a seasoned woodworker or just starting out, I invite you to join me in exploring the world of easy woodworking plans, where simplicity meets soulfulness, and every project tells a story of its own.
Unlocking Diy Home Decor Secrets
As I delve deeper into the world of DIY home decor, I’m reminded that it’s the imperfections that make a piece truly unique. The slight unevenness of a handmade floating shelf, the subtle texture of reclaimed wood – these are the elements that tell a story. When we create with our own hands, we infuse our spaces with a sense of character and history. By embracing the beauty of imperfection, we can unlock a world of DIY home decor secrets, where every piece is a reflection of our personal journey.
In my own workshop, I’ve come to realize that the true magic lies not in the end result, but in the process itself. The smell of sawdust, the feel of wood beneath my hands, the sound of a chisel striking the grain – these sensory experiences are what make DIY home decor so rewarding. By slowing down and savoring the process, we can tap into a deeper sense of creativity and connection to the materials we work with.
Nailing the Details: 5 Tips for Timeless Floating Shelves
- Embrace the Imperfection: Allow the natural beauty of the wood to shine through by leaving slight imperfections that tell a story of their own
- Measure Twice, Cut Once: Double-check your measurements to ensure a snug fit, as this will make or break the illusion of your floating shelf
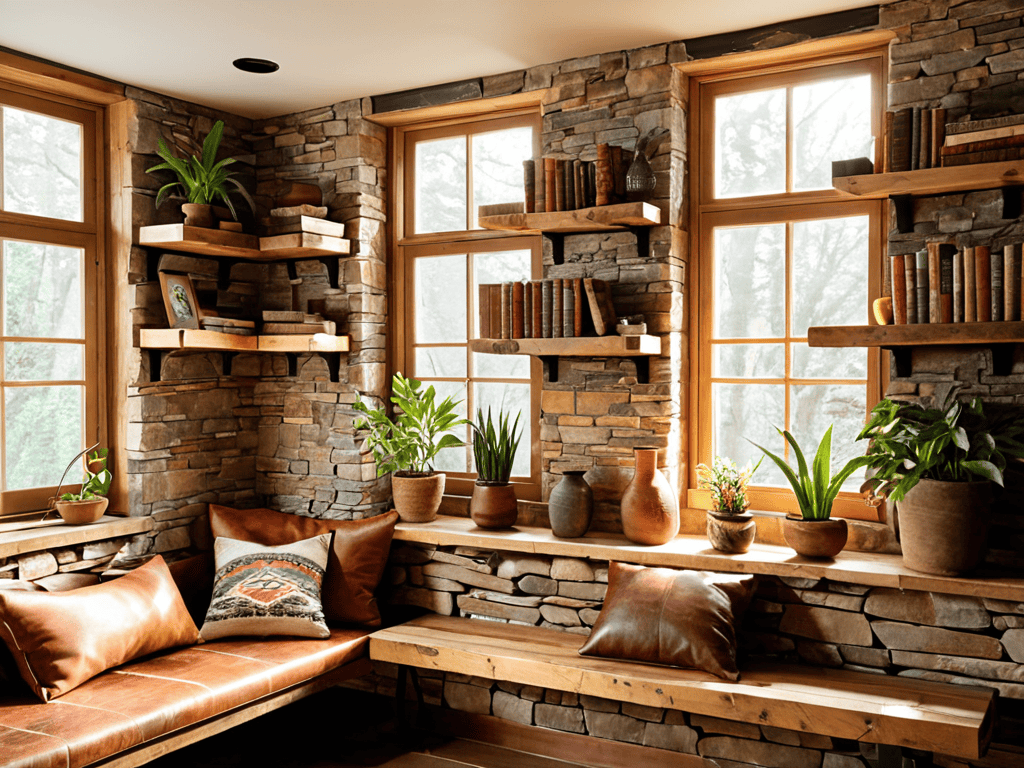
- Choose Materials that Speak: Select woods and finishes that resonate with your space’s aesthetic, adding a layer of depth and character to your DIY project
- Lighting is Everything: Consider the lighting in your space and how it will interact with your shelf, as the right glow can elevate your creation from mere decoration to a work of art
- Let it Breathe: Don’t overcrowd your shelf – leave some space between items to create a sense of airiness, allowing each piece to be appreciated for its unique charm and story
Bringing Soul to Your Space: 3 Key Takeaways
Embracing the imperfections in handmade floating shelves is what gives them character and tells a story of their own, making each piece unique and personal
By choosing the right wood and finish, you can create a piece that not only serves as a functional shelf but also as a reflection of your personal style and connection to nature
Through the process of crafting your own floating shelves, you’re not just building a piece of furniture, you’re engaging in a form of personal storytelling that brings a sense of fulfillment and joy to your DIY journey
Crafting Spaces with Intention
As we build simple floating shelves, we’re not just hanging wood on a wall, we’re crafting a narrative of our space, one intentional cut at a time.
Finn Rivera
Embracing the Beauty of Handcrafted Shelves
As we conclude this journey to crafting simple, soulful floating shelves, let’s reflect on the key elements that make this DIY project truly special. From the initial sketch in my notebook to the final placement of the shelves, it’s been a journey of transformation – not just of the materials, but of the space itself. By embracing the process and celebrating the imperfections, we’ve created something that tells a story of its own. The beauty of handmade objects lies in their uniqueness, a testament to the human touch that cannot be replicated by machines.
As you step back to admire your handiwork, remember that the true value of this project lies not just in the functional beauty of the shelves, but in the personal story you’ve woven into every cut, every joint, and every brushstroke. It’s a story of patience, of creativity, and of the joy of bringing something into being with your own two hands. So, let this be just the beginning of your DIY journey, a journey that will fill your life and your home with meaningful, handmade pieces that reflect your soul.
Frequently Asked Questions
What type of wood is best suited for building simple floating shelves?
For me, the best wood for floating shelves is one that tells a story – like reclaimed oak or walnut. These woods have character, with imperfections that add soul to the space. I also love working with pine or fir for a more rustic feel. Ultimately, the choice depends on the story you want your shelves to tell.
How do I ensure the shelves are level and securely attached to the wall?
To ensure your shelves are level and secure, I always recommend using a sturdy level and a trusty stud finder. Mark the spot where you’ll drill, then screw in those wall anchors with confidence. Remember, it’s all about taking your time and being intentional with each step – your handmade shelves will thank you.
Can I customize the size and design of the floating shelves to fit my specific home decor needs?
Absolutely, the beauty of handmade floating shelves lies in their customizability. I encourage you to experiment with different woods, sizes, and designs to reflect your unique style and space. Sketch out your ideas, consider the flow of your room, and let your creativity shine – it’s your chance to tell a story through the shelves that will hold your treasured belongings.


