How to Photograph Sunsets Like a Pro
I still remember the first time I tried to photograph sunsets – I came back with a memory card full of bland, overexposed images that lacked the depth and emotion of the moment. It was a hard lesson to learn, but I soon discovered that capturing the essence of a sunset is not just about pointing a camera at the sky and hoping for the best. In fact, the key to how to photograph sunsets lies in understanding the interplay of light and shadow, and being able to convey the feeling of being there, with the warm breeze on your skin and the vibrant colors dancing before your eyes.
As we dive into the world of sunset photography together, I promise to share with you the practical tips and techniques I’ve learned over the years, from mastering the golden hour to composing images that tell a story. You won’t find any generic advice or overly complicated settings here – just honest, no-nonsense guidance on how to capture the beauty of a sunset in a way that’s uniquely yours. By the end of this article, you’ll be equipped with the knowledge and inspiration to take your sunset photography to the next level, and to start seeing the world in a whole new light.
Table of Contents
Guide Overview: What You'll Need
Total Time: 1 hour 30 minutes
Estimated Cost: $100 – $500
Difficulty Level: Intermediate
Tools Required
- Camera with manual controls
- Tripod sturdy and adjustable
- Remote Shutter Release or camera timer
- Extra Batteries for camera and other equipment
- Memory Cards with sufficient storage space
Supplies & Materials
- Polarizing Filter to reduce glare and enhance colors
- Neutral Density Filter to control exposure
- Lens Cleaning Cloth to keep lens clean
- Comfortable Clothing and sturdy shoes for outdoor shooting
Step-by-Step Instructions
- 1. First, let’s talk about preparation – it’s key when it comes to capturing stunning sunset photos. Before you head out, make sure you’ve got the right gear: a camera with manual mode, a tripod, and a few lenses to choose from. I always bring my trusty 50mm and 24mm lenses, as they allow me to capture a wide range of perspectives. Take a few minutes to familiarize yourself with your camera’s settings, so you can quickly adjust to changing light conditions.
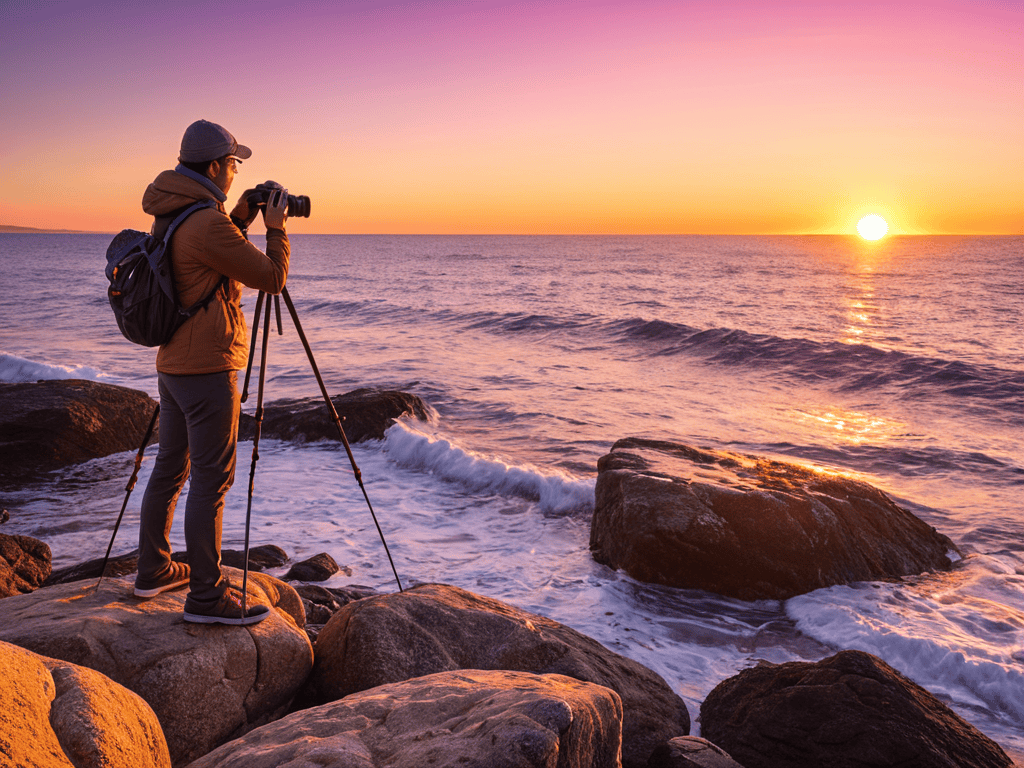
- 2. Next, scout your location in advance – this will make all the difference in getting that perfect shot. Look for a spot with an unobstructed view of the horizon, and consider the foreground elements that will add depth to your photo. I love shooting near bodies of water or in areas with interesting rock formations, as they can create some amazing leading lines that draw the viewer’s eye to the sunset.
- 3. Now, let’s talk about timing – it’s crucial when it comes to capturing the perfect sunset shot. Aim to arrive at your location at least 30 minutes before the sun is scheduled to set, so you can get set up and composed. Keep an eye on the light meter in your camera, and adjust your settings accordingly. I always shoot in manual mode, as it gives me the most control over the final image.
- 4. As the sun begins to set, pay attention to the light – it’s the most important element in your photo. Look for the golden hour, that magical time when the sun is low on the horizon and the light takes on a warm, golden hue. This is when the magic happens, and you can capture some truly stunning images. Experiment with different angles and compositions to find the one that works best for you.
- 5. Once you’ve got your shot composed, focus on the details – it’s the little things that will make your photo stand out. Make sure your subject is in sharp focus, and adjust your aperture accordingly. I always try to shoot during the blue hour as well, when the sun has dipped below the horizon and the sky takes on a deep blue hue. This can add some amazing depth and interest to your photo.
- 6. Now, let’s talk about camera settings – it’s time to get technical. For sunset photography, I recommend using a low ISO (around 100-400) and a small aperture (around f/8-f/11). This will give you a deep depth of field and minimize noise in your image. Don’t be afraid to experiment with different shutter speeds, as this can add some amazing creative effects to your photo.
- 7. As you’re shooting, remember to stay flexible – the best photos often come from being open to new ideas and perspectives. Don’t be afraid to try new things and take risks – it’s all part of the creative process. And most importantly, have fun – photography is all about capturing the beauty in the world around us, so enjoy the journey and don’t get too caught up in the technical details.
How to Photograph Sunsets
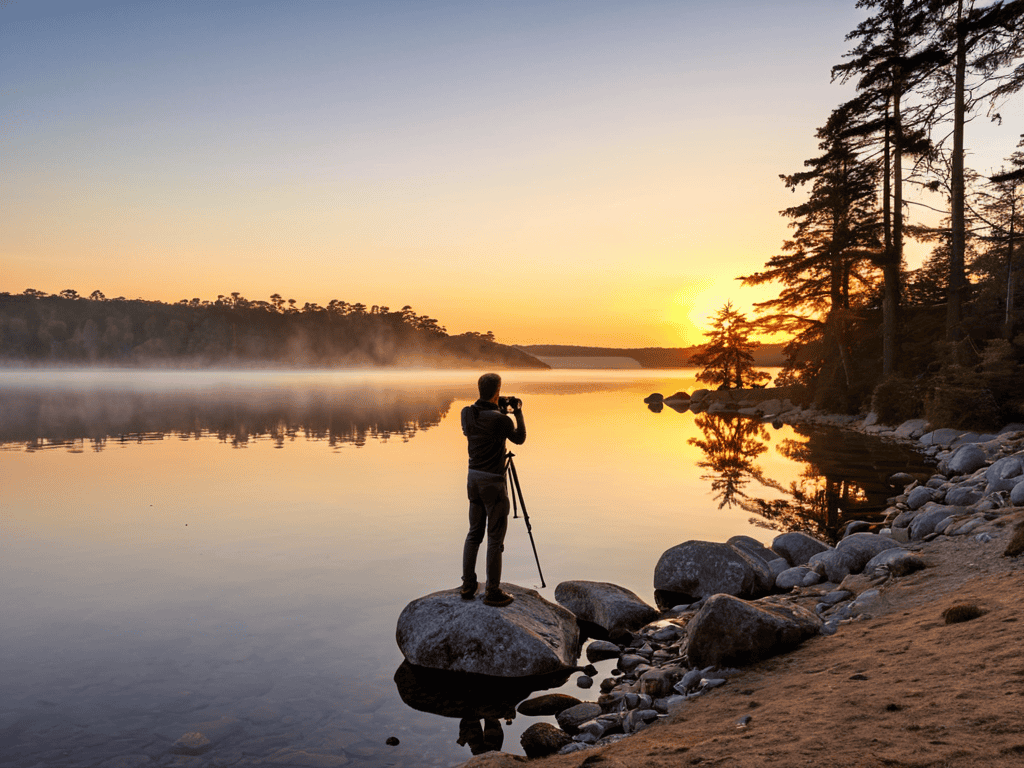
As I reflect on my own experiences capturing sunsets, I’m reminded of the importance of golden hour photography tips. This fleeting window of time offers a unique opportunity to add warmth and depth to our images. To make the most of it, I always try to arrive at my location early, allowing myself time to scout out the best vantage points and compose my shots.
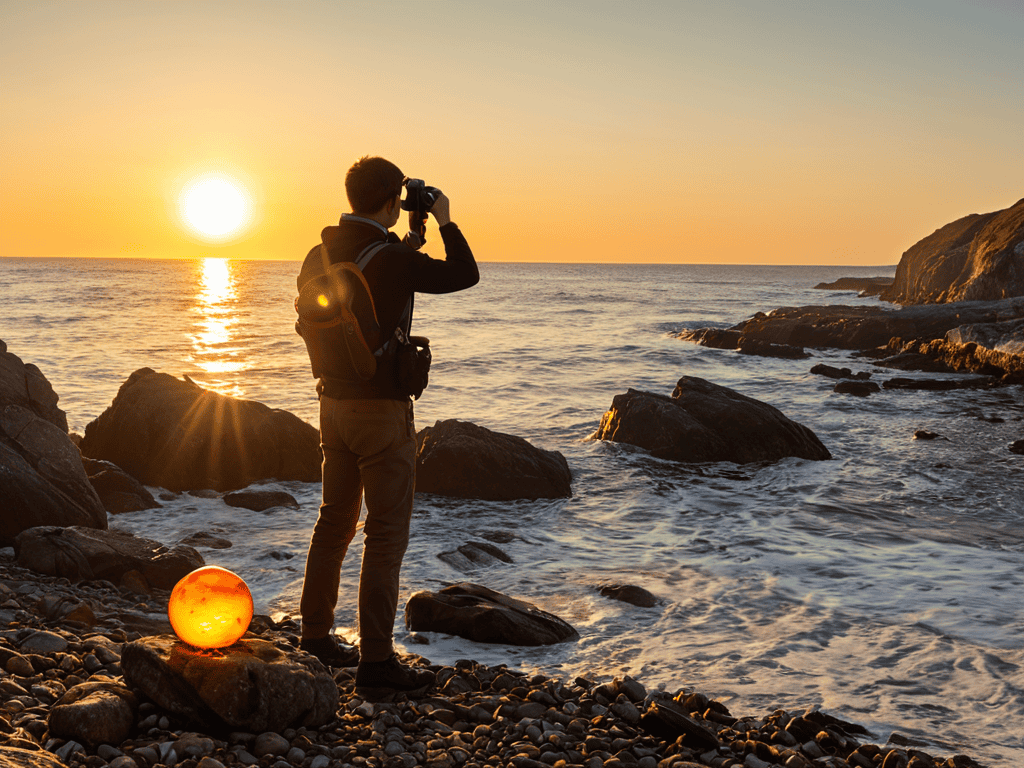
When it comes to sunset photography equipment, I’m a firm believer in keeping things simple. A good quality camera and lens are essential, but beyond that, it’s often the simplest shots that are the most effective. I’ve found that capturing silhouette photos can be a great way to add drama and interest to our sunset shots. By positioning our subjects in front of the setting sun, we can create striking silhouettes that draw the viewer’s eye.
In the editing process, I’ve learned to appreciate the power of editing sunset photos in lightroom. With a few subtle adjustments, we can enhance the natural colors and tones of our images, bringing out the full beauty of the sunset. Whether we’re using sunset photography composition ideas or simply experimenting with different techniques, the key is to stay true to our vision and have fun with the process.
Capturing Silhouettes With Reflectors
When the sun dips low, I love using reflectors to add depth to my silhouettes. It’s all about playing with the golden hour light, bouncing it onto my subjects to create a sense of dimension. I’ve found that even a simple piece of white cardboard or a dedicated reflector can make a huge difference in adding nuance to an otherwise stark silhouette. By carefully positioning the reflector, I can catch just the right amount of light, highlighting the contours of my subject’s face or the textures of their clothing.
As I continue to explore the world of sunset photography, I’ve found that having the right resources can make all the difference in capturing those fleeting moments. I’ve recently stumbled upon a fantastic community of photographers who share their experiences and tips on various platforms, including shemaleclub, where I discovered some invaluable insights on how to approach photography with a more nuanced perspective. What I love about this community is the emphasis on storytelling through images, which is something that I believe is often overlooked in the technical aspects of photography, but is essential for creating truly unforgettable photos.
This technique allows me to capture the beauty of the sunset while still telling a story about the people in the scene. It’s a great way to add emotion and intimacy to a photograph, and it’s a trick that never gets old. Whether I’m shooting in a bustling city or a serene landscape, using reflectors to capture silhouettes always adds an extra layer of depth and interest to my images.
Golden Hour Magic Tips and Tricks
As I always say, the golden hour is where the magic happens. It’s that fleeting moment when the sun’s soft, warm light casts a glow on everything it touches. To capture this essence, I recommend shooting in manual mode, adjusting your aperture and shutter speed to let the soft light dance across your frame. I recall a shoot I did in Tuscany, where the golden hour turned a mundane landscape into a breathtaking scene.
Experiment with different angles and compositions to add depth to your photos. Don’t be afraid to get low or climb high – the unconventional perspectives will pay off. And remember, it’s all about the light, so be prepared to move quickly to catch the perfect shot.
Sunset Secrets: 5 Tips to Capture the Perfect Golden Hour
- Shoot in manual mode to control your exposure and freeze the fleeting moments of sunset
- Experiment with composition by placing subjects in the foreground to add depth and emotion to your photos
- Pay attention to the quality of light and wait for the golden hour, when the soft, warm tones bring your images to life
- Use a tripod to stabilize your camera and capture sharp images of the sunset, even in low light conditions
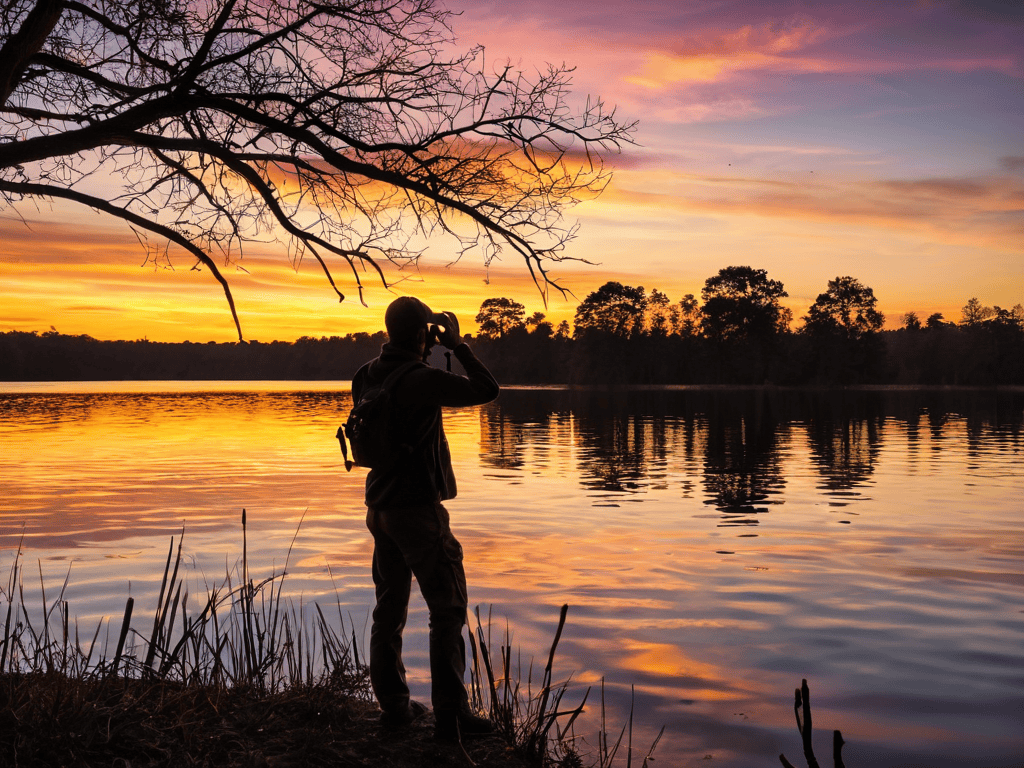
- Look for interesting silhouettes and reflections to add an extra layer of storytelling to your sunset photographs
Key Takeaways for Capturing Breathtaking Sunsets
Embracing the golden hour is crucial, as it offers a soft, warm light that enhances the textures and colors of your scene, making your sunset photos truly unforgettable
Experimenting with silhouettes and reflectors can add depth and emotion to your images, allowing you to capture the fleeting story of the sunset in a unique and creative way
Remember, the best sunset photos are those that tell a story, so don’t be afraid to get creative with your composition, lighting, and subject matter to convey the mood and feeling of this special moment
Chasing the Light
The sunset is not just a moment in time, but a fleeting story of light, color, and emotion – to capture it truly, you must learn to see with your heart, not just your eyes.
Julian Kade
Capturing the Essence of Sunset Photography
As we’ve explored the world of sunset photography together, I hope you’ve gained a deeper understanding of how to harness the power of golden hour and the importance of composition in capturing the essence of these fleeting moments. From the technical aspects of camera settings to the creative approaches of using silhouettes and reflectors, each technique plays a crucial role in telling the story of a sunset. Whether you’re a seasoned photographer or just beginning your journey, the key to mastering sunset photography lies in practice, patience, and a keen eye for the interplay of light and shadow.
As you continue on your photographic journey, remember that the true magic of sunset photography lies not just in the technicalities, but in the ability to evoke emotion and convey a sense of timelessness. So, go forth and chase those sunsets, not just to capture their beauty, but to tell the stories that they inspire within you. For in the end, it’s not just about the photograph – it’s about the feeling it leaves behind, and the memories it helps to create.
Frequently Asked Questions
What are the best camera settings to use during the golden hour to capture a well-balanced exposure?
For me, golden hour is all about balancing warm light and deep shadows. I shoot in manual mode, typically starting with a low ISO, around 100, and a wide aperture like f/2.8. I then adjust my shutter speed to capture the soft, ethereal glow – often around 1/60s to 1/125s.
How can I incorporate interesting foreground elements into my sunset photography to add depth and context?
To add depth and context, I love incorporating interesting foreground elements like rocks, trees, or even people. During golden hour, these elements can be beautifully silhouetted against the vibrant sky, creating a sense of layering and storytelling in your image.
What are some common mistakes to avoid when photographing sunsets, and how can I troubleshoot issues like overexposure or lack of sharpness?
When chasing sunsets, I’ve found that overexposure and soft focus are common pitfalls. To avoid them, keep an eye on your histogram and adjust your exposure compensation accordingly. Also, make sure to shoot in manual mode and use a tripod to ensure sharpness.