A Guide to Printing Your Photos for the Best Results
I still remember the first time I held a printed photograph in my hands – it was as if the moment I had captured came alive. I was in the middle of a two-year documentary project, traveling and shooting, and I had just received a package of freshly printed photos from my darkroom. The feeling of seeing my work in a tangible form was incredible, and it’s a sensation I want to share with you through this guide to printing your photos. There’s something special about holding a physical copy of a memory, and I believe it’s an essential part of the photographic process.
As you read through this article, I’ll share my personal approach to printing photos, from the initial preparation to the final result. You’ll learn how to choose the right paper, understand the importance of color calibration, and bring your photos to life in a way that feels true to your vision. My goal is to provide you with honest and practical advice, helping you to navigate the process of printing your photos with confidence. Whether you’re a seasoned photographer or just starting out, this guide is designed to help you master the art of printing and make your photographs truly unforgettable.
Table of Contents
Guide Overview: What You'll Need
Total Time: 1 hour 15 minutes
Estimated Cost: $10 – $30
Difficulty Level: Easy
Tools Required
- Computer (with internet connection)
- Inkjet Printer (with photo printing capabilities)
- Paper Trimmer (for cutting photos to size)
- Scissors (for trimming excess paper)
Supplies & Materials
- Photo Paper (glossy or matte, 4 inches x 6 inches or 8 inches x 10 inches)
- Ink Cartridges (compatible with your printer model)
- Printer Cleaning Kit (for maintaining printer health)
Step-by-Step Instructions
- 1. First, let’s start by preparing our images for printing. This involves reviewing our photos, selecting the ones we want to print, and making any necessary adjustments to ensure they look their best. I like to think of this step as the _final edit_, where we get to refine our vision and make sure every image is worthy of being printed.
- 2. Next, we need to consider the paper type and size we want to use for our prints. This will depend on the style and mood we’re aiming for, as well as the intended use of the prints. For example, if we’re creating a _photography portfolio_, we may want to use a high-quality, matte paper that showcases our images in a sophisticated way.
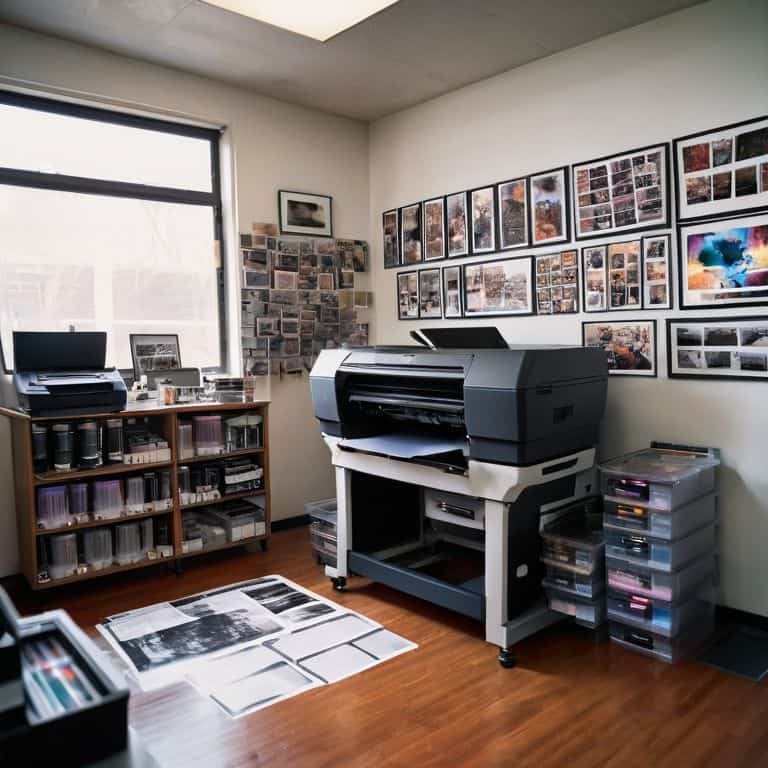
- 3. Now it’s time to think about the printing process itself. We have a few options here, including using a home printer, sending our images to a professional lab, or even using a _darkroom_ to develop our photos. As someone who loves developing film in my own darkroom, I can attest to the magic of watching our images come to life in a _chemical bath_.
- 4. Once we’ve decided on our printing method, we need to calibrate our equipment to ensure the best possible results. This may involve adjusting the color settings on our printer or _monitor_, or even creating a custom _color profile_ to match our specific paper and ink combinations.
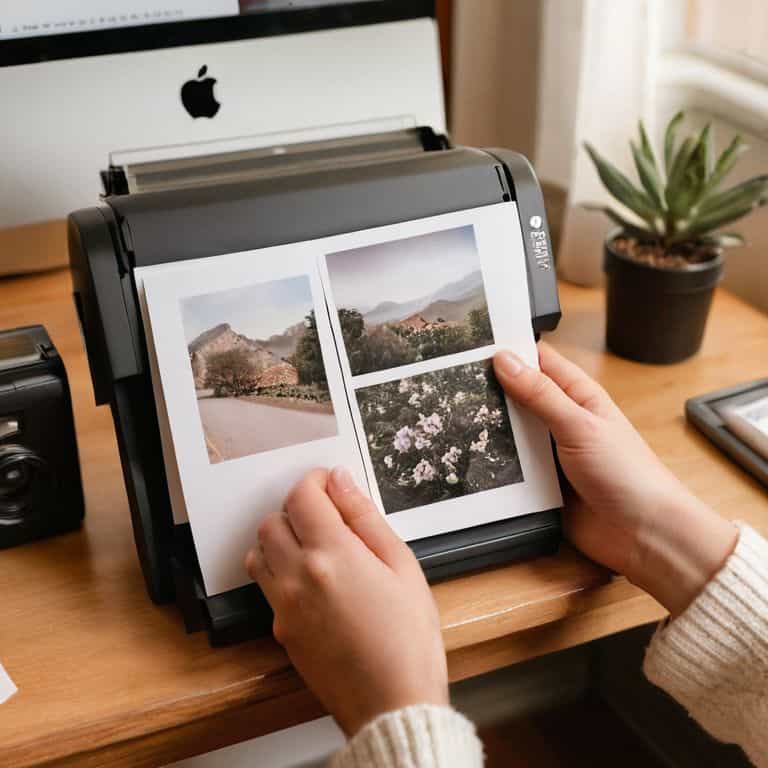
- 5. With our equipment calibrated, we can start printing our photos. This is the exciting part, where we get to see our images transformed from digital files into tangible, physical objects. I always feel a sense of _anticipation_ when I’m waiting for my prints to dry, wondering how they’ll look and feel in my hands.
- 6. After our prints are dry, we can inspect and refine them as needed. This may involve making minor adjustments to the color or contrast, or even _retouching_ small imperfections in the image. As a photographer, I believe it’s all about the _details_, and this step is where we can really make our prints shine.
- 7. Finally, we get to display and share our printed photos with others. This could involve framing them and hanging them on the wall, creating a _photography book_ or album, or even giving them as gifts to friends and family. For me, there’s something special about _holding a physical print_ in my hands, feeling the weight and texture of the paper, and knowing that I’ve created something truly unique and meaningful.
A Guide to Printing Your Photos
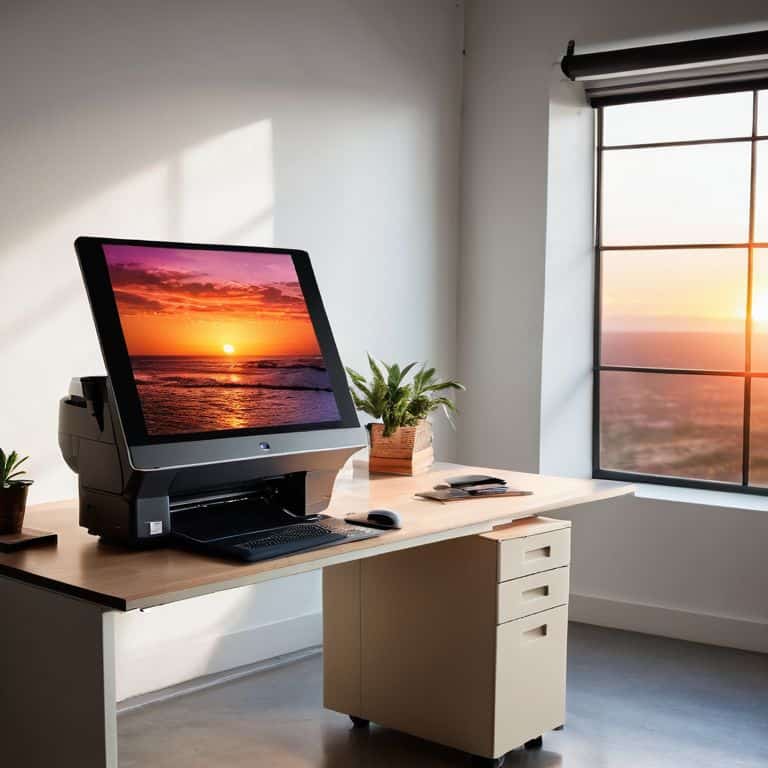
As I reflect on my own journey with printing photos, I’m reminded of the importance of color management. It’s a crucial step in ensuring that the images you see on your screen are accurately represented on paper. I’ve found that investing in a good monitor calibration tool has made a significant difference in my printing process. When it comes to choosing between inkjet vs laser printing, I always opt for inkjet for my photos – the quality and vibrancy of the prints are unmatched.
When selecting photo paper, I consider the texture and finish to complement the image. For example, a matte finish can add a sense of intimacy to a portrait, while a glossy finish can enhance the colors of a landscape. It’s also worth exploring different photo printing software options to find the one that best suits your needs. I’ve had great results with the software that came with my Windows printer, but I’m always on the lookout for new tools to try.
For those who want to take their printing to the next level, I recommend exploring professional photo printing services. These services can offer a level of quality and consistency that’s hard to achieve at home. Additionally, they often have a wide range of paper options and finishes to choose from, which can be especially useful when printing black and white photos. By experimenting with different papers and finishes, you can add a new level of depth and emotion to your images.
Inkjet vs Laser Choosing the Right Print
When it comes to printing your photos, the type of printer you use can greatly impact the final result. I’ve worked with both inkjet and laser printers, and I can tell you that each has its own unique characteristics. Inkjet printers are my personal preference for photographic prints, as they produce a wider range of colors and subtle tonal transitions.
In contrast, laser printers are often better suited for text-based documents, but can still produce decent photo prints. However, they tend to lack the depth and richness that inkjet printers can achieve. For me, the choice is clear: if you want to bring your photos to life with vibrant colors and nuanced details, an inkjet printer is the way to go.
Mastering Color Management for Home Prints
As I delve into the world of printing my own photos, I’ve come to realize that color management is a crucial step in bringing my visions to life. It’s all about ensuring that the colors I see on my screen are accurately translated onto paper. I’ve learned to calibrate my monitor and use color profiles to get the best results. It’s amazing how much of a difference this makes – my prints now have a depth and richness that I never thought possible.
By mastering color management, I’ve been able to print photos that truly reflect my artistic intentions. It’s not just about hitting print and hoping for the best; it’s about understanding the intricacies of color and light, and using that knowledge to create something truly special. With the right tools and techniques, anyone can achieve professional-grade prints at home.
Bringing Your Vision to Life: 5 Essential Tips for Printing Your Photos
- Experiment with different paper types to find the one that complements your image’s texture and tone
- Soft proofing is your friend: use it to ensure the colors you see on screen translate accurately to print
- Pay attention to the resolution: aim for 300 DPI to guarantee crisp, high-quality prints that do justice to your photography
- Don’t underestimate the power of a good border: adding a subtle white frame can elevate your print from snapshot to masterpiece
- Calibrate your monitor regularly to ensure the colors you’re seeing are true to life, and your prints will thank you
Key Takeaways for Bringing Your Photos to Life
Remember, the paper you choose can make or break the mood of your printed photo – experiment with different textures and finishes to find the one that resonates with your image
Color management is an art that requires patience and practice, but mastering it will elevate your prints from good to breathtaking – don’t be afraid to try and try again until you get it just right
Printing your photos is not just about transferring them from screen to paper, it’s about crafting a tangible piece of art that tells a story – focus on the emotional connection you want to create, and let that guide your printing process
The Art of Printing
Printing your photos is not just about transferring images onto paper, it’s about breathing life into the fleeting moments you’ve captured, and giving them a physical presence that can be held, shared, and cherished for generations to come.
Julian Kade
Bringing Your Vision to Life
As we’ve journeyed through this guide to printing your photos, we’ve covered the essential steps to bring your images from the screen to a physical form. From choosing between inkjet and laser printers to mastering color management, each decision plays a crucial role in the final result. It’s not just about the technical aspects, but also about understanding the emotional connection you want to create with your prints. By considering the story behind each photograph, you can ensure that your prints not only look amazing but also convey the intended message.
Now, as you hold your freshly printed photos in your hands, remember that the true magic of photography lies in its ability to preserve moments in time. The process of printing your photos is a celebration of your unique perspective and the stories you’ve captured. So, don’t be afraid to experiment and try new things – it’s all part of the journey to bringing your vision to life. With each print, you’re not only sharing your art but also inspiring others to see the world through your lens.
Frequently Asked Questions
What is the best paper type to use for printing black and white photos?
For black and white prints, I swear by matte or fiber-based papers – they add a tactile quality and subtlety to the tones that’s just magic. I personally love using Ilford or Moab papers, they bring out the depth and nuance in my images, especially during golden hour shoots.
How can I ensure the colors in my printed photos match the colors on my screen?
For me, color accuracy is all about calibration – I make sure my monitor and printer are speaking the same language. I use a color calibration tool to sync my screen’s colors with my printer’s, so what I see is what I get. It’s a game-changer, trust me.
What are some common mistakes to avoid when printing photos at home to achieve professional-looking results?
To avoid common mistakes when printing photos at home, I always stress the importance of calibrating your monitor and using the right paper type. Incorrect color profiles and low-quality paper can instantly downgrade your prints. Trust me, I’ve learned from my own trial and error in the darkroom – it’s all about attention to detail.