A Simple Guide on How to Cut a Mat for a Picture Frame
I still remember the first time I tried to cut a mat for a picture frame. I was a novice, eager to give my favorite photograph a new home, but I ended up with a messy, uneven cut that ruined the entire piece. It was a frustrating experience, but it taught me a valuable lesson: that precision and patience are key when working with delicate materials. As I delved deeper into the world of DIY crafts, I realized that how to cut a mat for a picture frame is a question that plagues many enthusiasts. The truth is, it’s not as complicated as it seems, and with the right techniques, you can achieve a professional-looking result.
In this article, I’ll share my personal approach to cutting a mat for a picture frame, one that emphasizes the importance of attention to detail and creative freedom. You’ll learn how to measure, cut, and assemble your mat with ease, using simple tools and materials. My goal is to empower you with the knowledge and confidence to take on this project, and to inspire you to experiment with different designs and techniques. By the end of this guide, you’ll be able to give your favorite memories a new frame, one that reflects your unique style and personality. So, let’s get started on this hands-on journey, and discover the joy of how to cut a mat for a picture frame together!
Table of Contents
Guide Overview: What You'll Need
Total Time: 30 minutes to 1 hour
Estimated Cost: $10 – $20
Difficulty Level: Easy
Tools Required
- Mat cutter (or a utility knife with a ruler)
- Ruler (for measuring and cutting straight lines)
- Pencil (for marking the mat board)
- Cutting mat (for protecting your work surface)
Supplies & Materials
- Mat board (available in various sizes and colors)
- Picture frame (with the picture and glass already assembled)
- Measurements and calculations (for determining the correct mat size)
Step-by-Step Instructions
- 1. To start our journey of giving your memories a new frame, let’s begin with gathering our tools and materials. You’ll need a picture frame, a mat board, a pencil, a ruler, a craft knife or mat cutter, and a cutting mat. I like to lay out all my tools and materials in my workshop, surrounded by the scent of wood and the soft glow of natural light, to get a sense of the project’s entirety.
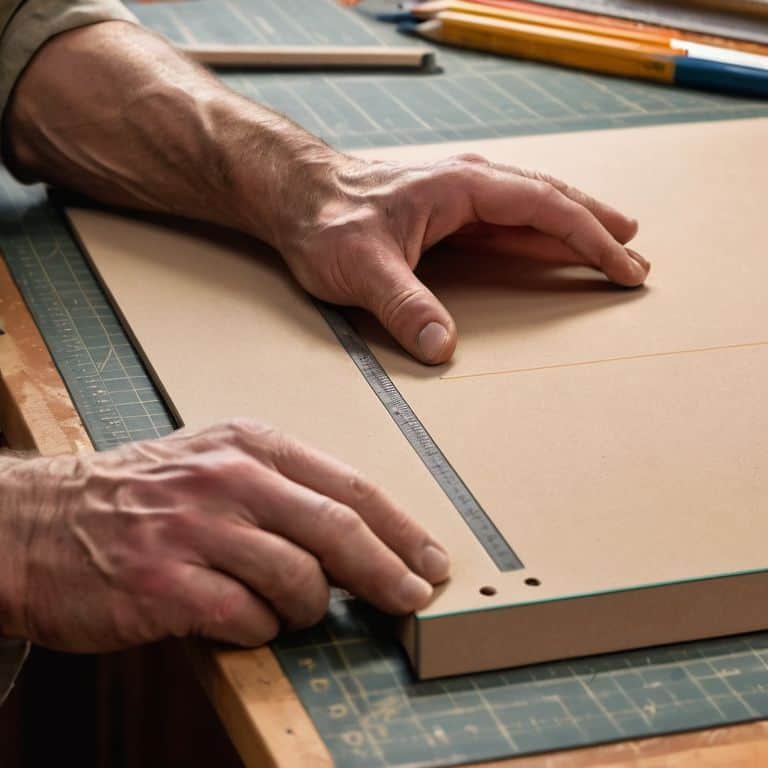
- 2. Next, we need to measure the frame’s dimensions to determine the size of our mat. Take your ruler and carefully measure the length and width of the frame’s opening, noting down these measurements in your notebook. I always start by sketching a quick diagram of the frame and the mat, considering the negative space that will surround our treasured photo.
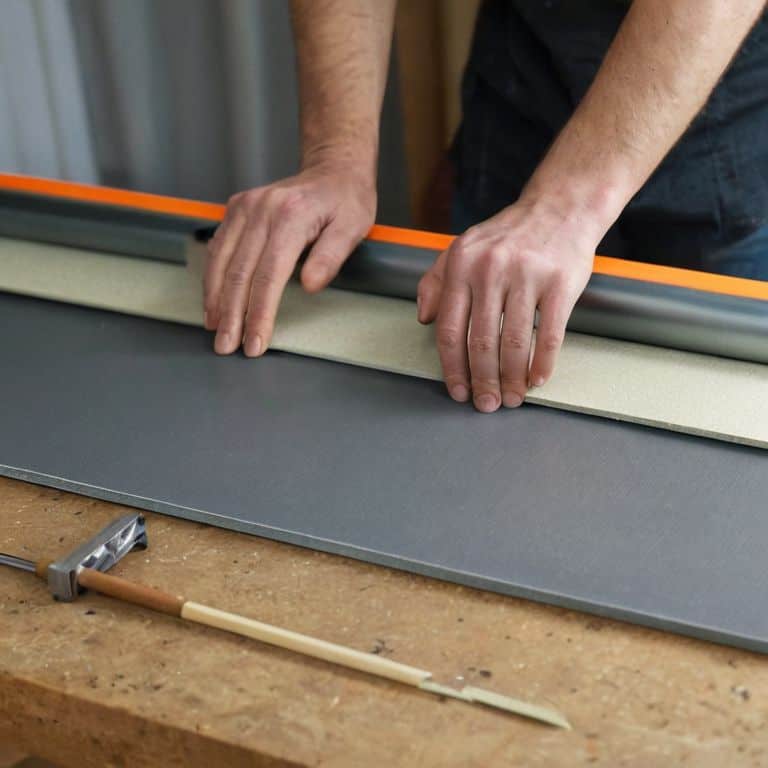
- 3. With our measurements in hand, it’s time to cut the mat board. If you’re using a craft knife, place the mat board on your cutting mat and carefully score the board along your measured lines. Apply gentle pressure, as we want a clean cut, not a tear. For those using a mat cutter, simply set your machine to the desired dimensions and let it do the work.
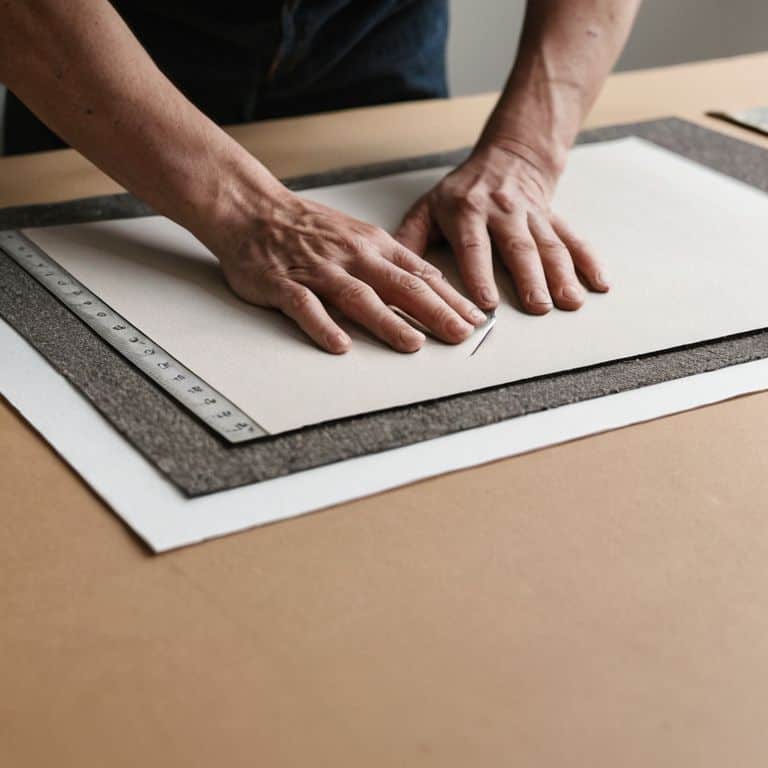
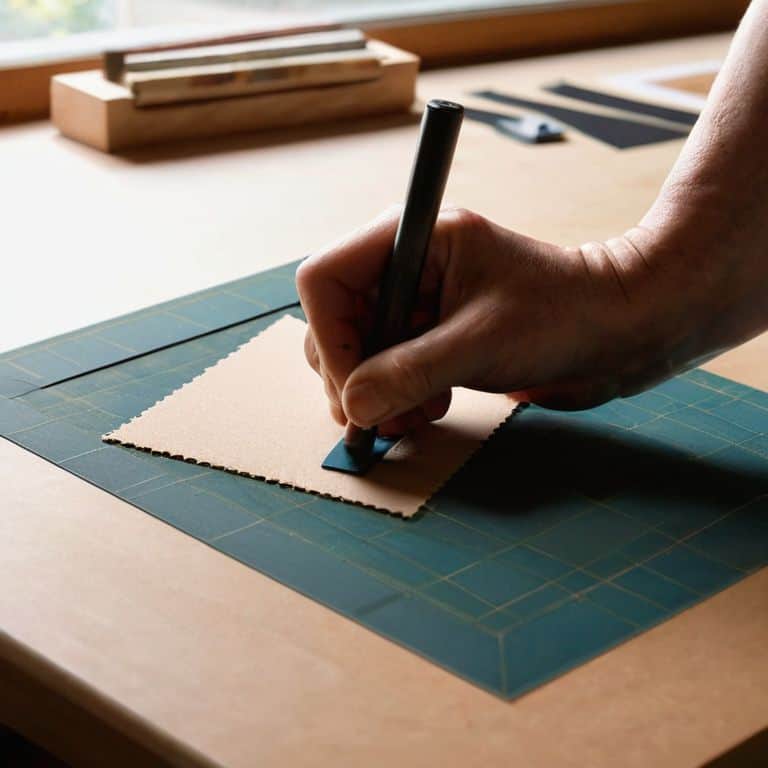
- 4. After cutting the mat board to size, we’ll need to create the window for our photo. Measure the dimensions of your photo and use your pencil to mark the area on the mat board where you’ll be cutting out the window. Remember, the window should be slightly smaller than the photo itself to create a beautiful border.
- 5. Now, let’s cut out the window. Using your craft knife or a specialized mat board cutter, carefully cut along the lines you’ve drawn. Take your time, and apply gentle pressure, as this cut will be visible and should be smooth. I find that working slowly and deliberately helps me stay focused on the task at hand and ensures a professional finish.
- 6. Once the window is cut, assemble your frame by placing the mat board over your photo, ensuring it’s centered and even. Then, carefully position the photo and mat into the frame, securing them in place according to the frame’s instructions. This is the moment when your project starts to come together, and the excitement of creation is palpable.
- 7. Finally, add the finishing touches. Hang your framed photo in a place of pride, step back, and admire your handiwork. Remember, the imperfections in handmade objects are what give them character, so don’t be too hard on yourself if everything isn’t perfectly aligned. The journey of creating something with your own hands is just as valuable as the end result, and it’s a story you’ll treasure for years to come.
How to Cut a Mat for a Picture Frame
As I work on a new project, I always think about the custom picture matting techniques that will bring out the best in the artwork. One of the most important aspects is choosing the right mat color. This can make or break the overall aesthetic of the piece. I like to consider the colors present in the artwork and try to find a mat color that complements them. Natural hues such as beige, gray, or white are often great options as they don’t overpower the artwork.
When it comes to actually cutting the mat, using a mat cutter for beginners can be a bit intimidating. However, with a little practice, it becomes second nature. I recommend starting with a simple straight cut and then experimenting with more complex cuts, such as a beveled edge. This can add a nice touch of elegance to the overall piece. It’s also important to consider the picture frame molding options available, as this can affect the overall look and feel of the finished product.
To take your DIY picture framing to the next level, don’t be afraid to experiment with different diy picture framing tips and tricks. One of my favorites is to use a combination of mat colors to create a unique and eye-catching effect. By layering mats of different colors, you can add depth and interest to the artwork. Remember, the key to creating a beautiful piece is to have fun and be creative. Don’t be afraid to try new things and see what works best for you.
Choosing the Right Mat Color for Your Artwork
When it comes to selecting the perfect mat color, I always say that it’s all about creating a harmonious dialogue between the artwork and the frame. You want the mat to complement, not overpower, the piece. For me, it’s about finding a hue that echoes the subtle tones within the artwork, allowing it to breathe and shine. Earthy tones, like beige or gray, can add a sense of warmth and coziness, while crisp whites or creams can create a clean, modern feel.
I love experimenting with different mat colors to see how they transform the overall mood of the piece. Sometimes, a bold, contrasting color can add a stunning pop of personality, drawing the viewer’s eye directly to the artwork. Other times, a more subdued tone can create a sense of calm, inviting the viewer to step into the world of the artwork. The key is to trust your instincts and have fun with the process – after all, it’s a chance to add your own personal touch to the story of the piece.
Custom Picture Matting Techniques for Beginners
As a beginner, it’s exciting to explore the creative possibilities of custom picture matting. One technique I love is using a combination of mat colors to create a unique border. By layering two or three mats, you can add depth and visual interest to your framed piece. For example, a white mat with a thin black border can create a sleek, modern look, while a earthy-toned mat with a natural wood border can evoke a cozy, organic feel.
Experimenting with different mat widths and textures can also elevate your framing game. Try pairing a thick, textured mat with a smooth, thin one for a striking contrast. Remember, the key to custom picture matting is to have fun and play with different combinations until you find the perfect fit for your artwork or photo.
Bringing Your Vision to Life: 5 Essential Tips for Cutting a Mat
- Start with a story: Before you begin cutting, take a moment to connect with the photo or artwork you’re framing – what memories does it hold, and how do you want it to make you feel when it’s on your wall?
- Select the perfect mat color: Don’t be afraid to experiment with different hues – the right mat color can elevate your artwork and tie together the entire room, while the wrong one can make it fade into the background
- Measure twice, cut once: Take your time when measuring your mat, and don’t be tempted to skip this step – a well-cut mat is the difference between a professional-looking frame and a DIY disaster
- Choose the right tools for the job: Invest in a good quality mat cutter or a sharp utility knife, and take care of it – a dull blade can lead to uneven cuts and a mat that looks like it was cut by a beginner
- Embrace the imperfections: Remember, it’s the imperfections in handmade objects that give them their soul – don’t be too hard on yourself if your mat isn’t perfect, and enjoy the process of creating something unique and meaningful
Bringing Your Vision to Life: 3 Key Takeaways
Remember, the mat is not just a filler, but a frame within a frame – choose a color that complements your artwork and tells a story
Always start by sketching out your ideas, considering the proportions, and thinking about how the mat will interact with the frame and the wall it’ll hang on
Embrace the imperfections – a handmade mat, with its subtle quirks and textures, can add a depth and character to your picture that mass-produced alternatives often lack
The Art of Framing
Cutting a mat for a picture frame is not just about measurement and precision, it’s about revealing the soul of the image, about giving your memories a gentle breathing room to speak to you every day.
Finn Rivera
Bringing Your Vision to Life
As we’ve journeyed through the process of cutting a mat for a picture frame, we’ve covered the essential steps and techniques to bring your favorite memories into a beautiful, handmade piece. From choosing the right mat color to mastering custom picture matting techniques, each decision plays a crucial role in enhancing the story your artwork tells. By embracing the imperfections of handmade craftsmanship, you’re not only adding a personal touch but also ensuring that your piece stands out with character and depth.
Now, as you finalize your project and hang it on the wall, remember that the true beauty lies not just in the end result, but in the journey of creation itself. The time you spent selecting the perfect frame, the care with which you cut the mat, and the joy of seeing it all come together – these are the moments that make DIY projects so rewarding. So, don’t be afraid to experiment, to try new things, and to make mistakes. For in the world of handmade crafts, it’s often the unexpected twists that lead to the most beautiful surprises.
Frequently Asked Questions
What are the most common mistakes to avoid when cutting a mat for a picture frame?
When cutting a mat, I’ve found that the most common mistakes to avoid are uneven edges, incorrect beveling, and not accounting for the artwork’s expansion. These errors can lead to a sloppy fit and distract from the piece’s beauty. To avoid them, take your time, double-check your measurements, and use the right tools for the job.
How do I determine the perfect mat width to complement my artwork?
For me, determining the perfect mat width is all about balance. I like to consider the scale of the artwork, the frame, and the wall it’ll be hanging on. A good rule of thumb is to use a mat that’s 2-4 inches wide, but ultimately, it’s about creating a sense of harmony – so don’t be afraid to experiment and trust your instincts.
Can I use a craft knife or is a mat cutter always necessary for a professional-looking finish?
While a mat cutter is ideal for precision, you can achieve a professional-looking finish with a craft knife. It just requires a bit more patience and a steady hand. I like to use a craft knife for smaller projects or when I want a more organic edge – it adds character to the piece.


