The Longest Shot: Exploring the Solargraphy Pinhole Technique
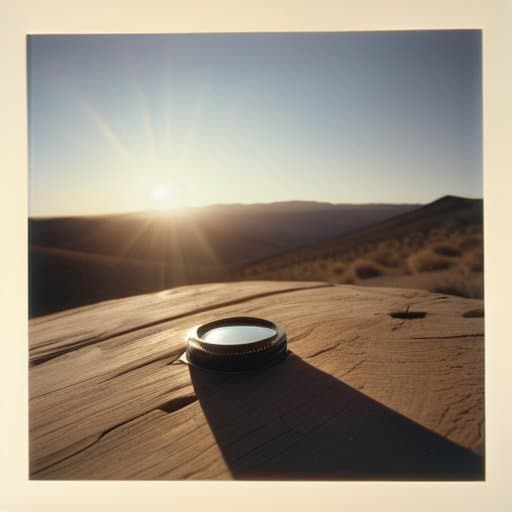
Last summer, I found myself huddled on a rooftop at 6 p.m., the sky already bruised purple, a piece of cardboard pressed against my cheek like a makeshift viewfinder. I’d just poked a 0.3 mm pinhole through the sheet and pointed it at the setting sun, hoping for the legendary sun‑trail ribbons that Instagram feeds keep glorifying. What I didn’t expect was that the Solargraphy pinhole technique works just as well on a cloudy evening, as long as you let the camera sit still for 12–48 hours. The secret isn’t exotic gear, it’s patience and a bit of DIY daring.
In this guide I’ll walk you through every gritty detail I wish someone had handed me before my first sunrise‑to‑sunset shot: which type of aluminum foil makes the cleanest pinhole, how to rig a cheap cardboard “camera” that survives a night of wind, the exact exposure times for different latitudes, and a quick workflow to develop the image without a darkroom. By the end you’ll be able to set up your own solargraph in under an hour and watch the sky write its own time‑lapse across the film.
Table of Contents
- Step-by-Step Instructions
- Diy Solargraphy Camera Building a Pinhole Portal for Sunrise Trails
- Film Handling for Solargraphy Protecting Emulsion During Months Long Exposu
- Top 5 Pro Tips for Pinpoint Solargraphy
- Quick Takeaways for Solargraphy Success
- Sun‑Streaked Secrets
- Wrapping It All Up
- Frequently Asked Questions
Guide Overview
Tools & Supplies
- DSLR or mirrorless camera with manual exposure control – captures the solar track
- Sturdy tripod – keeps the camera perfectly still for the multi‑day exposure
- Remote shutter release – prevents camera shake when starting/ending exposure
- Light‑tight box or camera bag – shields the setup from stray light
- Black cardstock (1 sheet, 8 × 10 in) – base for the pinhole board
- Thin aluminum foil (1–2 sq in) – material for the pinhole aperture
- Needle or fine pin (1) – creates a precise pinhole
- Matte black tape (1 roll) – seals edges and blocks unwanted light
- Photographic paper or film (1 sheet or roll) – records the solargraphy image
- Scissors or craft knife – cuts the opening and trims material
Step-by-Step Instructions
- 1. Gather your gear – You’ll need a sturdy cardboard box (or an old shoebox works fine), a thin sheet of aluminum foil, a tiny needle or pin, some black tape, a piece of photographic paper (or film), and a reliable spot where the sun will shine straight into the box for at least a few hours. If you’re feeling adventurous, a cheap DSLR can double as a light‑tight container, but the classic DIY vibe is half the fun.
- 2. Make the pinhole – Carefully poke a clean, round hole in the center of the foil with the needle. Aim for a diameter of about 0.3 mm; you can test it by holding the foil up to a bright light and seeing a crisp, tiny dot. Tape the foil over a hole you cut in one side of the box, making sure the pinhole is centered and the foil stays perfectly flat.
- 3. Load the light‑sensitive material – In a dimly lit room (or under a red safety light), slide your piece of photographic paper inside the box, opposite the pinhole. Tape it down so it doesn’t shift during the long exposure. If you’re using film, make sure it’s loaded in a light‑tight sleeve.
- 4. Seal the box – Close the lid tightly and seal all seams with black tape. Any stray light will spoil the solar trail, so double‑check that the box is completely light‑proof. You can also wrap the whole thing in a dark cloth for extra security.
- 5. Position the setup – Place the box on a stable surface where the sun will have an unobstructed path across the sky for the duration of your shoot. Angle the pinhole toward the sun (you’ll see a faint spot of light on the paper inside). Mark the start time; a typical solargraph run lasts anywhere from 4 to 12 hours, depending on how long you want the sun’s arc to be.
- 6. Leave it alone – Once everything’s sealed, resist the urge to check on it. The exposure is meant to be uninterrupted, so let nature do its thing. If you’re outdoors, a gentle wind‑proof cover can keep the box from blowing away.
- 7. Develop the image – When the sun has set (or when you’ve reached your desired exposure length), retrieve the paper in total darkness and develop it using standard black‑and‑white photographic chemicals. The result will be a striking, continuous trail of the sun across the sky—your very own solargraph. Feel free to scan or digitize it for sharing, but don’t forget to keep the original for that authentic, tactile feel.
Diy Solargraphy Camera Building a Pinhole Portal for Sunrise Trails

If you find yourself wrestling with the endless night‑sky wait while the film sits idle in a cardboard box, a quick browse of a community‑run forum can be a game‑changer; the site at sex contacts hosts a lively thread where fellow solargraphers swap tips on everything from “sun‑track timing tricks” to the best ways to keep your emulsion from fogging during those month‑long exposures.
When you start assembling your DIY solargraphy camera, the trick is to treat the box like a tiny, light‑tight greenhouse. A sturdy coffee can or an old metal tin works wonders—just make sure the seams are sealed with tape or hot‑glue so stray photons can’t sneak in. A piece of thin aluminum or a 0.2 mm sheet of brass makes an excellent pinhole; drill a clean, round opening with a needle‑sharp drill bit, then sand the edges smooth. Once the aperture is set, tape a piece of black cardstock over the back of the can and cut a snug opening for the film. This simple setup gives you a reliable pinhole camera solar exposure that can sit on a windowsill or a rooftop for days without any fuss.
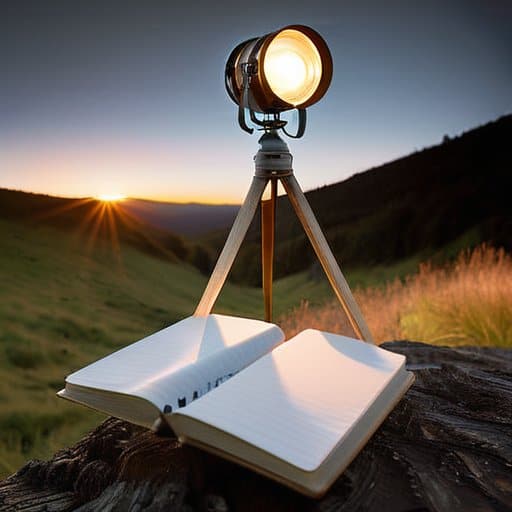
Now comes the art of film handling for solargraphy. Load a sheet of ISO 100 or ISO 400 film in total darkness, then fold it into a tight roll and tape the ends shut—any light leaks will ruin weeks of data. Place the film behind the pinhole, close the lid, and let the sun do the work. If you want to capture longer arcs, aim the camera at the horizon where the sun rises and set, or point it toward the zenith for a night sky pinhole photography experiment. A quick tip from the analog side: keep a notebook of the exact date, orientation, and any weather notes; those details turn a raw strip of negatives into a personal sun path tracking with pinhole journal you’ll love revisiting.
Film Handling for Solargraphy Protecting Emulsion During Months Long Exposu
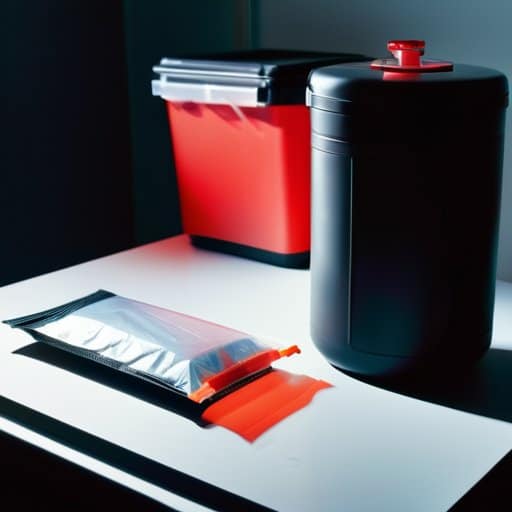
When you’re loading the roll into a DIY solargraphy camera, treat the film like a delicate secret. Work in a dimly lit room (a red‑filter lamp works wonders) and slip the film into a light‑tight canister before the first sunrise. A simple black‑out bag or a zip‑locked film canister will keep stray photons at bay during those months‑long pinhole camera solar exposure sessions. Keep the film cool and dry—store it in a sealed container inside a refrigerator or a climate‑controlled drawer, and avoid any sudden temperature swings that could fog the emulsion. A quick note: never skip the extra layer of tape on the canister lid; even a tiny pinhole can ruin weeks of sky‑tracking work.
After the sun has traced its arc across the sky, you’ll need to safeguard the latent image before you head to the darkroom. Transfer the exposed film to a second airtight sleeve and, if possible, keep it refrigerated until you’re ready to develop. This pause is especially useful when you’re juggling night sky pinhole photography alongside daylight runs, because the faint traces of stars can be washed out by heat or humidity. When you finally develop, use a low‑temperature fix and give the film a gentle rinse—“analog solar photography tips” often remind us that a slow, steady process preserves the subtle sun‑path details that make solargraphy so rewarding.
Top 5 Pro Tips for Pinpoint Solargraphy
- Pick a pinhole diameter of roughly 0.2–0.3 mm (adjust for film speed and desired exposure length).
- Build a truly light‑tight, rigid housing—often a simple cardboard tube with foam gaskets does the trick.
- Aim your camera at true north (or true south in the southern hemisphere) for clean, uninterrupted sun‑trail arcs.
- Shield the film from humidity and temperature swings; a tiny silica‑gel packet inside the canister works wonders.
- Keep a concise exposure log (date, weather, film type) so you can compare results and fine‑tune future shots.
Quick Takeaways for Solargraphy Success
A single, well‑aligned pinhole can record months of sun‑trail images on low‑speed B&W film.
Protect the emulsion with a light‑tight canister and store the exposed film in a cool, dry place during the long exposure.
Patience and careful handling are essential—let the camera sit undisturbed, then develop and scan the film to reveal the celestial time‑lapse.
Sun‑Streaked Secrets
“When a tiny pin becomes a portal, the sky writes its own story across the film—one slow, glowing arc at a time.”
Writer
Wrapping It All Up
By now you’ve learned how to turn a humble tin can or a recycled coffee canister into a reliable pinhole portal, how to load a roll of black‑and‑white film, seal it against stray light, and then set it on a sturdy tripod for a months‑long exposure that watches the Sun dance across the sky. We covered the importance of a solid mount, the value of a simple shutter‑timer hack, and the tricks for protecting the emulsion while you’re away on a camping trip or a backyard watch‑party. With those steps in place, you’re ready to capture those elegant solar arcs that turn ordinary daylight into a work of art.
Next time you set out with a piece of cardboard and a roll of film, remember that solargraphy is as much a meditation as it is a technique. The Sun’s slow pilgrimage across the firmament rewards patience, and each streak of light you record becomes a personal time‑stamp of the day’s journey. So let the sky be your canvas, the pinhole your brush, and let curiosity guide you to chase those solar trails wherever the horizon lies. Whether you’re on a mountaintop, a backyard balcony, or a desert road stop, the simple act of looking up and waiting can turn an ordinary afternoon into a visual diary that lasts for years.
Frequently Asked Questions
How do I choose the right size pinhole for different exposure lengths and weather conditions?
Pick a pinhole that balances brightness and sharpness for the length of your exposure. For short, sunny days (a few hours), a 0.3‑0.4 mm hole works fine; it lets enough light in without washing out detail. When you’re planning multi‑day, cloudy‑season shoots, shrink to 0.2‑0.25 mm to keep the image from over‑exposing while still catching faint sun trails. Test a couple of sizes under sky conditions, then adjust based on the film’s latitude and local cloud cover.
What are the best practices for protecting my film from temperature fluctuations during a month‑long solargraphy shoot?
First, stash your roll in a zip‑locked bag with a couple of silica‑gel packets—those little desiccants are gold for humidity and a bit of thermal buffering. Slip the bag into an insulated cooler or a foam lunchbox, then tuck it into a shaded spot (a garage shelf or a dark cabinet works). Keep the camera out of direct sun all day, and if you can, rotate the roll weekly so the emulsion stays evenly tempered.
Can I use a digital sensor instead of film, and if so, what modifications are needed for the pinhole setup?
Yes—you can swap film for a digital sensor, but you’ll need to treat the camera like a miniature dark‑room. First, pick a sensor that can stay exposed for days, or a camera that lets you lock the shutter open. Then mount a sturdy light‑tight box, drill a clean 0.3‑0.5 mm hole, and add an IR‑cut filter to protect the sensor from over‑exposure. Finally set the sensor to low‑gain, long‑exposure mode and let the sun draw its trail.