The Best Camera Settings for Street Photography
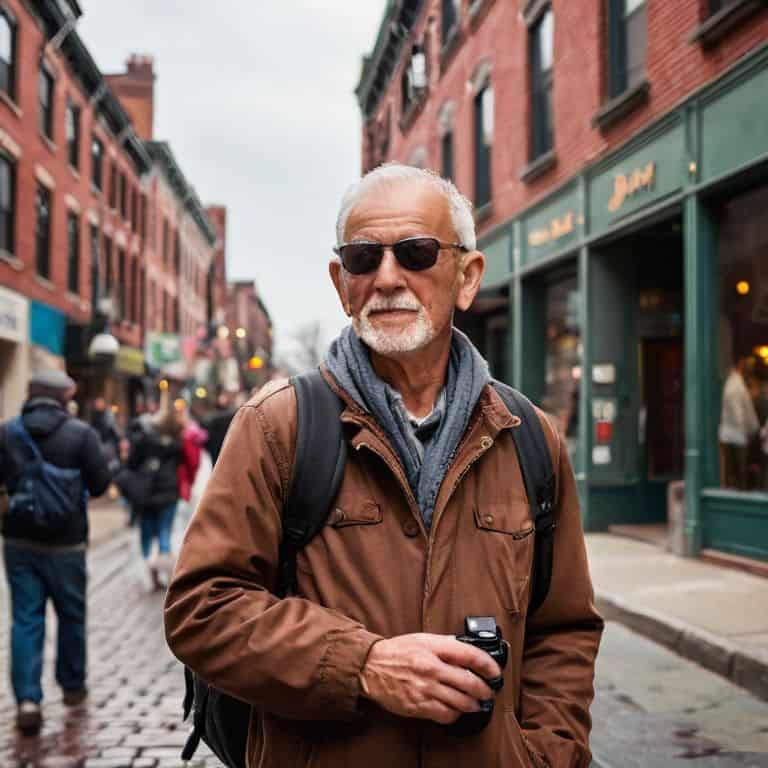
I still remember the day I realized that the best camera settings for street photography aren’t about memorizing a list of numbers, but about understanding the story you want to tell. I was shooting in a bustling market, trying to capture the vibrant colors and lively atmosphere, when I noticed that my camera settings were getting in the way of my creativity. I was so focused on getting the “perfect” shot that I was missing the moment. That’s when I learned to simplify my approach and focus on the quality of light, which is essential for capturing the essence of street photography.
In this article, I’ll share my personal approach to finding the best camera settings for street photography, and how you can develop your own unique style. I’ll cut through the technical jargon and provide you with practical advice on how to master the art of street photography, from understanding the importance of golden hour to composing images that tell a story. My goal is to inspire you to see the world in a new light and to help you capture the beauty of the everyday moments that make street photography so captivating.
Table of Contents
- Guide Overview: What You'll Need
- Step-by-Step Instructions
- Mastering Best Camera Settings
- Essential Settings for Unforgettable Street Photography
- Key Takeaways for Mastering Street Photography
- The Heart of Street Photography
- Conclusion: Capturing the Essence of Street Photography
- Frequently Asked Questions
Guide Overview: What You'll Need
Total Time: 1 hour 30 minutes
Estimated Cost: $0 – $100
Difficulty Level: Intermediate
Tools Required
- Digital Camera (with manual mode capabilities)
- Prime Lens (35mm or 50mm recommended)
- Tripod (optional for low-light situations)
- Extra Batteries (for extended shooting sessions)
Supplies & Materials
- Memory Cards (at least 16 gigabytes each)
- Camera Strap (for comfortable carrying)
- Lens Cleaning Cloth (for maintaining image quality)
Step-by-Step Instructions
- 1. First, let’s talk about the importance of shooting in manual mode. When I’m out on the streets, I always shoot in manual because it gives me complete control over my camera settings, allowing me to capture the scene exactly as I see it. To start, set your camera to manual mode and take a moment to assess the lighting conditions around you – is it a bright, sunny day or a more subdued, overcast afternoon?
- 2. Next, I adjust my ISO settings to the lowest possible number, usually 100 or 200, to minimize noise and ensure the highest image quality. This is especially important in street photography, where you want your images to be crisp and clear, capturing every detail of the scene. Remember, the goal is to tell a story, and high ISOs can distract from that story with unnecessary noise.
- 3. Now, let’s think about aperture priority. While I shoot in manual, understanding aperture is crucial – it controls the depth of field, or how much of your image is in focus. For street photography, I often prefer a wider aperture, around f/2.8 or f/4, to create a shallow depth of field, separating my subject from the background and drawing the viewer’s eye to what’s important.
- 4. After setting my aperture, I think about shutter speed. This is where the magic happens, as it allows you to freeze or convey motion. For street photography, I often aim for a shutter speed of at least 1/125s to freeze the action, but if I’m going for a more dynamic feel, I might slow it down to 1/30s or even slower, depending on the scene and the story I’m trying to tell.
- 5. The next step is to composition, which is just as important as your camera settings. Look for leading lines, frames, or any other compositional elements that can add depth and interest to your photograph. Remember, the best photographs tell a story, so think about what’s happening in the scene and how you can use composition to convey that narrative.
- 6. Now that we have our settings and composition in mind, it’s time to think about lighting. The golden hour, just before sunset, is my favorite time to shoot because the soft, warm light adds a depth and emotion to images that’s hard to replicate at other times of the day. If you can, try to shoot during this time for truly captivating photographs.
- 7. As you’re out shooting, don’t forget to experiment and adapt. Street photography is all about being in the moment and responding to what’s happening around you. Don’t be afraid to try different camera settings or compositions – it’s all part of the process, and some of your best shots might come from taking risks and trying something new.
- 8. Finally, after you’ve captured your shots, take some time to review and learn from them. Look at what worked and what didn’t, and think about how you can apply those lessons to your next shoot. This is where the real learning happens, and it’s what will help you develop your unique visual style over time.
Mastering Best Camera Settings
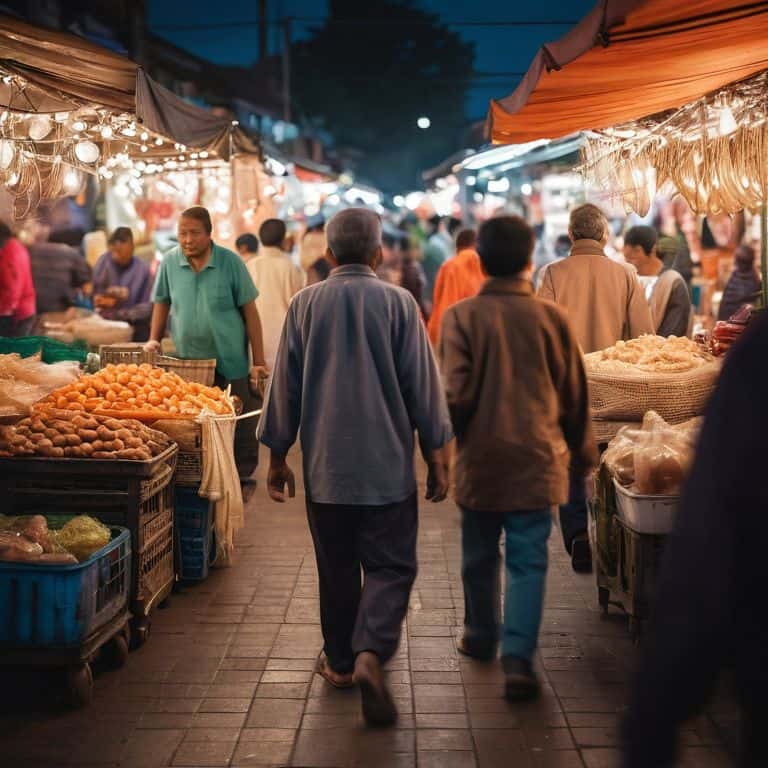
As I delve deeper into the world of street photography, I’ve come to realize that mastering the art of observation is just as crucial as understanding your camera settings. It’s about being aware of your surroundings, anticipating moments, and capturing them with precision. I recall a shoot where I used a _fast aperture lens_ to freeze the action of a bustling market, and the results were stunning. The key is to be prepared and know how to adapt to changing light conditions, such as low light, which can add a unique layer of depth to your images.
When it comes to composition, I’m a firm believer in the power of street photography composition tips that emphasize simplicity and storytelling. By using elements like leading lines, symmetry, and framing, you can create visually appealing images that draw the viewer in. I also love experimenting with _panning technique_ to capture sharp subjects against a blurred background, which can add a sense of dynamism to your photos. It’s all about finding that perfect balance between technique and creativity.
In my experience, some of the most compelling street photography images are those that capture candid moments in a way that feels authentic and unposed. To achieve this, I often look for interesting _reflections_ in windows, mirrors, or other reflective surfaces, which can add an extra layer of depth and intrigue to your images. By combining these techniques with a solid understanding of your camera settings, you’ll be well on your way to creating street photography images that truly tell a story.
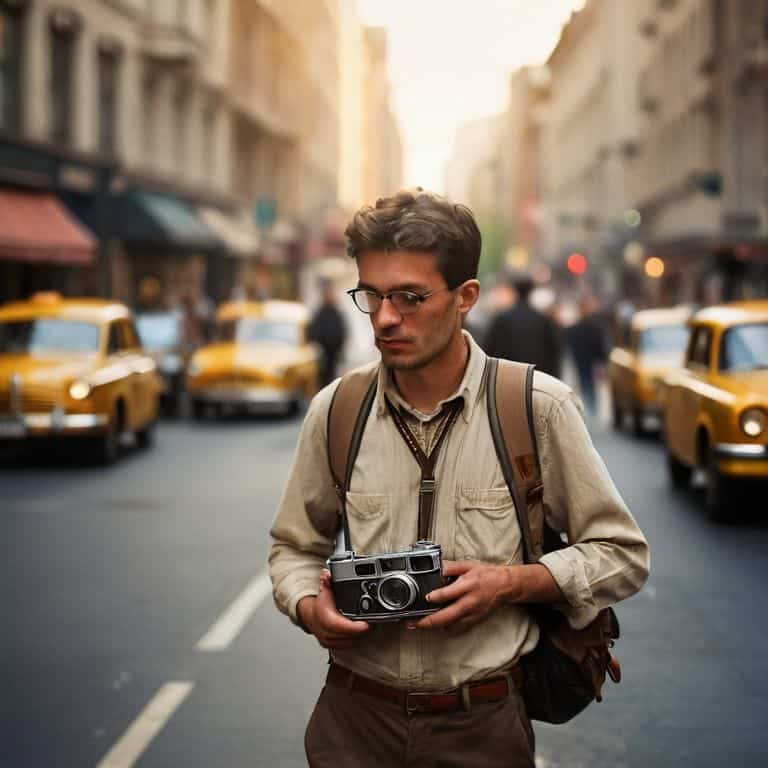
Capturing Candid Moments With Fast Aperture Lenses
When I’m on the streets, I swear by fast aperture lenses to capture those fleeting, candid moments. There’s something magical about a wide-open aperture, like my 50mm f/1.4, that allows me to isolate my subject from the chaos around them. I recall a shot I took in Tokyo, where a young woman was laughing with a street performer – my fast aperture lens froze her joy in a sea of blurred bystanders, creating an intimate, unposed portrait.
I often shoot with my aperture priority set to f/2.8 or lower, giving me the creative freedom to experiment with depth of field. This approach requires trust in my camera’s abilities and a keen eye for anticipation, but the results are well worth it – authentic, unguarded moments that reveal the beauty of everyday life.
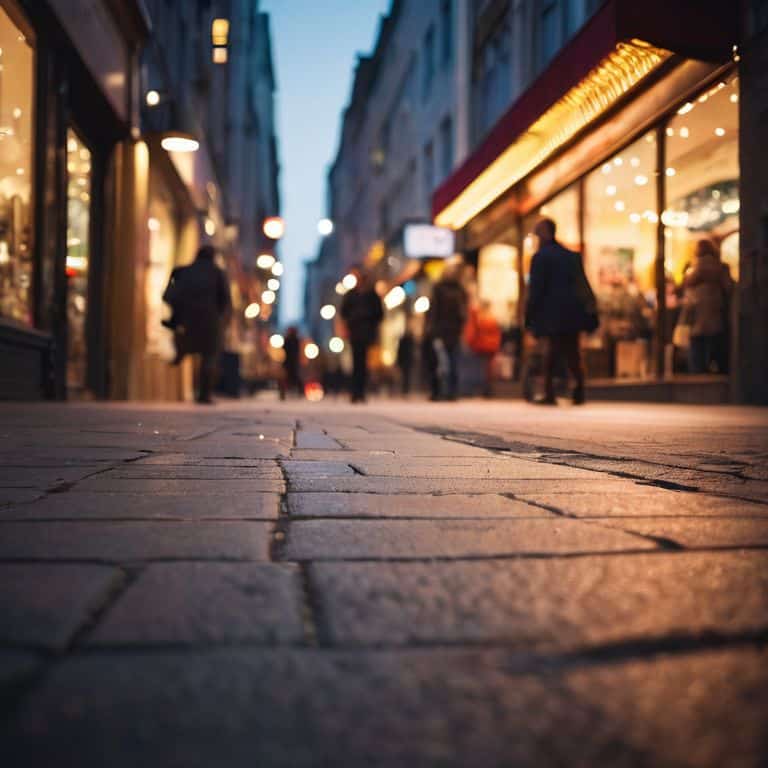
Street Photography Composition Tips in Low Light
When shooting in low light, composition becomes even more crucial. I look for leading lines, textures, and contrasting colors to add depth to my images. The golden hour, just before sunset, is my favorite time to shoot – the soft, warm light brings out the best in my subjects. I experiment with different angles, often getting low or climbing high to add a unique perspective to my shots.
In these conditions, I prioritize simple, uncluttered backgrounds to let my subject shine. I also pay attention to the way light falls on their face, using it to create a sense of mood and emotion. By being mindful of these elements, I can craft compelling, intimate portraits even in the most challenging lighting conditions.
Essential Settings for Unforgettable Street Photography
- Shoot in manual mode to truly understand and control the exposure triangle, allowing for more creative freedom
- Use a fast aperture lens, such as a 50mm f/1.4, to capture candid moments with a shallow depth of field and beautiful bokeh
- Set your camera to continuous autofocus and use the back-button focus technique to quickly lock onto subjects in a busy street scene
- Experiment with different ISO settings to find the perfect balance between image noise and the ability to shoot in low-light conditions, such as during the golden hour
- Shoot in RAW format to capture the maximum amount of image data, giving you more flexibility when editing and processing your photos in post-production
Key Takeaways for Mastering Street Photography
Always prioritize capturing the moment over perfecting your camera settings, as the story and emotion in an image are what truly make it unforgettable
Experiment with fast aperture lenses to create a shallow depth of field, separating your subject from the background and adding depth to your street photography compositions
Pay attention to the quality of light, especially during the golden hour, as it can elevate your images from ordinary to extraordinary and add a unique mood to your storytelling
The Heart of Street Photography
The best camera settings for street photography are not about the numbers, but about being present in the moment – it’s the ability to read the light, to anticipate the unexpected, and to capture the essence of a scene, all while staying true to your unique vision.
Julian Kade
Conclusion: Capturing the Essence of Street Photography
As we’ve explored the world of street photography together, I hope you’ve gained a deeper understanding of how to harness the power of manual mode and unlock the secrets of golden hour lighting. From mastering fast aperture lenses to composing in low light, these techniques will help you capture the candid moments that make street photography so compelling. Remember, the best camera settings are just the beginning – it’s your unique perspective and ability to see the story that will truly set your photos apart.
So, the next time you hit the streets with your camera, I encourage you to slow down, observe, and let the beauty of the everyday unfold before your eyes. Don’t just take pictures – tell stories that inspire, that provoke thought, and that capture the essence of the human experience. With practice, patience, and a willingness to take risks, you’ll find your own visual voice and develop a style that’s uniquely yours.
Frequently Asked Questions
What are the most essential camera settings to adjust for capturing high-quality images in street photography?
For me, it’s all about simplicity and being ready for the unexpected. I shoot in manual mode, with a fast aperture lens, and adjust my shutter speed and ISO accordingly. I want to capture the raw, unposed moments, so I keep my camera settings flexible to respond to changing light and scenes.
How do I balance ISO, aperture, and shutter speed to achieve the best results in different lighting conditions?
For me, it’s all about finding that sweet spot where ISO, aperture, and shutter speed come together in harmony. In low light, I’ll often bump up the ISO and use a wider aperture to let more light in, while in bright conditions, I’ll slow down the shutter speed to create a sense of movement.
Are there any specific autofocus modes or techniques that can help me quickly capture sharp images of moving subjects in street photography?
When shooting street photography, I rely on continuous autofocus mode to track moving subjects. I also use the zone autofocus feature, which allows me to select a specific area of the frame to focus on. Additionally, I’ve developed a technique I call ‘predictive focusing,’ where I anticipate the subject’s movement and pre-focus on the spot where they’ll be.