A Guide on How to Shoot in Low Light Without a Flash
I still remember the first time I attempted to shoot in low light without a flash – it was a disaster. The common myth that you need a flash to capture decent images in low-light environments had me convinced that I was doomed to fail. But, as I delved deeper into the world of photography, I discovered that this couldn’t be further from the truth. In fact, learning how to shoot in low light without a flash has become one of my favorite challenges, and I’m excited to share my experiences with you.
As we explore the art of low-light photography together, I promise to share practical tips and techniques that will help you master the craft. You’ll learn how to harness the power of available light, experiment with different camera settings, and develop a keen eye for composition. My goal is to empower you with the knowledge and confidence to capture stunning images, even in the most challenging lighting conditions. By the end of this article, you’ll be well on your way to unlocking the secrets of low-light photography, and I’m thrilled to be a part of your journey.
Table of Contents
Guide Overview: What You'll Need
Total Time: 1 hour 15 minutes
Estimated Cost: $0 – $100
Difficulty Level: Intermediate
Tools Required
- Camera (with manual settings capability)
- Tripod (sturdy, for camera stabilization)
- Remote Shutter Release (or camera timer)
- Lenses with wide aperture (such as f/1.4 or f/2.8)
Supplies & Materials
- Extra camera batteries
- Memory cards (with sufficient storage space)
- Lens cleaning cloth
Step-by-Step Instructions
- 1. First, let’s talk about the importance of understanding your camera’s manual mode. I always shoot in manual, and it’s crucial when working in low-light conditions. Take some time to get familiar with your camera’s settings, and practice adjusting the aperture, shutter speed, and ISO to see how they affect your images.
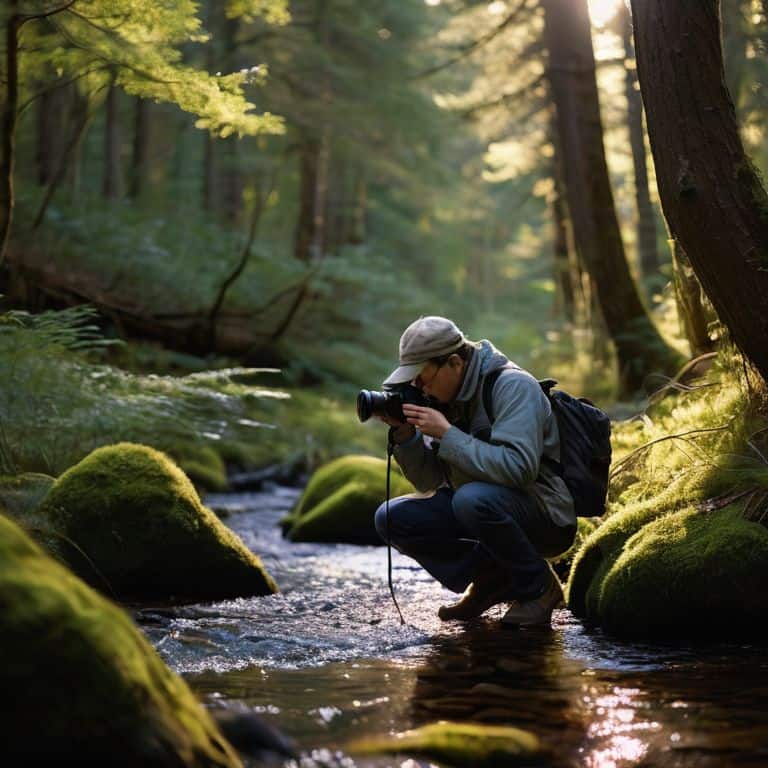
- 2. Next, we need to consider the role of natural light in low-light photography. Even in dimly lit environments, there’s often a source of natural light that can be utilized. Look for windows, doorways, or any other opening that allows external light to enter the space, and position your subject accordingly to make the most of this available light.
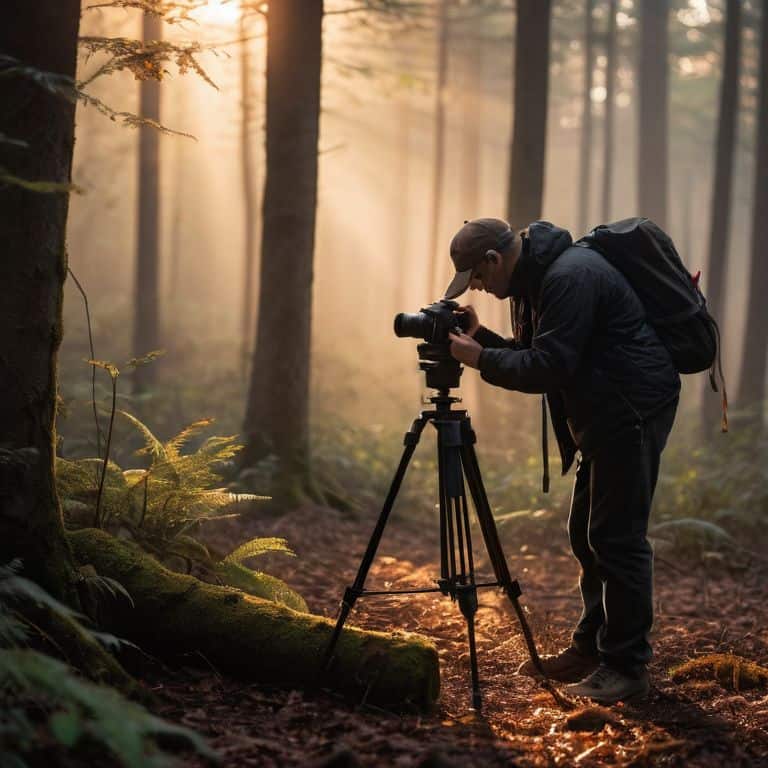
- 3. Now, let’s discuss the golden hour, which can be a game-changer for low-light photography. This period, just before sunrise or after sunset, offers a soft, warm light that can add depth and emotion to your images. If possible, try to schedule your shoots during this time to capture the unique ambiance it provides.
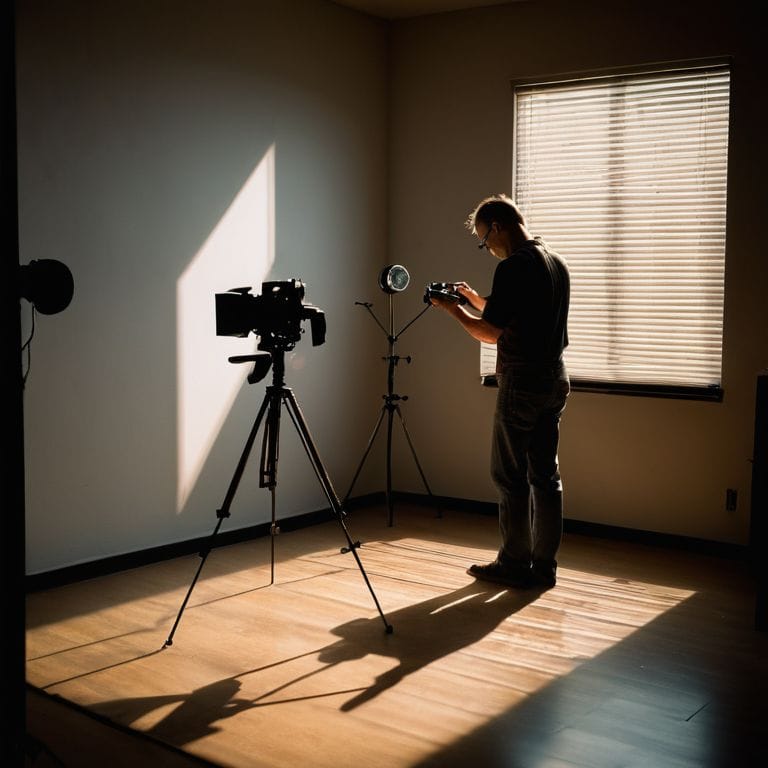
- 4. To minimize camera shake and blur, it’s essential to use a tripod or find a stable surface to place your camera on. This will allow you to use slower shutter speeds, which are often necessary in low-light conditions, without compromising the sharpness of your images. I also recommend using a remote shutter release or the camera’s timer to further reduce vibration.
- 5. When working in low light, it’s crucial to pay attention to your subject’s placement within the scene. Avoid positioning them in front of a bright light source, as this can create unflattering silhouettes. Instead, try to place them near a light source, but not directly in front of it, to create a more nuanced and interesting interplay of light and shadow.
- 6. Now, let’s explore the world of ISO settings. While it can be tempting to crank up the ISO to compensate for low light, be cautious of the noise and grain that high ISOs can introduce. Instead, try to find a balance between ISO, aperture, and shutter speed to achieve the best possible exposure. I often find that a lower ISO, combined with a wider aperture and slower shutter speed, yields more desirable results.
- 7. As you experiment with low-light photography, remember to experiment and take risks. Don’t be afraid to try new things and make mistakes – they can often lead to unexpected and exciting results. Keep your camera handy, and be prepared to capture the unique stories that unfold in the shadows.
Shooting in Low Light
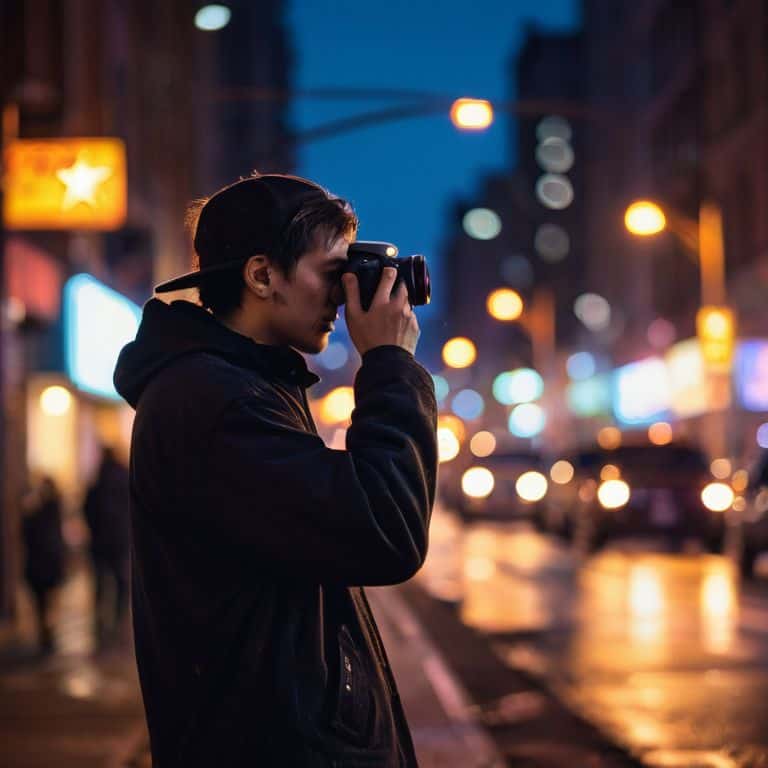
As I delve into the world of low light photography tips and tricks, I’m reminded of the countless nights I’ve spent capturing the city’s essence under the stars. One of the most crucial aspects of shooting in low light is understanding how to balance your camera settings. I’ve found that using a combination of wide apertures and high ISOs can help you achieve a more film-like quality in your images.
When it comes to low light portrait photography techniques, I always look for ways to utilize available light sources. This might mean positioning your subject near a window or using reflectors in low light conditions to bounce any available light onto their face. Not only does this add depth to your image, but it also helps to create a more intimate atmosphere.
In my experience, the key to successful nighttime photography without flash lies in your ability to be patient and adapt to the situation. Don’t be afraid to experiment with different best camera settings for low light, and remember that it’s all about capturing the mood of the scene. Whether you’re shooting indoors or outdoors, the right combination of lighting and composition can make all the difference in telling a compelling story.
Mastering Best Camera Settings
When I’m shooting in low light, I always switch to manual mode to gain full control over my camera settings. I find that a lower ISO, typically between 400 to 1600, helps minimize noise and preserve the integrity of the image. Aperture is also crucial, as a wider aperture like f/2.8 allows more light to enter, while still maintaining a shallow depth of field that separates my subject from the background. By adjusting these settings, I can create a sense of intimacy and depth in my photographs, even in the most challenging lighting conditions.
I also pay close attention to shutter speed, often slowing it down to around 1/60s to 1/125s to introduce a sense of blur and motion. This technique adds a layer of dynamism to my images, capturing the essence of the moment and conveying the emotions of my subject. By mastering these camera settings, I’m able to unlock the full potential of low-light photography and create photographs that are not only technically sound but also visually compelling and emotionally resonant.
Using Reflectors for Depth
When I’m shooting in low light, I love using reflectors to add depth to my images. It’s amazing how a simple piece of cardboard or a dedicated reflector can bounce light back onto my subject’s face, creating a more nuanced and interesting portrait. I’ve found that natural light reflectors like a white wall or a light-colored rock can also work wonders in low-light situations. By positioning my subject near one of these reflectors, I can capture a more dynamic range of tones and add a sense of dimension to the image.
I’ve experimented with different types of reflectors, from DIY solutions to professional-grade equipment, and each has its own unique character. The key is to experiment and find what works best for your story and style. Whether I’m using a reflector to soften harsh shadows or to create a subtle highlight, it’s all about enhancing the emotional impact of the image.
Unleashing the Power of Available Light: 5 Essential Tips
- Shoot during the golden hour, when the soft, warm light can add depth and emotion to your images
- Use a wide aperture lens to let more light in and create a shallow depth of field, separating your subject from the background
- Experiment with high ISO settings, but be mindful of the noise and grain that can affect the overall quality of your photo
- Pay attention to the available light sources in your scene, such as streetlights, neon signs, or candles, and use them to create interesting shadows and highlights
- Take advantage of reflective surfaces, like water or metal, to bounce light onto your subject and add dimension to your image
Key Takeaways for Shooting in Low Light
I’ve learned that the key to capturing stunning low-light images is to understand how to balance ISO, aperture, and shutter speed to create a harmonious exposure triangle
Mastering the use of reflectors and natural light can add depth and dimension to your photographs, helping to separate your subject from the background and create a sense of intimacy
By experimenting with different camera settings and techniques, such as shooting in manual mode and utilizing the golden hour, you can develop your unique visual voice and uncover the hidden stories that unfold in the shadows
Embracing the Darkness
The beauty of shooting in low light without a flash lies not in the equipment, but in the ability to slow down, observe, and let the shadows reveal their stories – it’s a dance between light and darkness, where the true magic happens.
Julian Kade
Embracing the Beauty of Low Light
As we’ve explored the world of low-light photography, I hope you’ve gained a deeper understanding of how to master the art of storytelling without relying on a flash. We’ve discussed the importance of manual mode, experimented with creative camera settings, and even touched on the power of reflectors to add depth to our images. By embracing these techniques, you’ll be well on your way to capturing stunning, high-quality photographs in even the most challenging lighting conditions.
So, the next time you find yourself shooting in low light, remember that it’s not just about the technical aspects – it’s about seeing the world in a new way. Don’t be afraid to experiment and take risks, and always keep your eyes open for the fleeting moments that make photography so rewarding. With practice and patience, you’ll develop your own unique visual voice, and the world will become a more beautiful, captivating place, one frame at a time.
Frequently Asked Questions
How can I stabilize my camera in low light to avoid blurry photos?
To stabilize my camera in low light, I rely on a tripod or a monopod – it’s a game-changer for sharp images. I also use the camera’s self-timer or a remote shutter release to minimize camera shake.
What are some alternative light sources I can use to enhance my low-light photography?
I’m a big fan of using available light sources to add depth to my shots. Try utilizing streetlights, neon signs, or even the glow of a computer screen to create interesting effects. You can also experiment with reflectors, like foam boards or DIY solutions, to bounce natural light onto your subject and add a touch of warmth to your images.
How do I adjust my camera's ISO settings to achieve the best results in low-light conditions?
When adjusting ISO in low-light, I think of it as a delicate balance. I start by setting my camera to ISO 1600 or 3200, depending on the scene, and then adjust from there. The goal is to find that sweet spot where noise isn’t overwhelming, but the image still shines with depth and emotion.