A Simple Guide to Understanding the Exposure Triangle
I still remember the day I finally grasped the concept of understanding exposure triangle. I was on a photo walk, capturing the vibrant streets of Tokyo during golden hour, when it all clicked into place. The way the light danced across the faces of passersby, the balance of aperture, shutter speed, and ISO that brought the scene to life – it was like a veil had been lifted from my eyes. I realized that the exposure triangle wasn’t just a technical aspect of photography, but a key to unlocking the stories that unfold before our lenses.
As I share my insights with you, I want to promise that this guide will be different from the usual technical jargon. We’ll dive into the nitty-gritty of understanding exposure triangle in a way that’s both practical and inspiring. You’ll learn how to harness the power of light, composition, and emotion to capture images that truly speak to your audience. My goal is to empower you with the knowledge and confidence to take your photography to the next level, to help you see the world with fresh eyes and tell the stories that need to be told. So, let’s embark on this journey together, and uncover the secrets of the exposure triangle.
Table of Contents
- Guide Overview: What You'll Need
- Step-by-Step Instructions
- Unlocking Understanding Exposure Triangle
- Beyond Auto Mode Harnessing Camera Settings for Portraits and Landscapes
- Mastering Exposure Compensation Freeing Your Vision
- Unleashing the Power of the Exposure Triangle: 5 Essential Tips
- Key Takeaways for Mastering the Exposure Triangle
- Illuminating the Path to Creative Freedom
- Embracing the Art of Exposure
- Frequently Asked Questions
Guide Overview: What You'll Need
Total Time: 1 hour 30 minutes
Estimated Cost: $0 – $0
Difficulty Level: Easy
Tools Required
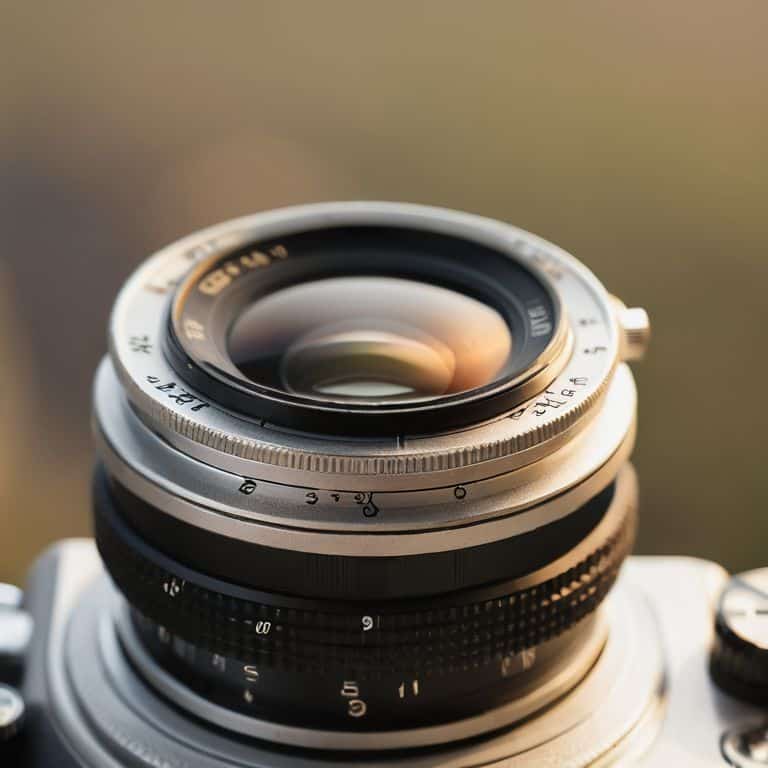
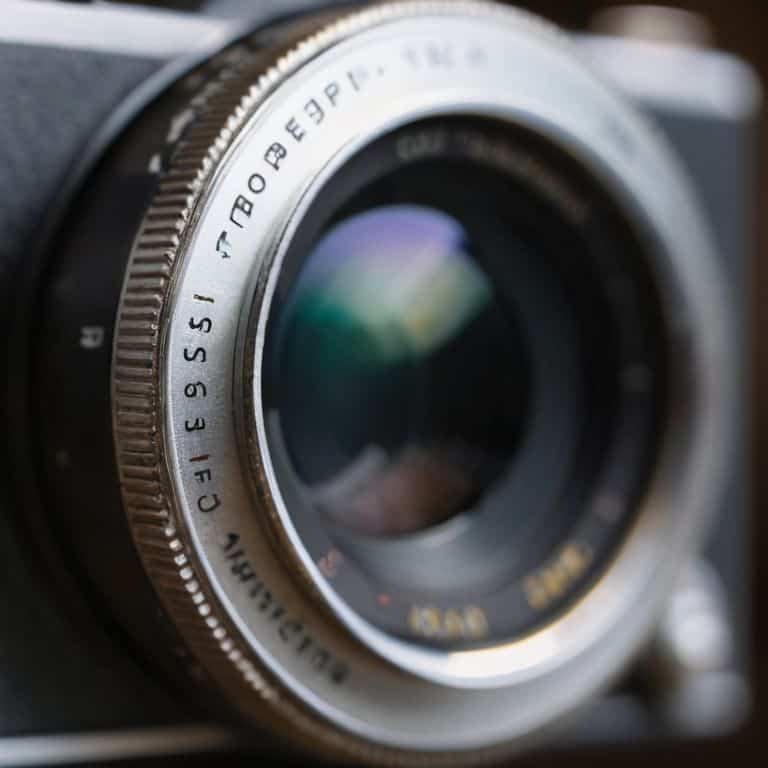
- Camera (with adjustable aperture, shutter speed, and ISO)
Supplies & Materials
- Natural Light Source (e.g., sunlight or a well-lit room)
- Tripod (optional)
- Photography Reference Materials (e.g., books or online tutorials)
Step-by-Step Instructions
- 1. First, let’s dive into the basics of the exposure triangle, which consists of aperture, shutter speed, and ISO. Understanding how these three elements work together is crucial for capturing well-exposed images that tell a story. I always start by adjusting my aperture, as it allows me to control the depth of field and create a sense of intimacy or vastness in my portraits.
- 2. Next, I adjust my shutter speed to freeze or convey motion, depending on the mood I want to evoke in my image. A faster shutter speed is ideal for freezing moments in time, while a slower shutter speed can create a sense of movement and energy. For example, when shooting street photography, I often use a slower shutter speed to capture the hustle and bustle of city life.
- 3. Now, let’s talk about ISO, which is the sensitivity of your camera’s sensor to light. I always try to keep my ISO as low as possible, ideally between 100-400, to minimize digital noise and ensure my images are crisp and clean. However, when shooting in low-light conditions, I’m not afraid to push my ISO to higher values, as it allows me to capture images that would otherwise be impossible to shoot.
- 4. Once you have a good understanding of each element, it’s time to balance the exposure triangle. This means adjusting one element and then compensating with the others to achieve the desired exposure. For instance, if I open up my aperture to let more light in, I may need to increase my shutter speed or decrease my ISO to avoid overexposing the image.
- 5. To take your understanding of the exposure triangle to the next level, practice shooting in manual mode. This will allow you to take full control of your camera’s settings and make adjustments on the fly. I recommend starting with a simple exercise, such as shooting a still life or a portrait, and then adjusting your aperture, shutter speed, and ISO to see how each element affects the image.
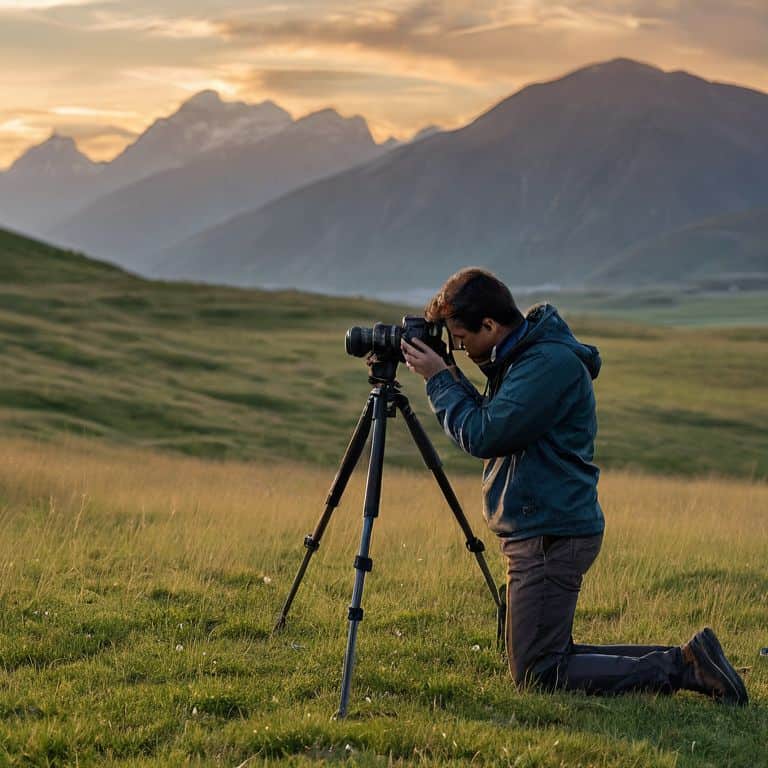
- 6. Another essential step is to pay attention to the light, as it’s the foundation of any great photograph. I’m obsessed with the golden hour, that magical time just before sunset when the light is soft and warm. During this time, I love to shoot portraits, as the light creates a sense of depth and dimensionality that’s hard to replicate at other times of the day.
- 7. Finally, don’t be afraid to experiment and take risks when working with the exposure triangle. Remember, photography is all about storytelling, and the exposure triangle is just a tool to help you convey your message. Don’t be afraid to try new things and push the boundaries of what’s possible, as this is often where the most interesting and unexpected images are created.
Unlocking Understanding Exposure Triangle

As I reflect on my own journey in mastering exposure compensation, I realize that it’s not just about technical knowledge, but also about developing an eye for storytelling. When I’m out on a photo walk, I’m always on the lookout for that golden hour light, which can make even the most mundane scenes come alive. By understanding how to balance aperture, shutter speed, and ISO, you’ll be able to capture the essence of a moment, rather than just its technical details.
One of the most important things to keep in mind when working with the exposure triangle is the concept of trade-offs. For example, if you’re shooting in manual mode, you may need to compromise on aperture or shutter speed in order to get the desired exposure. This is where photography for beginners can get tricky, but it’s also where the creative possibilities really open up. By experimenting with different camera settings, you can start to develop your own unique visual style.
As you practice and refine your skills, you’ll start to see the world in a different light. Landscape photography tips, for instance, often emphasize the importance of shooting during the early morning or late evening, when the light is soft and warm. By applying these principles to your own work, you can start to capture images that are not just technically sound, but also emotionally resonant. Remember, the goal is to tell a story, not just to take a picture – and with practice, you’ll be well on your way to exposure triangle explained in a way that feels intuitive and natural.
Beyond Auto Mode Harnessing Camera Settings for Portraits and Landscapes
As I delve into the world of manual mode, I’m reminded of the countless hours I spent in my darkroom, perfecting the art of developing film. It’s this same attention to detail that I apply to my camera settings, especially when capturing portraits and landscapes. By adjusting the aperture, shutter speed, and ISO, I can evoke a specific mood or atmosphere, drawing the viewer into the story I’m telling.
For portraits, I often opt for a wide aperture to create a shallow depth of field, separating my subject from the background. In landscapes, a narrower aperture ensures that every detail, from the foreground to the horizon, is sharp and in focus. By mastering these settings, you’ll be able to convey the emotions and essence of your subjects, whether it’s the intimacy of a portrait or the grandeur of a landscape.
Mastering Exposure Compensation Freeing Your Vision
As I delve into the world of exposure compensation, I’m reminded of the countless times I’ve found myself lost in the golden hour, chasing the perfect light. It’s in these moments that I’m forced to think on my feet, to adjust my camera settings to capture the essence of the scene. Exposure compensation is about more than just tweaking numbers – it’s about freeing your vision, allowing you to convey the mood and atmosphere of a moment. By mastering this technique, you’ll be able to unlock new depths in your photography, to convey the subtleties of light and shadow that make an image truly unforgettable.
I recall a particular shoot where the sun was setting over a bustling street, casting a warm glow over the entire scene. By adjusting my exposure compensation, I was able to capture the vibrant colors and textures of the moment, to convey the energy and life of the city. It’s moments like these that remind me of the power of exposure compensation, and why it’s such a crucial tool in any photographer’s arsenal.
Unleashing the Power of the Exposure Triangle: 5 Essential Tips
- Embracing the Golden Hour: How to Leverage Soft, Warm Light for Captivating Portraits
- Beyond the Numbers: Understanding How Aperture, Shutter Speed, and ISO Interact to Tell a Story
- Manual Mode Mastery: Why Shooting in Manual Unlocks Your Camera’s Full Potential and Sets Your Vision Free
- The Art of Compensation: How to Use Exposure Compensation to Balance Light and Dark in Your Images
- Reading the Light: Developing Your Observation Skills to Predict and Capture the Perfect Exposure in Any Situation
Key Takeaways for Mastering the Exposure Triangle
By grasping the fundamentals of aperture, shutter speed, and ISO, you’ll unlock the ability to capture images that tell a story, rather than just recording a scene
Understanding how to balance and adjust these three elements will give you the creative freedom to convey emotion, mood, and atmosphere in your photographs, making them truly unforgettable
Practicing with manual mode and experimenting with different exposure compensations will help you develop your unique visual voice, allowing you to authentically express yourself through the art of photography
Illuminating the Path to Creative Freedom
Understanding the exposure triangle is not just about mastering a technical aspect of photography, it’s about awakening to the language of light and learning to speak it with your camera, so that every frame tells a story that’s uniquely yours.
Julian Kade
Embracing the Art of Exposure
As we’ve explored the world of exposure triangle, it’s clear that mastering this concept is key to unlocking your full potential as a photographer. We’ve delved into the step-by-step process of understanding and applying the exposure triangle, and touched on the importance of exposure compensation in freeing your vision. By moving beyond auto mode and harnessing your camera’s settings, you’ve taken the first steps towards capturing portraits and landscapes that truly tell a story.
So, as you continue on your photographic journey, remember that the exposure triangle is just the beginning. It’s a tool to help you see the world in a new light, to capture the fleeting moments that make life worth living. Don’t be afraid to experiment, to push the boundaries of what’s possible, and to always keep your eyes open to the beauty that surrounds you. With practice, patience, and a willingness to learn, you’ll find that your photographs are not just technically sound, but also infused with a sense of soul and emotion.
Frequently Asked Questions
How do I balance the exposure triangle elements to achieve the perfect shot in different lighting conditions?
To balance the exposure triangle, I consider the lighting conditions and adjust accordingly. For golden hour, I opt for a wider aperture and slower shutter speed to soak in that warm light. In harsh midday sun, I tighten up the aperture and speed up the shutter to avoid blown-out highlights. It’s all about feeling the light and responding with your camera settings.
What are some common mistakes to avoid when adjusting the aperture, shutter speed, and ISO, and how can I troubleshoot them?
When tweaking aperture, shutter speed, and ISO, I see many photographers fall into common traps. Overexposing with too low an f-stop, freezing motion with too fast a shutter, or introducing noise with high ISO – all easy mistakes. To troubleshoot, I always review my shots, checking for blown highlights, and adjust accordingly, often bracketing exposures to ensure I capture the perfect balance.
Can you provide examples of how understanding the exposure triangle can enhance the storytelling aspect of my photography, especially in portrait and documentary work?
When I’m shooting portraits or documentary series, understanding the exposure triangle allows me to capture the essence of my subjects. For instance, by adjusting the aperture, I can create a shallow depth of field, drawing the viewer’s eye to the subject’s eyes, and conveying intimacy and emotion.