A Photographer’s Guide to Composition in Photography
I still remember the moment it clicked for me – I was wandering the streets of Tokyo, camera in hand, trying to capture the essence of the city. A fellow photographer told me that mastering composition was the key to taking my photos to the next level, and I set out to learn everything I could about a guide to composition in photography. But as I delved deeper, I realized that most guides were more focused on formulas and rules than on the actual art of storytelling. It was then that I understood the importance of breaking free from conventions and embracing the beauty of imperfection.
In this article, I’ll share my personal approach to composition in photography, one that emphasizes the importance of light and emotion over rigid rules. You’ll learn how to develop your own unique visual style, how to work with different types of light, and how to craft images that tell a story. My goal is to provide you with practical advice and inspiration to help you improve your photography skills, and to show you that a guide to composition in photography is not just about technicalities, but about capturing the essence of the world around you.
Table of Contents
- Guide Overview: What You'll Need
- Step-by-Step Instructions
- A Guide to Composition in Photography
- Unconventional Wisdom: 5 Tips to Elevate Your Photography Composition
- Key Takeaways for Mastering Composition
- The Heart of Composition
- Conclusion: Framing Your Unique Perspective
- Frequently Asked Questions
Guide Overview: What You'll Need
Total Time: 1 hour 30 minutes
Estimated Cost: $0 – $100
Difficulty Level: Intermediate
Tools Required
- Camera (DSLR or mirrorless)
- Tripod (for stability)
- Remote Shutter Release (or camera timer)
- Lenses (of various focal lengths)
Supplies & Materials
- Notebook (for recording shots and notes)
- Pencil (for sketching compositions)
- Measuring Tape (for measuring distances and angles)
- Color Chart (for understanding color theory)
Step-by-Step Instructions
- 1. First, let’s start with the basics: understanding the rule of thirds. This fundamental principle of composition involves dividing your frame into thirds both horizontally and vertically, creating nine equal parts. Place your subject or points of interest along these lines or at their intersections to create a more balanced and visually appealing image. I recall a shot I took during golden hour where the placement of my subject at the intersection of these lines made all the difference in capturing the essence of the moment.
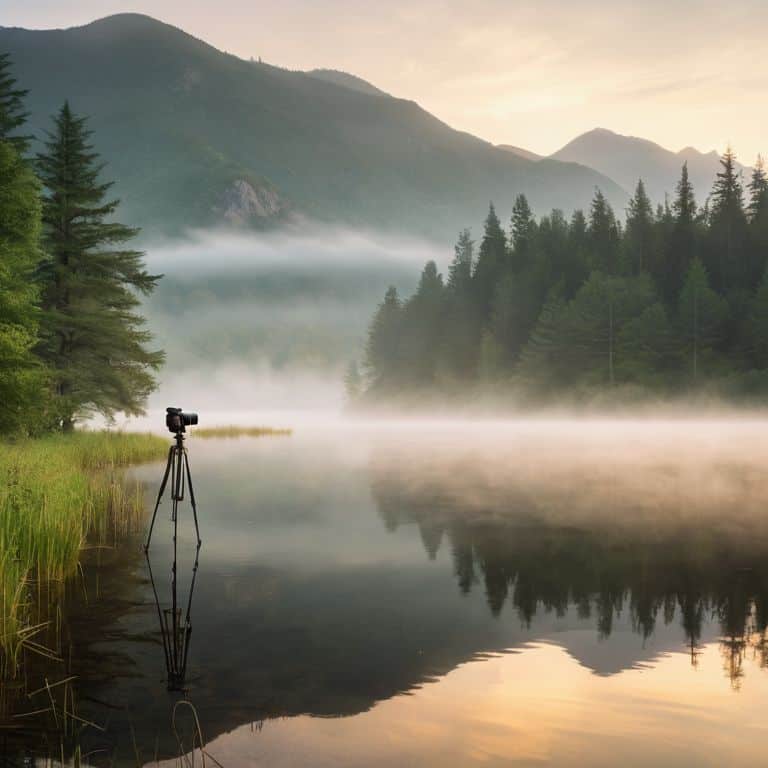
- 2. Next, experiment with leading lines to guide the viewer’s eye through your image. These lines can be anything from roads, shorelines, or even the branches of trees. The key is to find a line that naturally leads to your subject, creating a sense of depth and dimensionality. During my documentary project, I often looked for naturally occurring frames like archways or doorframes to add layers to my compositions.
- 3. Now, let’s talk about symmetry and patterns. Symmetry can create a sense of order and stability, while patterns can add texture and visual interest. When shooting symmetrical compositions, ensure your camera is level and your subject is centered. For patterns, experiment with different angles and perspectives to break the monotony and create a more dynamic image. I’ve found that paying attention to details like these can elevate your photography from mere snapshots to thoughtful, composed pieces.
- 4. The fourth step involves understanding the power of negative space. Not every inch of your frame needs to be filled with subjects or objects. Sometimes, the most powerful compositions are those that balance a subject with the empty space around it, creating a sense of simplicity and focusing the viewer’s attention on what’s truly important. During my street photography outings, I’ve learned to appreciate the beauty of simplicity in a well-composed frame.
- 5. Fifth, consider the role of color and contrast in your composition. Colors can evoke emotions and moods, while contrast can add depth and make your images more engaging. Play with warm and cool tones, and don’t be afraid to experiment with black and white when the situation calls for it. I often think about how light dictates the mood of my photographs, and adjusting my composition to maximize the effect of available light.
- 6. Next up, let’s discuss the importance of framing your subject. This doesn’t just mean placing your subject in the center of the frame. Look for natural or man-made features that can frame your subject, such as arches, trees, or even the shadows of objects. This technique can help isolate your subject and add context to your image. I’ve found that sometimes, the best frames are the ones you don’t plan for, but rather stumble upon during your exploration of the environment.
- 7. Seventh, practice working with different perspectives. Don’t be afraid to get low or climb high to find a unique vantage point. Changing your perspective can turn an ordinary scene into something extraordinary, offering a fresh view on the world. This is where experimentation becomes key, as you learn to see the world from different angles and compose your shots accordingly.
- 8. Lastly, remember that storytelling is at the heart of every great photograph. Your composition should serve the story you’re trying to tell, whether it’s a portrait that captures the essence of a person or a landscape that conveys the beauty of nature. Always ask yourself what story you want to tell with your image and compose accordingly. For me, the thrill of photography lies in capturing the unseen moments, those fleeting instances that tell a thousand words.
A Guide to Composition in Photography

As I reflect on my own journey in photography, I’m reminded of the power of simplicity. Using negative space in photography can be a potent tool for creating compositions that draw the viewer’s eye to the subject. I’ve found that embracing the empty spaces around my subjects can add a sense of serenity to the image, allowing the viewer to focus on the story being told.
When it comes to photography patterns and textures, I believe that attention to detail is key. The intricate patterns found in nature or urban landscapes can add depth and visual interest to an image. By experimenting with different photography symmetry techniques, you can create compositions that are both balanced and thought-provoking. I’ve personally found that shooting during the golden hour can add an extra layer of magic to these types of shots.
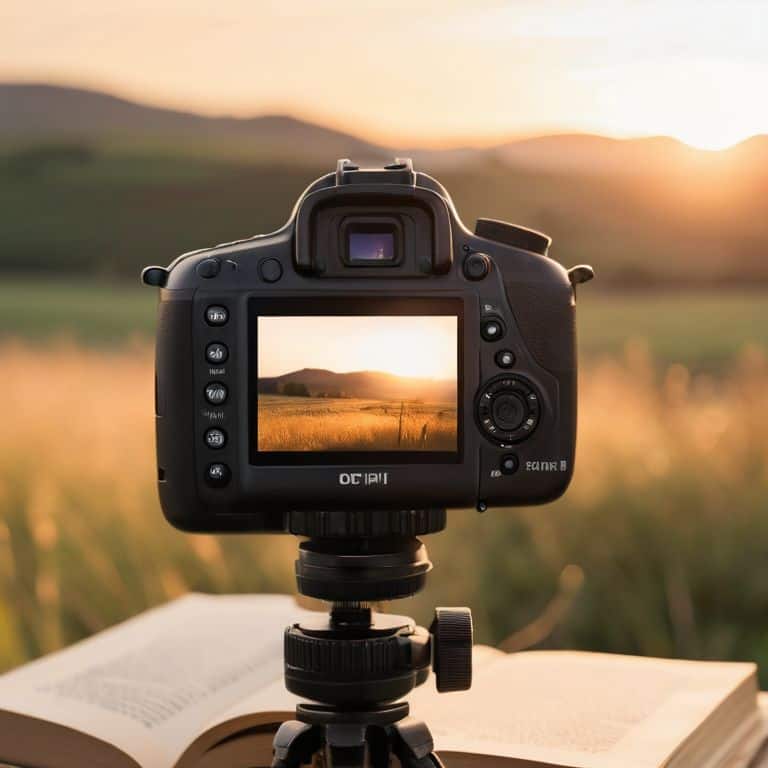
In my own work, I’ve come to realize the importance of photography depth of field control. By carefully adjusting my aperture, I can create images where the subject is sharply in focus, while the background fades into a soft blur. This technique can be particularly effective when combined with careful photography subject placement, drawing the viewer’s eye to the heart of the story.
Beyond Symmetry Photography Symmetry Techniques
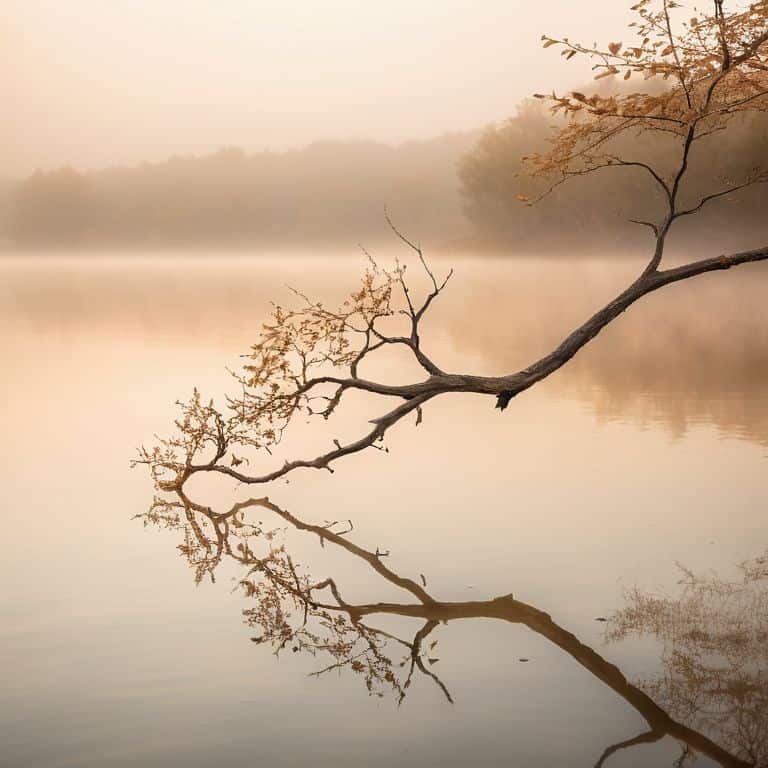
Symmetry is a powerful tool in photography, but it’s not just about finding identical halves. I love experimenting with imperfect symmetry, where the reflection isn’t exact, but the essence remains. This technique adds a layer of humanity to your images, making them more relatable and intriguing. By embracing the imperfections, you create a sense of tension and visual interest.
I recall a shot I took in an abandoned alleyway, where a broken mirror reflected a faded mural. The symmetry was imperfect, but the story it told was captivating. The key is to look beyond perfect reflections and find the beauty in the imperfections. This approach will help you uncover unique perspectives and add depth to your photographs.
Mastering Depth Photography Depth of Field Control
As I delve into the world of depth, I’m reminded of my own journey with aperture and shutter speed. Mastering depth of field control is an art that requires patience and practice. I recall a shot I took during golden hour, where the subject was in sharp focus, while the background melted into a warm, soft blur. It was then that I realized the power of depth in storytelling. By controlling the aperture, I can guide the viewer’s attention, creating a sense of intimacy or vastness.
In my photography workshops, I emphasize the importance of understanding depth of field. It’s not just about technicalities, but about creating a mood and atmosphere. A wide aperture can isolate my subject, while a narrow aperture can reveal the intricate details of the scene. By mastering depth, I can add layers to my story, drawing the viewer in and inviting them to explore the world beyond the frame.
Unconventional Wisdom: 5 Tips to Elevate Your Photography Composition
- Play with Negative Space: Don’t be afraid to let the absence of something tell a story, as negative space can be just as powerful as the subject itself
- Experiment with Unconventional Angles: Get low, climb high, or shoot from the hip – unusual vantage points can add a fresh perspective to your images
- Chase the Light, Not the Subject: Sometimes, the most captivating element in a photograph is the quality of light, so learn to anticipate and follow its moods
- Break the Rules of Symmetry: While symmetry can be visually appealing, it’s the imperfections and unexpected elements that often make a photograph truly memorable
- Capture the In-Between Moments: The most revealing portraits are often those that catch people off guard, so learn to anticipate and cherish the unposed, authentic moments
Key Takeaways for Mastering Composition
Embracing the interplay of light and shadow is crucial for adding depth and emotion to your photographs, and understanding how to harness this dynamic is key to developing your unique visual voice
By moving beyond traditional notions of symmetry and instead focusing on the subtle balance of elements within a frame, you can create images that tell more nuanced and captivating stories
Experimenting with different depths of field can radically alter the narrative of your photographs, allowing you to guide the viewer’s attention and evoke a specific emotional response, making your images more engaging and memorable
The Heart of Composition
Composition is not just about arranging elements within a frame, but about distilling the essence of a moment, and allowing the viewer to breathe in the same air as the subject – to see, to feel, and to remember.
Julian Kade
Conclusion: Framing Your Unique Perspective
As we’ve explored the world of composition in photography, I hope you’ve begun to see the beauty in the everyday and how mastering the basics can empower you to tell more compelling stories. From the principles of symmetry to the art of controlling depth of field, each technique is a tool to help you uncover the hidden stories within your frames. Remember, the goal of composition is not to follow rules, but to use them as a foundation to express your unique voice and vision.
As you continue on your photographic journey, I encourage you to keep experimenting, to keep pushing the boundaries of what you think is possible. The best photographs are those that not only capture a moment, but also evoke a feeling, a sense of timeless connection. So, go out there and frame your world, tell your stories, and never stop seeing the beauty in the light and shadows that surround us.
Frequently Asked Questions
How can I effectively use negative space in my compositions to create a sense of simplicity and focus?
To harness negative space, I think of it as a breath of fresh air in my compositions. I look for simplicity and minimalism, letting my subject breathe by surrounding it with empty space, drawing the viewer’s eye to what truly matters. It’s about restraint, not clutter.
What are some tips for balancing multiple elements within a frame to avoid visual clutter?
To balance multiple elements, I focus on visual weight and negative space. I ask myself, ‘What’s the story I want to tell?’ and then use composition to guide the viewer’s eye. Sometimes, it’s about embracing simplicity, while other times, it’s about creating a beautiful chaos – it’s all about finding that delicate balance between elements to convey the narrative.
Can you provide examples of how to apply the rule of thirds in portrait photography to create more dynamic and engaging images?
When I’m shooting portraits, I love using the rule of thirds to add some visual tension. Instead of centering my subject, I’ll place them off-center, maybe with their eye or shoulder aligned with one of the thirds lines. It creates a sense of movement and energy, drawing the viewer’s eye to my subject in a more dynamic way.