A Guide on How to Record a Professional Voiceover at Home
I still remember the first time I tried to record a professional voiceover at home – it was a disaster. The background noise was loud, my audio equipment was subpar, and my script sounded forced. But after years of working as a documentary filmmaker and editor, I’ve learned that finding the right sound is not just about the equipment, but about creating an environment that fosters creativity and clarity. When it comes to how to record a professional voiceover at home, many of us think that investing in expensive gear is the key to success, but I’m here to tell you that’s not entirely true.
As someone who’s passionate about demystifying the filmmaking process, I want to share my honest, no-hype advice on how to record a professional voiceover at home. In this article, you’ll learn the practical steps to take your voiceover recordings to the next level, from preparing your script to setting up your recording space. I’ll walk you through my personal approach to recording voiceovers, and provide you with tips and tricks that I’ve learned from my own experiences as a filmmaker. Whether you’re a beginner or a seasoned pro, my goal is to help you create high-quality voiceovers that bring your stories to life.
Table of Contents
Guide Overview: What You'll Need
Total Time: 1 hour 30 minutes
Estimated Cost: $100 – $300
Difficulty Level: Intermediate
Tools Required
- Microphone (condenser or dynamic)
- Audio Interface (with USB connection)
- Pop Filter (reduces plosive sounds)
- Headphones (closed-back or open-back)
- Acoustic Treatment (for a quiet recording space)
Supplies & Materials
- Boom Arm (for microphone suspension)
- Microphone Stand (for stable microphone placement)
- Shock Mount (reduces vibration and handling noise)
- Audio Cable (for connecting microphone to audio interface)
- Soundproofing Materials (such as 2 inches of acoustic foam)
Step-by-Step Instructions
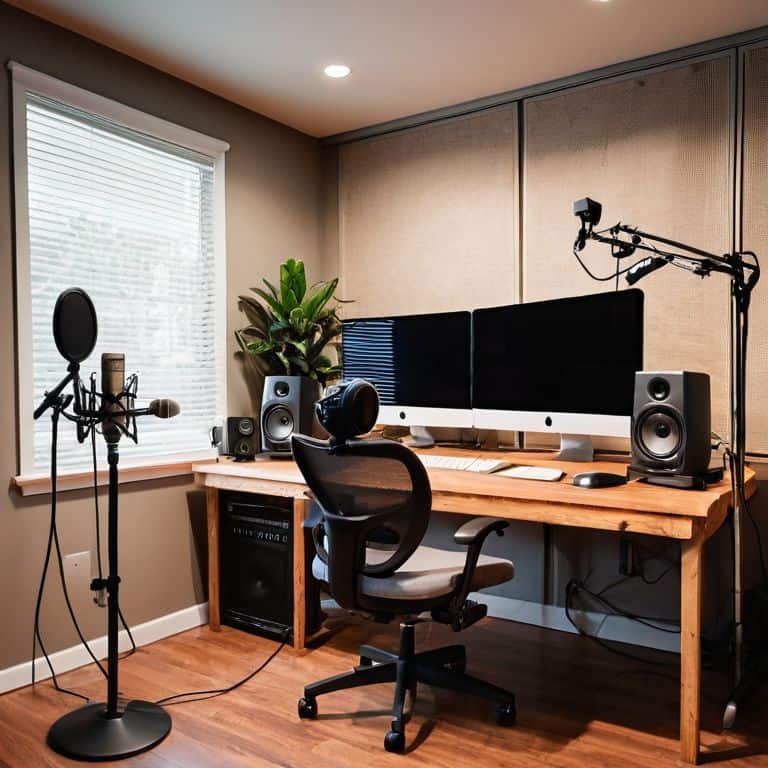
- 1. First, let’s talk about finding the perfect spot to record your voiceover at home – I’m talking about a room with minimal echo and zero background noise. To achieve this, try to avoid areas with hardwood floors, windows, or thin walls, and opt for a room with thick carpets, curtains, or acoustic panels to help absorb sound.
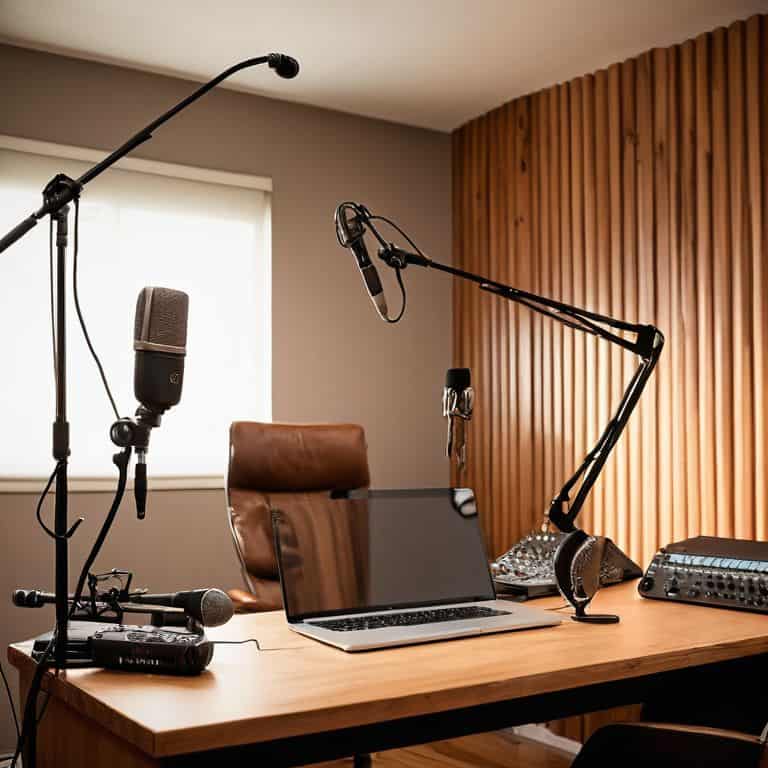
- 2. Next, you’ll need to invest in a good quality microphone that’s suitable for voiceover work. I personally recommend using a condenser microphone, as they tend to pick up a wider range of frequencies and provide a warmer sound. Some popular options include the Blue Yeti or the Rode NT-USB – both of which are relatively affordable and easy to use.
- 3. Now that you have your microphone, it’s time to set up your recording space. Place your mic in a stable position, about 6-8 inches away from your mouth, and make sure it’s not too close to any walls or surfaces that could cause echo or vibrations. You should also invest in a pop filter to reduce plosive sounds and prevent distortion.
- 4. With your mic set up, it’s time to choose your recording software. There are many options available, but some popular ones for voiceover work include Audacity, Adobe Audition, or Logic Pro X. Each has its own unique features and interfaces, so take some time to experiment and find the one that works best for you.
- 5. Before you start recording, make sure to do a thorough sound check to ensure your mic is working properly and your audio levels are optimal. Speak into the mic and adjust the gain until your levels are between -20 and -10 dB – this will give you a good balance between volume and headroom.
- 6. Now it’s time to start recording your voiceover. Take a deep breath, relax, and try to get into a natural flow. Remember to speak slowly and clearly, enunciating each word and pausing for emphasis where needed. Don’t worry too much about mistakes – you can always edit them out later in post-production.
- 7. Once you’ve finished recording, take some time to review and edit your audio. Listen back to your takes and look for any mistakes, breath sounds, or mouth noises that you can remove. You can also use this opportunity to add some subtle EQ or compression to enhance the sound and make it more polished.
- 8. Finally, export your final audio file in a format that’s suitable for your project – usually a WAV or MP3 file. Make sure to save multiple versions of your file, including a backup and a mastered version, in case you need to make any further adjustments or changes down the line.
Record Like a Pro
To take your voiceover recordings to the next level, it’s essential to invest in a good quality microphone. I’ve found that the best microphone for voiceovers is one that captures the nuances of your voice, making it sound rich and full. When setting up your home recording studio, consider the acoustic room treatment ideas that can help reduce echo and minimize background noise. A well-treated room can make all the difference in achieving a professional sound.
In terms of recording techniques, it’s crucial to experiment with different methods to find what works best for you. I’ve learned that breathing exercises can help calm your nerves and improve your tone. Additionally, using voiceover recording software options like Audacity or Adobe Audition can provide you with a range of tools to edit and enhance your recordings. These software options can help you refine your sound and make it more polished.
When it comes to actually recording, I always say that reducing echo is key to achieving a professional sound. One way to do this is by using portable vocal booth alternatives, which can help minimize reverberations and create a more intimate sound. By combining these techniques with the right equipment and software, you’ll be well on your way to creating high-quality voiceovers that sound like they were recorded in a professional studio.
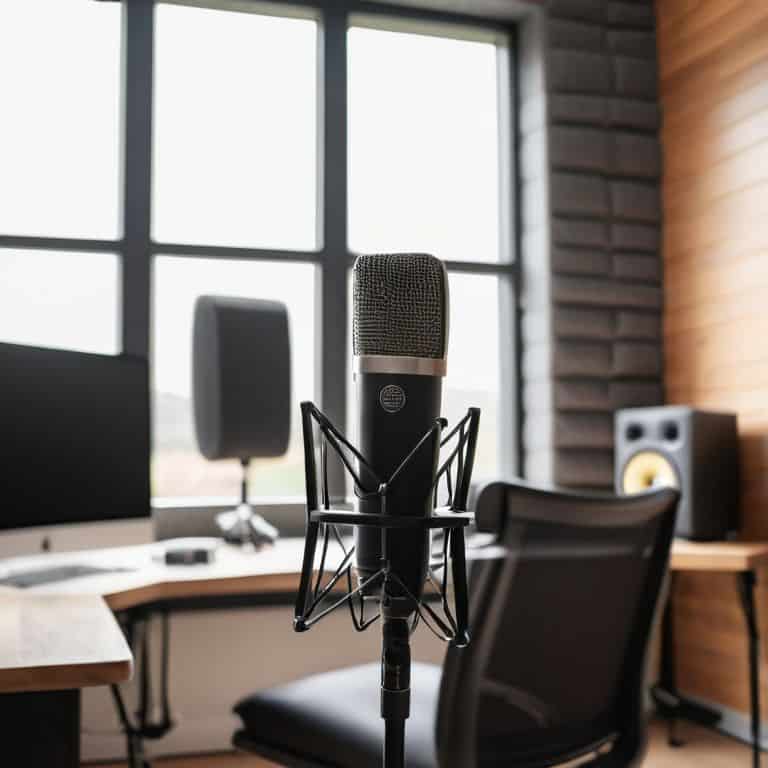
Best Mics for Voiceovers
When it comes to capturing that perfect voiceover, the right microphone is essential. I swear by my trusty Blue Yeti – it’s a workhorse that delivers crisp, clear sound. For a more budget-friendly option, the Rode NT-USB is a great choice, offering warm and rich tones. If you’re looking to invest in a high-end mic, the Neumann TLM 103 is a game-changer, providing unparalleled clarity and depth.
These mics have been my go-to for voiceovers, and I’ve seen a huge difference in the quality of my recordings. Whether you’re just starting out or looking to upgrade, choosing the right mic will make all the difference in achieving a professional-sounding voiceover.
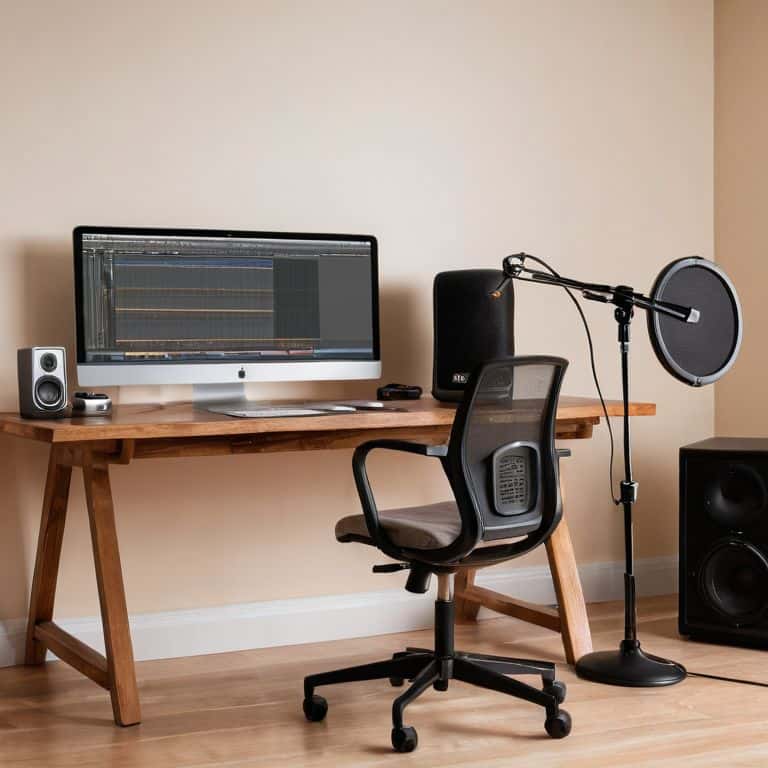
Home Studio Setup Secrets
To take your voiceover recordings to the next level, it’s essential to set up a functional home studio. I’m not talking about breaking the bank on fancy equipment, but rather being intentional with the space you have. For me, it’s all about minimizing echo and finding the right balance of sound absorption. I use acoustic panels and a portable vocal booth to create a more controlled environment.
Investing in a good quality microphone is also crucial. I swear by my trusty vintage mic, which I’ve tweaked to perfection over the years. The key is to experiment and find what works best for your unique voice and space. By paying attention to these details, you’ll be amazed at how professional your recordings can sound.
Bringing Your Voice to Life: 5 Tips for a Professional Voiceover at Home
- Find your sweet spot: Experiment with different rooms and locations in your home to find the one with the least amount of echo and background noise
- Invest in a good pop filter: It’s a simple accessory that can make a huge difference in reducing plosive sounds and giving your voice a smoother quality
- Use a cardioid microphone: These mics are designed to pick up sound from the front and reject it from the back, helping to minimize background noise and focus on your voice
- Record in a lossless format: Don’t compromise on quality – use a format like WAV or AIFF to ensure your voiceover sounds rich and full
- Edit with feeling: Don’t just cut and paste – take the time to adjust levels, EQ, and compression to make your voiceover sound like it was recorded in a professional studio
Bringing Your Voiceover to Life: 3 Key Takeaways
Create a professional voiceover setup at home by finding a quiet spot, investing in a good quality microphone, and using acoustic treatment to minimize echo and reverberation
Record like a pro by speaking clearly, using inflection and emotion, and taking regular breaks to avoid vocal fatigue and maintain consistency in your tone and pace
Edit and refine your voiceover by paying attention to pacing, tone, and rhythm, and using sound design elements like music and FX to enhance the emotional impact and create a captivating narrative
The Heart of Voiceover Magic
A professional voiceover isn’t just about the words you say, but the space between them – the pauses, the breaths, the silences that let the story breathe and come alive.
Maya Jenson
Bringing Your Voice to Life
As we’ve explored the world of recording a professional voiceover at home, it’s clear that attention to detail is key. From setting up your home studio to choosing the best mic for your voice, every step counts in achieving that polished sound. We’ve also discussed the importance of record quality and how it can make or break your voiceover. By following these steps and tips, you’ll be well on your way to creating voiceovers that sound like they were recorded in a professional studio.
Now that you have the tools and knowledge to record like a pro, it’s time to let your creativity shine. Remember, the goal of a great voiceover is not just to convey information, but to tell a story and evoke emotions. So don’t be afraid to experiment, try new things, and push the boundaries of what’s possible. With practice and patience, you’ll be able to bring your voice to life and make a lasting impact on your audience.
Frequently Asked Questions
What are some common mistakes to avoid when setting up a home studio for voiceover recording?
Honestly, I’ve seen people overlook the simplest things, like not treating their room for echo or using the wrong mic for their voice type. And please, don’t even get me started on not testing your audio before hitting record – it’s a recipe for disaster! Take the time to get it right, and your voiceovers will sound like a million bucks.
How can I reduce echo and reverberation in my home recording space?
Ah, the echo conundrum! To reduce echo and reverberation, I swear by acoustic panels and DIY solutions like hanging thick blankets or curtains. You can also try recording in a smaller room or using a portable vocal booth – it’s all about minimizing the space for sound to bounce around.
What are the key differences between popular voiceover microphones, such as USB versus XLR models?
When it comes to voiceover mics, the main difference between USB and XLR models lies in connectivity and flexibility. USB mics plug directly into your computer, making them super convenient, while XLR mics require an audio interface, offering more control over sound quality and mixing possibilities.