A Guide on How to Create a Storyboard for Your Short Film

I still remember the first time I tried to create a storyboard for my short film – I was overwhelmed by the sheer amount of information out there, and I didn’t know where to start. Everyone told me to just “visualize my script” and “get creative,” but that wasn’t very helpful when I was staring at a blank piece of paper. The truth is, learning how to create a storyboard for your short film is not just about drawing pretty pictures – it’s about crafting a roadmap for your entire project.
As someone who’s been in your shoes, I want to share my own experiences and tips on how to create a storyboard for your short film. In this article, I’ll walk you through the practical steps you can take to bring your story to life, from developing your concept to finalizing your shots. You’ll learn how to break down your script, create a visual flow, and make intentional decisions about pacing, tone, and emotion. By the end of this guide, you’ll have a clear understanding of how to create a storyboard that will elevate your short film and help you tell a compelling story.
Table of Contents
- Guide Overview: What You'll Need
- Step-by-Step Instructions
- Crafting Your Films Blueprint
- From Short Film Script to Storyboard the First Steps
- Visual Storytelling Techniques for Beginners Shot Composition
- Bringing Your Vision to Life: 5 Essential Storyboarding Tips
- Key Takeaways for Crafting a Compelling Storyboard
- Bringing Your Vision to Life
- Bringing Your Vision to Life
- Frequently Asked Questions
Guide Overview: What You'll Need

Total Time: 1 hour 45 minutes
Estimated Cost: $10 – $20
Difficulty Level: Easy
Tools Required
- Pencil (sharp)
- Eraser (kneaded rubber)
- Ruler (12 inches long)
- Paper (graph paper, 8.5 inches x 11 inches)
Supplies & Materials
- Sticky Notes (for brainstorming)
- Colored Markers (for color-coding scenes)
- Storyboard Template (printable or digital)
Step-by-Step Instructions
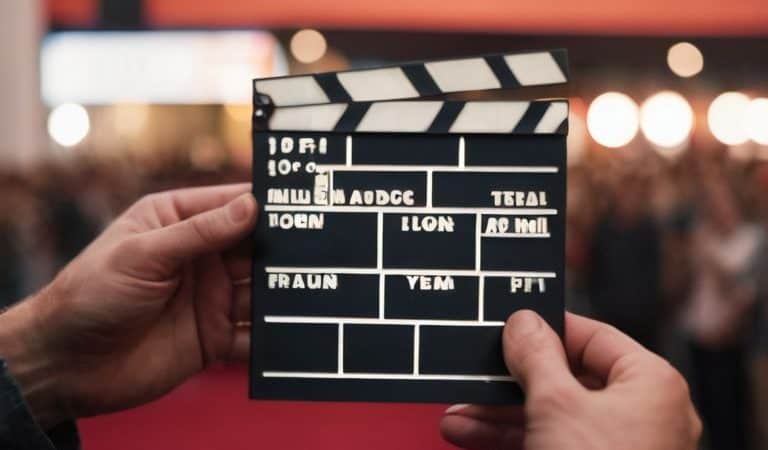
- 1. First, let’s start by defining what a storyboard is and why it’s essential for your short film. A storyboard is a visual representation of your film, a sequence of events that helps you plan and organize your shots, camera angles, and pacing. It’s where you begin to see your story come to life, and it’s an indispensable tool for any filmmaker.
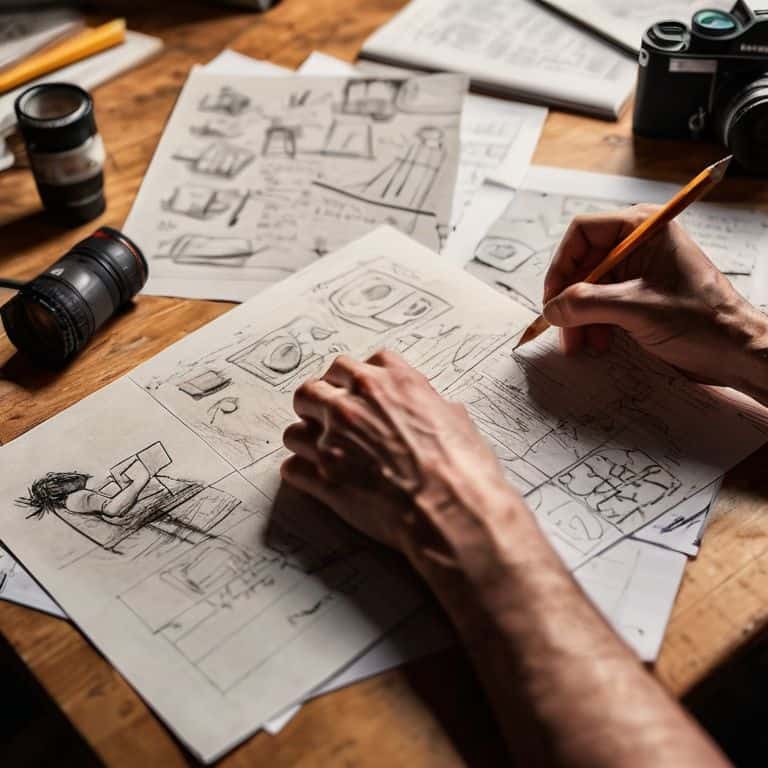
- 2. To create a storyboard, you’ll need a few basic tools: a pencil, paper, and an eraser. Yes, you read that right – traditional medium is still the best way to get your ideas down quickly and efficiently. Don’t worry too much about your drawing skills; this is about capturing the essence of your story, not creating a work of art. Start by dividing your paper into small rectangles, each representing a single shot in your film.
- 3. Next, begin sketching out your scenes, using simple stick figures and basic shapes to block out the action. Consider the rule of thirds, and think about how you can use negative space to create visually interesting compositions. As you draw, think about the emotional arc of your story, and how each shot contributes to the overall narrative.
- 4. Now it’s time to add some detail to your storyboard. Start by labeling each shot with a brief description of what’s happening in the scene, including camera angles, lighting, and any important actions or dialogue. You can also include notes on pacing and timing, thinking about how long each shot should last and how they’ll flow together to create a cohesive rhythm.
- 5. As you continue to flesh out your storyboard, think about the visual flow of your film. Consider how each shot will transition into the next, and how you can use techniques like match cuts, jump cuts, or dissolves to create a sense of continuity. You can also start to experiment with different color palettes and lighting schemes, thinking about how these elements will contribute to the overall mood and atmosphere of your film.
- 6. Once you have a solid draft of your storyboard, it’s time to review and revise. Take a step back and look at your story as a whole, thinking about character development and how each scene contributes to the overall narrative arc. Make any necessary changes, and don’t be afraid to try out new ideas or take risks – this is all part of the creative process.
- 7. Finally, use your storyboard as a guide to start planning your shoot. Create a shot list based on your storyboard, and think about the logistics of bringing each scene to life. Consider factors like location, casting, and equipment, and start to make arrangements for your production. With a solid storyboard in place, you’ll be well on your way to creating a short film that’s engaging, visually stunning, and emotionally resonant.
Crafting Your Films Blueprint

As I delve into the world of storyboarding, I’m reminded of the importance of visual storytelling techniques in bringing a short film to life. It’s not just about sketching out scenes, but about creating a blueprint that captures the essence of your narrative. When translating your short film script to storyboard, consider the pacing, tone, and emotional resonance you want to convey. This is where the magic happens, and your story begins to take shape.
In the pre-production phase, having a solid pre production planning checklist can make all the difference. This includes shot composition, camera angles, and lighting – all of which can be planned and refined using a film storyboard software or a traditional storyboard template for short films. By investing time in this stage, you’ll be able to visualize your film’s flow and make adjustments before the camera starts rolling.
When planning a film shoot, it’s essential to consider the logistics of each scene. Think about the resources you’ll need, the location, and the cast. A well-crafted storyboard will help you stay organized and focused, ensuring that your vision is executed with precision and creativity. By mastering the art of storyboarding, you’ll be able to unlock the full potential of your short film and create a truly unforgettable cinematic experience.
From Short Film Script to Storyboard the First Steps
As I dive into transforming my short film script into a visual roadmap, I always start by identifying the key scenes and plot points. This is where the magic happens, and my story begins to take shape. I break down my script into manageable chunks, focusing on the essential elements that drive the narrative forward. By doing so, I can visualize the pacing, tone, and emotional arc of my film.
With my script dissected, I begin to sketch out rough thumbnails of each scene, considering camera angles, lighting, and movement. This initial sketching phase is all about capturing the essence of my story, rather than creating a polished work of art. I’m looking for the emotional resonance, the rhythm, and the flow – the foundation upon which my entire film will be built.
Visual Storytelling Techniques for Beginners Shot Composition
As we dive into visual storytelling, shot composition becomes a crucial element. It’s not just about pointing the camera and rolling – it’s an art form. I love experimenting with vintage cinema lenses to add a unique touch to my films. For beginners, it’s essential to understand the basics of shot composition, such as the rule of thirds, leading lines, and framing. These techniques will help you create visually stunning scenes that draw your audience in.
By applying these principles, you’ll start to see your story come alive. Remember, the goal is to evoke emotions and convey your message through images. Experiment with different angles, lighting, and camera movements to add depth and texture to your shots. As you practice, you’ll develop your own unique visual style, and your story will begin to shine through the lens.
Bringing Your Vision to Life: 5 Essential Storyboarding Tips
- Keep it simple, yet evocative: focus on capturing the essence of each scene rather than creating intricate works of art
- Experiment with different shot compositions to add visual interest and depth to your story
- Pay attention to pacing: use your storyboard to balance action, dialogue, and quiet moments for a compelling narrative flow
- Don’t be afraid to try out new ideas and take risks – your storyboard is a safe space to explore and refine your creative vision
- Use color and texture to enhance the mood and atmosphere of your scenes, and to create a cohesive visual language for your film
Key Takeaways for Crafting a Compelling Storyboard
Develop a deep understanding of your short film script, breaking it down into beats and sequences to inform your storyboard’s visual flow and pacing
Experiment with shot composition techniques such as framing, lighting, and camera movement to add depth and emotion to your story, considering the rule of thirds, leading lines, and symmetry
Remember that your storyboard is a living document, meant to evolve as you continue through pre-production, production, and post-production, staying flexible and open to new ideas and inspiration that can enhance your film’s narrative and impact
Bringing Your Vision to Life
A storyboard is more than just a series of sketches – it’s the blueprint for your film’s emotional journey, where every frame, every shot, and every sequence is a deliberate choice that weaves together to tell a story that resonates deep within your audience.
Maya Jenson
Bringing Your Vision to Life
As we’ve explored the world of storyboarding for your short film, remember that crafting a compelling narrative is at the heart of this process. From transforming your script into a visual blueprint to mastering shot composition techniques, each step is crucial in shaping the emotional impact of your film. By understanding how to effectively use storyboards, you’re not just organizing your ideas – you’re laying the foundation for a cinematic experience that will resonate with your audience.
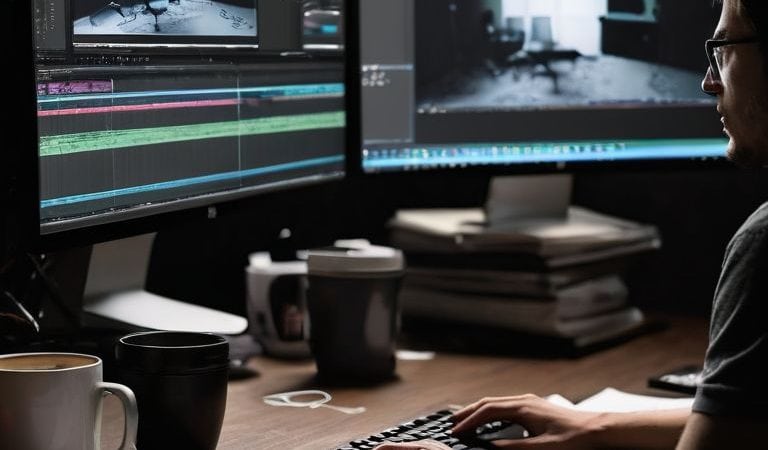
Now, as you embark on this creative journey, keep in mind that the true magic happens in the editing room, where your carefully planned shots come together to tell a story. Don’t be afraid to experiment and try new things – it’s often the unexpected moments that lead to the most memorable scenes. With dedication, passion, and a willingness to learn, you’ll be well on your way to creating a short film that leaves a lasting impression on all who watch it.
Frequently Asked Questions
How do I decide on the most effective shot composition to convey the mood and tone of a particular scene in my short film?
To decide on the most effective shot composition, I consider the scene’s emotional core. I ask myself, what’s the mood I want to evoke? Then, I experiment with different angles, lighting, and framing to convey that feeling. For example, a low-angle shot can create a sense of power, while a close-up can intensify emotions.
What are some common mistakes to avoid when translating my short film script into a storyboard?
When translating your script into a storyboard, beware of over-planning every shot – it can stifle creativity. Also, don’t forget to leave room for improvisation and spontaneity. I like to think of storyboarding as a loose guide, not a rigid blueprint. Remember, the goal is to visualize the story’s flow, not to lock yourself into every detail.
How can I use color and lighting in my storyboard to enhance the visual storytelling and emotional impact of my film?
Let’s dive into the world of color and light. In your storyboard, consider using color scripts to evoke emotions and set the tone. Think about the mood you want to create: warm golden hues for nostalgia or cool blues for tension. Lighting can also dramatically alter the atmosphere, so indicate whether scenes are brightly lit or dimly lit to enhance the emotional impact.