A Guide to Using Essential Oils in Candles
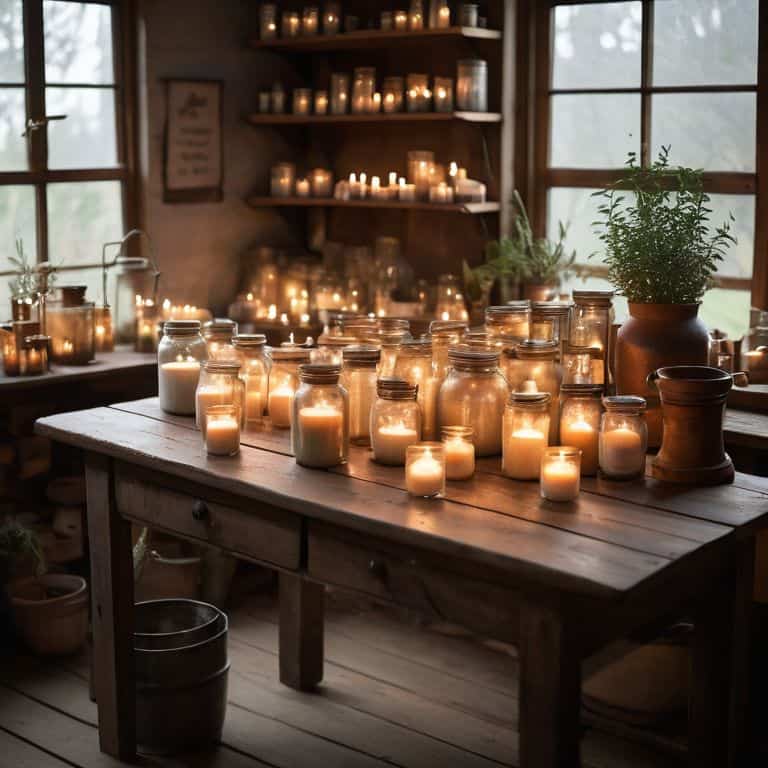
As I sit in my workshop, surrounded by the gentle glow of handmade candles, I’m reminded of the misconception that using essential oils in candle making is a complicated, overly technical process. But the truth is, it’s quite the opposite – with a little patience and practice, anyone can create their own unique, fragrant masterpieces. I’ve spent years perfecting my craft, and I’m excited to share my knowledge with you in this guide to using essential oils in candles. Whether you’re a seasoned maker or just starting out, I’ll walk you through the simple, intuitive steps to bring your candles to life.
In this article, I promise to give you the honest, straightforward advice you need to get started with essential oils in candle making. You’ll learn how to select the right oils, blend them for unique scents, and safely incorporate them into your candle creations. I’ll share my own experiences, tips, and tricks for overcoming common challenges, and provide you with a clear, step-by-step approach to making your own essential oil-infused candles. By the end of this guide to using essential oils in candles, you’ll be equipped with the knowledge and confidence to create your own beautiful, fragrant candles that reflect your personal style and tell a story of their own.
Table of Contents
- Guide Overview: What You'll Need
- Step-by-Step Instructions
- A Guide to Using Essential Oils in Candles
- Embracing the Art: 5 Key Tips for Infusing Essential Oils into Your Candle Making
- Embracing the Essence: 3 Key Takeaways for Crafting with Essential Oils
- Embracing the Art of Candle Craft
- Embracing the Art of Candle Craft
- Frequently Asked Questions
Guide Overview: What You'll Need
Total Time: 1 hour 15 minutes
Estimated Cost: $20 – $40
Difficulty Level: Easy
Tools Required
- Double boiler (or a heat-proof glass bowl)
- Thermometer (to monitor temperature)
- Colorant (optional)
Supplies & Materials
- Soy wax flakes (or other candle wax)
- Cotton candle wick (in various sizes)
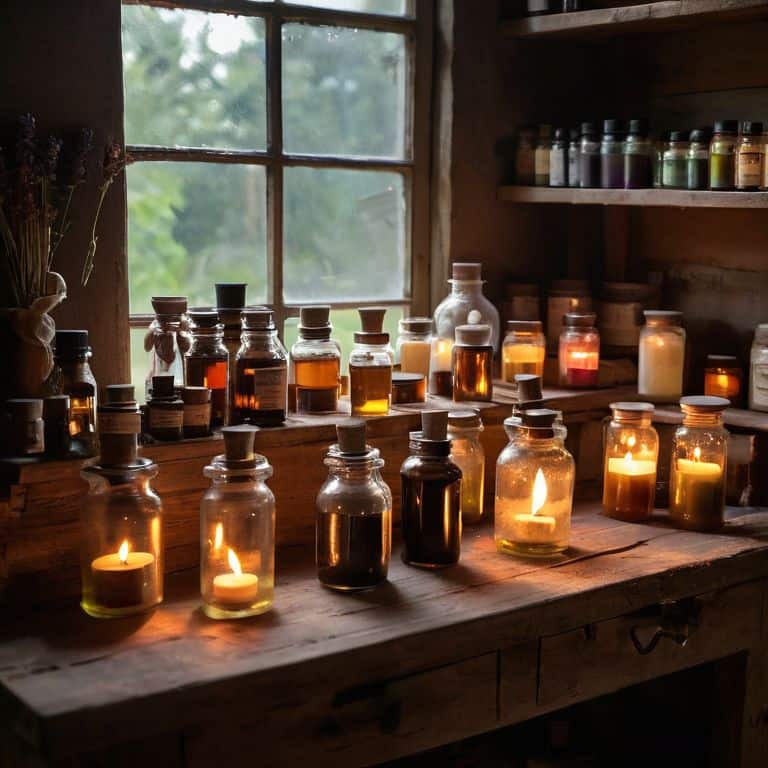
- Essential oils (such as lavender or eucalyptus)
- Melting pot (a dedicated pot for melting wax)
- Rubber spatula (for stirring and pouring wax)
- Candle mold (to shape your candle, approximately 6 inches tall)
Step-by-Step Instructions
- 1. To begin our journey into the world of essential oils in candle making, let’s start by preparing our workspace. This means gathering all our materials, including the essential oils, candle wax, a melting pot, and any colorants or herbs we wish to add for a unique touch. I find that having everything laid out before me helps me get into a creative flow, and it’s a great moment to take a few notes in my sketchbook about the project.
- 2. Next, we need to select our essential oils. This is where the magic happens, as different oils can evoke different emotions and atmospheres. For a calming candle, you might choose lavender or chamomile, while for an invigorating scent, peppermint or eucalyptus could be perfect. Remember, the quality of the essential oils can greatly affect the final product, so choose wisely.
- 3. Now, let’s melt our wax. This is a crucial step, as the temperature and the way we melt the wax can affect how well the essential oils blend with it. I prefer using a double boiler method to avoid overheating the wax, which can lead to a less stable candle. As the wax melts, it’s a good time to think about the color and texture we want to achieve with our candle.
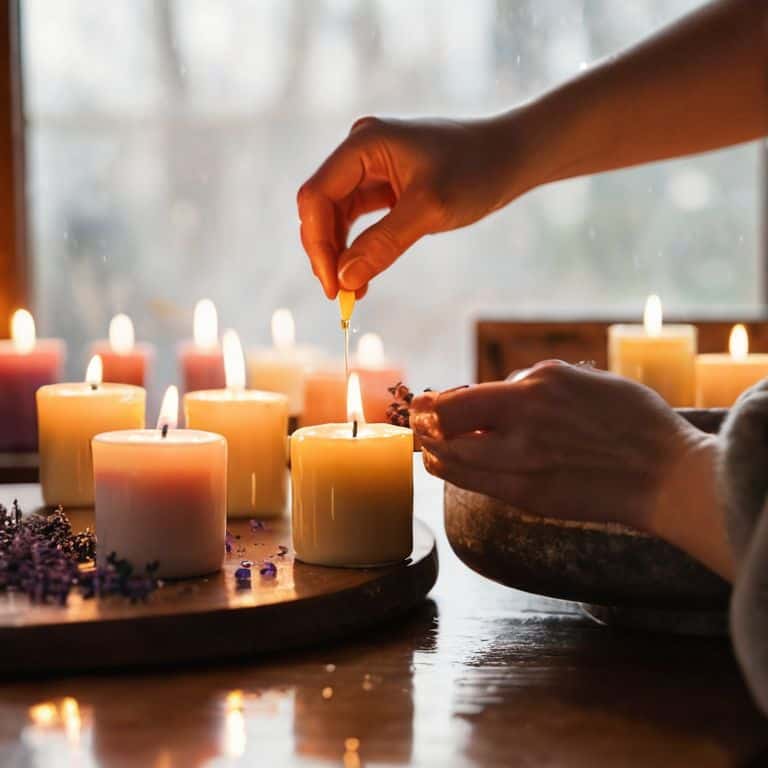
- 4. With our wax fully melted, it’s time to add the essential oils. The amount of oil to add can vary depending on the strength of scent you prefer and the type of wax you’re using. A general rule of thumb is to start with a small amount, about 5-7% of the total weight of the melted wax, and adjust from there. I love this part of the process because it’s where the candle starts to take on its personality.
- 5. After adding the essential oils, we should stir well and check the temperature. It’s important that the mixture cools slightly before pouring it into our candle mold, to prevent any deformities or uneven cooling, which can lead to a candle that doesn’t burn evenly. This step requires patience, as rushing it can lead to a candle that doesn’t meet our standards.
- 6. Now, we pour the mixture into our mold. This is an exciting moment, as we start to see our candle take shape. Make sure the mold is clean and dry to ensure the candle will release easily once it’s set. If we’re adding any herbs or decorations to the candle, now is the time to gently place them into the mold, creating a unique visual appeal.
- 7. The final step is to allow the candle to cool and harden. This can take several hours, depending on the size of the candle. Once hardened, we can remove it from the mold and trim the wick to the appropriate size. Our candle is now ready to use, filling our space with a warm, inviting glow and the soothing scent of our chosen essential oils.
A Guide to Using Essential Oils in Candles
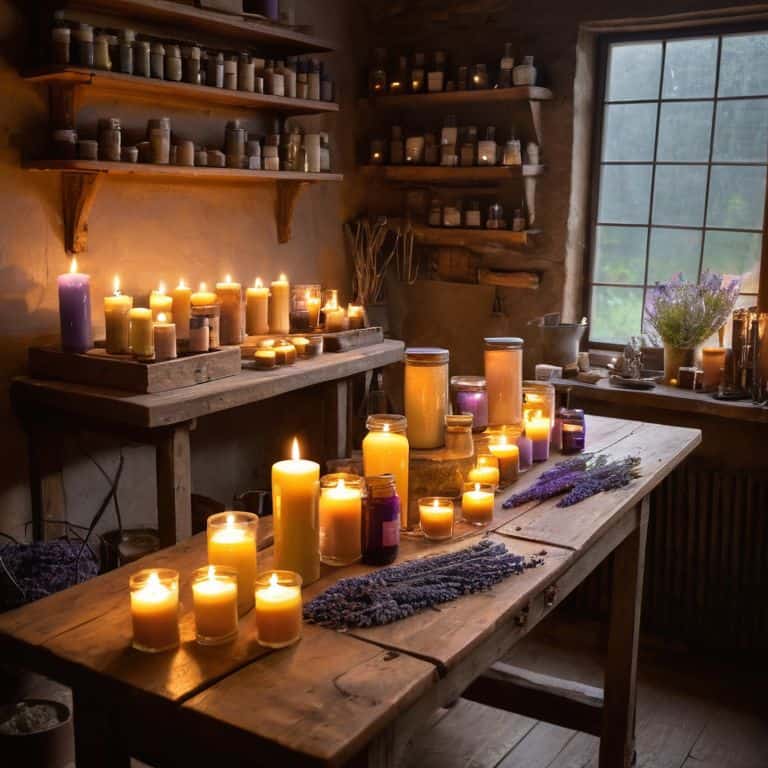
As I delve deeper into the world of candle crafting, I’ve come to appreciate the benefits of aromatherapy candles. Not only do they fill my space with a warm, inviting ambiance, but they also promote a sense of calm and relaxation. When it comes to creating these soothing candles, I always consider the therapeutic effects of different essential oils. For instance, lavender and chamomile are known for their calming properties, while citrus scents like lemon and orange can uplift and energize.
To achieve the perfect blend, I recommend experimenting with essential oil blends for relaxation. You can combine a few drops of bergamot with ylang-ylang and sandalwood to create a unique fragrance that promotes tranquility. When working with essential oils, it’s crucial to follow safety precautions to ensure a pleasant and safe burning experience. Always use high-quality oils and follow the recommended usage guidelines to avoid any potential risks.
As you explore the world of candle making, don’t be afraid to get creative with your candle making techniques for optimal scent throw. Try layering different scents or using unique fragrance combinations to create a one-of-a-kind candle. Remember, the key to a beautiful, fragrant candle is in the details – from the type of wax used to the creating unique fragrance combinations that fill your space with warmth and character.
Blending Oils for Relaxation and Calm
Blending Oils for Relaxation and Calm
As I sit in my workshop, surrounded by the soft glow of candles and the earthy scent of essential oils, I find myself drawn to the art of blending. It’s a process that requires patience, intuition, and a deep understanding of the oils. For a relaxing and calming atmosphere, I often combine lavender, chamomile, and bergamot. The sweetness of lavender and chamomile soothes the mind, while the subtle citrus note of bergamot lifts the spirit.
I love experimenting with different ratios, noting how each oil enhances or subtly shifts the overall aroma. A 2:1:1 ratio of lavender to chamomile to bergamot is a gentle starting point. As you blend, remember that the beauty lies in the imperfections – the unique character of each oil, the way they mingle and evolve over time.
Safety First Precautions for Essential Oil Use
As I work with essential oils in my candle-making process, I always remind myself that safety comes first. It’s crucial to handle these potent extracts with care, ensuring they don’t come into contact with skin or eyes. I make it a point to dilute them properly and use high-quality oils from trusted sources. A well-ventilated workspace is also a must, allowing me to breathe easy and avoid any overwhelming scents.
When blending oils, I take note of any potential allergies or sensitivities, and I always do a patch test before pouring the mixture into my candle molds. It’s all about respect for the materials and the process, and I believe that’s what sets handmade crafts apart. By being mindful of these precautions, I can focus on the creative journey, experimenting with unique blends and watching my candles come to life.
Embracing the Art: 5 Key Tips for Infusing Essential Oils into Your Candle Making
- I always start by selecting essential oils that resonate with the mood I want to create – for a calming ambiance, lavender and chamomile are my go-to choices
- Experimenting with different oil blends is an art form; keep a notebook to record your favorite combinations and the stories behind them
- Remember, a little goes a long way – start with a small amount of essential oil and adjust to your liking, as overpowering scents can be overwhelming
- Quality matters – invest in pure, high-quality essential oils to ensure your candles not only smell amazing but also provide the desired therapeutic benefits
- Don’t be afraid to get creative and pair your essential oils with unique candle materials, like soy wax or beeswax, to create truly one-of-a-kind pieces that reflect your personal style
Embracing the Essence: 3 Key Takeaways for Crafting with Essential Oils
I’ve found that the simplest blends often yield the most profound effects, allowing the unique characteristics of each essential oil to shine through in the candle’s gentle flame
Always remember, safety is paramount when working with essential oils – a little caution goes a long way in ensuring your creative journey is both enjoyable and risk-free
As you experiment with different essential oils and blends, don’t be afraid to let your personality shine through in your candle creations – after all, it’s the imperfections and personal touches that make handmade objects truly special
Embracing the Art of Candle Craft
As I carefully pour the wax, watching it solidify into a warm, golden glow, I’m reminded that the true beauty of candle making lies not just in the flame, but in the stories we infuse into every layer – the scent of essential oils, the texture of the wax, each element a brushstroke in the masterpiece of our own making.
Finn Rivera
Embracing the Art of Candle Craft
As we conclude this journey into the world of essential oils in candle making, remember that the key to creating truly unique and captivating candles lies in the blend of oils you choose and the attention to detail you bring to the process. From the safety precautions to the art of blending for relaxation and calm, each step is a testament to the beauty of handmade craftsmanship. Whether you’re a seasoned artisan or just beginning to explore the world of DIY candle making, the most important aspect is the story you tell through your creations.
As you embark on your own candle-making adventures, I encourage you to view each candle as a canvas of possibilities, where the flicker of the flame and the scent of the essential oils combine to evoke emotions and create ambiance. In the end, it’s not just about the candle; it’s about the moments it helps create, the memories it inspires, and the sense of accomplishment that comes from crafting something with your own hands.
Frequently Asked Questions
What are the most popular essential oil blends for creating a calming atmosphere in candles?
For a calming atmosphere, I swear by lavender and vanilla, or bergamot and ylang-ylang blends. These combinations are like a warm whisper to the senses, promoting relaxation and tranquility. I also love experimenting with chamomile and sandalwood for a soothing, earthy vibe. Each blend is a unique journey, so feel free to mix and match to find your perfect calm.
Can I use any type of essential oil in candle making, or are there specific ones that are safer or more suitable?
Not all essential oils are created equal when it comes to candle making. Some, like tea tree and eucalyptus, can be overpowering, while others, such as lavender and chamomile, are perfect for promoting relaxation. I stick to high-quality, candle-safe oils that are specifically designed for use in heat applications.
How do I determine the right amount of essential oil to add to my candle mixture for the perfect scent throw?
For me, it’s all about balance – I like to start with a small amount, about 5-7% of the total wax weight, and adjust to taste. Remember, you can always add more, but it’s trickier to remove excess oil. I jot down notes in my sketchbook as I experiment, finding that sweet spot where the scent is inviting, not overpowering.