A Guide on How to Make a Mould and Deckle for Papermaking
I still remember the first time I attempted how to make a mould and deckle for papermaking – it was a messy, frustrating experience that left me wondering if I’d ever get the hang of it. But as I delved deeper into the world of handmade paper, I discovered that the key to success lies not in expensive equipment or complex techniques, but in the simple, intentional process of crafting your own tools. There’s a common myth that making a mould and deckle is a daunting task, reserved for experienced craftsmen, but I’m here to tell you that with the right guidance, anyone can create their own.
As you embark on this journey with me, I promise to share practical, no-nonsense advice on how to bring your papermaking projects to life. In this article, we’ll explore the step-by-step process of crafting a mould and deckle, from selecting the right materials to assembling the final product. My goal is to empower you with the knowledge and confidence to create something truly unique and meaningful, and to show you that the beauty of handmade paper lies not just in its functionality, but in the story it tells. By the end of this guide, you’ll be equipped with the skills to make your own mould and deckle, and to start creating handmade paper that reflects your personal style and creativity.
Table of Contents
Guide Overview: What You'll Need
Total Time: 2 hours 30 minutes
Estimated Cost: $50 – $100
Difficulty Level: Intermediate
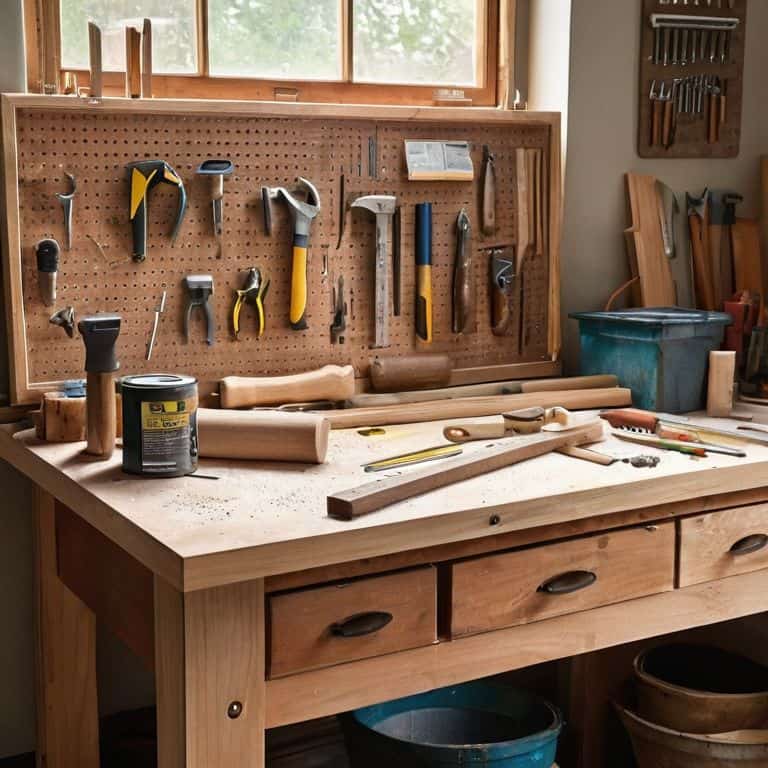
Tools Required
- Table Saw (for cutting lumber)
- Drill Press (for precise drilling)
- Sander (for smoothing wood surfaces)
- Utility Knife (with extra blades)
- Hammer (for tapping pieces into place)
- Tape Measure (for accurate measurements)
- Square (for ensuring corners are square)
- Clamps (for holding pieces together while gluing)
Supplies & Materials
- 2-in x 4-in lumber (for frame construction)
- 1/4 inch plywood (for deckle bottom)
- Wire mesh (for mould screen)
- Wood glue
- Nails or screws (for assembling frame)
- Waterproof glue (for sealing edges)
- Paint or varnish (optional, for protecting wood)
Step-by-Step Instructions
- 1. To start, gather your materials and tools, as this will be a hands-on project that requires some patience and dedication. You’ll need a piece of plywood or MDF for the mould, a frame to hold it together, a metal mesh or a nylon screen for the deckle, and some basic woodworking tools like a saw, drill, and sandpaper. Take a moment to sketch out your design in your notebook, considering the size and shape of your mould and deckle.
- 2. Next, cut out the plywood or MDF to the desired size for your mould, using a circular saw or a handheld saw. Remember, the size of your mould will determine the size of your handmade paper, so choose a size that works for you. I prefer to work with smaller sizes, as they allow for more experimental freedom and are easier to handle.
- 3. Now, it’s time to create the frame that will hold your mould together. Cut four pieces of wood to the appropriate length, and use a drill to make holes for the screws. Assemble the frame using wood glue and screws, making sure it is sturdy and can hold the mould in place. This step requires some attention to detail, so take your time.
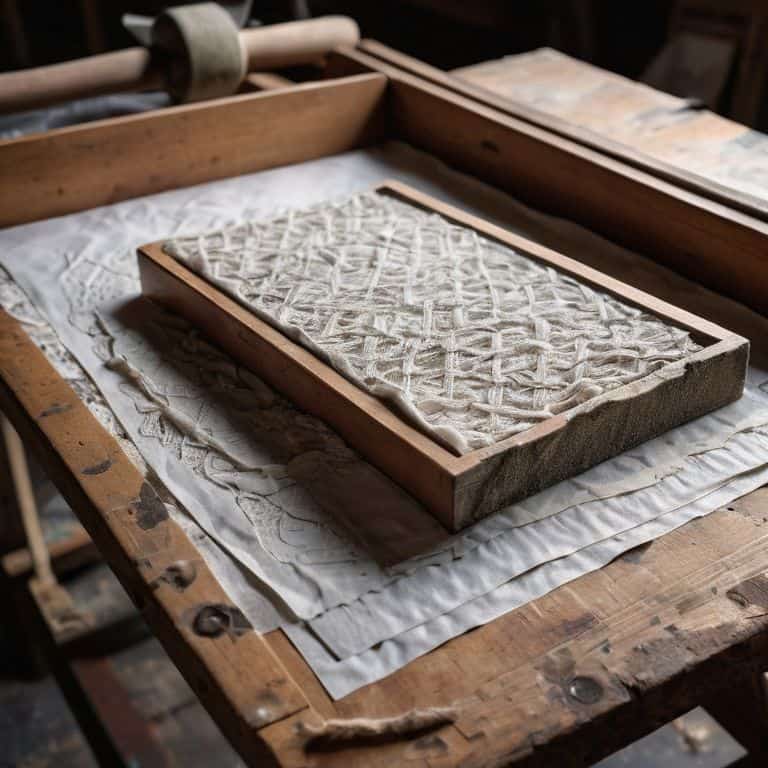
- 4. With the frame ready, attach the metal mesh or nylon screen to the inside of the mould, using a staple gun or glue. This will serve as your deckle, and its mesh size will affect the texture of your handmade paper. For a more textured paper, use a mesh with larger holes, and for a smoother paper, use a mesh with smaller holes.
- 5. Once the deckle is in place, add a handle to the mould, making it easier to lift and pour the paper mixture. You can use a simple wooden or plastic handle, attaching it with screws or glue. This is a small but crucial detail that will make working with your mould and deckle much more comfortable.
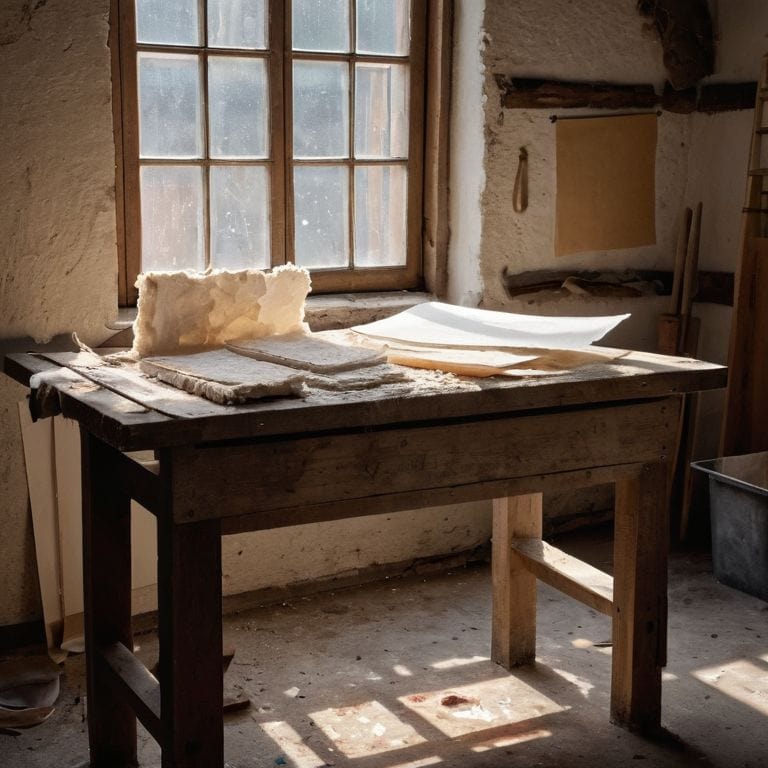
- 6. Before you start making paper, test your mould and deckle by filling it with water and checking for any leaks. This is an important step, as you want to ensure that your mould is watertight and the deckle is securely attached. Make any necessary adjustments before proceeding.
- 7. Finally, it’s time to start making your handmade paper. Mix your pulp according to your recipe, and pour it into the mould. Use the deckle to create the desired texture and pattern, and then lift the mould to allow the water to drain. This is the most rewarding part of the process, as you get to see your paper come to life.
Crafting Soulful Paper
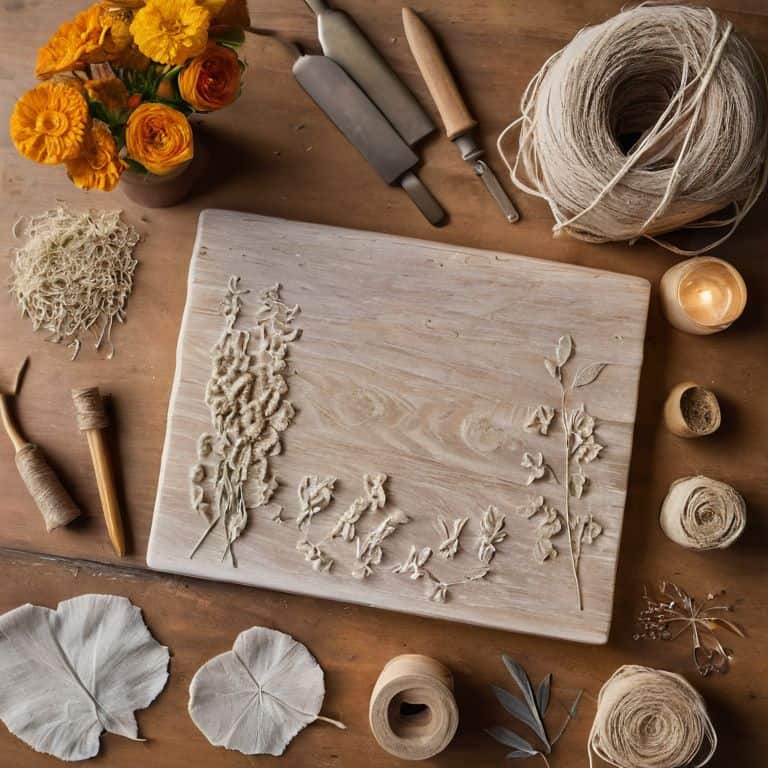
As I work with the mould and deckle, I’m reminded that the true magic happens in the paper pulp preparation methods. It’s here that you can experiment with different fibers, colors, and textures to create unique, one-of-a-kind papers. I love adding natural elements like leaves or flowers to give my papers an organic feel. When it comes to the mould and deckle itself, the materials you choose can greatly impact the final product. For instance, a wooden mould will produce a different texture than a plastic one, making a mould and deckle materials comparison essential for achieving the desired result.
The process of creating handmade paper is just as important as the end result. I find that the diy papermaking equipment tutorials I’ve created help to demystify the process, making it more accessible to everyone. By understanding the handmade paper texture techniques, you can control the texture and consistency of your paper, allowing you to create a wide range of effects. From smooth and silky to rough and organic, the possibilities are endless.
As you work with your mould and deckle, remember that the goal is to create something truly unique and soulful. Don’t be afraid to experiment and try new things – it’s all part of the paper formation process explanation. By embracing the imperfections and quirks of handmade paper, you’ll create something that’s not only beautiful but also tells a story. With practice and patience, you’ll develop your own style and technique, and the joy of creating something with your own hands will be incredibly rewarding.
Mould and Deckle Materials Compared
When it comes to choosing materials for your mould and deckle, the options can be overwhelming. I’ve worked with everything from sturdy oak to delicate cherry wood, and each has its own unique character. The key is to select materials that not only serve their purpose but also resonate with you. For my own projects, I often opt for reclaimed wood, with its rich history and beautiful imperfections. The worn, weathered texture seems to infuse the paper with a sense of story and depth.
In contrast, metals like aluminum or stainless steel can bring a sleek, modern feel to your papermaking. While they may lack the warmth of wood, they offer a durability and versatility that’s hard to match. Ultimately, the choice of material will depend on the aesthetic and feel you’re aiming for in your handmade paper. By considering the unique qualities of each material, you can craft paper that’s not only functional but also a reflection of your own creative vision.
Paper Pulp Preparation for Handmade Texture
As I mix and match different fibers, I love watching the pulp come to life. It’s amazing how various combinations can yield unique textures and visual interest. To infuse your handmade paper with character, experiment with blending recycled paper, cotton linters, or plant fibers like hemp or flax. The key is to find the perfect balance between strength and pliability. I often add a touch of natural dye to the pulp, allowing the colors to meld and create subtle, earthy hues.
By carefully preparing your paper pulp, you’ll be able to achieve a wide range of textures and effects, from smooth and supple to rough and organic. This is where the magic happens, and your paper begins to tell its own story.
Bringing Your Mould and Deckle to Life: 5 Essential Tips
- Choose materials that speak to you – whether it’s the warmth of wood or the durability of metal, your mould and deckle should reflect the story you want your handmade paper to tell
- Experiment with different mesh sizes for your deckle to achieve unique textures and patterns, adding an extra layer of character to your paper
- Don’t be afraid to add your own personal touch to the design of your mould and deckle – a small engraving or a handmade handle can make all the difference in the world
- Consider the type of paper you want to make and adjust your mould and deckle accordingly – thicker paper might require a deeper mould, while thinner paper can be made with a shallower one
- Remember, the imperfections are what make it beautiful – don’t stress too much about achieving perfection, and instead, focus on the journey of creating something with your own hands
Embracing the Art of Handmade Papermaking: 3 Key Takeaways
By crafting your own mould and deckle, you’re not just creating a tool, you’re giving your handmade paper a unique character that reflects your personal touch
Choosing the right materials for your mould and deckle, such as wood or plastic, can significantly impact the texture and quality of your handmade paper, making each sheet a distinct piece of art
Experimenting with different paper pulp preparations and techniques can help you achieve a wide range of textures and effects, from smooth and refined to rough and organic, allowing you to tell a story through every handmade sheet
The Heart of Papermaking
As I shape each piece of wood and weave the deckle’s mesh, I’m reminded that the true art of papermaking lies not in perfection, but in the gentle imperfections that tell the story of human touch.
Finn Rivera
Bringing Your Papermaking Journey Full Circle
As we conclude this journey of creating a mould and deckle for papermaking, let’s reflect on the key elements that bring this craft to life. From carefully selecting the materials for your mould and deckle, to the meticulous process of preparing the paper pulp for that unique, handmade texture, each step is a testament to the beauty of DIY and the story it tells. The comparison of materials, the preparation of pulp, and the actual crafting of your mould and deckle all contribute to a fulfilling experience that not only results in beautiful, functional items but also in a deeper connection to the craft itself.
Now, as you embark on your papermaking adventures, remember that the true magic lies not just in the end product, but in the process itself. The imperfections, the surprises, and the learning moments all culminate in a creation that is truly yours. So, don’t be afraid to experiment, to try new things, and to see where this journey takes you. For in the world of handmade crafts, it’s often the unexpected twists that lead to the most soulful creations.
Frequently Asked Questions
What type of wood is best suited for making a mould and deckle for papermaking?
For a mould and deckle, I recommend using hardwoods like birch or beech – they’re durable and resistant to water damage. I personally love working with birch, its tight grain pattern creates a smooth surface for forming paper.
How do I achieve the perfect mesh size for my deckle to ensure consistent paper texture?
To achieve the perfect mesh size, I recommend experimenting with different screen materials, like nylon or metal, and adjusting the weave density. A good starting point is a mesh size between 80-100 threads per inch. This balance allows for even pulp distribution, giving your handmade paper a beautiful, consistent texture.
Can I use a pre-made frame or do I need to build the mould and deckle from scratch for optimal results?
While pre-made frames can work, I prefer building from scratch to ensure a perfect fit and optimal water drainage. It’s all about the details – a handmade mould and deckle allows for a more personal touch, and that’s where the magic happens. Trust me, the extra effort is worth it for that unique, soulful paper.


