A Simple Guide on How to Press and Dry Handmade Paper
As I sit amidst the chaos of my workshop, surrounded by half-finished projects and the scent of freshly cut wood, I’m reminded of the countless times I’ve been asked about the art of pressing and drying handmade paper. It’s a question that gets to the heart of what I love about working with natural materials – the unpredictability, the uniqueness, and the story that each piece tells. When it comes to how to press and dry handmade paper, I’ve found that it’s not just about following a set of instructions, but about understanding the delicate dance between fiber, water, and pressure.
In this article, I’ll share my personal approach to pressing and drying handmade paper, one that’s been honed through years of trial and error. You’ll learn the simple, yet essential steps to bring your handmade paper creations to life, from preparing the fibers to carefully drying the final product. I’ll show you how to press and dry handmade paper in a way that preserves its unique character, and imbues it with a sense of soul and history. By the end of this guide, you’ll be equipped with the knowledge and confidence to create your own stunning, handmade paper pieces that tell a story of their own.
Table of Contents
- Guide Overview: What You'll Need
- Step-by-Step Instructions
- Pressing Life Into Paper
- Embracing the Art: 5 Essential Tips for Pressing and Drying Handmade Paper
- Embracing the Art of Handmade Paper Crafting: 3 Key Takeaways
- The Art of Preservation
- Embracing the Art of Handmade Paper
- Frequently Asked Questions
Guide Overview: What You'll Need

Total Time: 2 hours 30 minutes
Estimated Cost: $20 – $40
Difficulty Level: Intermediate
Tools Required
- Brayer (for smoothing out air bubbles)
- Iron (with a pressing cloth)
- Weight (such as a heavy book or a 5-pound weight)
- Ruler (for measuring and flattening)
- Cutting mat (for protecting work surface)
- Parchment paper (or a similar pressing sheet, 11 inches x 17 inches)
Supplies & Materials
- Handmade paper (created from pulp or purchased)
- Water (for soaking and pressing)
- Sponge (for blotting excess water)
- Towels (for drying and absorbing moisture)
- Cardboard sheets (for pressing and separating, 8 inches x 10 inches)
Step-by-Step Instructions
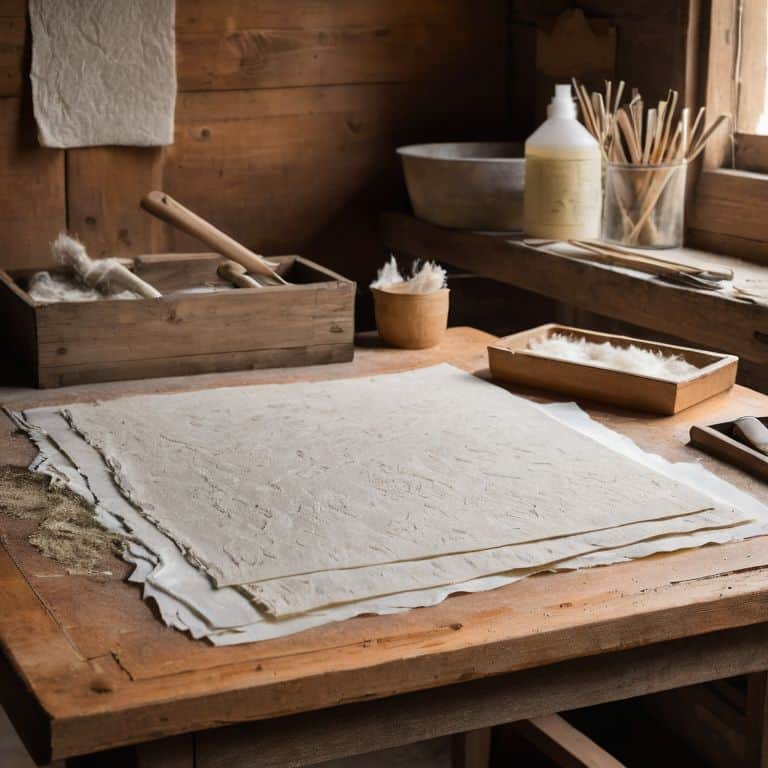
- 1. First, let’s start by preparing our handmade paper for the pressing process – I like to think of this as the moment when our raw materials begin to transform into something truly special. We’ll need to gather a few essential tools, including a brayer, a pressing board, and some heavy objects like books or weights. As I always say, the imperfections in handmade objects are what give them their character, so don’t worry if your paper isn’t perfectly uniform – it’s all part of the charm.
- 2. Next, we’ll need to create a pressing station by placing the pressing board on a flat surface and covering it with a sheet of cardboard or a damp cloth. This will help to absorb excess moisture and prevent our paper from becoming too brittle or prone to tearing. I find that using a combination of natural materials, like cotton and wood, helps to create a sense of harmony in the workshop.
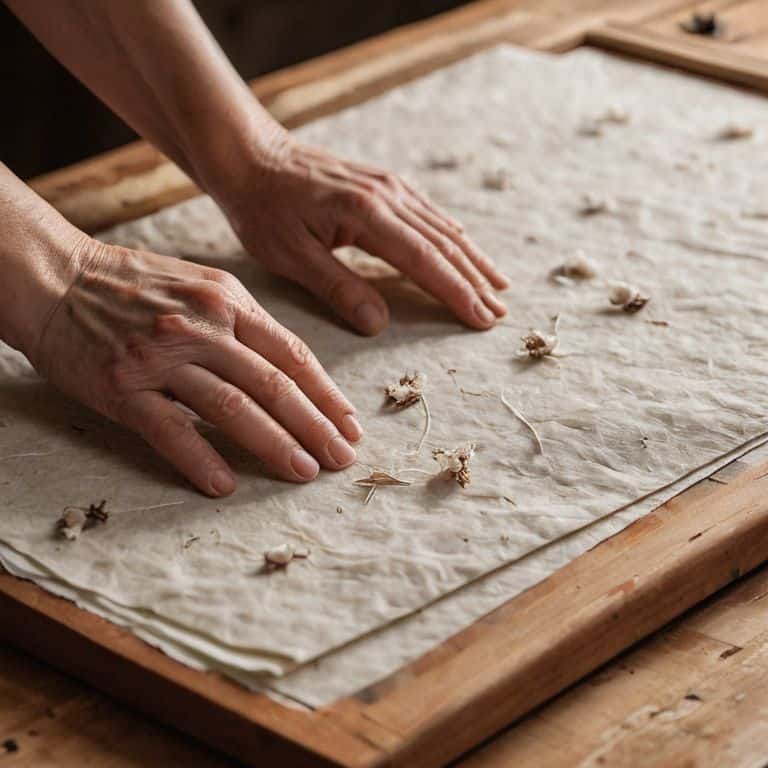
- 3. Now it’s time to carefully place our handmade paper onto the pressing station, making sure to smooth out any wrinkles or air pockets. I like to use a gentle touch, almost as if I’m handling a delicate leaf – this helps to prevent any damage or creasing. As we work, I encourage you to think about the story behind your paper, from the raw materials to the final product.
- 4. With our paper in place, we can start to add the weights or heavy objects, applying even pressure to ensure that the paper is pressed uniformly. I often use a combination of books and weights, as this allows me to control the amount of pressure and avoid over-pressing the paper. Remember, the goal is to create a smooth, flat surface that’s perfect for writing, drawing, or other creative pursuits.
- 5. As we wait for the paper to press, I like to take a moment to appreciate the simple beauty of the process – the way the light reflects off the surface of the paper, the sound of the weights shifting slightly as they settle into place. It’s a meditative experience, one that encourages us to slow down and appreciate the value of handmade craftsmanship.
- 6. After several hours or overnight, we can carefully remove the weights and inspect our paper to see if it’s reached the desired level of dryness. If it still feels slightly damp or fragile, we can repeat the pressing process as needed, using a gentle touch to avoid damaging the paper. I find that patience is key when working with handmade materials – it’s all about allowing the natural processes to unfold in their own time.
- 7. Finally, once our paper is fully dry and pressed, we can trim it to size and prepare it for use in our next creative project. I love this moment, as it’s a chance to see our handmade paper come to life in a new and exciting way – whether it’s as a journal page, a piece of artwork, or something entirely different. The possibilities are endless, and that’s what makes this process so rewarding.
Pressing Life Into Paper
As I work with handmade paper, I’m reminded of the beauty of traditional papermaking techniques. The process of pressing and drying is where the magic happens, and the paper starts to take on its unique character. I love experimenting with different natural fiber paper production methods to achieve distinct textures and colors. By paying attention to the details, you can create paper that’s not only functional but also a work of art.
When it comes to paper pressing methods, I’ve found that a combination of gentle pressure and patience yields the best results. It’s essential to avoid over-pressing, which can lead to a dense, brittle paper. Instead, I opt for a more nuanced approach, using a series of soft presses to coax the water out of the fibers. This technique allows the paper to retain its handmade paper texture, giving it a unique, organic feel.
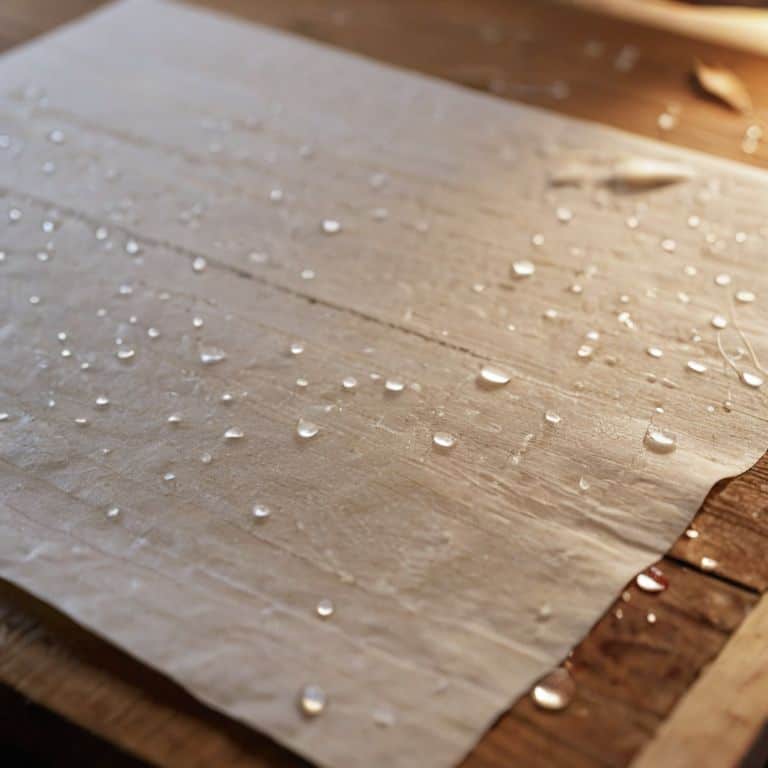
To speed up the drying process, I often use a combination of air circulation and gentle heat. However, it’s crucial to avoid drying handmade paper quickly, as this can cause it to become misshapen or develop unwanted creases. By taking the time to dry your paper slowly and naturally, you can ensure that it retains its beauty and character. With a little practice and patience, you’ll be able to create stunning, one-of-a-kind papers that reflect your unique style and creativity.
Avoiding Mistakes in Handmade Paper Drying
As I carefully lay out my handmade paper to dry, I’m reminded of the importance of patience and attention to detail. One of the most common mistakes I’ve made in the past is rushing the drying process, only to end up with warped or brittle sheets. To avoid this, I make sure to dry my paper slowly and naturally, either by air-drying it or using a gentle press. It’s also crucial to keep the paper away from direct sunlight and heat sources, as these can cause the fibers to shrink or become discolored.
By taking the time to dry my handmade paper correctly, I can ensure that it retains its unique texture and character. I’ve learned to embrace the small imperfections that can occur during the drying process, as these often add to the paper’s charm and individuality. With a little practice and patience, you can achieve beautiful, professional-looking results that will elevate your handmade paper creations to the next level.
Traditional Techniques for Natural Fiber
As I delve into the world of natural fibers, I’m reminded of the beauty of traditional techniques. For me, it’s about embracing the unique characteristics of each material, whether it’s the softness of cotton or the ruggedness of hemp. I love how these fibers respond to gentle pressing and drying, their textures and colors evolving with each step. By working with natural fibers, I feel like I’m tapping into a timeless craft, one that requires patience, attention to detail, and a deep respect for the materials.
In my workshop, I often experiment with different natural fibers, combining them in unexpected ways to create something truly unique. The process is just as important as the end result – the slow, meditative pace of pressing and drying allows me to connect with the materials on a deeper level. It’s a chance to appreciate the subtle imperfections that make each piece truly handmade, and to infuse them with a sense of soul and story.
Embracing the Art: 5 Essential Tips for Pressing and Drying Handmade Paper
- Allow your handmade paper to dry slowly and naturally, as forced drying can lead to cracks and weak spots, undermining the integrity of your craft
- Use a brayer or a similar tool to gently remove excess water from the paper before pressing, ensuring an even surface for the drying process
- Invest in a good quality press or make your own using plywood and screws, as the right tools can make a significant difference in the outcome of your handmade paper
- Experiment with different pressing techniques, such as using weights or clamps, to find the method that works best for the specific type of paper you’re creating
- Keep a notebook to record your experiments and outcomes, as tracking your process can help you refine your technique and develop a personal style in handmade paper crafting
Embracing the Art of Handmade Paper Crafting: 3 Key Takeaways
By embracing the natural imperfections that arise during the handmade paper process, you can create truly unique and soulful pieces that reflect your personal touch
Traditional techniques for pressing and drying handmade paper, such as using natural fibers and gentle pressure, can help you achieve professional-looking results without sacrificing the character of your creations
Whether you’re a seasoned artisan or a beginner, the journey of crafting handmade paper is just as important as the final product – don’t be afraid to experiment, learn from your mistakes, and let your creativity shine through in every step of the process
The Art of Preservation
As we press and dry our handmade paper, we’re not just removing moisture, we’re infusing each fiber with a story of patience and dedication – the true essence of handmade craftsmanship.
Finn Rivera
Embracing the Art of Handmade Paper
As we’ve explored the world of handmade paper, from the initial creation to the delicate process of pressing and drying, it’s clear that this craft is not just about producing a material, but about infusing it with life. We’ve discussed traditional techniques for natural fibers, and touched upon the importance of avoiding mistakes in the drying process to preserve the integrity and uniqueness of each piece. By following these steps and tips, you’ll not only end up with beautiful, handmade paper but also with a deeper appreciation for the craftsmanship that goes into creating something with your own hands.
As you embark on your own journey of handmade paper creation, remember that the true beauty lies not in perfection, but in the imperfections that make each piece unique. Don’t be afraid to experiment, to try new things, and to let your personality shine through in every fold, every crease, and every delicate fiber. In the end, it’s not just about making paper; it’s about telling a story through the materials you choose, the techniques you apply, and the love you put into every step of the process.
Frequently Asked Questions
What are the best materials to use for pressing and drying handmade paper to achieve optimal results?
For me, it’s all about natural materials – I swear by bamboo presses, cotton cloths, and wooden boards. There’s something special about using these earthy elements to coax out the unique textures of handmade paper. Give them a try, and you’ll see what I mean!
How can I prevent handmade paper from becoming too brittle or prone to tearing during the drying process?
To prevent brittleness, I gently stretch and manipulate the paper while it’s still damp, coaxing out any excess water. Then, I dry it slowly, either air-drying or using a gentle press, making sure not to over-dry, as this can cause the fibers to become fragile and prone to tearing.
Are there any alternative methods for drying handmade paper, such as using a hair dryer or an oven, and if so, what are the risks and benefits?
While it’s tempting to speed up the drying process, I advise against using hair dryers or ovens – they can cause paper to shrink, crack, or become brittle. Instead, I recommend air drying or using a gentle press to preserve the natural texture and integrity of your handmade paper.


