A Guide to Different Types of Wood Finishes
I still remember the first time I tried to apply a wood finish to a handmade chair – it was a disaster. The finish was uneven, and the color was completely off from what I had envisioned. But that’s when I learned the importance of understanding the different types of wood finishes and how to apply them correctly. As a maker, I’ve come to realize that a good finish can make or break a piece, which is why I’m excited to share my knowledge with you in this a guide to different types of wood finishes. I’ve spent years experimenting with various techniques and materials, and I’m eager to pass on my expertise to help you bring out the natural beauty of your own wood creations.
In this article, I’ll take you through the process of selecting and applying the perfect wood finish for your project. You’ll learn about the different types of finishes, from oil-based to water-based, and how to choose the right one for your specific needs. I’ll also share some of my favorite tips and tricks for achieving a professional-looking finish without breaking the bank. Whether you’re a seasoned maker or just starting out, this guide is designed to provide you with the practical advice and inspiration you need to take your woodworking projects to the next level.
Table of Contents
- Guide Overview: What You'll Need
- Step-by-Step Instructions
- A Guide to Different Types of Wood Finishes
- Bringing Wood to Life With Natural Oil Based Finishes
- Polyurethane Wood Finish Application for a Timeless Look
- Finishing Touches: 5 Essential Tips for Bringing Out the Best in Your Wood
- Key Takeaways for the Aspiring Woodworker
- The Heart of the Craft
- Embracing the Beauty of Wood Finishes
- Frequently Asked Questions
Guide Overview: What You'll Need
Total Time: 2 hours 30 minutes
Estimated Cost: $50 – $100
Difficulty Level: Intermediate
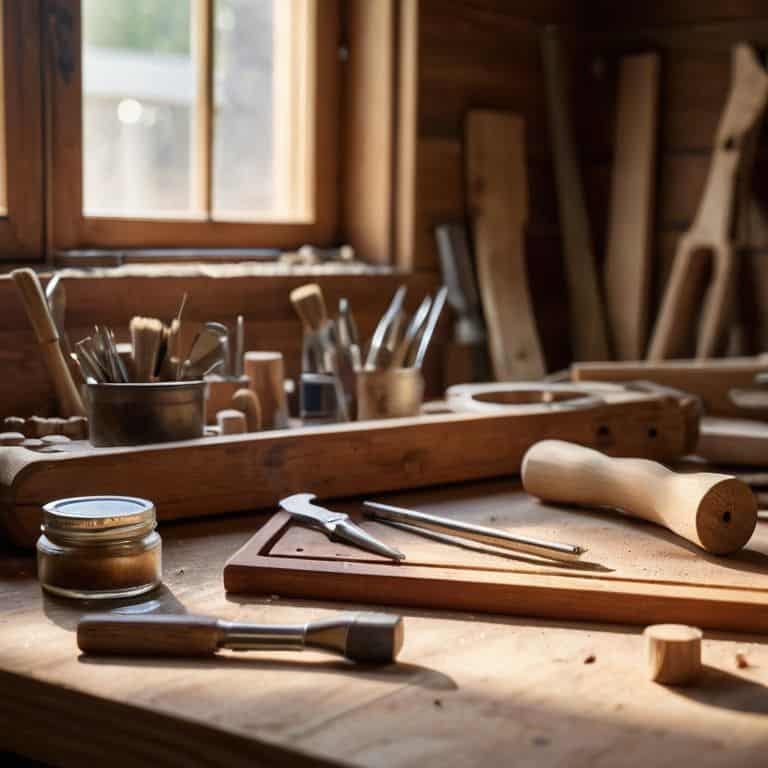
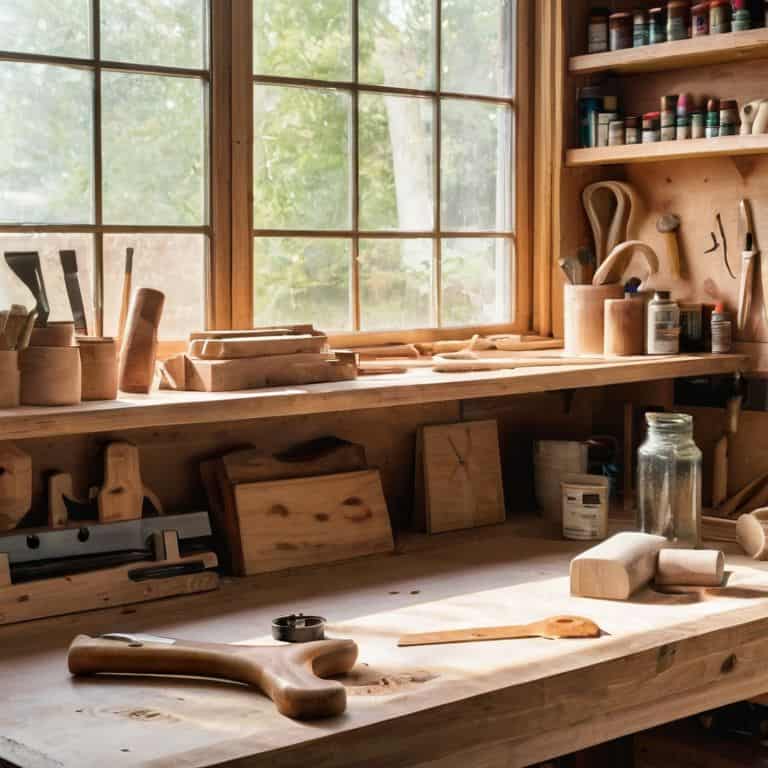
Tools Required
- Sandpaper (various grits)
- Paintbrushes (different sizes)
- Rags (lint-free)
- Measuring cups (for mixing finishes)
- Stirring sticks (for mixing finishes)
Supplies & Materials
- Polyurethane finish
- Wax finish
- Oil-based stain
- Water-based stain
- Lacquer
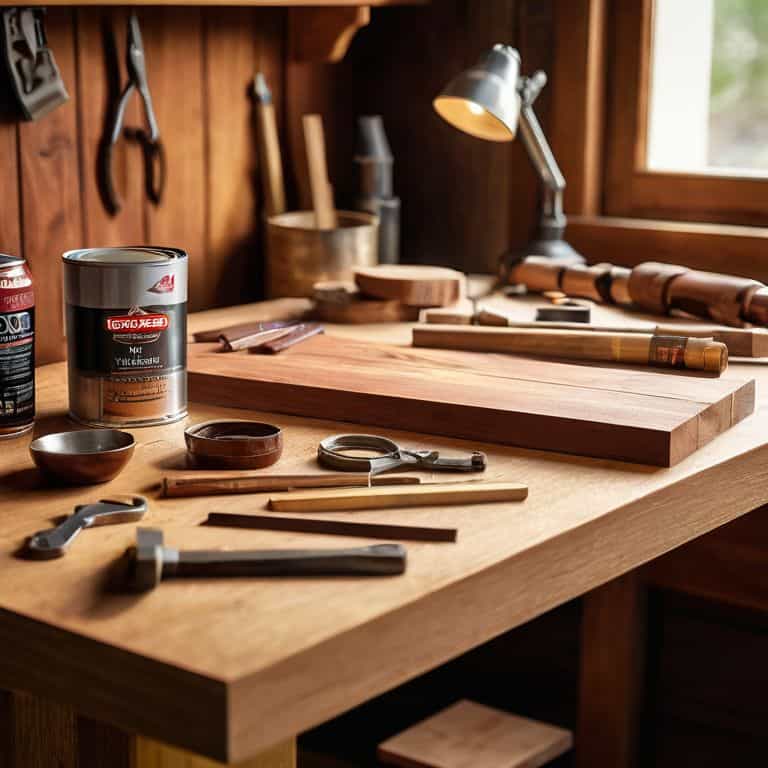
Step-by-Step Instructions
- 1. First, gather your materials, including the type of wood you want to finish, a variety of stains or finishes, and the necessary tools like brushes, rags, and a well-ventilated workspace. I always start by sketching out my project in my notebook, considering the natural grain of the wood and how it will interact with the finish.
- 2. Next, prepare your wood by sanding it to a smooth surface. This is a crucial step, as any imperfections will be highlighted by the finish. I use a combination of hand sanding and power tools to get the job done, always working with the grain to avoid scratching the wood. Remember, the goal is to create a surface that’s ready for the finish, not to remove the character of the wood.
- 3. Now it’s time to choose your finish. This is where the magic happens, and you get to decide the personality of your piece. From a warm, honey-colored stain to a sleek, modern polyurethane, the options are endless. Consider the style you’re aiming for, as well as the functionality of the piece – a piece that will be handled frequently may require a more durable finish.
- 4. Once you’ve selected your finish, it’s time to apply it. This is the most exciting part of the process, as you get to see your project come to life. Always follow the manufacturer’s instructions for application, and be sure to work in a well-ventilated area. I like to use a brush or rag to apply the finish, as it allows for more control and can help prevent a uniform, factory-like appearance.
- 5. After applying the finish, allow it to dry completely according to the manufacturer’s instructions. This can be the hardest part of the process – waiting for the finish to cure so you can see the final result. But be patient, as rushing this step can result in a finish that’s uneven or prone to damage. I like to use this time to work on other projects, or simply to step back and admire my handiwork.
- 6. Once the finish is dry, it’s time to inspect and touch up any areas that may need it. This is where you can add additional coats of finish, or use a small brush to fix any mistakes. I also like to use this opportunity to add any decorative elements, such as a small inlay or a carved design.
- 7. Finally, seal and protect your finish with a clear coat of polyurethane or wax. This will help to lock in the color and protect the wood from spills and scratches. I like to use a water-based polyurethane, as it’s easy to apply and dries quickly, allowing me to get my project into use sooner. And with that, your wood finish project is complete – a true testament to the beauty of handmade.
A Guide to Different Types of Wood Finishes
As I delve into the world of wood finishes, I’m reminded of the importance of understanding the material. Each type of wood has its unique characteristics, and choosing the right finish can make all the difference. For instance, when working with outdoor furniture, it’s essential to opt for a water based wood finish that can withstand the elements. This type of finish is not only durable but also eco-friendly, making it a popular choice among DIY enthusiasts.
When it comes to applying a finish, I always recommend polyurethane wood finish application for its ease of use and versatility. This finish can be used on a variety of wood types and provides a beautiful, glossy sheen. However, it’s crucial to follow the manufacturer’s instructions and apply thin coats to avoid a sticky mess. For those looking for a more natural approach, natural oil based wood finishes are a great alternative. These finishes not only enhance the wood’s appearance but also provide a sense of warmth and character.
In my experience, the key to a successful DIY wood finish project is attention to detail. Whether you’re working on a small repair or a full-scale renovation, it’s essential to take your time and ensure that each step is done with care. This includes preparing the wood surface, applying the finish, and allowing it to dry according to the instructions. By following these simple tips and choosing the right finish for your project, you’ll be able to create a beautiful and functional piece that will last for years to come.
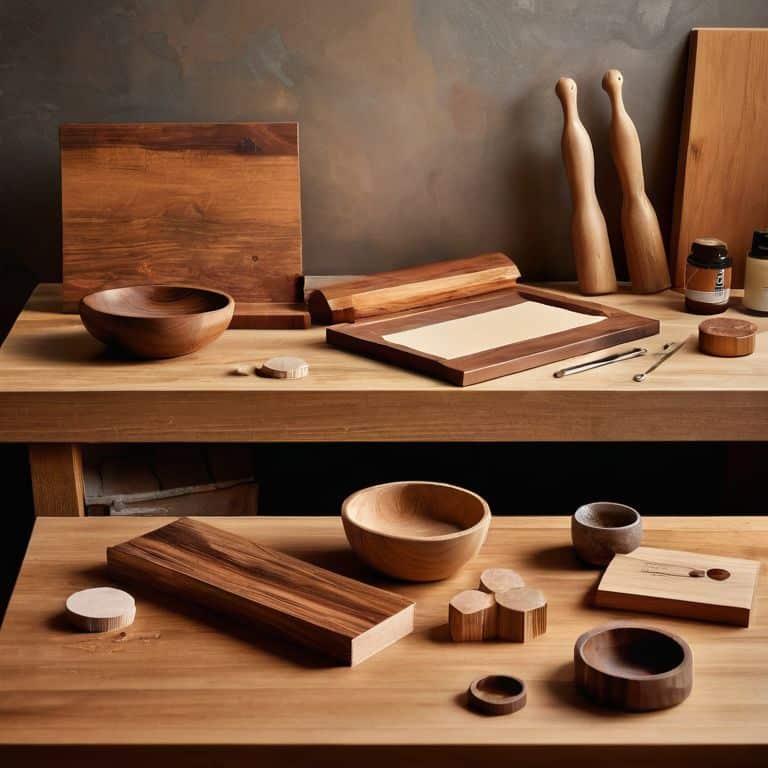
Bringing Wood to Life With Natural Oil Based Finishes
When I think about bringing wood to life, I always come back to natural oil-based finishes. There’s something special about watching a piece of wood transform with a simple application of oil. I’ve worked with everything from tung oil to linseed oil, and each one has its own unique character. The way the oil seeps into the grain, highlighting the natural texture and pattern of the wood, is just magic.
I love how natural oil-based finishes allow the wood to breathe, maintaining its natural moisture levels and preventing it from becoming too dry or brittle. It’s a finish that not only protects the wood but also enhances its beauty, creating a warm, inviting glow that only gets better with age. Whether you’re working with a dense hardwood or a softwood, natural oil-based finishes are a great way to bring out the inherent beauty of the material.
Polyurethane Wood Finish Application for a Timeless Look
When it comes to achieving a timeless look, polyurethane wood finish is a top choice. I love how it enhances the natural beauty of the wood while providing a durable protective coat. To apply polyurethane, start by preparing your surface – a smooth, sanded wood is essential for an even finish. Then, use a high-quality brush or foam applicator to spread a thin, even layer of polyurethane, working in the direction of the wood grain.
For a deeper, richer look, I recommend applying multiple thin coats, allowing each layer to dry before adding the next. This technique not only ensures a stunning finish but also helps prevent drips and unevenness. With polyurethane, the key is patience – taking your time to build up the finish will result in a truly exceptional piece that stands the test of time.
Finishing Touches: 5 Essential Tips for Bringing Out the Best in Your Wood
- Choose a finish that complements the natural grain and color of the wood, rather than overpowering it
- Always test a small, inconspicuous area of the wood before applying a finish to ensure compatibility and desired results
- Consider the intended use of the finished piece and select a finish that provides the right balance of protection and aesthetics
- Apply thin, even coats of finish, allowing each layer to dry according to the manufacturer’s instructions before adding additional coats
- Don’t be afraid to experiment and combine different finishes to create a unique, one-of-a-kind look that reflects your personal style and creativity
Key Takeaways for the Aspiring Woodworker
As you experiment with different wood finishes, remember that each one is a storytelling opportunity – from the warm glow of natural oil to the sleek sheen of polyurethane, the finish you choose sets the tone for the entire piece
Natural oil-based finishes and polyurethane each have their unique advantages, whether it’s the ease of application, the depth of color, or the level of protection they offer – it’s about finding the right fit for your project’s narrative
Ultimately, the art of wood finishing is about balance – between protecting the material, enhancing its beauty, and allowing its natural character to shine through – it’s a dance between preservation and expression, where the imperfections are just as valuable as the perfection
The Heart of the Craft
The right wood finish is not just a protective coat, but a revelation of the material’s inner beauty – it’s where the story of the wood and the maker converge.
Finn Rivera
Embracing the Beauty of Wood Finishes
As we’ve explored the world of wood finishes, from natural oil-based finishes to polyurethane applications, it’s clear that each type has its own unique characteristics and uses. By understanding the different options available, you can make informed decisions about how to bring out the best in your wooden creations, whether you’re a seasoned maker or just starting out. The key to mastering wood finishes lies in experimentation and patience, as you learn to appreciate the subtle nuances of each finish and how it enhances the natural beauty of the wood.
So, as you embark on your next project, remember that the finish you choose is not just a practical decision, but a creative opportunity to tell a story through your craft. By embracing the imperfections and unique qualities of handmade objects, you’re not only creating something functional and beautiful, but also infusing it with your own personal touch, making it a true reflection of your skill and passion as a maker.
Frequently Asked Questions
What are the most eco-friendly wood finish options for my DIY project?
For an eco-friendly wood finish, I swear by natural wax, tung oil, or linseed oil. These options not only bring out the grain’s beauty but also avoid harsh chemicals, making them perfect for DIY projects that prioritize the environment and a personal touch.
How do I choose the right wood finish to complement the natural color and grain of the wood?
For me, it’s all about enhancing the wood’s natural character. Consider the wood’s tone and grain pattern – do you want to warm it up or add a touch of elegance? I like to think of it as finding the perfect harmony between the wood and the finish. Experiment with samples, and trust your instincts to find the perfect match.
Can I mix and match different wood finishes, such as combining a natural oil with a polyurethane topcoat, for a unique look?
I love experimenting with mixed finishes. Combining a natural oil with a polyurethane topcoat can create a stunning, one-of-a-kind look. Just be sure to test the combination on a small, inconspicuous area first to ensure the finishes play nicely together. This blend can add depth and character to your piece, making it truly unique.


