A Simple Project: How to Make a Wooden Cutting Board
I still remember the first time I tried to make a wooden cutting board – it was a disaster. I had heard that a simple project: how to make a wooden cutting board was, well, simple, but my first attempt ended with a wonky, uneven piece of wood that was more suited to the fireplace than the kitchen. The myth that making a wooden cutting board is easy to mess up is actually a blessing in disguise, as it allows us to experiment and learn from our mistakes. As I delved deeper into the world of woodworking, I realized that the process of creating something with my own hands was not just about the end product, but about the journey itself.
In this article, I’ll share my honest, no-frills approach to making a wooden cutting board that will become the heart of your kitchen. You’ll learn how to select the right wood, prepare it for cutting, and assemble the board with ease. I’ll walk you through the entire process, from start to finish, and provide you with practical tips and tricks to ensure that your project turns out perfectly. By the end of this guide, you’ll be equipped with the knowledge and confidence to create your own beautiful, functional wooden cutting board – and it will be a true reflection of your own unique story.
Table of Contents
Guide Overview: What You'll Need
Total Time: 2 hours 30 minutes
Estimated Cost: $50 – $75
Difficulty Level: Easy
Tools Required
- Table Saw (for cutting lumber to size)
- Sander (for smoothing out the wood surface)
- Drill Press (for making holes for hanging the board)
- Hand Saw or Jigsaw (for cutting curves or irregular shapes)
- Sandpaper (for manual sanding and smoothing)
- Clamps (for gluing and holding the board together)
- Tape Measure (for measuring and marking the wood)
- Square (for ensuring accurate corners and edges)
- Marking Gauge (for consistent measurements)
Supplies & Materials
- Wood Glue
- 2-in x 4-in lumber (for the cutting board frame)
- 3/4-in thick hardwood (for the cutting board surface, e.g., maple or walnut)
- Wood Finish (e.g., mineral oil or wax to protect the wood)
- Screws (for assembling the frame)
- Wood Filler (optional, for filling any gaps or holes)
Step-by-Step Instructions
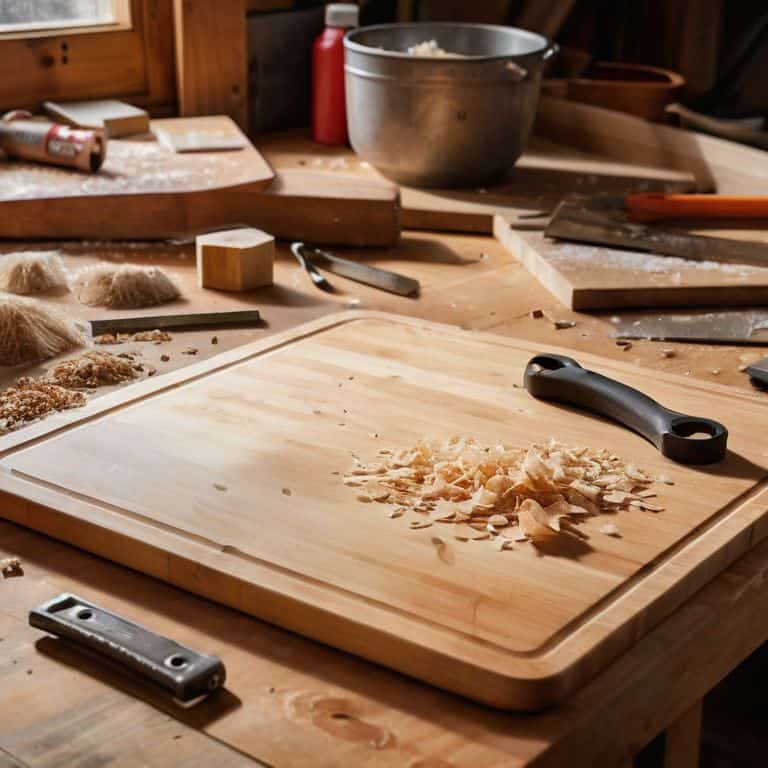
- 1. First, let’s start by selecting the perfect wood for our cutting board. I always look for woods with beautiful grain patterns, as they add a unique character to the final piece. For this project, I’ve chosen a stunning piece of maple wood, with its distinctive light color and subtle grain. To begin, cut the wood into the desired shape and size for your cutting board, keeping in mind that it should be large enough to be functional, but not so large that it becomes cumbersome.
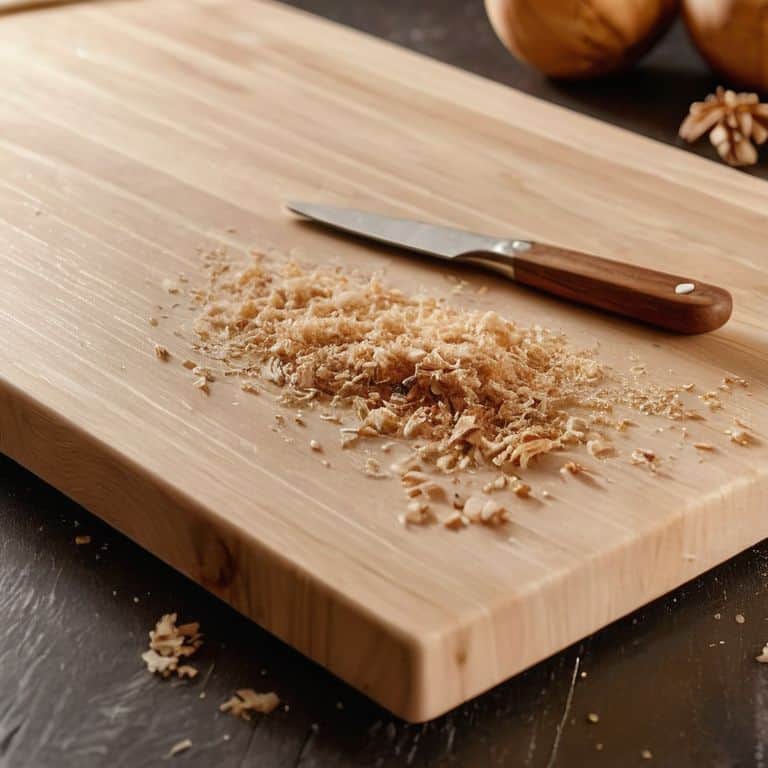
- 2. Next, we need to sand the wood to smooth out any rough edges or surfaces. This is a crucial step, as it will help create a beautiful finish and ensure that our cutting board is safe to use. Start with a coarse-grit sandpaper and work your way up to finer grits, taking care to sand in the direction of the wood grain. As you sand, imagine the wood beginning to reveal its hidden beauty, and don’t be afraid to take your time – patience is key in this process.
- 3. Now that our wood is sanded, it’s time to apply a finish. I prefer to use a natural oil, such as linseed or tung oil, as it enhances the wood’s color and grain without adding any harsh chemicals. Apply the oil according to the manufacturer’s instructions, and be sure to let it dry completely between coats. This is a great opportunity to get a feel for the wood, running your hands over its surface to appreciate its texture and grain.
- 4. With our finish applied, we can move on to assembling the cutting board. If your design includes any joints or fittings, now is the time to cut and assemble them. I like to use a simple mortise and tenon joint, as it provides a strong and elegant connection between the different parts of the board. Take your time, and make sure everything fits together smoothly and securely.
- 5. Once our cutting board is assembled, we need to add a non-slip surface to the bottom. This is a simple but important step, as it will prevent the board from slipping or sliding around on your countertop. I use a thin layer of silicone feet or a non-slip mat, applied according to the manufacturer’s instructions. This will give you peace of mind, knowing that your cutting board is safe and stable.
- 6. Now it’s time to add any final touches to our cutting board. This might include adding a decorative edge, such as a rounded or chamfered edge, or applying a second coat of finish to enhance the color and protection of the wood. Take a step back and admire your handiwork, imagining the countless meals and memories that will be made with this beautiful, handmade cutting board.
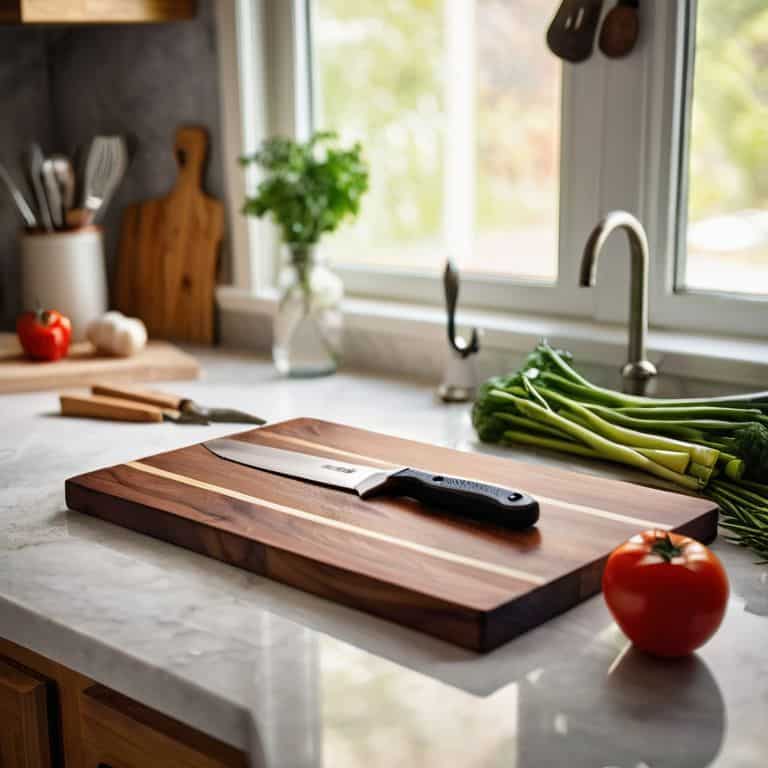
- 7. Finally, our cutting board is complete, and it’s time to put it to use. I love the feeling of chopping fresh vegetables or slicing a warm loaf of bread on a cutting board that I’ve made with my own hands. It’s a sense of pride and satisfaction that’s hard to find in our increasingly mass-produced world. So go ahead, get cooking, and enjoy the simple joy of using a handmade cutting board that tells a story of its own.
Cutting Stories in Wood
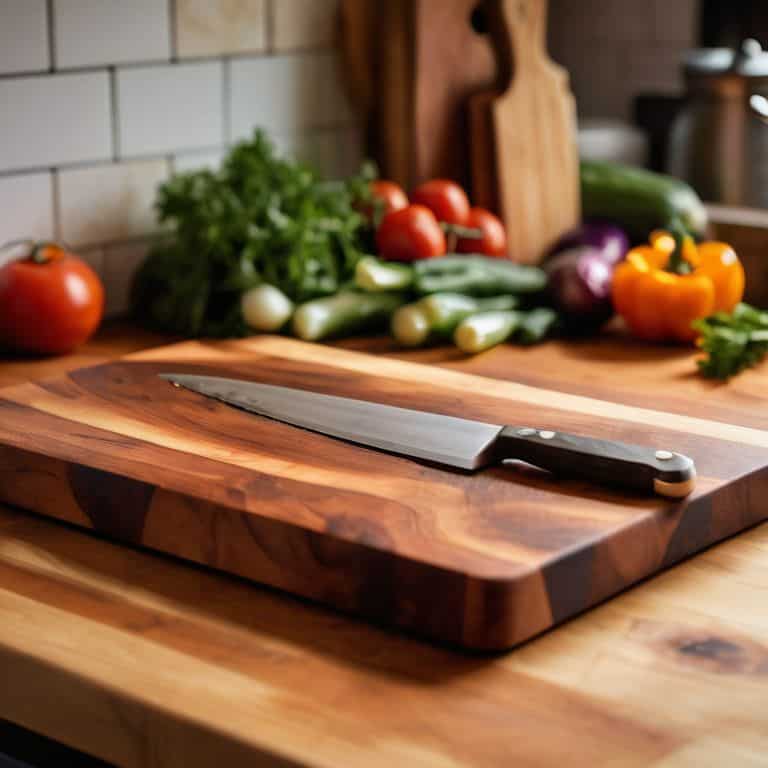
As I work on a new wood cutting board design, I’m reminded of the importance of selecting the right materials. The type of wood used can elevate the entire project, making it not only functional but also a piece of art. I often opt for hardwoods like maple or walnut, as they are not only durable but also possess a natural beauty that adds character to the cutting board. When it comes to finishing, I prefer food safe wood finish options that accentuate the wood’s grain without compromising its usability.
One of the joys of creating handmade items is the ability to tailor them to personal tastes or as gift ideas. A handmade cutting board, for instance, can be customized with engravings or unique wood combinations, making it a thoughtful present for any cooking enthusiast. The process of crafting such items is meditative, allowing me to connect with the material on a deeper level. It’s about understanding the wood’s limitations and potential, much like any other creative pursuit.
In the long run, a well-maintained cutting board can become a trusted companion in the kitchen. Cutting board maintenance tips are essential to ensuring its longevity. Regular oiling and avoiding harsh chemicals can help preserve the wood’s integrity. By adopting these simple habits, you can enjoy your handmade cutting board for years to come, watching it develop a beautiful patina that tells the story of countless meals and gatherings.
Designing Your Perfect Board
As I sketch out designs for my cutting boards, I consider the story I want each one to tell. The shape, the wood grain, the imperfections – all of these elements come together to create a unique narrative. I think about the hands that will hold it, the meals that will be prepared on it, and the conversations that will happen around it. For me, designing a cutting board is about more than just functionality; it’s about crafting a piece of art that will become a part of someone’s daily life.
I encourage you to do the same – think about the style of your kitchen, the type of cooking you’ll be doing, and the ambiance you want to create. Consider the wood type, the size, and the finish. Will you add any decorative elements, like a small handle or a personalized message? The design process is where the magic begins, and it’s what sets your cutting board apart from any mass-produced alternative.
Finishing Touches for Food Safety
As I sand down the wood, I think about the meals that will be prepared on this cutting board. To ensure it’s safe for food, I apply a finish that’s non-toxic and durable. I prefer using natural oils like coconut or walnut oil, which not only protect the wood but also enhance its beauty. A few coats, and the wood grain comes alive, telling a story of its own.
I let it dry, then buff it to a soft sheen. This final touch is crucial, as it seals the wood and makes it easy to clean. Now, my cutting board is ready to become a part of someone’s kitchen, to hold the stories of family dinners, holiday feasts, and quiet nights in. With every cut, chop, and slice, it will absorb the love and laughter, becoming a true testament to the power of handmade craftsmanship.
Wooden Wisdom: 5 Tips to Elevate Your Cutting Board Craft
- Choose the Right Wood: Select a hardwood like maple, walnut, or cherry for its durability and resistance to scratches and stains
- Sand with Love: Take your time to sand the wood, moving through the grits to achieve a silky smooth surface that’s a joy to touch
- Oil is Essential: Apply a food-safe oil to protect the wood and maintain its natural beauty, reapplying periodically to keep it healthy and strong
- Design with Intention: Consider the flow of your kitchen and the types of food you’ll be preparing on your board, letting these factors guide the size, shape, and features of your cutting board
- Imperfections are Beautiful: Don’t stress about minor flaws or imperfections – they’re a testament to the handmade nature of your cutting board and will develop a unique patina over time
Key Takeaways for Your Handmade Cutting Board
By slowing down and crafting your own wooden cutting board, you’ll not only create a functional piece for your kitchen but also a story that unfolds with every meal
Remember, the imperfections in your handmade cutting board are what make it unique and personal, reflecting the love and care you’ve put into its creation
Whether you’re a seasoned woodworker or a beginner, this project is an opportunity to connect with natural materials and celebrate the joy of making something with your own hands
The Heart of the Craft
As I shape the wood, I’m not just creating a cutting board, I’m crafting a story of love, of nourishment, and of the countless moments that will unfold around it – it’s a reminder that even in the simplest of projects, lies a world of meaning and connection.
Finn Rivera
Embracing the Beauty of Handcrafted Wood
As we conclude this journey of creating a wooden cutting board, let’s reflect on the key elements that make this project so special. From selecting the perfect wood grain to applying the final touches for food safety, each step is a testament to the human touch. We’ve discussed designing your perfect board, considering the size, shape, and functionality that suits your kitchen’s heart. By embracing the imperfections and uniqueness of handmade objects, we’ve not only created a functional piece but also a story that will unfold with every use.
As you place your finished cutting board in the kitchen, remember that it’s more than just a tool – it’s a reflection of your creativity and a symbol of the love that goes into preparing meals for yourself and others. So, let the scratches and marks tell their tale, and let the beauty of natural wood inspire you to continue exploring the world of DIY, where every project is an opportunity to weave your story into the fabric of your home.
Frequently Asked Questions
What types of wood are best suited for making a cutting board and why?
For me, the best woods for cutting boards are those with a rich story – like maple, walnut, or cherry. They’re hardwoods, dense and gentle on knives, with natural antibacterial properties that make them perfect for food prep. I love how their unique grain patterns add character to each board, making every one a one-of-a-kind treasure.
How do I ensure my handmade cutting board is properly sanitized and maintained for long-term use?
To keep your handmade cutting board sanitized and maintained, I recommend a monthly ritual of scrubbing it with warm soapy water, then drying it thoroughly. Occasionally, give it a treat with a food-safe oil to nourish the wood and prevent cracking. This love and care will ensure your board remains a trusted companion in the kitchen for years to come.
Can I add any personal touches or designs to my cutting board, such as engravings or inlays, and if so, how?
Absolutely, add your personal touch! Consider engravings, inlays, or even a handmade handle. I love adding a small, subtle engraving, like a special message or a symbol, to give my cutting boards an extra layer of meaning. Sketch it out in your notebook first, and then bring it to life with careful craftsmanship.


