A Beginner’s Guide to Pinch Pots: Your First Pottery Project
As I sit in my workshop, surrounded by the earthy scent of clay and the soft glow of natural light, I’m reminded of the common myth that creating ceramics is a daunting task, especially for those looking for a guide to pinch pots for beginners. But I’m here to tell you that it’s not about being a skilled artist or having a fancy studio – it’s about embracing the imperfections and telling a story with your hands. I’ve seen people struggle to find their footing in the world of ceramics, but with the right guidance, anyone can unlock the joy of shaping clay into something beautiful.
In this article, I promise to share my honest and practical advice for crafting heartfelt pinch pots, stripped of any unnecessary jargon or complexity. You’ll learn how to get started with the basics, from preparing your clay to adding those personal touches that make your creation truly unique. My goal is to inspire you to slow down, get your hands dirty, and create something meaningful – a pinch pot that tells a story of its own, and becomes a cherished piece in your home. By the end of this guide, you’ll be equipped with the confidence and skills to bring your own ceramic creations to life, and I’m excited to be a part of your journey.
Table of Contents
- Guide Overview: What You'll Need
- Step-by-Step Instructions
- A Guide to Pinch Pots for Beginners
- Bringing Your Pinch Pots to Life: 5 Essential Tips for Beginners
- Embracing the Art of Handmade Pinch Pots: 3 Key Takeaways
- Embracing the Beauty of Imperfection
- Embracing the Art of Pinch Pottery
- Frequently Asked Questions
Guide Overview: What You'll Need
Total Time: 1 hour 30 minutes
Estimated Cost: $10 – $30
Difficulty Level: Easy
Tools Required
- Pottery wheel (optional)
- Wire cutter
- Rolling pin
- Ruler
- Pencil
Supplies & Materials
- Clay air-dry or firing clay
- Water
- Work surface covered with canvas or plastic
- Cutting wire
- Smoothing tool e.g., a modeling tool or a toothpick
Step-by-Step Instructions
- 1. To start our journey into the world of pinch pots, gather your materials. You’ll need some clay, preferably a type that’s suitable for beginners, a clean, flat surface to work on, a rolling pin, a sharp object to cut with (like a toothpick or a small knife), and a cup of water. Having all your tools and materials ready will help you focus on the creative process.
- 2. Next, take a small piece of clay and begin to knead it until it becomes pliable and easy to shape. This step is crucial as it helps remove any air pockets within the clay, making it smoother to work with. Think of this as the moment where you start to connect with the material, understanding its texture and how it responds to your touch.
- 3. Now, it’s time to shape your clay into a ball. This will be the foundation of your pinch pot. Hold the clay in one hand and use the other to gently shape it into a uniform sphere. Don’t worry too much about perfection; the uniqueness of handmade objects lies in their imperfections.
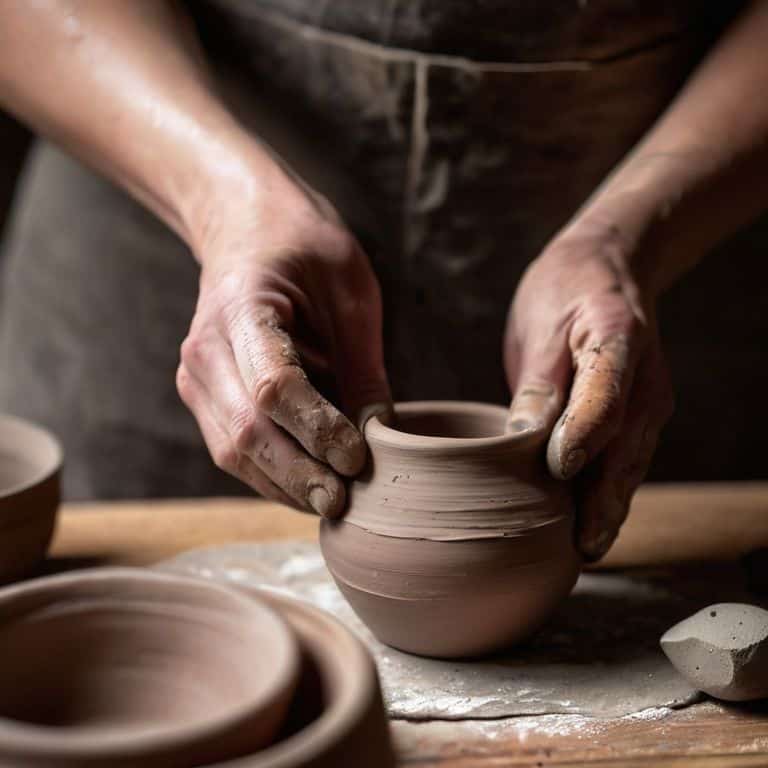
- 4. Place the clay ball on your work surface and use your thumbs to create an indentation in the center. Gradually, you’ll start to see the form of your pinch pot emerge. Continue to shape and refine the walls of your pot, ensuring they are of an even thickness. This process requires patience, but it’s where the magic happens, and your pot starts to take shape.
- 5. As you continue to shape your pot, remember to keep the walls thin and evenly balanced. This is crucial for the structural integrity of your pinch pot. If you find any areas that are too thick, you can use your sharp object to carefully trim them down. Always work slowly and thoughtfully, considering the form and function of your piece.
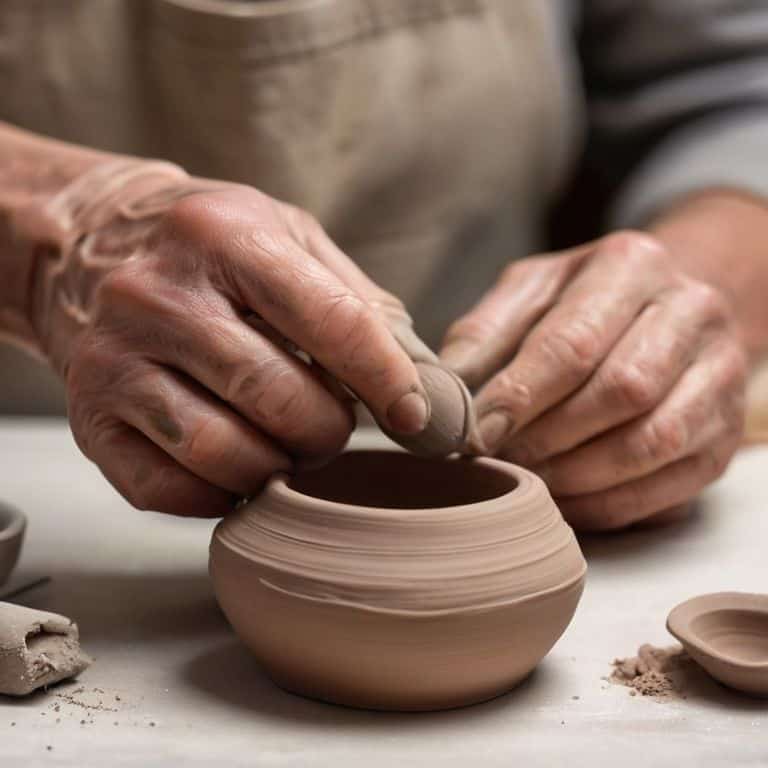
- 6. Once you’re satisfied with the shape and size of your pinch pot, use your sharp object to refine the edges. This step adds a touch of finesse to your work, making it more polished and finished. Be careful not to press too hard, as you don’t want to accidentally puncture the walls of your pot.
- 7. Finally, let your pinch pot dry completely. Depending on the type of clay you’re using, this could take anywhere from a few hours to several days. Once it’s dry, you can choose to leave it as is or add a finish, like a natural wax or oil, to protect it and enhance its appearance. The drying process is a moment of anticipation, a waiting period that culminates in the joy of holding your finished piece in your hands.
A Guide to Pinch Pots for Beginners
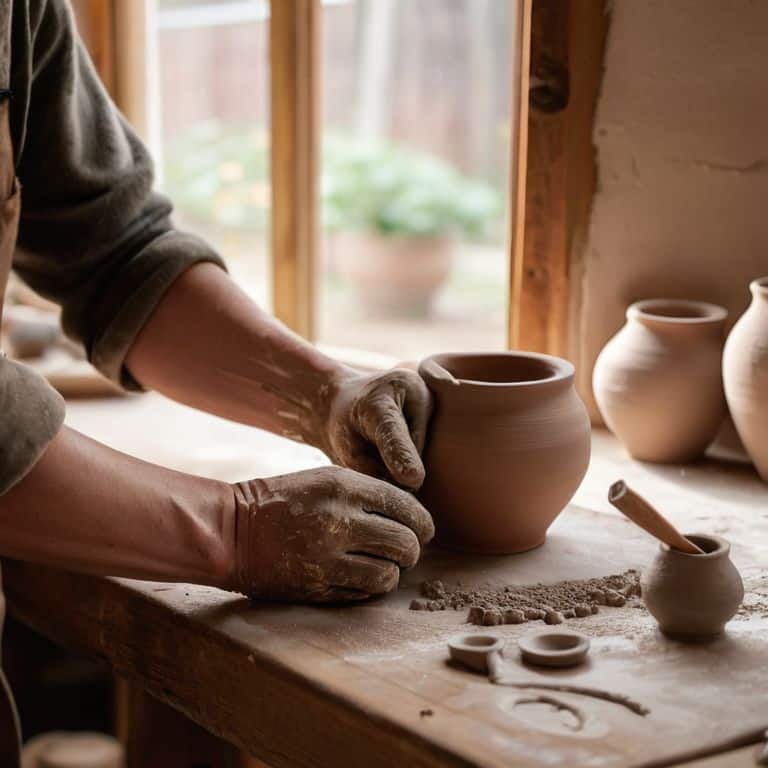
As I sit in my workshop, surrounded by the earthy scent of clay and the soft glow of natural light, I’m reminded of the beauty of hand building ceramics for beginners. It’s a journey that requires patience, but the end result is well worth it. When working with clay, it’s essential to understand the importance of clay preparation for pinch pots. This involves wedging the clay to remove any air pockets, ensuring a smooth and even texture.
When it comes to shaping your pinch pot, don’t be afraid to experiment with different pinch pot clay techniques. You can create a variety of shapes and designs, from simple and elegant to complex and intricate. Remember, the beauty of handmade ceramics lies in their imperfections, so don’t worry if your pot isn’t perfectly symmetrical. As you work, consider the drying and firing pinch pots process, as this will affect the final texture and appearance of your piece.
As you gain more experience with pinch pots, you can start to explore different pinch pot design ideas. You might consider adding decorative elements, such as patterns or textures, to give your pot a unique personality. Alternatively, you could focus on creating a series of pots with a cohesive theme, such as a set of minimalist planters or a collection of colorful vases. Whatever your vision, the key is to have fun and enjoy the process of bringing your ideas to life through simple pottery projects.
Hand Building Ceramics With Heart
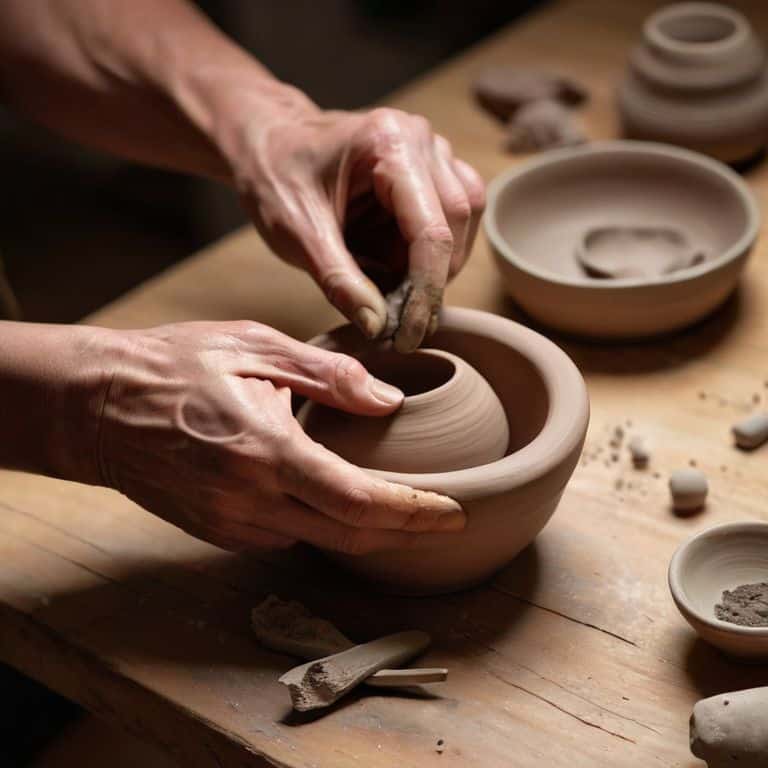
As I sit at my workbench, surrounded by wedges of clay and the soft glow of natural light, I’m reminded that hand building ceramics is an act of storytelling. Each pinch pot that takes shape under my fingers is a testament to the beauty of imperfection. The gentle indentations, the subtle asymmetries – these are the marks of a human touch, of a moment in time when earth and water came together to form something new.
In this quiet, meditative process, I find a sense of connection to the materials and to the stories they will hold. As you work the clay, remember that every press of your thumb, every gentle pull of the wall, is an opportunity to infuse your piece with character and soul.
Simple Pottery Projects to Inspire
As I sit amidst the earthy scent of clay and the soft glow of my workshop, I’m reminded that the beauty of pottery lies not just in its function, but in the stories it tells. Simple projects like pinch pots are more than just beginner’s exercises – they’re gateways to a world of creative expression. I’ve found that the imperfections, the slight asymmetries, and the accidental textures are what give these pieces their character, their soul.
For me, projects like these are about slowing down, connecting with the material, and letting the process guide me. Whether it’s a pinch pot, a small vase, or a ceramic ornament, each piece is a reflection of the moment, a snapshot of my thoughts and feelings as I worked the clay. And that, I believe, is the true magic of pottery – the ability to infuse everyday objects with a piece of ourselves, making them truly unique and meaningful.
Bringing Your Pinch Pots to Life: 5 Essential Tips for Beginners
- Start with the Right Clay: Choose a clay body that’s forgiving and easy to work with, like earthenware or stoneware, to ensure your first pinch pot is a success
- Prepare Your Workspace: Before you begin, make sure your workspace is clean, dry, and free from distractions, allowing you to focus on the creative process
- Keep it Simple: Don’t be afraid to start with simple forms and gradually experiment with more complex shapes as you gain confidence and skill in handling the clay
- Pay Attention to Thickness: Ensure the walls of your pinch pot are of even thickness to prevent cracking during the drying or firing process, and to achieve a professional-looking finish
- Embrace the Imperfections: Remember, the unique imperfections in your handmade pinch pot are what give it character, so don’t be too hard on yourself if it’s not perfect – it’s a story of your creation
Embracing the Art of Handmade Pinch Pots: 3 Key Takeaways
By embracing the imperfections of handmade ceramics, you invite character and soul into your creations, making each pinch pot a unique reflection of your personal story
Starting with simple projects like pinch pots allows you to develop a deep appreciation for the tactile process of ceramics, fostering a connection with the material and your own creativity
Through the journey of crafting your own pinch pots, you’ll not only create functional, beautiful pieces for your home but also cultivate a sense of patience, intention, and fulfillment that comes from working with your hands
Embracing the Beauty of Imperfection
As we shape the clay into pinch pots, we’re not just creating objects, we’re crafting stories of our own imperfections, and it’s in these imperfections that our true character shines through.
Finn Rivera
Embracing the Art of Pinch Pottery
As we conclude this journey into the world of pinch pots, remember that the essence of creating something with your own hands lies not just in the end product, but in the process itself. It’s about embracing the imperfections, the unpredictability, and the joy of shaping raw materials into something that tells a story. Through this guide, we’ve explored the basics of hand-building ceramics, from preparing your workspace to adding the final touches to your pinch pot. We’ve also delved into the world of simple pottery projects that can inspire you to continue experimenting and pushing the boundaries of what’s possible with clay.
As you put down your tools and step back to admire your handmade pinch pot, remember that you’re not just looking at an object – you’re seeing a piece of yourself. It’s a reflection of your patience, your creativity, and your willingness to get a little messy. So, don’t be afraid to keep creating, to keep pushing the limits of what you thought was possible. For in the world of ceramics, as in life, it’s the journey that truly matters, not the destination.
Frequently Asked Questions
What kind of clay is best for making pinch pots for beginners?
For beginners, I recommend starting with earthenware or stoneware clay – they’re forgiving and easy to work with. Earthenware clay is particularly great for pinch pots, as it’s soft and pliable, allowing for a more gentle learning curve. Trust me, it’s the perfect material to get your hands dirty and create something truly special.
How do I prevent my pinch pots from cracking or breaking during the drying process?
To prevent those heartbreaking cracks, make sure to dry your pinch pots slowly and evenly. I like to cover them with a damp cloth or plastic bag to maintain a stable humidity level, and let them sit in a shaded area, away from direct sunlight or heat. It’s all about patience, my friend.
Can I add decorations or patterns to my pinch pots before they are fired in the kiln?
Absolutely, add your personal touch before firing – try stamping, carving, or slipping techniques to give your pinch pots unique character. I love experimenting with natural materials like leaves or twigs to create organic patterns. Remember, it’s all about embracing the imperfections that make your piece truly one-of-a-kind.


