A Guide to Manual Mode: Taking Full Control of Your Camera
I still remember the first time I shot in manual mode – it was like a veil had been lifted from my eyes. I was no longer just pointing and clicking, but actually seeing the world around me. That’s what I want to share with you in this a guide to manual mode: the freedom to capture life’s fleeting stories, one frame at a time. For too long, manual mode has been shrouded in mystery, with many believing it’s only for the most seasoned photographers. But I’m here to tell you that’s just not true – with a little practice and patience, anyone can master the art of manual mode.
As we dive into this journey together, I promise to share with you the honest, no-hype advice I’ve learned from years of shooting in manual mode. You’ll learn how to harness the power of light, composition, and emotion to create images that truly have something to say. We’ll explore the why behind the how, and I’ll share my own photos as examples to illustrate the techniques. By the end of this guide, you’ll be equipped with the knowledge and confidence to take your photography to the next level, and to see the world in a whole new light. So, let’s get started on this journey to unleashing your vision in manual mode!
Table of Contents
Guide Overview: What You'll Need
Total Time: 2 hours 30 minutes
Estimated Cost: $0 – $20
Difficulty Level: Intermediate
Tools Required
- Camera (with manual mode capability)
- Tripod (optional but recommended)
- Remote Shutter Release (or camera timer)
- Notebook and Pen (for note-taking and planning)
Supplies & Materials
- Extra Batteries (for camera and other equipment)
- Memory Cards (at least 1 16-gigabyte card)
- Lens Cleaning Cloth (for maintaining camera lenses)
- White Paper or Gray Card (for calibration and testing)
Step-by-Step Instructions
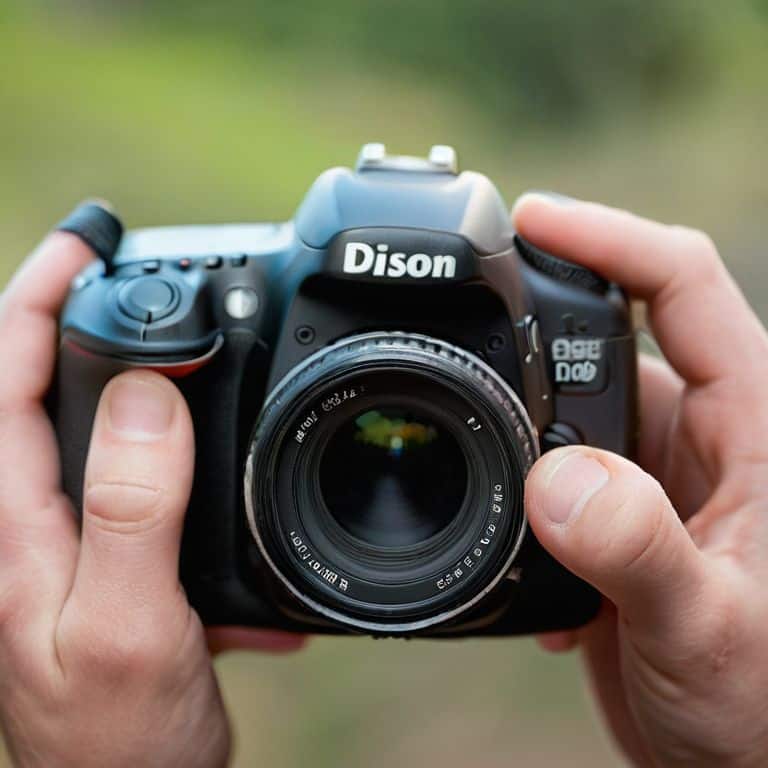
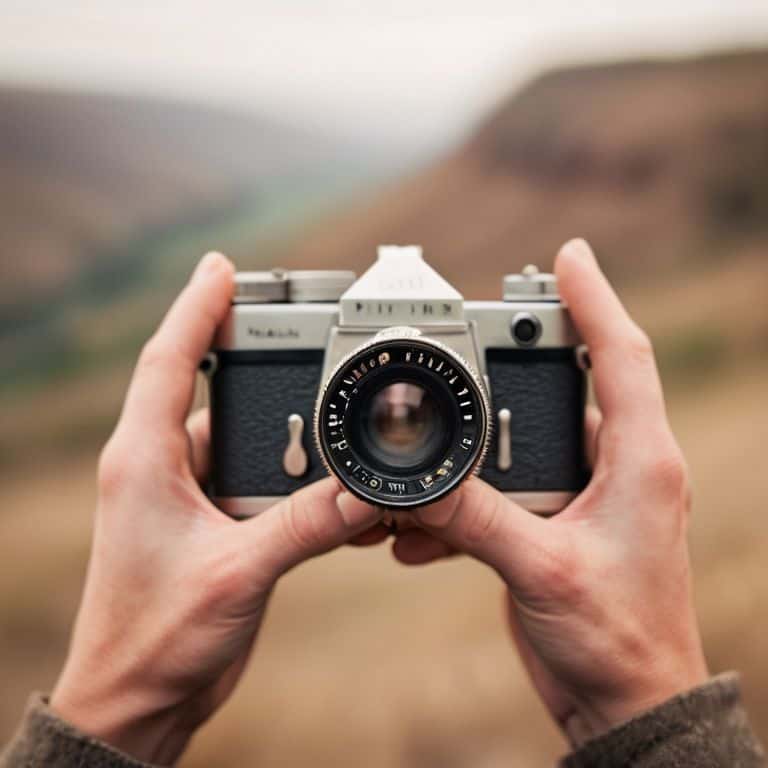
- 1. First, let’s start by understanding the basics of manual mode – it’s not just about switching a dial on your camera, but about embracing the full creative control it offers. To begin, ensure your camera is set to manual mode, usually denoted by the ‘M’ on the mode dial. This simple switch is the first step towards unlocking the true potential of your camera and learning to see the world in a different light.
- 2. Next, we need to understand the exposure triangle, which consists of aperture, shutter speed, and ISO. Each of these elements plays a crucial role in how your photograph will look. Aperture controls the depth of field, shutter speed can freeze or create motion, and ISO sets the camera’s sensitivity to light. Understanding how these three components interact is key to mastering manual mode.
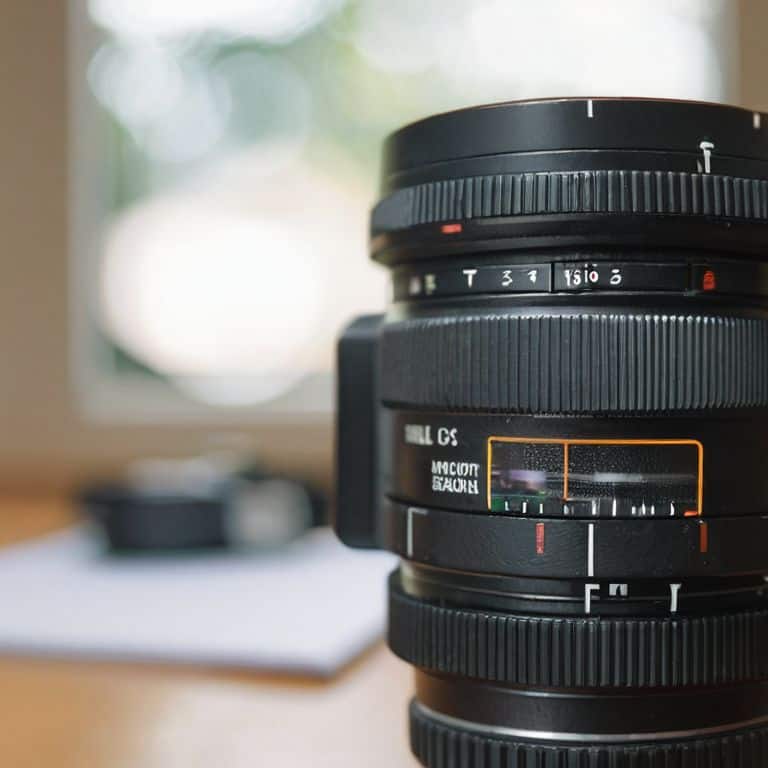
- 3. Now, let’s talk about aperture – or the f-stop as it’s commonly known. Aperture is measured in f-numbers, which can be a bit confusing because a smaller f-number actually means a larger aperture opening. For example, f/2.8 is a larger aperture than f/16. A large aperture (small f-number) will give you a shallow depth of field, which is great for portraits where you want the background to be blurred, while a small aperture (large f-number) will keep more of your image in focus, ideal for landscapes.
- 4. The next step is to set your shutter speed, which can greatly affect the mood and dynamics of your photograph. Faster shutter speeds are used to freeze motion, while slower speeds can create a sense of movement or blur. For instance, if you’re photographing a moving subject like a car or an animal, you’ll want a faster shutter speed to capture a sharp image. On the other hand, if you’re going for a more artistic effect, like the blur of water or clouds, a slower shutter speed is what you need.
- 5. ISO is the last part of the exposure triangle and determines how sensitive your camera’s sensor is to light. A lower ISO (like ISO 100) is best used in bright lighting conditions, while a higher ISO (like ISO 6400) is used in low light. However, be cautious with high ISOs as they can introduce noise or grain into your images, which may not be desirable in all cases.
- 6. Once you’ve set your aperture, shutter speed, and ISO, it’s time to think about composition. This is where the real art of photography comes into play. Consider the rule of thirds, leading lines, and framing elements within your scene to create visually appealing photographs. Remember, the goal is not just to capture what’s in front of you, but to tell a story or evoke an emotion.
- 7. Now that you’ve composed your shot, it’s essential to pay attention to the quality of light. I’m particularly fond of the golden hour, just before sunset, when the light takes on a warm, soft quality that can add depth and emotion to your photographs. However, every lighting condition – from the harsh midday sun to the soft light of overcast days – offers unique opportunities for creative expression.
- 8. Finally, practice is key. Don’t be discouraged if your first few attempts at shooting in manual mode don’t turn out as expected. It takes time and practice to develop the skill and intuition needed to quickly adjust your settings to capture the shot you want. Keep experimenting, and most importantly, have fun with the process of learning and creating.
A Guide to Manual Mode
As I delve into the world of manual mode, I’m reminded of the countless hours I spent mastering manual focus in my early days as a photographer. It’s a skill that requires patience, attention to detail, and a deep understanding of your camera’s capabilities. When shooting in manual mode, it’s essential to consider the interplay between aperture, shutter speed, and ISO. This delicate balance is what sets a good photograph apart from a great one.
One of the most significant advantages of manual mode is the ability to fine-tune your exposure compensation. This allows you to capture images that are true to the scene, rather than relying on the camera’s automated settings. For instance, when shooting landscapes, you may want to adjust your exposure compensation to account for the dramatic contrasts between light and dark areas. By doing so, you can create images that are rich in detail and texture.
As you become more comfortable with manual mode, you’ll begin to appreciate the creative freedom it offers. Whether you’re shooting portraits, landscapes, or street photography, manual mode allows you to take control of the narrative. For example, when shooting at night, you can use manual mode to experiment with longer exposures, capturing the vibrant colors and textures of the urban landscape. By embracing the challenges and possibilities of manual mode, you’ll be well on your way to developing your unique visual style.
Beyond Exposure Compensating for Light
When I’m out on a shoot, I’m always chasing that perfect balance of light and shadow. But sometimes, the situation demands a little extra help. That’s where exposure compensation comes in – a powerful tool in manual mode that lets me fine-tune my settings to capture the mood I’m after. By adjusting the exposure compensation, I can add or subtract light from my image, revealing hidden details or emphasizing the emotional impact of a scene.
I recall a particularly memorable shot I took during golden hour, where the soft light was dancing across my subject’s face. By compensating for the light, I was able to preserve the subtle nuances of the scene, and the resulting portrait was nothing short of breathtaking. It’s moments like these that remind me why I love shooting in manual mode – the level of control it gives me is unparalleled, and the results are always worth the extra effort.
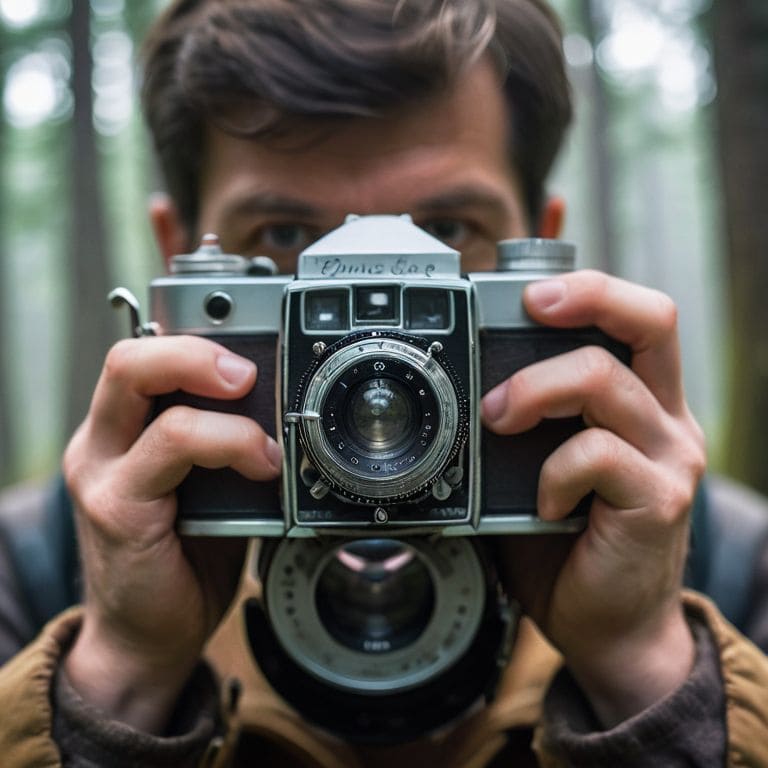
Mastering Manual Focus for Impact
Mastering manual focus is an art that requires patience, practice, and a deep understanding of your subject. I recall a shoot I did in the streets of Tokyo, where I spent hours waiting for the perfect moment to capture a candid portrait. By using manual focus, I was able to anticipate and freeze the exact moment when my subject’s eyes locked onto mine, creating a sense of intimacy and connection. It’s all about feeling the scene, anticipating the action, and trusting your instincts to nail the focus.
When I’m shooting in manual mode, I always prioritize manual focus to ensure I have complete control over the story I’m telling. It allows me to emphasize certain elements, create depth, and draw the viewer’s attention to the heart of the image. With manual focus, you’re not just capturing a moment – you’re crafting a narrative that invites the viewer to step into your world.
Unleashing Your Creative Vision: 5 Essential Tips for Mastering Manual Mode
- Embracing the Golden Hour: Learn to harness the soft, warm light of dawn and dusk to add depth and emotion to your photographs
- Understanding Your Camera’s Limits: Experiment with different ISO, aperture, and shutter speed settings to discover the unique capabilities and quirks of your equipment
- Shooting from the Heart: Forget about posed portraits and instead focus on capturing authentic, unscripted moments that reveal the true essence of your subjects
- Playing with Shadows: Don’t be afraid to push the boundaries of light and darkness in your compositions, using shadows to add mystery, texture, and context to your images
- Seeing Beyond the Frame: Develop your observation skills to anticipate and capture the fleeting moments and unexpected details that make a photograph truly unforgettable
Key Takeaways for Mastering Manual Mode
I’ve learned that shooting in manual mode is not just about technical settings, but about understanding the delicate dance between light, composition, and emotion to capture life’s authentic moments
By mastering manual focus, you can create portraits that are not only sharp but also tell a story, drawing the viewer’s eye to the subject’s essence, and conveying a sense of intimacy and connection
Compensating for light in manual mode is an art that requires patience and practice, but when done correctly, it can elevate your photos from ordinary to extraordinary, bathing your subjects in the warm, golden glow of perfect illumination
Unlocking the Power of Manual Mode
Manual mode is not just a setting on your camera, it’s a mindset – a way of slowing down, observing the world, and capturing the essence of a moment, where the light, the subject, and the story all come together in perfect harmony.
Julian Kade
Embracing the Art of Manual Mode
As we conclude this journey through the world of manual mode, remember that mastering the manual focus and understanding how to compensate for light are crucial elements in capturing the essence of your subject. It’s about seeing the world differently and using your camera as a tool to tell stories that resonate with others. We’ve covered the step-by-step instructions, from understanding your camera’s settings to applying those settings in real-world scenarios, and delved into the importance of mastering manual focus for impact and going beyond exposure to truly capture the mood and atmosphere of a scene.
Now, as you venture out with your camera, remember that the true power of photography lies not just in the technical aspects, but in the emotional connection you make with your subjects and the stories you tell. Don’t be afraid to experiment, to push the boundaries of what you thought was possible, and to see the world around you as a canvas waiting for your unique perspective. In the end, it’s not just about the photos you take, but about the moments you capture and the stories you bring to life.
Frequently Asked Questions
How do I determine the ideal shutter speed for capturing sharp images of moving subjects in manual mode?
For moving subjects, I always consider the speed of the action and the lens I’m using. A good rule of thumb is to start with a shutter speed of at least 1/1000th of a second, but if my subject is really moving, like a cyclist or runner, I’ll bump that up to 1/2000th or even 1/4000th to ensure a sharp capture.
What are some common mistakes to avoid when adjusting aperture and ISO in manual mode?
When adjusting aperture and ISO in manual mode, I see many photographers overlook the subtle dance between these two settings. A common mistake is not considering how aperture affects depth of field, and how ISO can introduce unwanted noise, especially in low-light scenes.
Can you provide tips on how to effectively use manual mode in low-light conditions without relying on flash or artificial light sources?
In low-light conditions, I swear by high ISOs and wide apertures. I recall a shoot in a dimly lit alley, where I pushed my camera to ISO 6400 and opened up to f/2.8 – the results were breathtaking, with a beautiful grain that added to the atmosphere. It’s all about embracing the available light, and sometimes, that means getting a little creative with your settings.