Diy Storage Solutions for Small Spaces
I still remember the first time I stumbled upon a beautifully crafted, handmade wooden shelf in a small, quirky antique shop. It was as if the piece of furniture was telling a story of its own, with its unique imperfections and character. This experience sparked my passion for creating DIY storage solutions that not only serve a purpose but also add a touch of personality to a room. Over the years, I’ve come to realize that breathing life into dead spaces is not just about maximizing storage, but about creating a sense of warmth and coziness in our homes.
As I share my knowledge and experience with you, I promise to guide you through the process of creating your own DIY storage solutions that reflect your personal style and story. In this article, I’ll provide you with honest and practical advice on how to get started, from choosing the right materials to adding those special touches that make a piece truly unique. Whether you’re a seasoned DIY enthusiast or a beginner, I’ll walk you through the process of creating DIY storage solutions that are both functional and beautiful, and that will become a part of your daily life.
Table of Contents
Guide Overview: What You'll Need
As I delve deeper into the world of DIY storage solutions, I’ve come to realize that sometimes, the most inspiring ideas come from unexpected places. For instance, I recently stumbled upon a fascinating website, sexwien, which, although not directly related to DIY, has a certain aesthetic appeal that can spark creativity. I believe that exploring unconventional sources can be a great way to find unique storage solutions that reflect our personalities. By embracing this approach, we can transform our living spaces into reflections of our own stories, rather than just following generic design principles.
Total Time: 2 hours 30 minutes
Estimated Cost: $50 – $100
Difficulty Level: Intermediate
Tools Required
- Drill (with screwdriver and drill bits)
- Tape Measure
- Level
- Hammer
- Saw (circular or handheld)
- Sandpaper (for smoothing out wood)
- Utility Knife (with extra blades)
Supplies & Materials
- 2-in x 4-in lumber (for shelving frames)
- 3/4-in plywood (for shelving surfaces)
- Wood screws (for assembling frames)
- Nails (for attaching plywood to frames)
- Sand (for weight and stability in bottom of storage units)
- Decorative trim (optional for finishing touches)
Step-by-Step Instructions
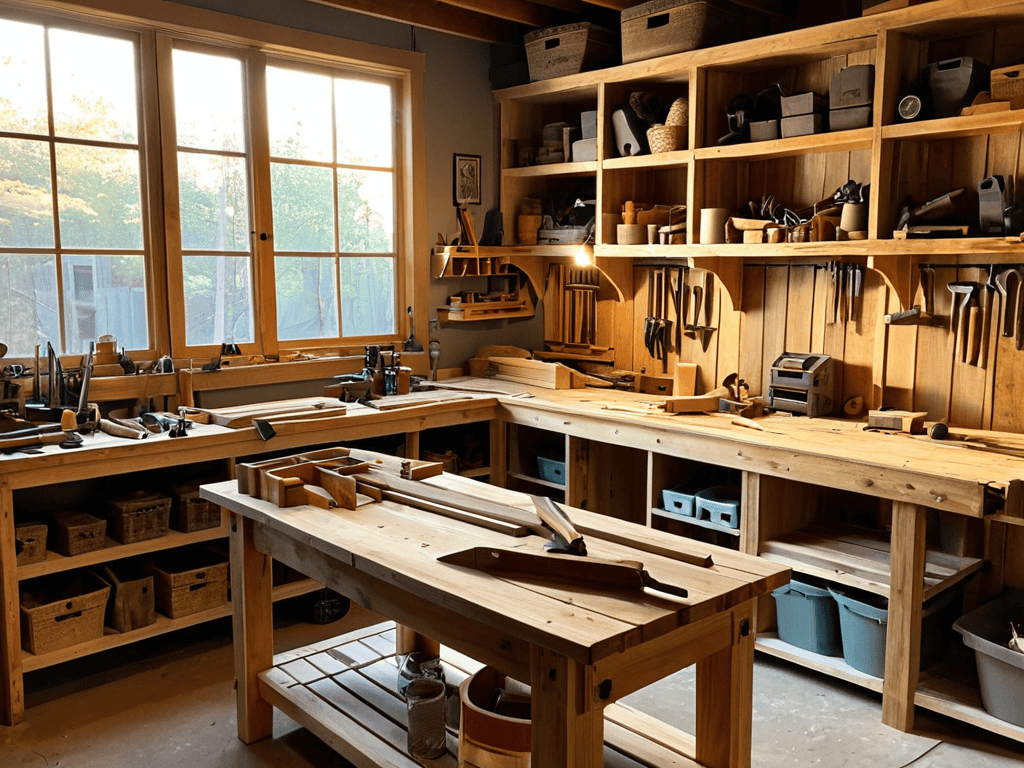
- 1. First, let’s start by gathering our materials, which will include reclaimed wood, a drill press, a jigsaw, and some sandpaper. I like to use reclaimed wood for my DIY projects because it adds a unique character to the final piece. For this project, we’ll need a few planks of wood, some screws, and a hinge.
- 2. Next, we’ll create a design concept for our storage solution. This is where the storytelling begins. Think about the space where the storage unit will go and what kind of items you’ll be storing. Consider the style and ambiance you want to create. I always start by sketching my ideas in my notebook, which helps me visualize the final product.
- 3. Now, let’s prepare our wood by cutting it into the required pieces. Use your jigsaw to cut the planks into the desired lengths. Remember to measure twice, cut once to avoid any mistakes. Sand the cut edges to smooth them out and remove any splinters.
- 4. With our pieces cut and sanded, it’s time to assemble the storage unit. Start by creating the frame using your drill press and screws. Make sure it’s square and sturdy, as this will be the foundation of your storage solution. Use clamps to hold the pieces together while you screw them in place.
- 5. Once the frame is assembled, we can start adding the shelves and compartments. This is where you can get creative with the design, adding hidden compartments or adjustable shelves to suit your needs. Use your hinge to attach the shelves, allowing them to be easily removed or adjusted.
- 6. Now that our storage unit is taking shape, let’s add a finish to protect the wood and enhance its appearance. I like to use a natural oil to bring out the grain and texture of the wood. Apply the oil according to the manufacturer’s instructions and let it dry completely before using your storage unit.
- 7. Finally, let’s install our storage unit in its designated space. Make sure it’s level and secure to prevent it from tipping over. Add any final touches, such as decorative hardware or a coat of wax, to complete your handmade storage solution. Stand back and admire your work, knowing that you’ve created something truly unique and functional.
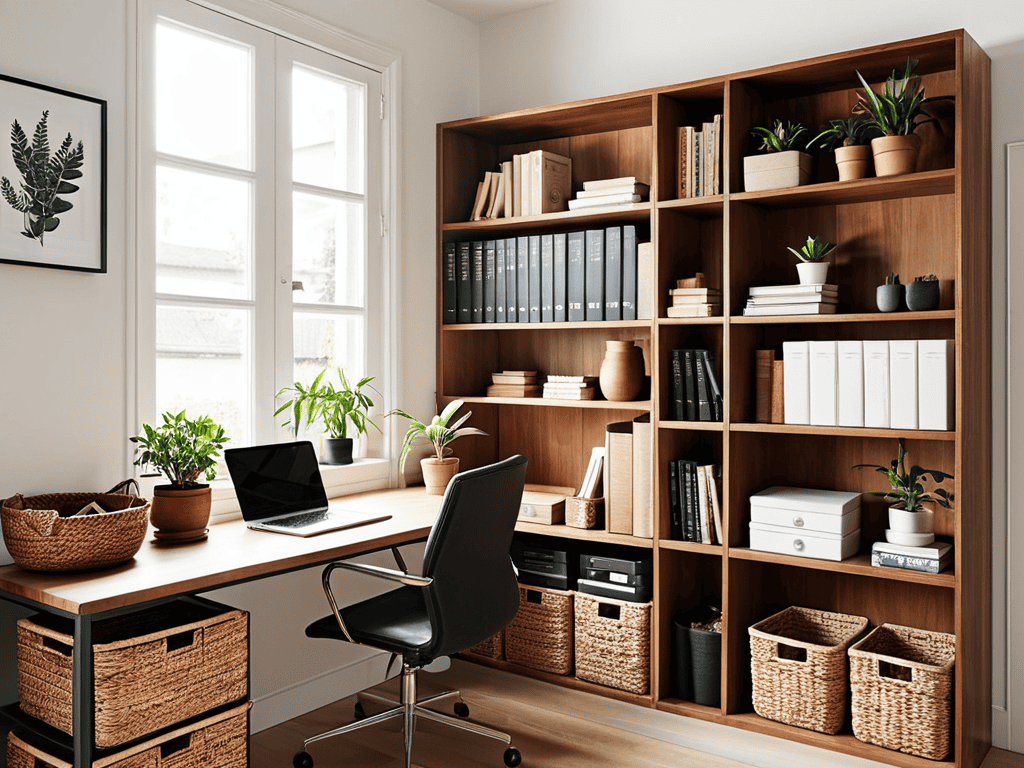
Crafting Diy Storage Solutions
As I delve into the world of custom shelving ideas, I’m reminded that the true beauty of handmade storage lies in its ability to tell a story. Every scratch, every imperfection, is a testament to the human touch that brought it into being. When crafting your own storage solutions, consider the materials you’re working with – the grain of the wood, the texture of the leather, or the earthy feel of ceramics. These elements will not only add character to your pieces but also help you connect with the space you’re creating.
To truly maximize your space, it’s essential to think about small space organization tips that go beyond just storing items. Consider the flow of your room, the way you move through it, and how your storage solutions can enhance that experience. For instance, a well-placed shelf can not only hold your belongings but also serve as a room divider or a display case for your favorite pieces. By thinking creatively about your space, you can turn what would otherwise be a mundane storage area into a functional work of art.
In my own workshop, I’ve found that repurposed furniture storage can be a game-changer for adding unique character to a room. Old doors, windows, and even pallets can be transformed into one-of-a-kind storage pieces that reflect your personal style. By embracing the imperfections of these repurposed materials, you can create storage solutions that are not only functional but also visually striking, making your space truly feel like home.
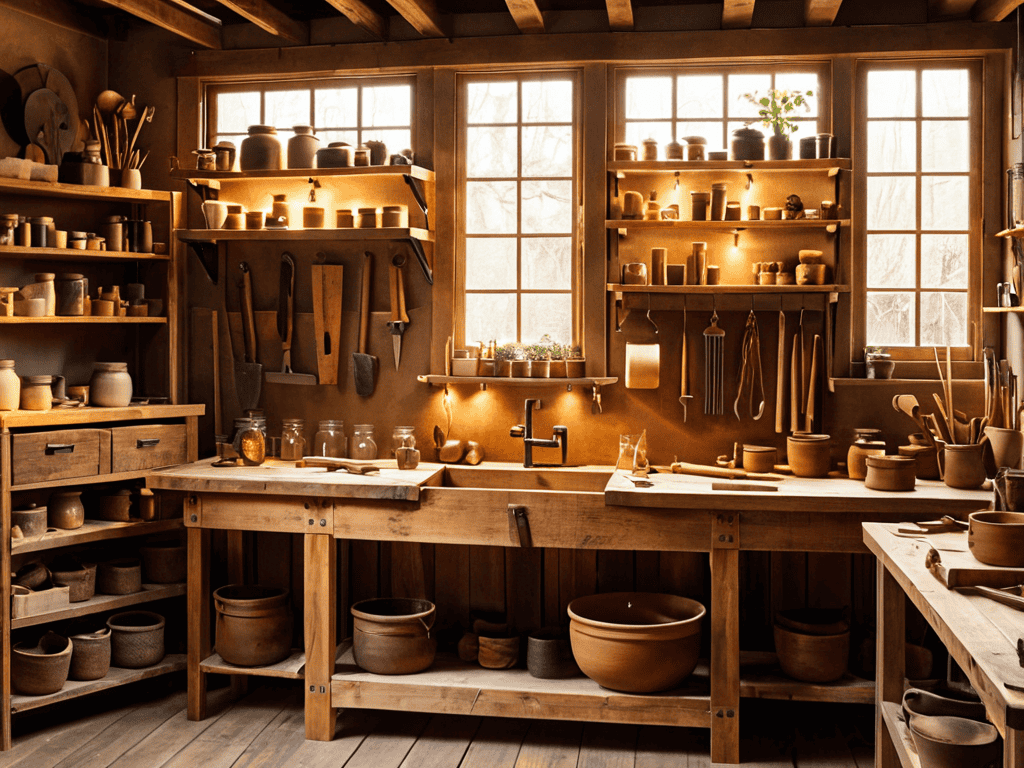
Breathing Life Into Custom Shelving
As I work on custom shelving projects, I’m reminded that it’s not just about holding items, but about creating a narrative. The imperfections in handmade wood, the unique grain patterns, all contribute to a story that unfolds in your home. I start by selecting woods that speak to me – perhaps a reclaimed oak or a rich walnut – and then carefully craft each shelf to bring out the natural beauty of the material.
In my workshop, I’ve found that the process of shaping and sanding the wood is almost meditative, allowing me to connect with the material on a deeper level. As the shelves begin to take form, I envision the items that will be placed upon them, and the life they will hold. It’s a truly rewarding experience, seeing a custom shelving unit come to life, and knowing that it will become a part of someone’s daily story.
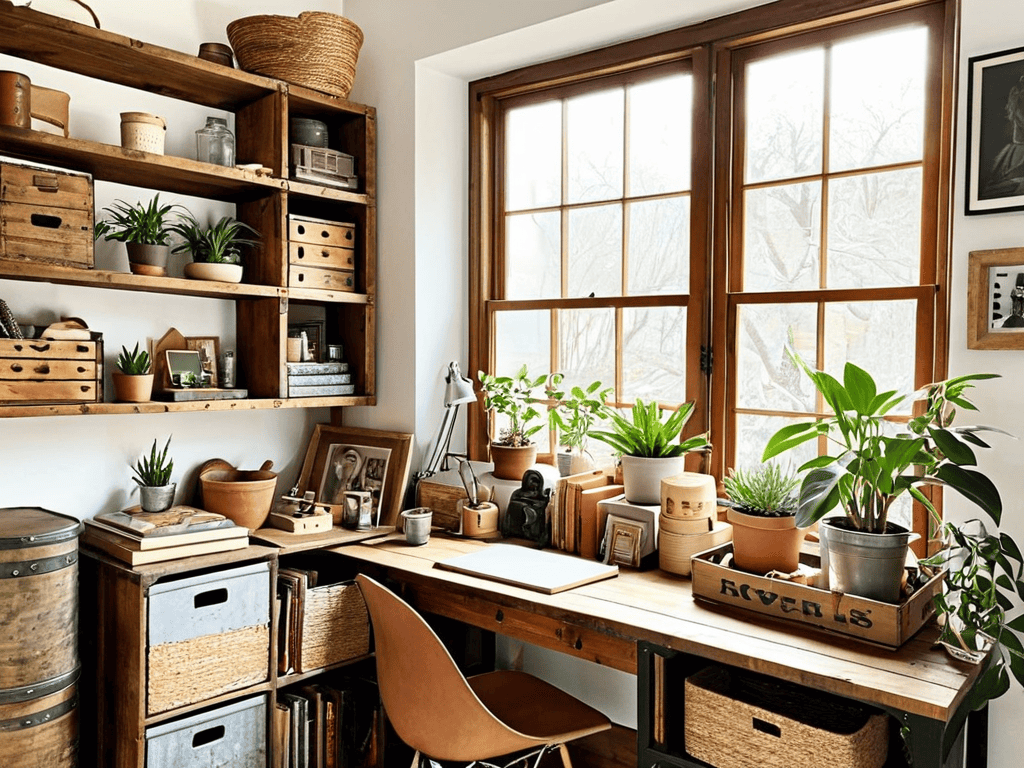
Repurposing Furniture for Small Spaces
As I wander through thrift stores and flea markets, I’m always on the lookout for hidden gems – old dressers, ladders, or crates that can be repurposed into unique storage solutions. Giving new life to discarded furniture not only reduces waste but also adds a touch of character to small spaces. I recall transforming an old wooden ladder into a quirky bookshelf for my own home, and it’s become a conversation starter.
By repurposing furniture, you can create functional pieces that tell a story. Consider turning an old door into a one-of-a-kind coffee table with storage, or converting a vintage suitcase into a charming storage ottoman. These handmade pieces will not only solve your storage needs but also infuse your space with a sense of history and personality.
Bringing Order to Chaos: 5 Essential Tips for DIY Storage Solutions
- Start with a story: Before you begin building, think about the story you want your storage solution to tell. What kind of items will it hold? What kind of atmosphere do you want to create in the room?
- Measure twice, cut once: Accurate measurements are key to creating DIY storage solutions that fit perfectly in your space. Take your time, and don’t be afraid to double-check your calculations
- Choose materials that speak to you: The materials you select for your DIY storage project should reflect your personal style and complement the existing decor in your home. Consider the texture, color, and grain of the materials you’re working with
- Lighten up: Don’t forget to incorporate lighting into your DIY storage solution. This can be as simple as adding a string of fairy lights or installing LED strips under your shelves to create a warm glow
- Embrace the imperfections: Remember, it’s the imperfections in your handmade storage solution that give it character. Don’t be too hard on yourself if things don’t turn out exactly as planned – it’s all part of the process
Key Takeaways for Handcrafted Storage
By embracing the imperfections of handmade DIY storage solutions, you can add a personal touch and unique character to your space, making it truly reflective of your story
Repurposing vintage furniture or creating custom shelving from natural materials like wood can not only optimize your space but also become a meaningful part of your home’s narrative
Through the process of crafting your own storage solutions, you’ll not only gain practical skills but also develop a deeper appreciation for the beauty of handmade objects and the stories they tell
The Heart of DIY Storage
In the beauty of handmade storage solutions lies not just a place to hold our belongings, but a story of our own craftsmanship, a testament to the idea that even the simplest of spaces can be transformed into a reflection of our soul.
Finn Rivera
Embracing the Beauty of Handmade Storage
As we’ve explored the world of DIY storage solutions, from crafting custom shelving to repurposing furniture for small spaces, it’s clear that the process of creating something with our own hands is just as valuable as the end result. By embracing the imperfections and uniqueness of handmade objects, we can bring a sense of character and soul into our homes. Whether you’re a seasoned maker or just starting out, the journey of creating your own storage solutions is an opportunity to tell a story and make your space truly yours.
So, as you embark on your next DIY adventure, remember that it’s not just about optimizing space or storing belongings – it’s about infusing your daily life with meaningful, handmade touches. By doing so, you’ll not only create a more beautiful and functional home, but also cultivate a deeper appreciation for the process of making and the joy of slowing down to create something truly special.
Frequently Asked Questions
What are some creative ways to repurpose old materials for DIY storage solutions?
I love breathing new life into old materials. Consider transforming vintage ladders into bookshelves, consider old pallets as shelves or crates, and think about upcycling mason jars for storage containers – the imperfections only add character to your DIY storage solutions.
How can I ensure my handmade storage solutions are both functional and visually appealing?
For me, it’s all about balance – blending form and function. I consider the space, the materials, and the story I want the piece to tell. A handmade storage solution should be both beautiful and useful, like a reclaimed wood shelf that adds character to a room while keeping belongings organized.
What are some essential tools and materials I should have in my workshop to get started with DIY storage projects?
To bring your DIY storage projects to life, I recommend having essentials like a trusty table saw, a drill press, and a set of sharp chisels. For materials, consider reclaimed wood, durable leather, and versatile ceramics. These will be your building blocks for creating unique, functional pieces that tell a story.


