A Guide to the Best Lighting for Indoor Portraits
I still remember the first time I stepped into a dimly lit room, camera in hand, and struggled to capture the best lighting for indoor portraits. It was a portrait shoot for a local magazine, and I was determined to get it just right. But as I fumbled with my settings and tried to coax the perfect shot out of my subject, I realized that there’s a common myth that can make or break an indoor portrait: that you need a ton of expensive equipment to get great light. The truth is, it’s not about the gear – it’s about understanding how to work with the light you have.
As you read this article, I want you to know that you’re not just getting a list of tips and tricks – you’re getting a practical guide to unlocking the secrets of indoor portrait lighting. I’ll share my own experiences, from shooting in cramped apartments to grand studios, and give you the honest, no-hype advice you need to start taking stunning indoor portraits. You’ll learn how to harness the power of natural light, how to create flattering artificial light setups, and how to make the most of even the most challenging indoor environments. By the end of this article, you’ll be equipped with the knowledge and confidence to capture best lighting for indoor portraits that truly speak to your subjects’ stories.
Table of Contents
- Guide Overview: What You'll Need
- Step-by-Step Instructions
- Best Lighting for Indoor Portraits
- Capturing Life: 5 Essential Tips for Indoor Portrait Lighting
- Key Takeaways for Capturing Stunning Indoor Portraits
- The Essence of Indoor Portraits
- Conclusion: Capturing the Essence of Indoor Portraits
- Frequently Asked Questions
Guide Overview: What You'll Need
Total Time: 1 hour 30 minutes
Estimated Cost: $50 – $100
Difficulty Level: Intermediate
Tools Required
- Light Meter (optional)
- Softbox Lights (at least 2)
Supplies & Materials
- Umbrellas (translucent or reflective)
- Backdrops (various colors and sizes, e.g., 6 feet wide and 9 feet tall)
- Diffusers (e.g., tracing paper or frosted plastic sheets, 20 inches by 30 inches)
Step-by-Step Instructions
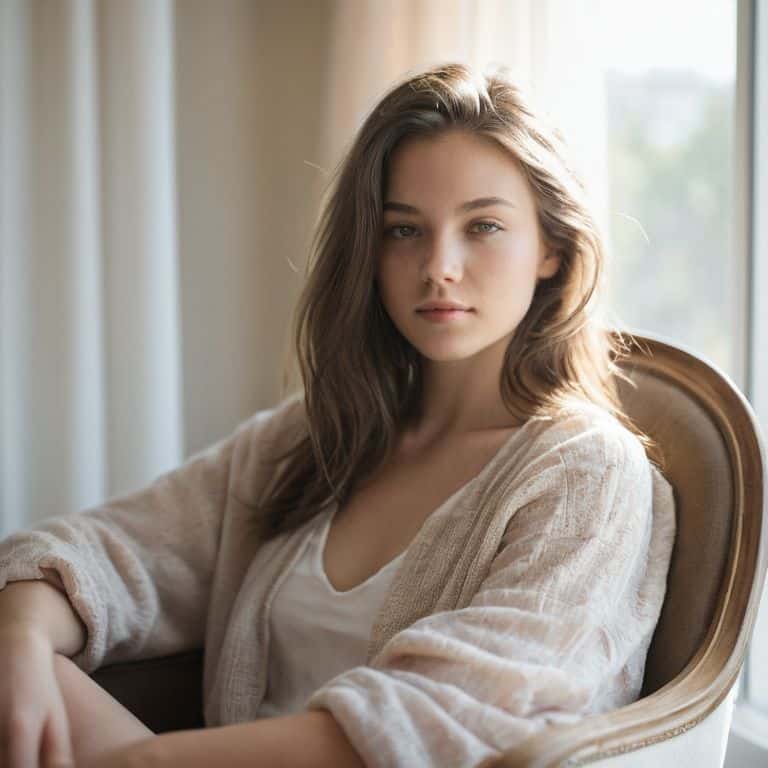
- 1. First, I want you to understand the power of natural light when it comes to indoor portraits. Look for rooms with large windows or glass doors that can provide a soft, gentle light. This type of light is ideal for creating a warm and inviting atmosphere in your portraits. I always try to position my subjects near a window, but not directly in front of it, to avoid harsh shadows and unflattering highlights.
- 2. Next, learn to work with the available light in the room. If you’re shooting in a space with limited natural light, try using lamps or overhead lighting to create a warm glow. I often use a combination of table lamps and floor lamps to create a layered lighting effect that adds depth and interest to my portraits.
- 3. Now, let’s talk about light positioning. When using artificial light sources, it’s essential to position them correctly to avoid unflattering shadows and highlights. I like to place my light sources at a 45-degree angle to my subject’s face, about 2-3 feet away. This creates a soft, gentle light that wraps around their features and adds depth to the image.
- 4. To add some extra depth and interest to your portraits, try using reflectors to bounce light back onto your subject’s face. I often use a simple piece of white cardboard or a dedicated reflector panel to bounce light back onto my subject’s eyes and face. This helps to reduce shadows and adds a touch of sparkle to their eyes.
- 5. When shooting indoor portraits, it’s crucial to control the color temperature of your light sources. Different light bulbs and fixtures can produce a wide range of color temperatures, from warm and cozy to cool and blue. I often use a color temperature meter to ensure that my light sources are consistent and won’t affect the overall mood of the image.
- 6. Now, let’s experiment with mixed lighting. Combining different light sources, such as natural and artificial light, can create a unique and interesting effect. I often mix warm and cool light sources to add a sense of tension and drama to my portraits. This can be especially effective when shooting in a room with a mix of warm and cool colors.
- 7. Finally, don’t be afraid to experiment and take risks when it comes to lighting your indoor portraits. Try different light sources, positions, and combinations to see what works best for your subject and the mood you’re trying to create. I always say that the best portraits are the ones that tell a story, and lighting is a crucial part of that narrative.
Best Lighting for Indoor Portraits
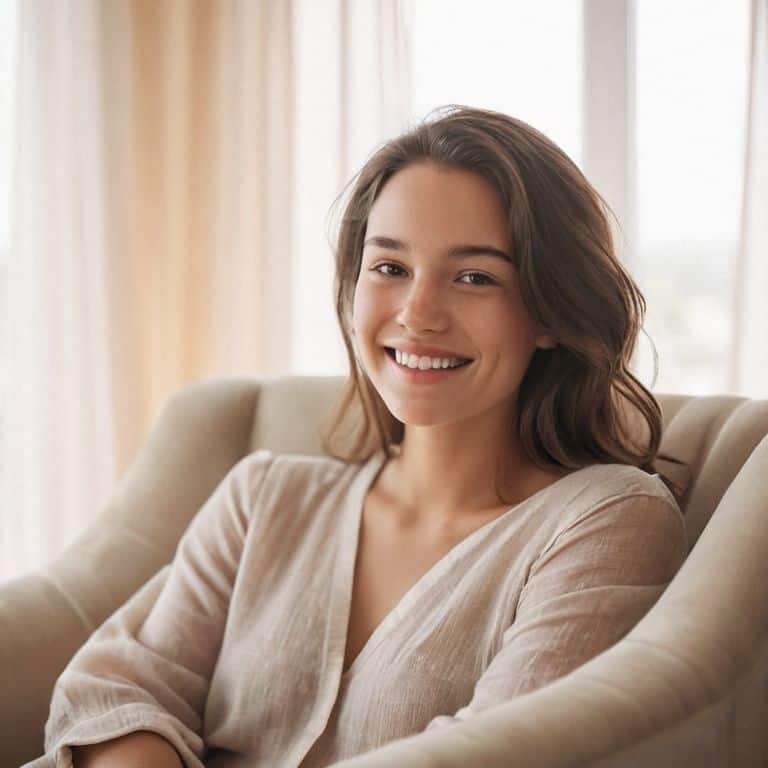
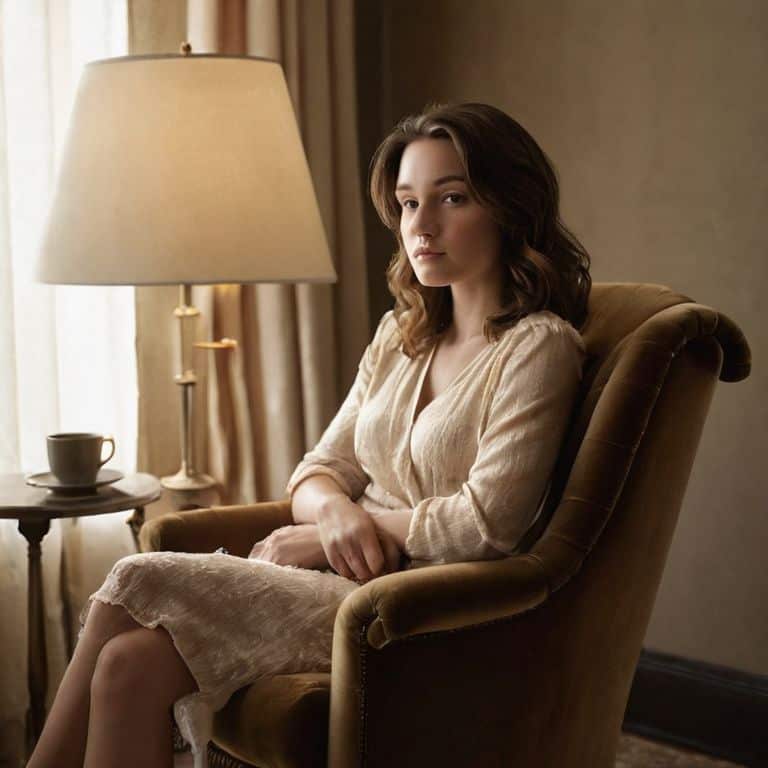
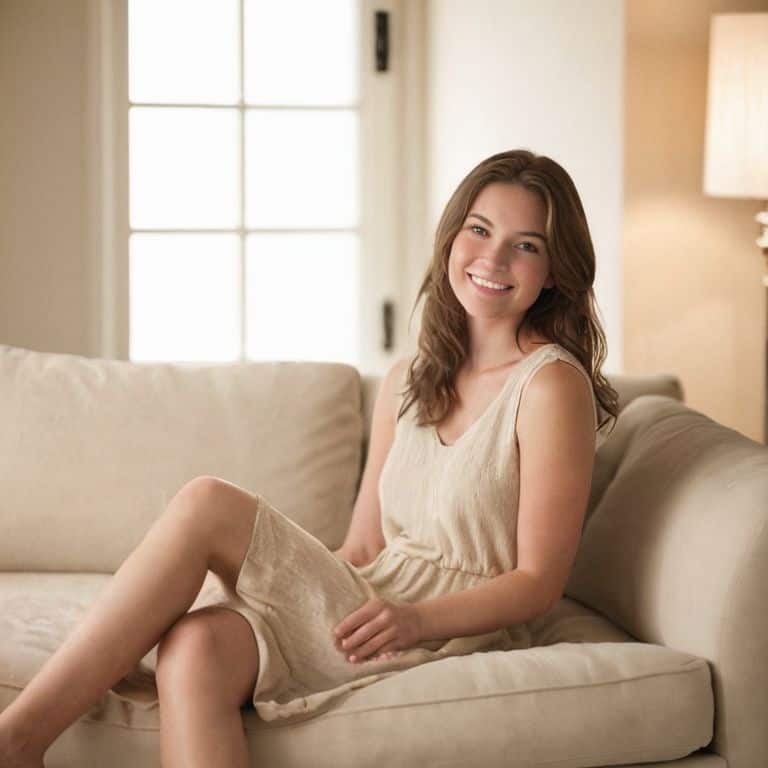
As I delve into the world of indoor photography, I’m reminded of the importance of mastering natural light. When possible, I try to position my subjects near a window to capture the soft, warm glow of natural light. This not only adds depth to the image but also creates a sense of authenticity. However, when natural light is scarce, I rely on indoor photography lighting kits to create a similar ambiance.
One of the most common mistakes beginners make is using harsh lighting that can be unflattering to their subjects. To avoid this, I recommend softening harsh light indoors by using diffusers or sheer curtains. This simple trick can make a significant difference in the overall quality of the image. Additionally, I’m a big fan of using LED lights for photography, as they provide a soft, consistent light that’s easy to work with.
When setting up a home photography studio, it’s essential to experiment with different portrait lighting setups for beginners. I often start with a simple one-light setup and gradually add more lights to achieve the desired effect. By doing so, I can create a wide range of moods and atmospheres, from soft and intimate to dramatic and bold. This approach allows me to push the boundaries of indoor photography and capture unique, storytelling images that reveal the essence of my subjects.
Softening Harsh Light With Led Kits
When natural light isn’t an option, I turn to LED kits to soften harsh light. These kits have been a game-changer for my indoor portrait shoots, allowing me to create a warm and inviting atmosphere. By positioning the LEDs strategically, I can diffuse harsh shadows and highlights, resulting in a more flattering and nuanced light.
I’ve found that LED kits are particularly useful when shooting in small, enclosed spaces with limited natural light. They provide a level of control and flexibility that’s hard to achieve with natural light alone. With the right LED kit, I can craft a soft, wraparound light that brings out the best in my subjects, and tells their story in a way that’s both authentic and captivating.
Unleashing Natural Light Photography Tips
When I’m shooting indoor portraits, I always try to utilize natural light to its fullest potential. There’s something about the soft, warm glow that pours in through a window that can instantly elevate a photo. I look for rooms with large windows, or better yet, shoot near a door that leads outside – the soft, indirect light is perfect for capturing subtle expressions and textures. By positioning my subject near a natural light source, I can create a sense of depth and dimensionality in the photo that would be difficult to replicate with artificial lighting.
I’ve found that the best time for natural light photography is during the golden hour, just before sunset. The light is soft and warm, with a beautiful golden hue that adds a sense of warmth and intimacy to the photo.
Capturing Life: 5 Essential Tips for Indoor Portrait Lighting
- I always look for opportunities to utilize the golden hour, even indoors, by placing my subject near a window to capture that soft, warm glow
- Experimenting with backlight can add depth and dimension to your indoor portraits, so don’t be afraid to get creative with lamp positioning or natural light
- Softening harsh light with diffusers or sheer curtains can make a world of difference in creating a flattering, professional-looking portrait
- Pay attention to the color temperature of your light sources – warm tones can create a cozy atmosphere, while cool tones can add a touch of sophistication
- Remember, the best indoor portraits often feature imperfections and nuances, so don’t over-rely on artificial lighting and instead focus on capturing the authentic, unposed moments that reveal your subject’s true character
Key Takeaways for Capturing Stunning Indoor Portraits
I’ve learned that the best indoor portraits often result from embracing the interplay of natural and artificial light, using each to enhance the narrative of the image
Mastering the art of softening harsh light, whether through the use of LED kits, diffusers, or the strategic placement of subjects near soft natural light sources, is crucial for portraits that exude warmth and intimacy
Ultimately, the most compelling indoor portraits are those that tell a story, and this is achieved not just through technical prowess, but through a deep understanding of how light, composition, and the subject’s essence converge to create a photograph that truly speaks to the viewer
The Essence of Indoor Portraits
The best lighting for indoor portraits isn’t about replicating the sun, but about uncovering the intimate, quiet moments that exist in the shadows and the soft glow of everyday life.
Julian Kade
Conclusion: Capturing the Essence of Indoor Portraits
As I reflect on our journey through the world of indoor portrait lighting, I want to emphasize the importance of experimenting with different light sources. From harnessing the power of natural light to softening harsh light with LED kits, we’ve explored various techniques to capture stunning indoor portraits. I encourage you to remember that light is the foundation of any great photograph, and it’s essential to understand how to work with it to tell your subject’s story. Whether you’re a seasoned photographer or just starting out, I hope this guide has provided you with valuable insights and practical tips to enhance your indoor portrait photography skills.
As you continue to explore the world of indoor portrait photography, I want to leave you with a final thought: the best portraits are those that reveal the essence of the subject. It’s not just about capturing a likeness, but about telling a story that resonates with the viewer. So, don’t be afraid to take risks, try new things, and push the boundaries of what’s possible with indoor portrait lighting. Remember, the most powerful photographs are those that come from a place of authenticity and passion, so keep experimenting, learning, and most importantly, having fun with the process.
Frequently Asked Questions
What are some common mistakes to avoid when using artificial lighting for indoor portraits?
When working with artificial lighting, I see many photographers over-relying on harsh flashes or poorly positioning their lights, which can create unflattering shadows and wash out their subject’s features. To avoid this, I always recommend experimenting with softer light sources and carefully considering the placement of each light to create a more natural, dimensional look.
How can I effectively use reflectors to bounce light and reduce shadows in my indoor portrait photography?
I love using reflectors to add depth to my indoor portraits. To bounce light and reduce shadows, I position a reflector opposite my light source, adjusting its angle to soften harsh lines. This technique adds a touch of warmth and dimension to my subjects, creating a more inviting atmosphere in the image.
Are there any specific indoor portrait lighting setups that work well for capturing authentic, candid moments with my subjects?
For authentic, candid moments, I swear by available light and simple setups. Try positioning your subject near a north-facing window or using a single, softly diffused light source to create a sense of intimacy and spontaneity. This approach helps me capture genuine expressions and unguarded moments.