A Guide to Making Plantable Seed Paper
As I sit in my workshop, surrounded by the scent of wood and the gentle hum of my camera, I’m reminded of the beauty of imperfection. I’ve always been fascinated by the process of giving new life to old materials, and that’s exactly what drew me to a guide to making plantable seed paper. There’s a common myth that creating something with your own hands is a tedious, time-consuming process, but I’m here to tell you that it’s quite the opposite. With the right mindset and a willingness to get your hands dirty, you can create something truly unique and meaningful.
In this article, I’ll share my personal approach to a guide to making plantable seed paper, one that emphasizes the importance of storytelling and the therapeutic benefits of working with natural materials. You’ll learn how to transform simple ingredients into a beautiful, plantable paper that’s not only eco-friendly but also a reflection of your own creativity. I’ll walk you through each step of the process, from preparing the seeds to harvesting your finished paper, and provide you with practical tips and tricks to ensure your project turns out as beautiful as you imagine.
Table of Contents
Guide Overview: What You'll Need
Total Time: 1 hour 30 minutes
Estimated Cost: $10 – $20
Difficulty Level: Easy
Tools Required
- Blender (for mixing)
- Mold and deckle (or a frame with a mesh screen)
- Sponge (for water application)
- Iron (for drying)
- Scissors (for cutting paper to size)
Supplies & Materials
- Recycled paper (e.g., old newspaper, cardboard, or paper scraps)
- Seeds (of your chosen plant species)
- Water
- A mixing container (large enough to hold 1 gallon of water)
- A mesh screen (for straining pulp)
- Glycerin (optional, for improved paper quality)
- Colorants (optional, e.g., food coloring, natural dyes)
Step-by-Step Instructions
- 1. To begin our journey into creating plantable seed paper, we first need to gather our materials, which include cotton linters or cotton rag, water, a blender, a mixing bucket, a mold and deckle (or a frame with a mesh screen), and of course, the seeds of your choice. I find that using a variety of wildflower seeds adds a touch of whimsy to the project.
- 2. Next, we’ll need to create the pulp that will become our paper. This involves soaking the cotton linters in water for several hours, then blending them into a smooth consistency. It’s essential to ensure the mixture is not too thick, as this will affect the quality of the final paper. I like to think of this step as preparing the canvas for our seeds to take root.
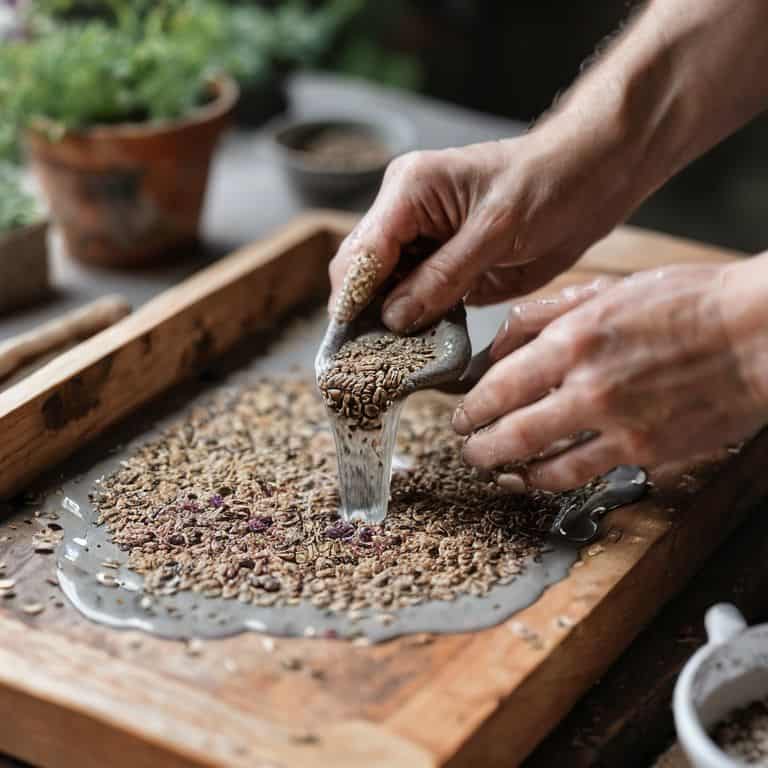
- 3. With our pulp ready, it’s time to add the seeds. This is the most magical part of the process, as we’re essentially sowing stories that will bloom into beautiful flowers. Gently mix the seeds into the pulp, making sure they’re evenly distributed. The seeds will act as a natural embed, making each sheet of paper unique and full of potential.
- 4. Now, we’ll prepare our mold and deckle. If you’re using a frame with a mesh screen, ensure it’s securely attached to prevent any pulp from escaping. This tool will help us shape our paper and remove excess water. I find the process of pouring the pulp mixture into the mold and watching it begin to take form to be mesmerizing, a true testament to the transformation of raw materials.
- 5. After pouring the pulp into the mold, gently rock it back and forth to ensure even distribution and to remove any air pockets. This step requires a bit of patience and a gentle touch, as we’re not just making paper, we’re crafting a medium for life to flourish. Once you’re satisfied with the distribution, let it sit for a few minutes to allow the water to start draining.
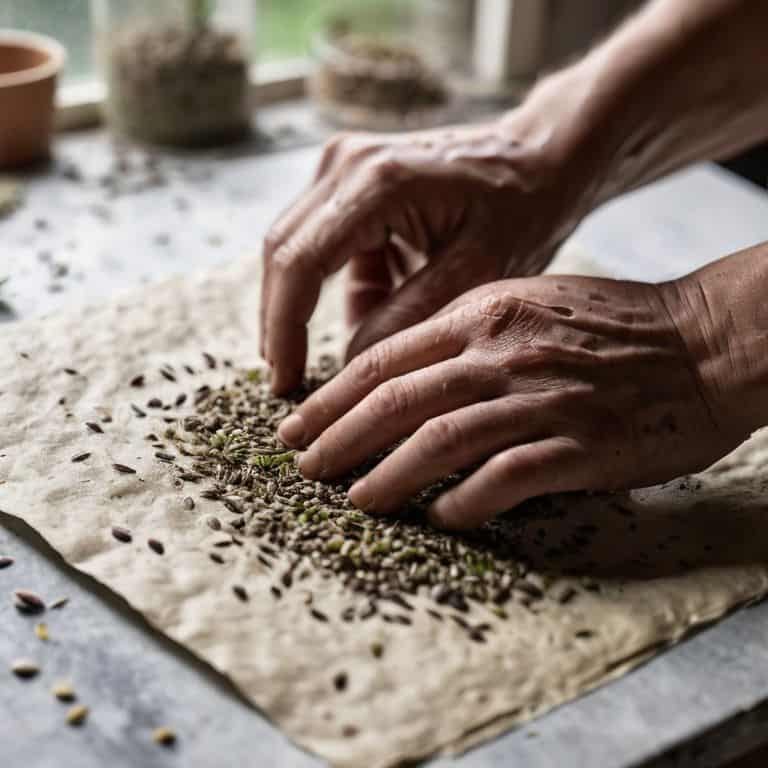
- 6. Using a sponge or a cloth, carefully remove excess water from the pulp, applying gentle pressure. This process helps to flatten the pulp and encourages the seeds to embed evenly. It’s a moment of delicate balance, where we must be firm yet gentle, much like the process of nurturing a seedling to growth.
- 7. Once the paper has reached the desired thickness and the water has stopped draining, it’s time to carefully remove it from the mold. This is a moment of truth, as you’ll get your first glimpse of the paper’s texture and how the seeds are distributed. Gently place the paper on a flat surface covered with a cloth or paper towels to absorb any remaining moisture.
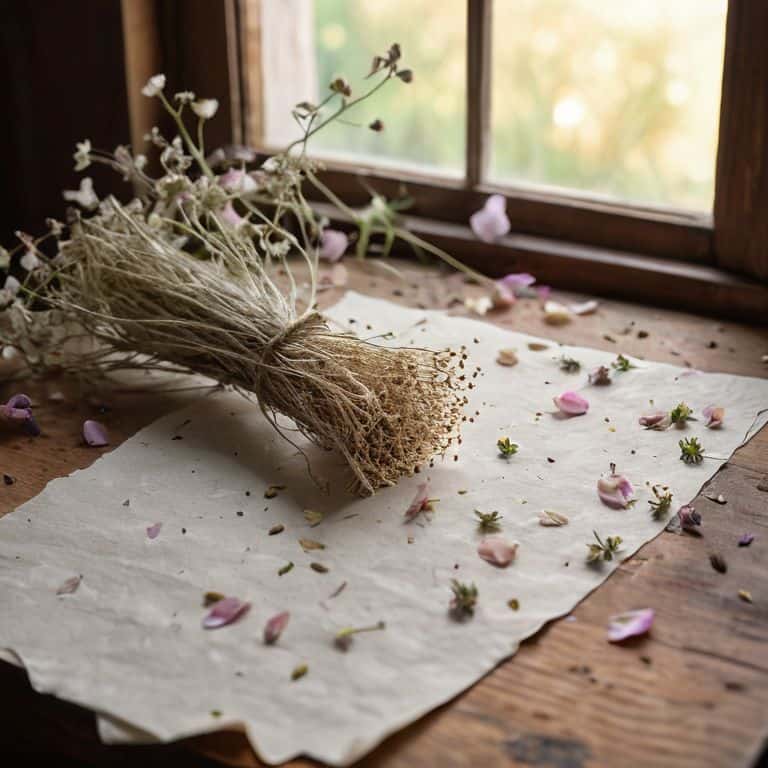
- 8. Allow the paper to dry completely, which can take several hours or overnight, depending on the humidity. As it dries, you can observe the seeds becoming more pronounced, a reminder of the potential for growth that each sheet holds. Once dry, your plantable seed paper is ready to use for writing, crafting, or as a unique gift that tells a story of its own.
Sowing Stories in Paper
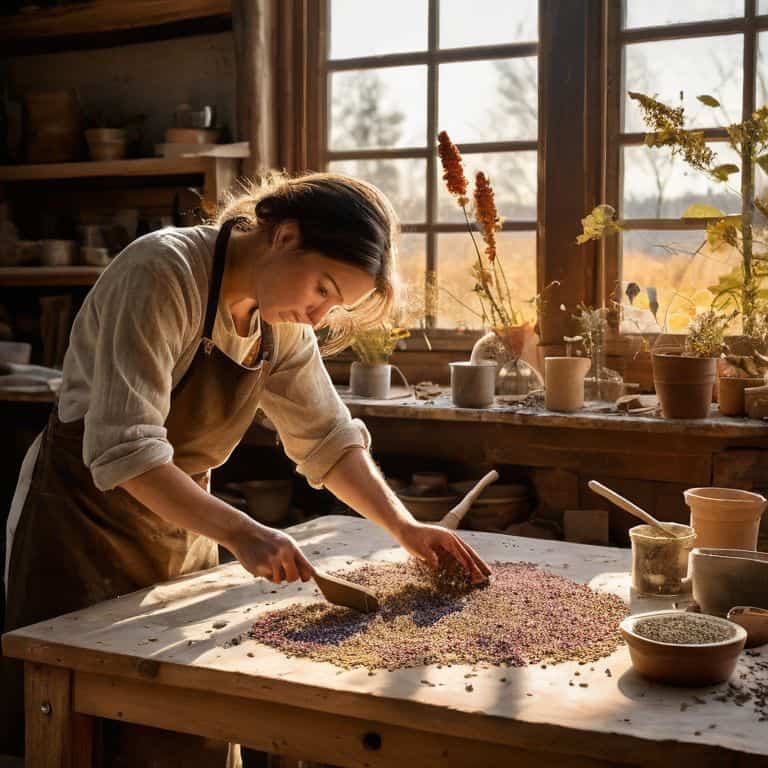
As I sit in my workshop, surrounded by the gentle glow of morning light and the earthy scent of recycled materials, I’m reminded that creating handmade paper gifts is not just about the end result, but about the journey. The process of making plantable seed paper is a meditation, a chance to slow down and connect with the natural world. By incorporating types of seeds for paper making that are native to your region, you’re not only adding a personal touch but also supporting local ecosystems.
When it comes to eco friendly paper production methods, every detail matters. From the type of water used to the pressure applied during the pressing process, each element contributes to the unique character of your handmade paper. I’ve found that using a mixture of recycled materials and natural dyes can create a beautiful, organic texture that’s perfect for special occasions. Whether you’re crafting diy seed paper instructions for a friend or creating a one-of-a-kind gift, the imperfections and variations in your paper are what make it truly special.
For gardening enthusiasts, the joy of making plantable seed paper lies not only in the creative process but also in the promise of new life. By embedding seeds within the paper, you’re giving the recipient a chance to nurture and watch their own seed paper grow into something beautiful. As you work on your project, remember to take your time and appreciate the simple beauty of the materials and the process. Sowing stories in paper is a labor of love, and the end result is a testament to the power of human creativity and connection with nature.
Crafting Memories With Diy Seed Paper
As I watch my urban garden bloom, I’m reminded that every sheet of seed paper holds a memory. The gentle crunch of seeds between my fingers, the earthy scent of pulp, and the soft glow of natural light on my workbench all blend together to create a sensory experience. With each handmade sheet, I feel like I’m weaving a tale of growth and transformation.
In the quiet moments, as I bind these papers into journals or decorate them with pressed flowers, I realize that the true beauty lies not just in the final product, but in the journey itself. The imperfections – a stray seed, a torn edge – become testaments to the human touch, telling a story of patience, love, and the joy of creation.
Where Recycled Materials Meet Gardening Magic
As I mix recycled cotton with wildflower seeds, I’m reminded of the beauty in blending discarded materials with the promise of new life. This fusion is where the true magic of plantable seed paper lies. By repurposing old cotton scraps, I’m not only reducing waste but also infusing my paper with a history that will soon give way to a blooming garden. The process is a testament to the cyclical nature of creation, where endings become beginnings and stories unfold in the most unexpected ways.
In my urban garden, I’ve seen these papers transform into vibrant wildflowers, attracting bees and butterflies that add their own chapter to the narrative. It’s a powerful reminder that our handmade creations can have a ripple effect, weaving together recycling, gardening, and community in a beautiful tapestry of storytelling.
Nurturing Your Craft: 5 Essential Tips for Making Plantable Seed Paper
- Start with a mix of recycled paper, water, and a pinch of patience – the pulp should be smooth, like silk between your fingers
- Choose your seeds wisely, considering the type of plant, its growth habits, and the symbolism you want to embed in your paper
- Experiment with natural dyes and pigments to infuse your paper with the essence of the earth – think botanicals, spices, and earth oxides
- Don’t over-mix the pulp, as this can lead to a dense, unyielding paper – instead, aim for a gentle, almost meditative folding and pressing process
- Embrace the imperfections, for it’s in the tiny tears, the uneven edges, and the accidental textures that your paper will tell its unique story, and become a true reflection of your handmade touch
Nurturing the Art of Plantable Seed Paper: 3 Key Takeaways
As you embark on this creative journey, remember that the beauty of handmade plantable seed paper lies in its imperfections, telling a unique story with every delicate fold and seedling
By embracing the process of crafting your own seed paper, you not only create a sustainable and eco-friendly product, but also weave a tapestry of memories and personal narratives into every sheet
Whether you’re an urban gardener, a bookbinding enthusiast, or simply someone who finds solace in the tactile nature of handmade crafts, plantable seed paper offers a captivating intersection of art, nature, and storytelling, inviting you to slow down and nurture your creativity
Sowing Wisdom
As we embed seeds into the fibers of our paper, we’re not just creating a medium for writing, but a promise of life and renewal, where the stories we tell can literally take root and flourish.
Finn Rivera
Sowing the Seeds of Creativity
As we conclude this journey of creating plantable seed paper, let’s reflect on the simple yet profound process we’ve undertaken. From mixing and molding to sowing and nurturing, each step has been a testament to the beauty of transformation. We’ve seen how recycled materials can be reborn into something not only functional but also a symbol of hope and renewal. The stories we’ve woven into each sheet of paper, whether through the seeds we’ve embedded or the memories we’ve attached, are a reminder that crafting is a form of storytelling.
Now, as you hold your handmade plantable seed paper, remember that the true magic lies not in the end product, but in the journey of creation. It’s in the imperfections, the surprises, and the lessons learned along the way. As you watch your seeds sprout and grow, may they symbolize the potential for growth and transformation that lies within each of us. May this small act of crafting inspire you to continue exploring the intersection of art, nature, and storytelling, and may your creations always be infused with the soul of your own unique story.
Frequently Asked Questions
What type of seeds are best suited for making plantable seed paper?
For plantable seed paper, I recommend using wildflower seeds, herb seeds, or even vegetable seeds. These tiny treasures add an extra layer of meaning to your handmade paper, as they can be planted and nurtured into beautiful blooms or delicious harvests, symbolizing the cycle of creation and growth.
Can I use recycled paper products, like old newspapers or cardboard, to make the seed paper?
Absolutely, old newspapers and cardboard can be repurposed to create unique seed paper. The textures and imperfections will add character to your handmade paper, making each sheet a one-of-a-kind story. Simply shred, soak, and blend these recycled materials with water and your chosen seeds to give them new life.
How long does it take for the seeds to germinate after the seed paper is planted?
The wait for germination is like watching a sunrise – it’s a gentle, unfolding process. Typically, seeds in plantable paper take 1-3 weeks to sprout, depending on the type of seed and the conditions. I’ve found that wildflowers and herbs tend to germinate a bit faster, while larger seeds might take a tad longer. Patience is key, my friend, as the magic happens beneath the surface.


