5 Common Candle Making Mistakes for Beginners
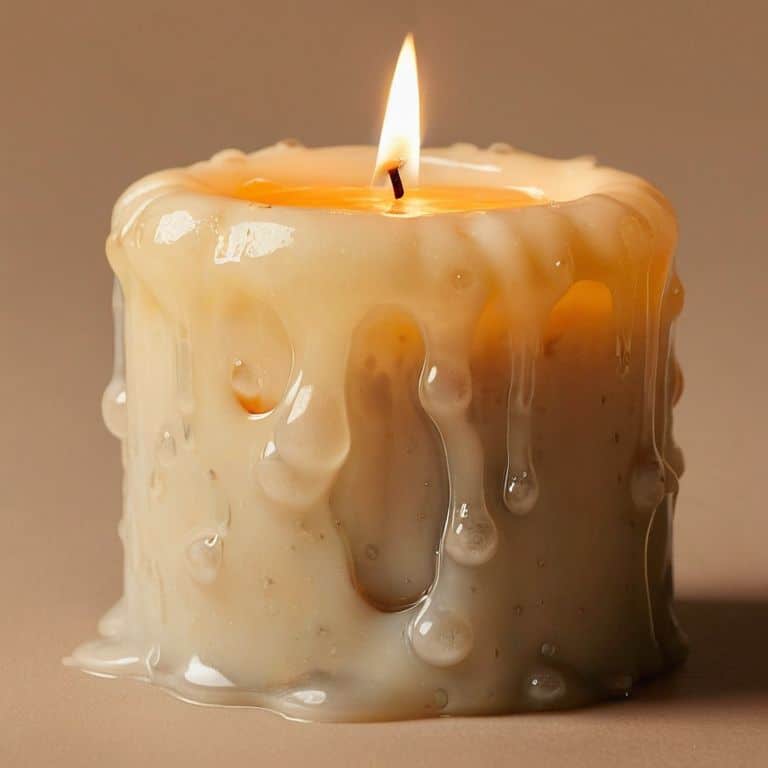
As I sit here in my workshop, surrounded by the scent of wax and the soft glow of candles, I’m reminded of the countless times I’ve heard people say that making candles is a straightforward, foolproof process. But let’s get real – common candle making mistakes for beginners are more prevalent than we’d like to admit. I’ve been there, pouring my heart into a homemade candle, only to have it turn out lopsided, discolored, or worse, not burn at all. It’s a frustrating experience, but one that can be avoided with the right guidance.
In this article, I’ll share my personal experience and honest advice on how to avoid the most common candle making mistakes for beginners. I’ll walk you through the pitfalls I’ve encountered, from improper wax melting to inadequate wick sizing, and provide you with practical tips to ensure your candle-making journey is a success. My goal is to empower you with the knowledge to create beautiful, functional candles that bring warmth and light to your home, and to make the process enjoyable and rewarding. By the end of this guide, you’ll be well on your way to crafting your own unique, handmade candles with confidence and precision.
Table of Contents
- Guide Overview: What You'll Need
- Step-by-Step Instructions
- Avoiding Common Candle Making Mistakes for Beginners
- Fragrant Faux Pas Calculating the Perfect Fragrance Load
- Melting Magic Mastering Wax Melting Techniques
- Ember & Oak: 5 Fireside Lessons to Illuminate Your Candle Making Journey
- Ember & Oak: 3 Key Takeaways for Beginner Candle Makers
- A Word of Wisdom
- Embracing the Art of Candle Making
- Frequently Asked Questions
Guide Overview: What You'll Need
Total Time: 1 hour 30 minutes
Estimated Cost: $20 – $40
Difficulty Level: Easy
Tools Required
- Thermometer (for monitoring temperature)
- Colorant (for achieving desired color)
- Fragrance oils (for scenting candles)
- Melting pot (for melting wax)
- Candle mold (for shaping candles)
Supplies & Materials
- Wax (available in various types, such as soy or paraffin)
- Wick (made of cotton, paper, or another material)
- Melting pot liner (for easy cleanup)
- Heat-resistant surface (for protecting work area)
- Rubber spatula (for stirring and pouring wax)
Step-by-Step Instructions
- 1. First, let’s start with the basics: preparing the melting pot. This is where most beginners go wrong, as the temperature and melting time can greatly affect the final product. I like to use a double boiler or a dedicated candle-making pot to ensure a smooth and even melt. Make sure to follow the manufacturer’s instructions for the specific wax you’re using, and always keep an eye on the thermometer to avoid overheating.
- 2. Next, it’s time to measure and mix the wax and fragrances. This is where the magic happens, but it’s also where mistakes can occur. I recommend using a digital scale to ensure accuracy, and to always follow the recommended fragrance load for the specific wax you’re using. Don’t be tempted to add too much fragrance, as this can cause the candle to become discolored or even separate.
- 3. Now that we have our wax and fragrance mixture ready, it’s time to add the color. This is an optional step, but it can really make your candle stand out. When adding color, make sure to use a little at a time, as it’s easier to add more than it is to remove excess. I like to use powdered dyes or pigment blocks, as they provide a more consistent color throughout the candle.
- 4. With our mixture complete, it’s time to prepare the mold. This is where the candle will take shape, so make sure it’s clean and dry. I like to use a silicone mold, as it’s easy to remove the candle once it’s set. If you’re using a glass or metal mold, make sure to spray it with a release agent to avoid the candle from sticking.
- 5. Now it’s time to pour the mixture into the mold. This can be a bit tricky, as the mixture needs to be at the right temperature. If it’s too hot, it can cause the wax to seize up or become discolored. If it’s too cold, it can cause the wax to solidify too quickly, resulting in a candle with a rough texture. I recommend pouring the mixture at around 160-180°F (71-82°C) for best results.
- 6. Once the mixture is poured, it’s time to allow it to cool and solidify. This can take anywhere from 30 minutes to several hours, depending on the size of the candle. I like to let it cool and solidify at room temperature, as this helps to prevent any sweating or wet spots from forming on the surface of the candle.
- 7. Finally, it’s time to trim the wick and inspect the candle. This is the final step, and it’s where you get to see the fruits of your labor. Make sure to trim the wick to the recommended length, and inspect the candle for any imperfections or defects. If you’re happy with the result, you can now enjoy your handmade candle, knowing that you’ve created something truly unique and special.
Avoiding Common Candle Making Mistakes for Beginners
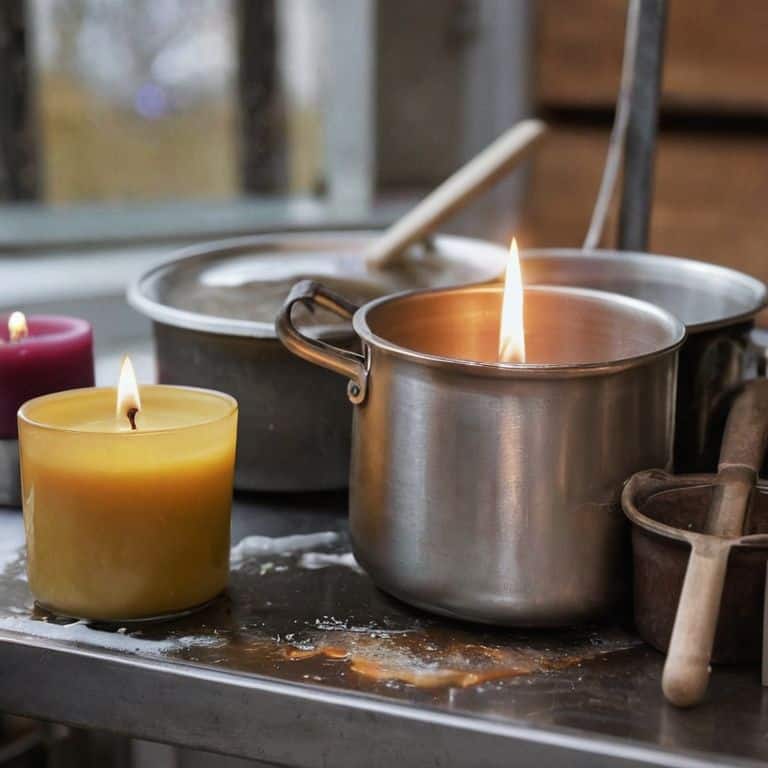
As I reflect on my own journey with candle making, I realize that temperature control is a crucial aspect that can make or break the quality of your candles. It’s essential to monitor the wax melting techniques, ensuring that the temperature doesn’t get too high, which can lead to a discolored or unevenly textured candle. I’ve found that using a thermometer and keeping a close eye on the melting process helps me achieve the perfect consistency.
When it comes to adding color and fragrance to your candles, there are many colorant options available, ranging from dyes to pigments. However, it’s vital to understand the fragrance load calculations to ensure that your candles have the perfect scent without overpowering the space. I’ve experimented with different fragrance loads, and I can attest that finding the right balance is key to creating a truly enjoyable candle.
To take your candle making to the next level, consider investing in a variety of candle mold selection tips, which can help you achieve unique and intricate designs. Additionally, be patient and allow for adequate curing times for different waxes, as this will enable your candles to harden properly and burn evenly. By following these tips and being mindful of the process, you’ll be well on your way to creating beautiful, handmade candles that bring warmth and ambiance to any space.
Fragrant Faux Pas Calculating the Perfect Fragrance Load
When it comes to adding fragrance to your candles, it’s easy to get carried away. But trust me, too much of a good thing can quickly turn into a disaster. I’ve learned the hard way that calculating the perfect fragrance load is an art that requires patience and precision. It’s not just about dumping a bunch of essential oils into your melted wax and hoping for the best.
To get it just right, I always start by considering the type of wax I’m using and the strength of the fragrance. A general rule of thumb is to use about 5-10% of the total wax weight in fragrance oils. But this can vary depending on the specific scent and the desired throw. By taking the time to carefully calculate and test your fragrance load, you can avoid common mistakes like a candle that’s overpoweringly strong or, worse, barely scented at all.
Melting Magic Mastering Wax Melting Techniques
As I delve into the world of wax melting, I’m reminded of the importance of patience and attention to detail. It’s easy to get caught up in the excitement of creating something new, but rushing the melting process can lead to a multitude of issues. I’ve learned that taking my time to ensure the wax reaches the perfect temperature is crucial. This is where the magic happens, and the wax transforms into a pliable, golden liquid.
To master wax melting techniques, it’s essential to understand the different types of wax and their unique properties. I’ve found that keeping a thermometer on hand and monitoring the temperature closely helps me achieve consistent results. By doing so, I can avoid common pitfalls like overheating or underheating the wax, which can affect the final texture and appearance of the candle.
Ember & Oak: 5 Fireside Lessons to Illuminate Your Candle Making Journey
- Igniting the Wrong Wick: Choosing the Right Wick Size for Your Homemade Candles
- Pouring into Perfection: The Art of Achieving the Ideal Wax Temperature
- Beyond the Beeswax: Exploring the World of Natural Waxes and Their Unique Characteristics
- Scentual Bliss: Understanding the Delicate Balance of Essential Oils in Candle Making
- Chasing the Chimera of Color: Mastering the Subtle Art of Dyeing Your Candles with Natural Pigments
Ember & Oak: 3 Key Takeaways for Beginner Candle Makers
I’ve learned that mastering the wax melting technique is crucial – it’s all about finding that sweet spot where the wax is fully melted, but not too hot, to ensure a smooth and even pour
Calculating the perfect fragrance load is an art form in itself – too little and the scent is barely noticeable, too much and it can be overpowering; finding that balance is key to creating a truly immersive experience
Perhaps the most important lesson I’ve learned on my candle making journey is that it’s okay to make mistakes – they’re an opportunity to learn, to experiment, and to push the boundaries of what’s possible with this ancient craft
A Word of Wisdom
The beauty of candle making lies not in perfection, but in the gentle imperfections that arise from the process – it’s the mistakes, the missteps, and the happy accidents that give our creations soul, and remind us that even in error, there is elegance.
Finn Rivera
Embracing the Art of Candle Making
As we’ve journeyed through the world of candle making, we’ve touched on some of the most common mistakes beginners face, from mastering wax melting techniques to calculating the perfect fragrance load. It’s clear that attention to detail is key when it comes to crafting beautiful, functional candles that bring warmth and light to our spaces. By understanding and avoiding these pitfalls, you’ll be well on your way to creating stunning pieces that reflect your personal touch and style.
So, as you embark on your own candle making adventures, remember that it’s okay to make mistakes – they’re an integral part of the creative process. Don’t be afraid to experiment, try new things, and push the boundaries of what’s possible with wax, fragrance, and fire. With patience, practice, and a willingness to learn, you’ll find that the art of candle making is not just about creating something beautiful, but about telling a story that’s uniquely yours.
Frequently Asked Questions
What are some common issues that can cause a candle to have an uneven burn?
Uneven burns can be a real frustration – I’ve been there too. Often, it’s due to improper wick sizing, inconsistent wax melting, or even a drafty environment. Sometimes, the wax itself can be the culprit, with impurities or air pockets causing hot spots that disrupt the burn. Let’s dive into some solutions to get your candle burning smoothly and evenly.
How do I prevent wax from splattering or forming unsightly bubbles when pouring it into the mold?
To prevent wax splatters and bubbles, I slow down the pouring process and use a thermometer to ensure the wax is at the ideal temperature. I also gently tap the mold on the work surface to release any air pockets, allowing the wax to settle smoothly and evenly. It’s all about patience and attention to detail.
What's the best way to troubleshoot a candle that doesn't seem to be holding its fragrance or has a weak scent throw?
When a candle’s scent throw is weak, I check if the fragrance load is too low or if the wax isn’t fully incorporating the scent. Try increasing the fragrance percentage or switching to a different wax with better scent retention.


