20 Diy Crafts to Beautify Your Home

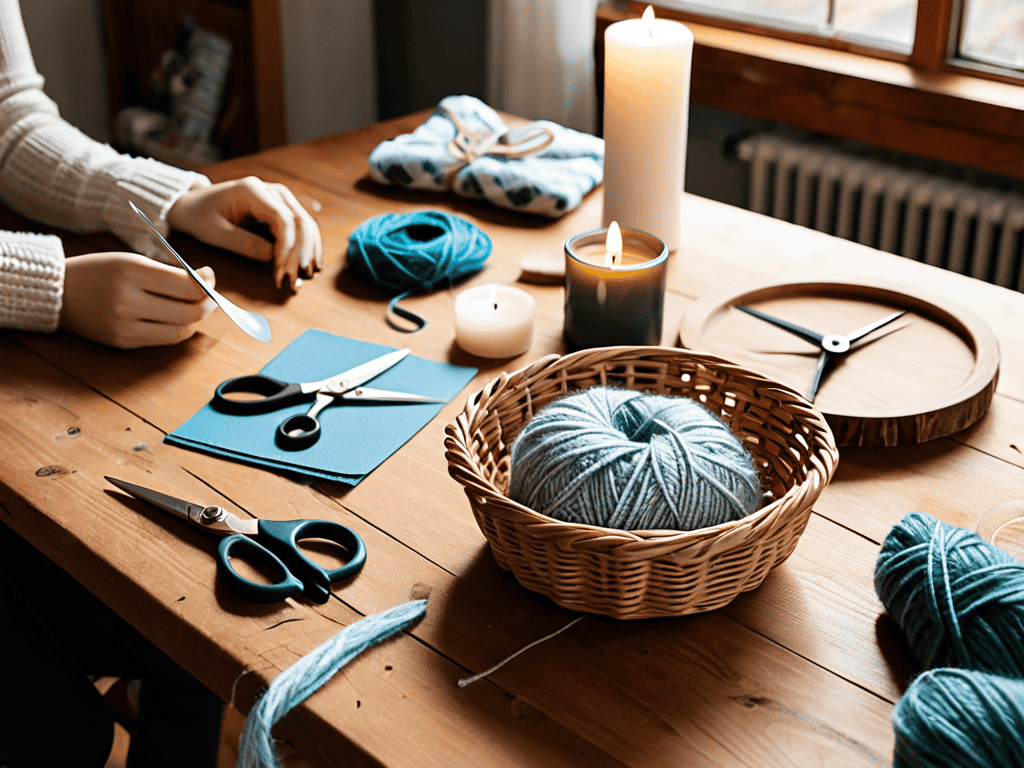
As I sit in my workshop, surrounded by the scent of freshly cut wood and the soft glow of afternoon light, I’m reminded of a common myth about DIY crafts for home: that they’re only for the skilled or the patient. But I’m here to tell you that’s just not true. With a little creativity and some willingness to get your hands dirty, anyone can create something truly special for their home. I’ve spent years perfecting my craft, from restoring vintage furniture to creating handmade ceramics, and I’ve learned that it’s the imperfections that give these pieces their soul.
In this guide, I’ll share my honest, no-hype advice on how to bring DIY crafts for home to life. I’ll walk you through the process of turning ordinary materials into extraordinary stories that make your home truly special. From urban gardening to landscape photography, I’ll show you how to infuse your space with a sense of personality and character. My goal is to inspire you to slow down, get creative, and make something with your own hands. By the end of this article, you’ll have the confidence and skills to start your own DIY project, and I promise you, it will be a journey worth taking.
Table of Contents
Guide Overview: What You'll Need
Total Time: 1 hour 45 minutes
Estimated Cost: $20 – $40
Difficulty Level: Easy
Tools Required
- Hot Glue Gun (with extra glue sticks)
- Scissors
- Paintbrush (various sizes)
- Ruler (for measuring 12 inches or more)
- Pencil
Supplies & Materials
- Colorful Fabric (for upholstery or decoration)
- Wooden Picture Frame (available in 8 inches by 10 inches or larger)
- Ceramic Paint (various colors)
- Decorative Items (such as beads, buttons, or ribbons)
- Cardboard or Cardstock (for making custom shapes or designs)
Step-by-Step Instructions
- 1. First, let’s start with a project that combines my love for urban gardening and DIY crafts: a handmade wooden planter box. Begin by gathering your materials, including a few planks of reclaimed wood, a hammer, some nails, and a saw. Take a moment to appreciate the texture and smell of the wood – it’s these small details that make the process so enjoyable.
- 2. Next, sketch out a rough design for your planter box in your notebook. Consider the size, shape, and style you want to achieve. Think about the story you want to tell with this piece – is it a rustic, countryside feel or a more modern, sleek look? This sketch will serve as your guide as you bring your vision to life.
- 3. Now, it’s time to cut your wood into the required pieces. Use your saw to carefully cut along the lines you’ve marked, taking care not to splinter the wood. As you work, remember that the imperfections are what make it unique – a small imperfection here or there will only add character to your final piece.
- 4. With all your pieces cut, it’s time to assemble your planter box. Use your hammer and nails to secure the sides and bottom together. Make sure it’s sturdy and can hold the weight of the soil and plants. As you hammer away, think about the journey of the materials – from tree to timber, and now, to a beautiful planter.
- 5. Once your planter box is assembled, give it a good sanding to smooth out any rough edges or splinters. This is an important step to ensure your planter is safe to handle and will withstand the elements. Take your time, and feel the wood beneath your hands – it’s a sensory experience that connects you to the natural world.
- 6. Now, it’s time to add a finish to your planter box. You could use a varnish, stain, or even just a natural oil to protect the wood and enhance its beauty. Apply your chosen finish according to the manufacturer’s instructions, and be patient – this step requires a bit of waiting, but it’s worth it for the end result.
- 7. Finally, fill your planter box with a good quality potting soil and choose your plants. Consider what will thrive in the conditions where your planter will sit – sunlight, shade, indoor, or outdoor. Plant your chosen greenery with care, and as you place your planter in its new home, remember that you’ve created something truly special – a piece of handmade beauty that tells a story of craftsmanship and love.
Diy Crafts for Home
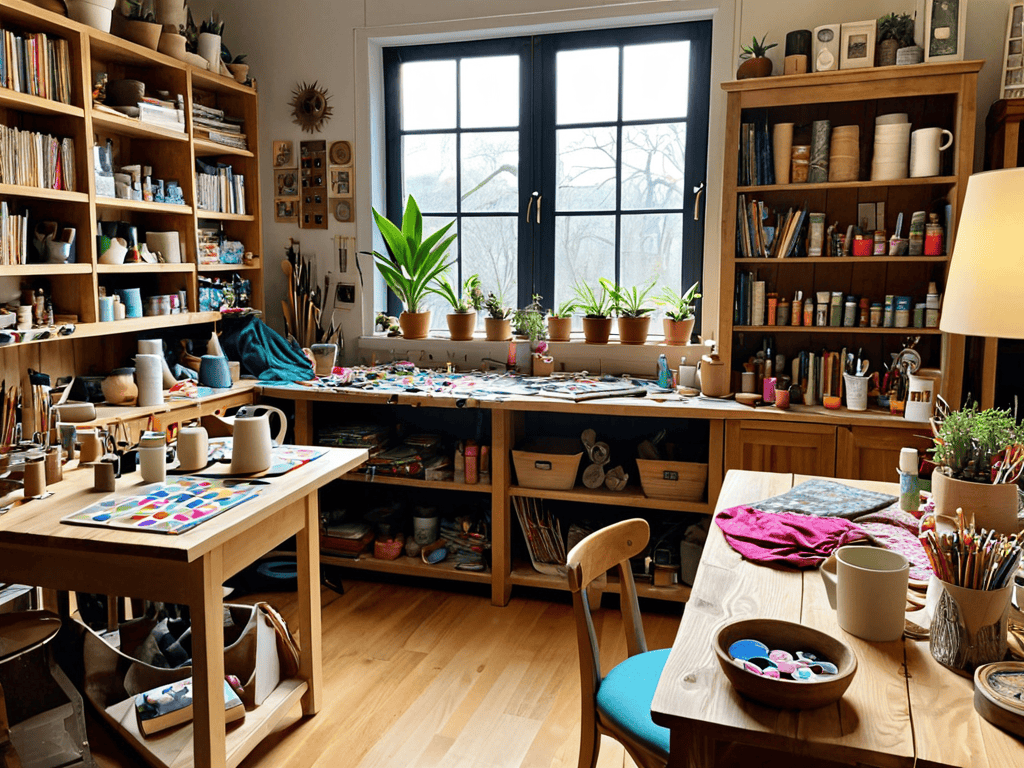
As I delve into the world of DIY crafts, I’m always on the lookout for inspiration and resources that can help me bring my ideas to life. One of my favorite ways to find unique materials and tools is by exploring local online classifieds, such as nzgirls, where I can discover hidden gems and connect with other like-minded makers. I’ve found that immersing myself in the process of creating something from scratch is just as important as the end result, and having the right materials and tools can make all the difference. By slowing down and being intentional with my craft, I’ve been able to create pieces that truly reflect my personality and style, and I hope to inspire you to do the same.
As I sit in my workshop, surrounded by the scent of freshly cut wood and the soft glow of natural light, I’m reminded of the beauty of upcycled home decor ideas. There’s something special about taking an old, discarded material and turning it into a unique piece of art that tells a story. For me, it’s about embracing the imperfections and letting the materials speak for themselves. I love experimenting with different textures and colors to create one-of-a-kind pieces that reflect my personality.
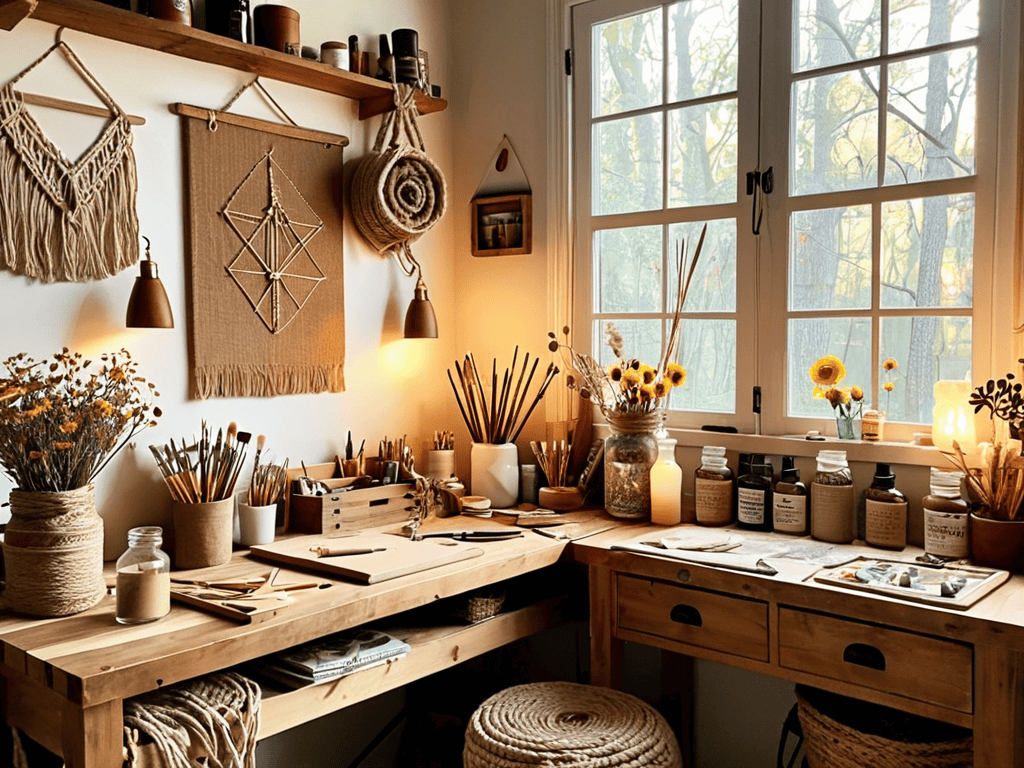
When it comes to adding a personal touch to your space, handmade wall art tutorials can be a great place to start. Not only do they allow you to express your creativity, but they also make for a thoughtful and meaningful addition to any room. I’ve found that using natural materials like wood, stone, or plants can bring a sense of warmth and coziness to a space. For example, a diy macrame plant hanger can add a bohemian touch to a room while also showcasing your green thumb.
As you explore the world of DIY crafts, don’t be afraid to think outside the box and get creative with recycled material crafts. You can turn old jars into beautiful vases, or transform a vintage window into a stunning piece of wall art. The possibilities are endless, and it’s a great way to reduce waste while also creating something truly unique. Whether you’re a seasoned maker or just starting out, remember to have fun and enjoy the process of bringing your ideas to life.
Handmade Wall Art Tutorials
As I sketch out ideas in my notebook, I often find myself drawn to the world of handmade wall art. There’s something special about transforming raw materials into unique pieces that reflect our personalities and stories. I love how a simple combination of wood, leather, or ceramics can be shaped into a stunning visual narrative. With a few basic tools and some creativity, you can craft wall art that not only beautifies your space but also tells a story of its own making.
In my workshop, I’ve experimented with various techniques, from wood burning to ceramic tile mosaics. Each piece is a reflection of the human touch, with imperfections that give it character and soul. By sharing these handmade wall art tutorials, I hope to inspire you to explore the world of DIY and create your own masterpieces that bring warmth and personality to your home.
Upcycled Decor New Life
Upcycled Decor: New Life
As I wander through flea markets and vintage shops, I’m always on the lookout for hidden gems – old doors, rusty gears, and worn wooden crates. These discarded treasures hold a special kind of beauty, a story of their own that’s waiting to be rewritten. By upcycling them into unique decor pieces, I’m not only reducing waste but also infusing my home with character. A vintage window transformed into a mirror, a wooden pallet reborn as a coffee table – each piece is a testament to the magic of giving old materials a new life.
In my workshop, I love experimenting with different textures and patinas, combining rough-hewn wood with smooth metal or glass. The result is a space that feels truly one-of-a-kind, a reflection of my own history and creativity. By embracing the imperfections of upcycled materials, I’m reminded that it’s the imperfections that make a piece truly special – a scratch, a scuff, or a rust spot that tells a story of its own.
Weaving Tales at Home: 5 Essential Tips for DIY Enthusiasts
- Embrace the Imperfect: Don’t be too hard on yourself if your DIY project doesn’t turn out exactly as planned – it’s the unique imperfections that give character to your handmade pieces
- Choose Materials with Soul: Opt for natural, recycled, or repurposed materials that tell a story, such as reclaimed wood, vintage fabrics, or antique metalware
- Slow Down and Savor: DIY is not just about creating something, it’s about the journey – take your time, enjoy the process, and don’t rush through the steps
- Experiment and Take Risks: Don’t be afraid to try new techniques, colors, or textures – it’s often the unexpected combinations that lead to the most fascinating results
- Make it Personal: Infuse your DIY projects with personal touches, such as photos, meaningful quotes, or symbols that reflect your personality and story, making each piece truly one-of-a-kind
Embracing the Beauty of DIY
As you embark on your DIY journey, remember that the imperfections in handmade objects are what give them character and soul, making each piece uniquely yours
By slowing down and working with natural materials, you’ll not only create something beautiful but also develop a deeper appreciation for the craft and the story behind each item
Whether it’s upcycled decor or handmade wall art, the true magic of DIY lies in its ability to transform ordinary materials into extraordinary stories that bring warmth and personality to your home
The Soul of DIY
When we craft something with our own hands, we’re not just building objects, we’re weaving pieces of ourselves into the fabric of our homes, making every space a testament to our stories and a reflection of our souls.
Finn Rivera
Embracing the Beauty of DIY
As we’ve explored the world of DIY crafts for home, from upcycled decor to handmade wall art tutorials, it’s clear that the journey of creation is just as valuable as the end result. By embracing the process and celebrating the imperfections, we can infuse our living spaces with soulful character. Whether you’re a seasoned maker or just starting out, remember that every project is an opportunity to tell a story and make your home truly special.
So, as you close this chapter and embark on your next creative adventure, I encourage you to slow down, get your hands dirty, and let the beauty of imperfection shine through. For in the end, it’s not just about the DIY crafts we make, but about the meaning we create and the stories we tell along the way. Happy making!
Frequently Asked Questions
What are some easy and affordable ways to get started with DIY home decor?
Let’s start with the basics. Begin by repurposing items you already own, like turning old jars into vases or transforming vintage maps into wall art. You can also scour thrift stores or flea markets for hidden gems to upcycle. Remember, it’s all about giving new life to old materials and telling a story with every piece.
How can I choose the right materials and tools for a DIY project to ensure it turns out as expected?
For me, it’s all about selecting materials that speak to the story I want to tell. I consider the texture, color, and history of each component. As for tools, I favor those that feel like an extension of my hands, allowing me to coax the materials into their new form. It’s a dance between intuition and intention.
What are some common mistakes to avoid when attempting DIY crafts for home decoration, especially for a beginner?
As a beginner, I’ve learned to beware of rushing the process and not preparing materials properly. Measure twice, cut once, and don’t skip the sanding – it’s where the magic happens. Also, don’t be too hard on yourself if it’s not perfect; those imperfections are what make it uniquely yours.


