A Guide to Choosing Glass or Acrylic for Picture Frames
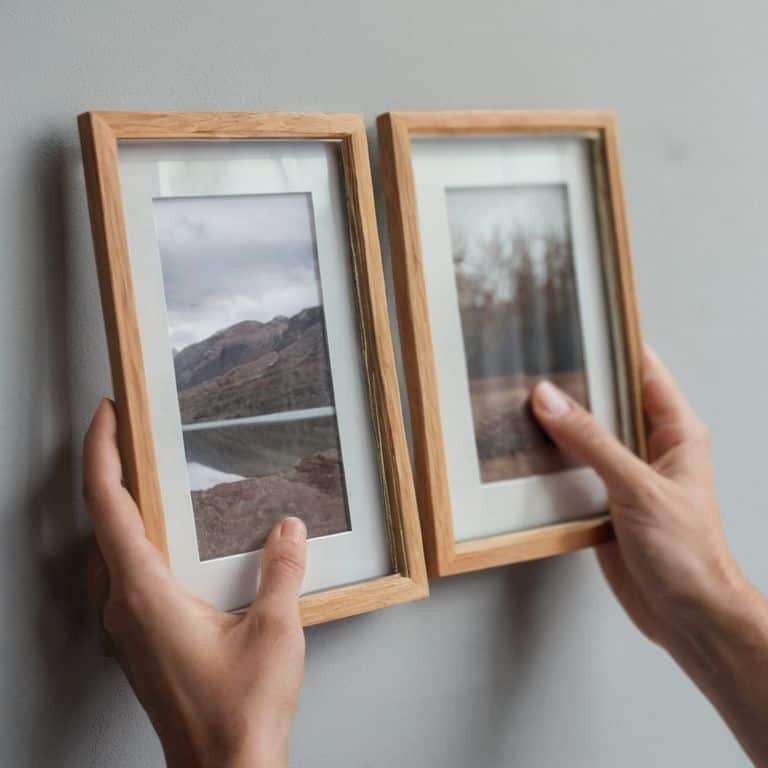
I still remember the first time I had to choose between glass and acrylic for a picture frame – it was for a vintage photograph of my grandmother’s. I was restoring an old wooden frame I’d found at a flea market, and I wanted to make sure I did it justice. As I delved into the world of framing, I realized that selecting the right material is not just about aesthetics, but also about preserving the story behind the image. That’s why I’m excited to share with you a guide to choosing glass or acrylic for picture frames, so you can give your own treasured memories the protection and beauty they deserve.
In this article, I’ll cut through the noise and give you the honest truth about glass and acrylic – their pros, cons, and which one is best suited for your specific needs. You’ll learn how to evaluate the durability and clarity of each material, and how to make a decision that will enhance your photographs or artwork. By the end of this guide, you’ll be equipped with the knowledge to create stunning, professional-looking frames that will make your stories shine. Whether you’re a seasoned crafter or a beginner, I’ll walk you through the process with practical advice and personal anecdotes, so you can confidently choose the perfect material for your picture frames.
Table of Contents
Guide Overview: What You'll Need
Total Time: 1 hour 15 minutes
Estimated Cost: $10 – $30
Difficulty Level: Easy
Tools Required
- Ruler for measuring picture frame dimensions
- Pencil for marking frame measurements
- Cleaning cloth for wiping down frames
Supplies & Materials
- Glass sheets available in various thicknesses, such as 1/16 inch or 1/8 inch
- Acrylic sheets available in various thicknesses, such as 1/16 inch or 1/4 inch
- Picture frame kits including frames, backing boards, and hanging hardware
- Adhesive for securing glass or acrylic to frame
- Frame backers for added support and protection
Step-by-Step Instructions
- 1. First, let’s get familiar with the materials we’re working with. Glass and acrylic are both popular choices for picture frames, but they have some key differences. Take a moment to consider the style and theme of your frame, as well as the type of image you’re framing. Think about the mood you want to create with your framed piece.
- 2. Next, consider the durability of each material. If you have kids or pets, you might want to opt for acrylic, which is more resistant to scratches and breaks. On the other hand, if you’re looking for a more traditional or elegant look, glass might be the way to go. Weigh the pros and cons of each option carefully.
- 3. Now, let’s talk about the aesthetic appeal of glass and acrylic. Glass can add a touch of sophistication and glamour to your frame, while acrylic can provide a more modern and sleek look. Consider the color and texture of the frame, as well as the image itself, when deciding which material to use. Think about how the frame will interact with the surrounding decor.
- 4. Measure your image carefully to determine the size of the frame you’ll need. Make sure to take into account the matting and borders you want to include, as these can affect the overall size of the frame. Use a ruler or caliper to get an accurate measurement, and double-check your math to avoid any mistakes.
- 5. Choose a frame style that complements your image and the material you’ve selected. Consider the profile and depth of the frame, as well as the type of glazing you want to use. If you’re using glass, you may want to opt for a frame with a slightly deeper profile to accommodate the weight and thickness of the glass. Experiment with different options to find the one that works best for you.
- 6. Once you’ve selected your frame and material, it’s time to start assembling the pieces. Begin by cutting the matting and borders to size, using a mat cutter or a craft knife. Make sure to handle the glass or acrylic with care, as it can be fragile and prone to scratches. Work in a well-lit area to ensure accuracy and precision.
- 7. Assemble the frame by carefully placing the image, matting, and glazing into the frame. Make sure everything is securely in place before adding the backing and hanging hardware. Use a level to ensure the frame is straight, and take a step back to admire your handiwork. With these steps, you should be able to create a beautiful and unique picture frame that showcases your favorite memories.
Framing Your Story

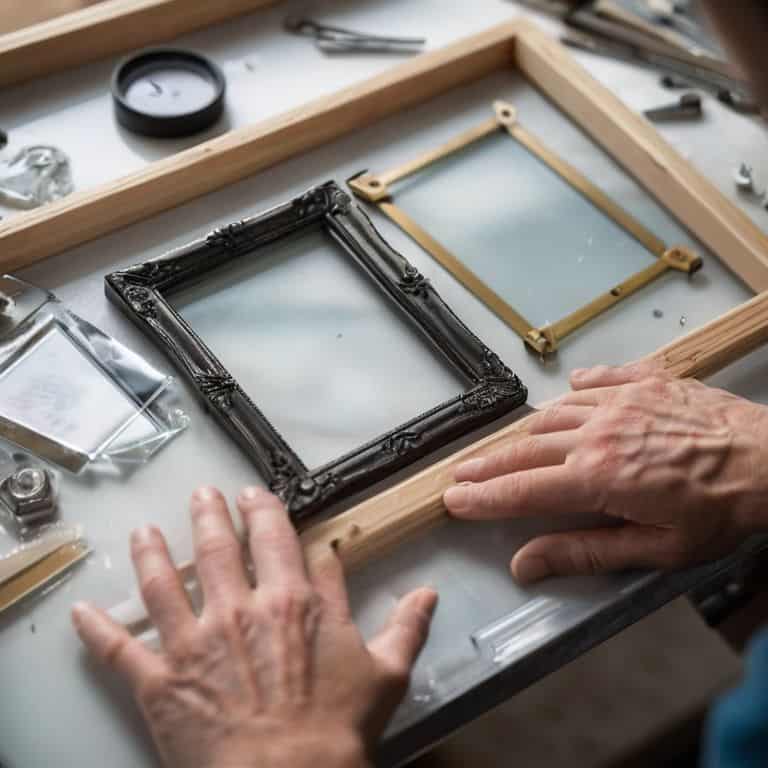
As I sit in my workshop, surrounded by the tools of my trade and the gentle scent of wood and leather, I’m reminded that framing your story is about more than just choosing the right materials. It’s about creating a sense of depth and character that draws the viewer in. When it comes to picture frame glazing options, I always consider the overall aesthetic I want to achieve. For a more classic look, acrylic vs glass for framing can be a tough decision, but ultimately, it comes down to the unique qualities of each material.
In my experience, uv filtering picture frame glass can be a game-changer for preserving the vibrancy of your artwork or photographs. However, it’s essential to weigh the benefits against the potential drawbacks, such as increased cost. As someone who values cost effective framing materials, I appreciate the versatility of acrylic, which can be just as effective at a lower price point.
When designing a frame, I also think about the frame weight comparison and how it will impact the overall feel of the piece. A beautifully crafted frame should feel substantial, yet balanced. By considering these factors and choosing the right materials, you can create a truly unique and meaningful piece that tells a story all its own.
Uncovering Acrylic vs Glass
As I sit in my workshop, surrounded by half-finished frames and scraps of wood, I’m reminded that the choice between acrylic and glass is more than just a practical decision – it’s a creative one. Acrylic, with its lightweight and shatter-resistant properties, is perfect for large frames or for families with little ones running around. On the other hand, glass offers a timeless elegance and Elysian clarity that’s hard to replicate. For me, the decision comes down to the story I want to tell with each piece.
When working with acrylic, I love how it seems to whisper the story of the photograph, its subtle softness drawing the viewer in. Glass, however, declares it – a proud showcase of the image, with a depth and luminosity that’s nothing short of breathtaking.
Uv Filtering for Longevity
When it comes to preserving the vibrancy of your memories, UV filtering is a crucial consideration. As someone who’s passionate about storytelling through handmade objects, I can attest that the right framing materials can make all the difference. UV rays can cause fading, discoloration, and even damage to your cherished photos, which is why I always recommend opting for glass or acrylic with built-in UV filtering. This simple yet effective measure can ensure your framed memories remain vivid and intact for years to come.
In my workshop, I’ve seen firsthand the impact of UV filtering on the longevity of a piece. It’s a small detail that can add years to the life of your framed story, allowing you to treasure it for generations. By choosing materials with UV filtering, you’re not only protecting your photos but also preserving the emotional value they hold.
Crafting the Perfect Frame: 5 Essential Tips to Consider
- Consider the overall aesthetic you want to achieve: think about the style of your home, the color palette, and the texture of the frame itself
- Think about the level of UV protection you need: if you’re framing a priceless family heirloom or a valuable piece of art, you’ll want to opt for glass with UV filtering to prevent fading
- Reflect on the environment where the frame will live: if it’s going to be in a high-traffic area or exposed to direct sunlight, acrylic might be a more durable choice
- Don’t forget about the weight and fragility of the frame: if you’re planning to move the frame around often or have little ones running around, a lighter acrylic frame might be a better option
- Trust your instincts and choose the material that speaks to you: remember, the frame is a part of the story you’re telling with the piece you’re framing, so choose a material that resonates with you
Key Takeaways for Framing Your Treasured Memories
Always consider the story you’re telling with your framed pictures, and let that guide your choice between glass and acrylic for a more personal touch
Remember, UV filtering is not just about longevity, but also about preserving the vibrancy and essence of your memories, so choose your materials wisely
Whether you opt for glass or acrylic, the imperfections and unique characteristics of your handmade frame are what will truly make it special, so don’t be afraid to add your own personal flair
The Art of Framing
The frame you choose is not just a border, it’s the bridge between your memory and the world, and whether you choose glass or acrylic, it should be a reflection of the story you’re telling, not just a protection of the picture.
Finn Rivera
Bringing Your Story to Life

As we’ve explored the world of picture framing, it’s clear that choosing between glass and acrylic is more than just a technical decision – it’s about preserving memories and creating a sense of timelessness. We’ve delved into the step-by-step process of selecting the perfect material, considering factors like UV filtering and the unique characteristics of each option. By understanding the differences between glass and acrylic, you’re now equipped to make an informed decision that suits your personal style and the story you want to tell through your framed pieces.
As you embark on your framing journey, remember that the true beauty lies not just in the final product, but in the process itself. The act of carefully selecting materials, crafting each detail, and watching your story come to life is a labour of love. So, take your time, get creative, and let the framing process be a reflection of your unique perspective – after all, it’s the imperfections and personal touches that make a piece truly unforgettable.
Frequently Asked Questions
How do I determine the best thickness for the glass or acrylic in my picture frame?
For me, determining the best thickness comes down to the frame’s overall aesthetic and the artwork’s weight. I typically use 2mm glass for standard frames, but for larger or heavier pieces, I opt for 3mm or even 4mm acrylic for added stability and protection.
Will using UV-filtering glass or acrylic affect the color or clarity of my printed photos?
Honestly, UV-filtering glass or acrylic can slightly affect the color and clarity of your prints, but it’s a trade-off for preserving them. I’ve found that high-quality UV-filtering materials will have a minimal impact, and the protection they offer against fading is well worth it – your stories, in vivid color, for years to come.
Can I use glass and acrylic together in a single picture frame for added protection and style?
Absolutely, combining glass and acrylic can elevate your frame’s protection and style. I’ve done this in my own workshop, using glass for the front and acrylic for the back, or vice versa. This hybrid approach not only adds depth but also ensures your piece is well-protected from UV light and physical damage, making it a unique storytelling element in your home.


