5 Common Mistakes to Avoid in Natural Dyeing
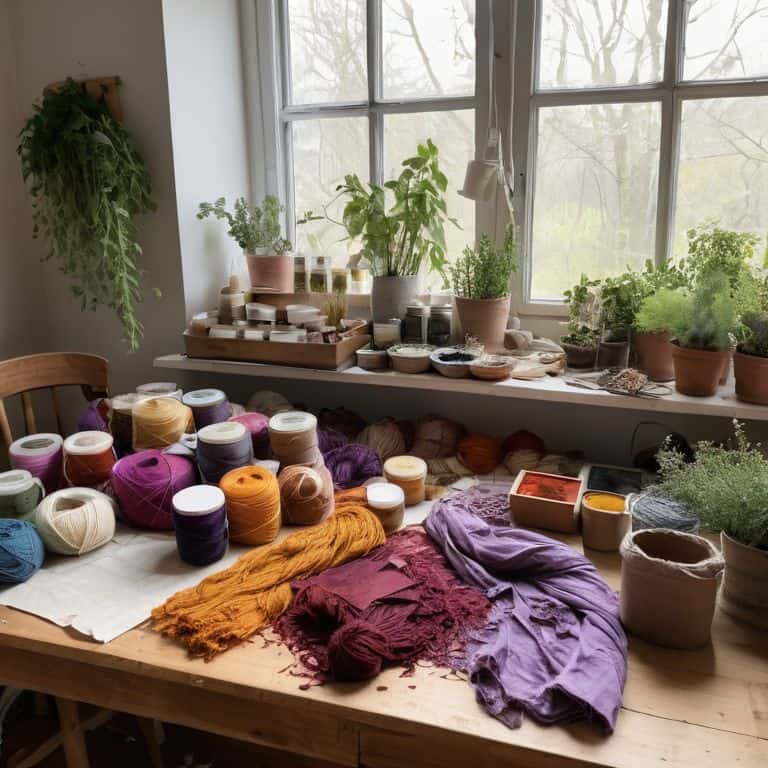
As I sit in my workshop, surrounded by the earthy scent of natural dyes and the soft glow of twinkling string lights, I’m reminded of the countless times I’ve seen enthusiasts struggle with common mistakes to avoid in natural dyeing. The truth is, natural dyeing is not just about throwing some plants into a pot and hoping for the best – it’s an art form that requires patience, dedication, and a willingness to learn from our mistakes. I’ve lost count of how many times I’ve had to restart a project because I didn’t properly prepare my materials or misjudged the dye’s colorfastness.
In this article, I’ll share my personal experience and expertise to guide you through the most critical pitfalls to avoid when natural dyeing. You’ll learn how to properly prepare your materials, choose the right dyes for your project, and troubleshoot common issues that can make or break your final result. My goal is to empower you with the knowledge and confidence to create stunning, one-of-a-kind pieces that reflect your unique style and personality. By the end of this guide, you’ll be well on your way to mastering the art of natural dyeing and creating beautiful, soulful objects that tell a story.
Table of Contents
- Guide Overview: What You'll Need
- Step-by-Step Instructions
- Common Mistakes to Avoid in Natural Dyeing
- Sustainable Fabric Dyeing Troubleshooting Botanical Blunders
- Unraveling Secrets of Natural Dyeing for Beginners
- Weaving Wisdom: 5 Essential Tips to Avoid Common Natural Dyeing Mistakes
- Key Takeaways for a Harmonious Natural Dyeing Experience
- Embracing the Imperfections
- Embracing the Art of Natural Dyeing
- Frequently Asked Questions
Guide Overview: What You'll Need
Total Time: 2 hours 30 minutes
Estimated Cost: $20 – $50
Difficulty Level: Intermediate
Tools Required
- Measuring Cups (for accurate measurements)
- Stainless Steel Pot (large enough to hold dye and material)
- Thermometer (for monitoring temperature)
- Gloves (for protecting hands from stains)
- Spoon or Stirrer (for mixing dye)
Supplies & Materials
- Natural Dye Materials (such as plants, turmeric, or indigo)
- Mordant (such as alum or cream of tartar)
- Fabric or Material (to be dyed, such as cotton or silk)
- Water (enough to cover material and dye)
- Salt (optional, for enhancing color)
Step-by-Step Instructions
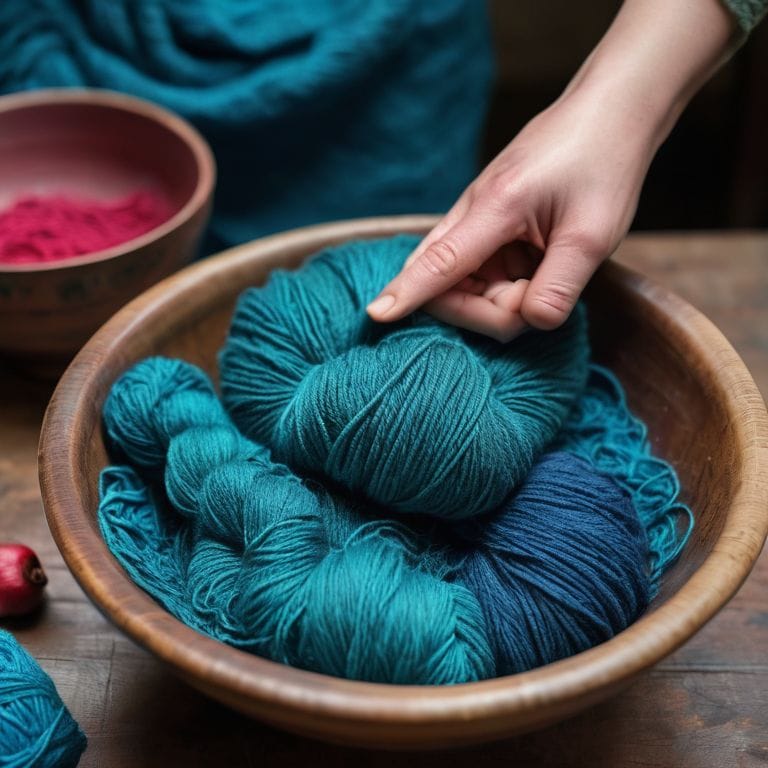
- 1. To start, gather your materials and make sure you have everything you need before beginning the natural dyeing process. This includes the fabric you want to dye, the natural dye materials, a large pot, and any necessary mordants or fixatives. I always find that having a clear workspace and all my materials organized helps me stay focused and avoid mistakes.
- 2. Next, prepare your fabric by washing and drying it to remove any finishes that might affect the dye. This step is crucial, as it ensures that the dye takes evenly and that you get the best possible results. I like to use a mild detergent and cold water to avoid felting or damaging the fabric.
- 3. Now it’s time to create your dye bath. This involves combining your natural dye materials with water in the large pot and bringing the mixture to a boil. Be careful not to overflow the pot, as this can lead to a mess and wasted materials. I always use a thermometer to monitor the temperature and make sure it’s within the optimal range for the specific dye I’m using.
- 4. Once your dye bath is ready, it’s time to add the fabric and any necessary mordants or fixatives. Make sure to follow the instructions for the specific dye and mordant you’re using, as the ratio of dye to fabric and the amount of mordant needed can vary. I find that keeping a notebook of my recipes and results helps me refine my process and avoid mistakes.
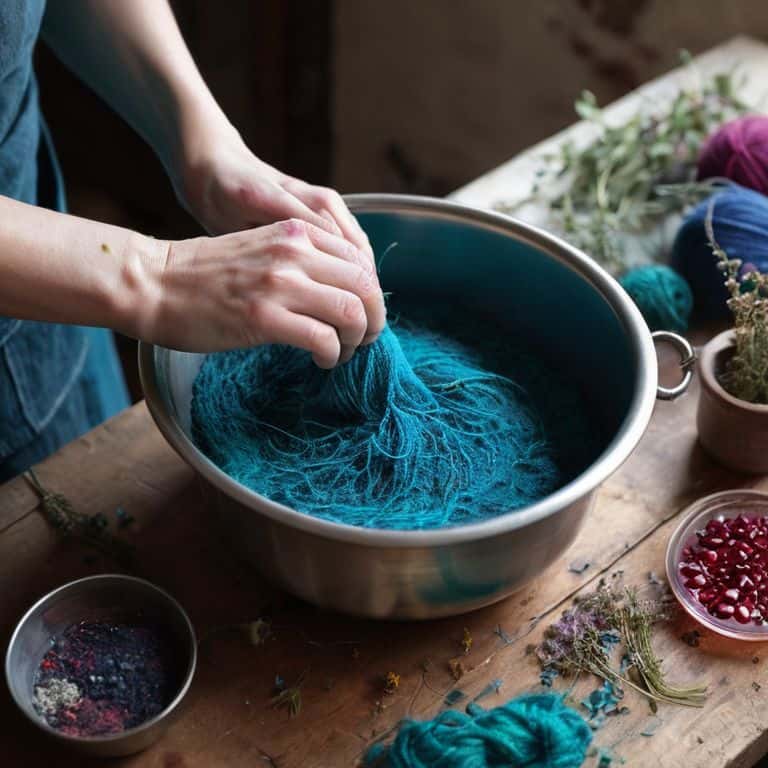
- 5. After adding the fabric to the dye bath, let it simmer for the recommended amount of time. This can range from 30 minutes to several hours, depending on the type of dye and the desired color. I like to take notes on the timing and any observations I make during the process, as this helps me troubleshoot any issues that arise.
- 6. Once the dyeing process is complete, remove the fabric from the dye bath and rinse it gently with cold water to remove any excess dye. Then, wash the fabric in warm water with a mild detergent to remove any remaining dye residue. I always check the fabric for colorfastness and make any necessary adjustments to the recipe for future projects.
- 7. Finally, dry the fabric naturally, either by air-drying it or using a low-heat setting on your dryer. This helps prevent fading or color shifting, and ensures that your naturally dyed fabric retains its vibrant color and texture. I find that taking the time to properly dry and finish the fabric makes all the difference in the final result, and is well worth the extra effort.
Common Mistakes to Avoid in Natural Dyeing
As I delve into the world of natural dyeing, I’ve come to realize that it’s not just about following a set of instructions, but also about understanding the nuances of working with plant-based dyes. One of the key challenges beginners face is achieving consistent results, which can be affected by factors such as the quality of the materials, the ratio of dye to water, and even the temperature of the dye bath. Sustainable fabric dyeing techniques require patience, experimentation, and a willingness to learn from mistakes.
When working with natural dyes, it’s essential to be mindful of the potential for unpredictable outcomes. Even with careful planning, the final result may vary from what you expected. This is where natural dyeing troubleshooting comes in – being able to identify the cause of the issue and adjust your approach accordingly. For instance, if your dye is not taking as well as you hoped, you may need to adjust the pH level of the dye bath or add a mordant to help the color bind to the fabric.
To ensure success in natural dyeing, it’s crucial to adopt eco-friendly dyeing methods that not only produce beautiful results but also minimize waste and reduce environmental impact. By choosing botanical dyeing best practices, such as using locally sourced plants and minimizing water usage, you can create stunning, one-of-a-kind textiles while also doing your part for the planet. Whether you’re a seasoned artisan or just starting out with natural dyeing for beginners, the key to success lies in embracing the process and being open to learning and experimentation.
Sustainable Fabric Dyeing Troubleshooting Botanical Blunders
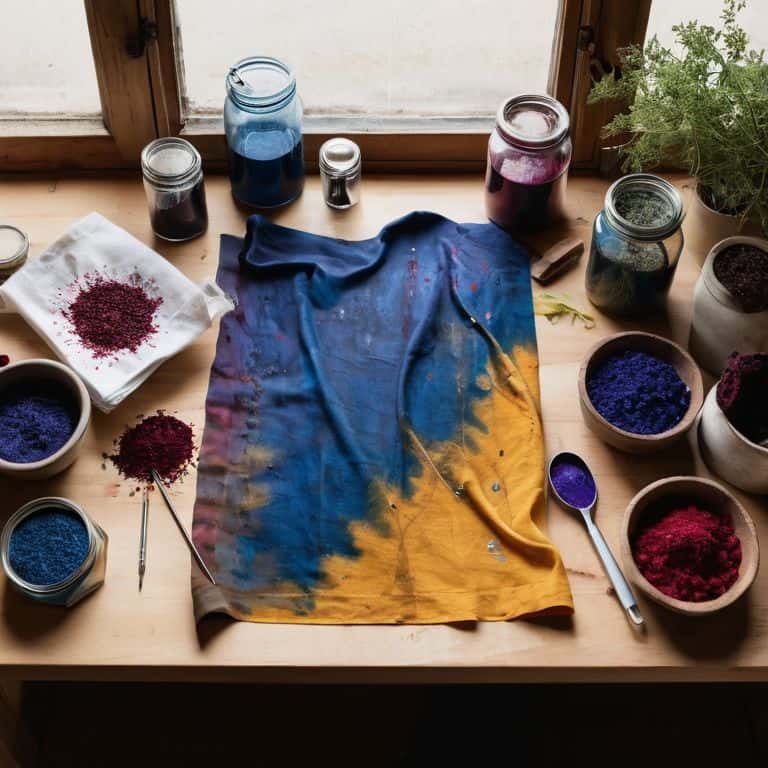
As I delve into the world of sustainable fabric dyeing, I’ve encountered my fair share of botanical blunders. One of the most common mistakes is not properly preparing the plant materials, which can result in uneven dye distribution. I’ve learned to always dry and crush my botanicals to release their full potential. Another mistake is not accounting for the pH level of the dye bath, which can affect the color outcome. By troubleshooting these issues, we can create more consistent and vibrant results, and truly bring out the beauty of natural dyes.
Unraveling Secrets of Natural Dyeing for Beginners
As I reflect on my own journey with natural dyeing, I realize that the secrets to success lie not just in avoiding mistakes, but in understanding the nuances of the process. It’s about developing a relationship with the materials, anticipating how they’ll interact, and being patient with the unpredictable nature of natural dyes. I’ve found that keeping a notebook to record my experiments and observations has been invaluable in refining my techniques.
By embracing the trial-and-error process, beginners can start to unravel the secrets of natural dyeing. It’s essential to remember that every mistake is an opportunity to learn and adapt, and that the unique, imperfections that arise from this process are what make handmade objects truly special.
Weaving Wisdom: 5 Essential Tips to Avoid Common Natural Dyeing Mistakes
- Dive into the world of natural dyeing with a clear understanding of your materials: knowing the type of fiber you’re working with is crucial to achieving the desired hue
- Resist the temptation to over-mordant: it’s a common mistake that can lead to uneven color distribution and a less-than-desired texture
- Create a ‘recipe book’ for your natural dyes: documenting your experiments will help you refine your techniques and avoid repetition of mistakes
- Don’t underestimate the power of pH levels: understanding how the acidity or alkalinity of your dye bath affects the final color will save you from disappointing results
- Be patient and allow for experimentation: natural dyeing is an art that requires trial and error, so don’t be discouraged by initial setbacks – they’re an integral part of the learning process
Key Takeaways for a Harmonious Natural Dyeing Experience
As you embark on your natural dyeing journey, remember that patience is paramount – allowing your materials to unfold their true colors is a process that requires time, observation, and a deep respect for the natural world.
Embracing the unpredictability of natural dyeing is crucial; it’s in the unexpected hues and textures that the true beauty and character of your handmade pieces are revealed, telling a story of their own.
By sharing my experiences, from the triumphs to the setbacks, I hope to inspire you to view mistakes not as failures, but as integral parts of your creative narrative – each one a stepping stone to mastering the art of natural dyeing and infusing your creations with soul.
Embracing the Imperfections
The mistakes we make in natural dyeing are not failures, but rather the whispers of the materials, guiding us toward a more authentic and soulful craft.
Finn Rivera
Embracing the Art of Natural Dyeing
As we conclude our journey through the world of natural dyeing, it’s essential to remember that mistakes are an integral part of the learning process. We’ve explored the common pitfalls to avoid, from inconsistent mordanting to the challenges of achieving color consistency. By understanding and learning from these mistakes, we can refine our craft and develop a deeper appreciation for the art of natural dyeing. Whether you’re a seasoned artisan or a beginner, the key to success lies in experimentation and patience. Don’t be discouraged by initial failures – instead, use them as opportunities to grow and refine your skills.
As you embark on your own natural dyeing journey, remember that the true beauty of this craft lies in its uniqueness and imperfections. Every handmade object tells a story, and the imperfections that arise from natural dyeing are a testament to the human touch. So, don’t be afraid to get creative and try new things – you never know what beautiful, one-of-a-kind creations you might discover. With time, practice, and a willingness to learn, you’ll find that natural dyeing is not just a hobby, but a way to connect with nature and express yourself in a truly meaningful way.
Frequently Asked Questions
What are the most common mistakes to avoid when working with plant-based dyes?
When working with plant-based dyes, I’ve found that common mistakes often stem from rushing the process or not properly preparing materials. Overlooking the pH level of the dye bath or failing to test the color on a small, inconspicuous area can also lead to disappointing results.
How can I prevent uneven color distribution when natural dyeing fabrics?
To prevent uneven color distribution, I always make sure to soak my fabrics in a mordant before dyeing, and then gently stir the dye bath to ensure the colors penetrate evenly. It’s also crucial to choose the right fabric – natural fibers like cotton, linen, and silk tend to take the dye more uniformly.
What are some troubleshooting tips for when my natural dyes don't turn out as expected?
When natural dyes don’t turn out as expected, I troubleshoot by checking my mordant ratios, dye plant freshness, and water quality. Sometimes, it’s just a matter of adjusting the temperature or steeping time. I’ve learned to be patient and observe the process, as each batch is a unique story waiting to unfold.


