A Simple Project: How to Make a Leather Wallet
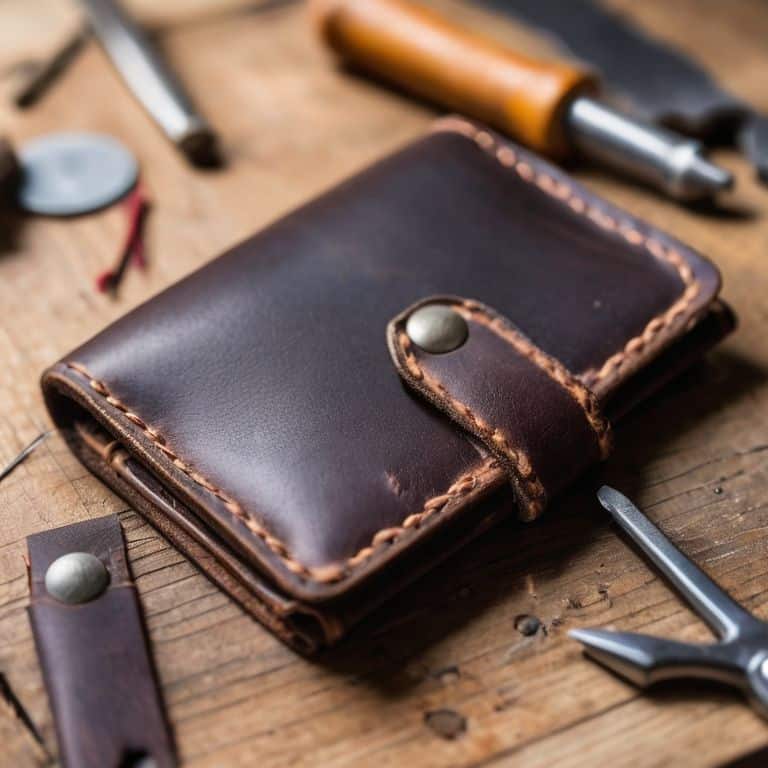
As I sit in my workshop, surrounded by scraps of leather and the scent of freshly cut wood, I’m reminded of the common myth that making something with your own hands is a tedious, time-consuming process. But I’m here to tell you that a simple project: how to make a leather wallet can be a therapeutic and rewarding experience. I’ve spent countless hours restoring vintage furniture and crafting handmade objects, and I’ve come to realize that it’s the imperfections and unique characteristics that give them their soul. There’s something special about holding a piece of leather in your hands, feeling its texture and weight, and knowing that you’re about to give it a new life.
In this article, I’ll guide you through the process of creating a leather wallet that tells a story with every stitch and cut. You’ll learn how to select the perfect piece of leather, cut and shape it with precision, and bring it all together with a few simple tools. My goal is to share the simple joy of handmade craftsmanship with you, and to show you that making something with your own hands is a form of personal storytelling. By the end of this journey, you’ll have a beautiful, functional leather wallet that you can call your own, and the knowledge to create many more unique pieces in the future.
Table of Contents
Guide Overview: What You'll Need

Total Time: 2 hours 30 minutes
Estimated Cost: $20 – $40
Difficulty Level: Intermediate
Tools Required
- Utility Knife (with extra blades)
- Ruler
- Pencil
- Cutting Mat
- Edge Beveler (optional)
- Leather Hole Punch
Supplies & Materials
- Leather Sheet (8 inches x 10 inches)
- Thread (for stitching)
- Leather Glue
- Leather Conditioner (optional)
- Interfacing Material (for added stability)
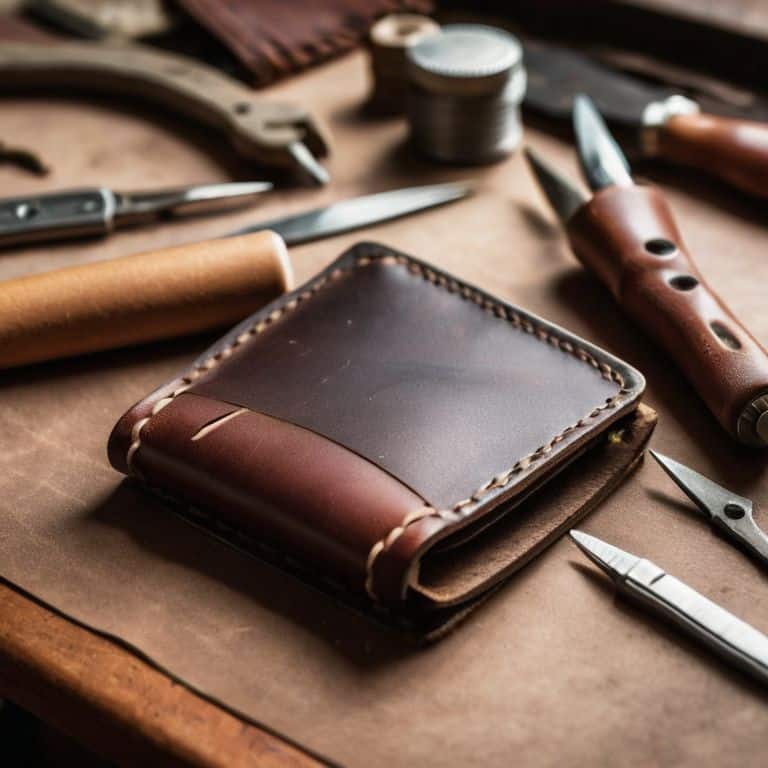
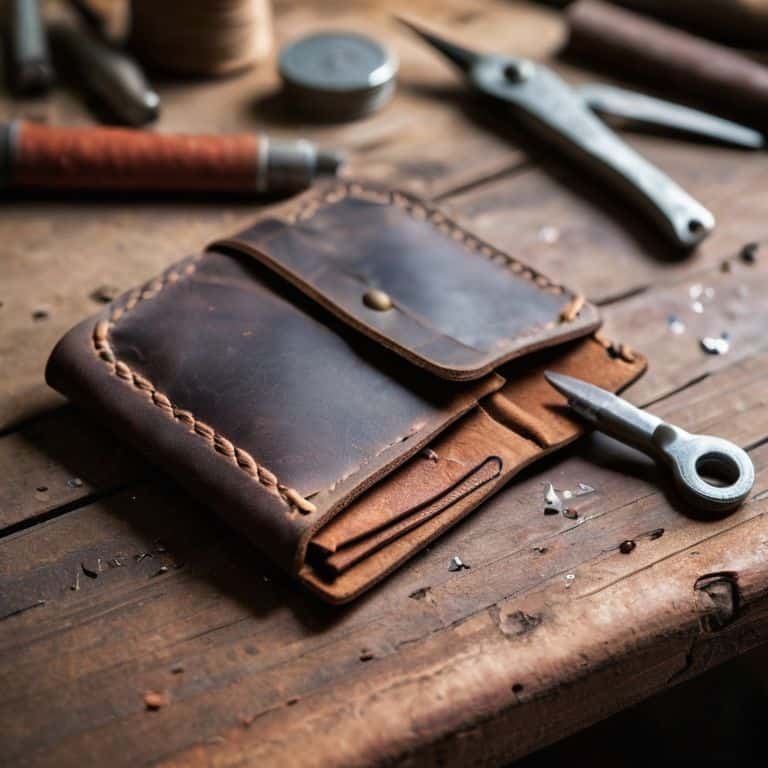
Step-by-Step Instructions
- 1. To start our journey of giving leather a new story, we need to select the perfect leather for our wallet. I look for hides that have a beautiful, natural texture – the kind that tells a story of its own. Consider the color, thickness, and feel of the leather; it should be soft to the touch but still firm enough to hold its shape. Take your time, and remember, the leather is the soul of our project.
- 2. Next, we’ll need to cut out our leather pieces. This is where our project begins to take shape, and it’s essential to be precise. Use a sharp utility knife or a leather cutter to cut out two main pieces for the wallet’s body and several smaller ones for the card slots and pockets. Don’t worry if your cuts aren’t perfect; imperfections are what make handmade items unique.
- 3. Now, let’s move on to sketching our design. Before we start stitching, take a moment to visualize how you want your wallet to look. Consider the number of card slots, the size of the cash pocket, and any additional features you might want, like a clear ID window. Sketch your design in a notebook, thinking about how each element will work together. This is your chance to make the wallet truly personal.
- 4. With our design in mind, it’s time to start punching holes for stitching. Use a leather punch to create evenly spaced holes along the edges of your leather pieces. The spacing will depend on the stitch pattern you’ve chosen, so refer to your sketch if needed. Remember, the holes should be large enough for your thread to pass through comfortably but not so large that they compromise the leather’s integrity.
- 5. We’re now ready to start stitching. Thread your needle with a durable thread that matches your leather, and begin your stitch pattern. I prefer a simple running stitch for wallets, as it’s both durable and visually appealing. Take your time, and don’t rush the stitching process. Each stitch is a testament to the handmade nature of your wallet, and every stitch tells a story.
- 6. Once you’ve completed the stitching, it’s time to assemble our wallet. Start by placing your card slots and pockets into position, ensuring they’re evenly spaced and securely stitched in place. Then, bring the main body pieces together, making sure the edges align perfectly. Use clips or clamps to hold everything in place while you add the final stitches.
- 7. The final step is to add a finish to our wallet. Apply a leather conditioner or finisher to protect the leather and give it a beautiful sheen. This step not only enhances the appearance of your wallet but also helps to protect it from the elements. Let the finish dry completely before filling your wallet with cards and cash, and enjoy the fruit of your labor – a handmade leather wallet that tells a story of craftsmanship and dedication.
Crafting Your Story
As I work on a new leather project, I always think about the story I want it to tell. Leather crafting for beginners can be intimidating, but it’s all about experimentation and patience. When designing a wallet pattern, consider the functionality and the aesthetic you want to achieve. Think about the type of leather you’re using and how it will wear over time.
For me, the joy of leather working lies in the process of hand stitching techniques. There’s something meditative about sewing each stitch by hand, knowing that it’s going to make the wallet truly unique. Choosing the right leather type is also crucial, as it will affect the overall look and feel of the wallet. I love exploring different types of leather and discovering their distinct characteristics.
When it comes to custom wallet ideas, the possibilities are endless. You can add a personal touch with a monogram or a special message. Don’t be afraid to experiment and try out new things – it’s all part of the creative journey. With the right leather working tools and a bit of practice, you’ll be crafting your own unique leather stories in no time.
Leather Crafting for Beginners Finding Your Voice
As I always say, the true beauty of leather crafting lies not just in the technical skills, but in the personal touch you bring to each piece. For beginners, it’s essential to experiment and find what works best for you. Don’t be afraid to try new tools, techniques, and designs – it’s all part of the journey. Remember, the imperfections and unique markings on your leather wallet are what make it truly special, a reflection of your own creative voice.
Through this process, you’ll discover what resonates with you, whether it’s the feel of a particular leather, the sound of a specific tool, or the smell of the workshop. These sensory experiences will guide your hands, and before you know it, you’ll be crafting pieces that tell your story, with every stitch, cut, and detail a testament to your growing skills and artistic expression.
Wallet Pattern Design Where Function Meets Soul
As I sketch out my wallet pattern, I’m not just thinking about functionality – I’m considering the story I want this leather to tell. The cuts, the folds, the stitching – every element is a chance to imbue this object with a piece of myself. I think about the type of leather I’m using, its texture and color, and how it will patina over time. I envision the wallet being used, the wear and tear it will develop, and the character it will gain. This is where function meets soul – where a simple wallet becomes a trusted companion, bearing the scars of countless transactions and interactions.
In designing my pattern, I balance practicality with aesthetics, ensuring that every seam and fold serves a purpose while also contributing to the overall narrative of the piece. The result is a wallet that is both beautiful and functional, a testament to the beauty of handmade craftsmanship.
Stitching Together Perfection: 5 Tips for a Timeless Leather Wallet
- Choose your leather wisely, considering the story you want your wallet to tell: from the rugged, distressed look of vintage leather to the sleek sophistication of full-grain hides
- Cut with intention, knowing that every slice of the blade is a brush stroke on the canvas of your craftsmanship, shaping not just a wallet, but a keepsake
- Thread your needle with patience, for it’s in the stitching that the true character of your wallet is revealed, where every stitch is a testament to the human touch
- Condition your leather to bring out its natural beauty, just as one would nurture a garden, watching it grow more vibrant with each passing day, telling a story of care and dedication
- Finish with a touch of soul, adding the small, personal details that make your wallet a reflection of you, a reminder that in a world of mass production, handmade is a statement of individuality
Embracing the Art of Leather Crafting: 3 Key Takeaways
By slowing down and working with your hands, you can infuse a simple leather wallet with personal significance and character, making it a unique reflection of your story
Experimenting with different leather patterns and designs allows you to balance functionality with self-expression, resulting in a wallet that is both practical and soulful
Through the process of crafting your own leather wallet, you’ll not only develop a new skill, but also cultivate a deeper appreciation for the beauty of imperfections and the value of handmade objects
The Soul of Leatherwork
As we cut, shape, and stitch leather, we’re not just crafting a wallet, we’re imprinting a piece of ourselves into every seam, every fold, and every scar – it’s where function and story intertwine.
Finn Rivera
Embracing the Art of Leather Crafting
As we conclude this journey of creating a simple leather wallet, let’s reflect on the key elements that have brought us to this point. From the initial cuts to the final stitches, every step has been a testament to the beauty of handmade craftsmanship. We’ve explored the importance of finding your voice in leather crafting, and how a well-designed wallet pattern can elevate the entire project. By embracing the imperfections and uniqueness of our creation, we’ve not only made a functional item but also a piece that tells a story.
As you hold your finished wallet in your hands, remember that the true value lies not in its utility, but in the soul you’ve infused into it. The process of creating something with your own hands is a powerful reminder that imperfections are beautiful, and that it’s the journey, not the destination, that truly matters. So, let this simple leather wallet be just the beginning of your creative journey, and may the joy of making something with your own hands stay with you forever.
Frequently Asked Questions
What type of leather is best suited for a beginner's wallet project?
For a beginner’s wallet project, I recommend starting with a full-grain leather, like cowhide or sheepskin. It’s forgiving, yet robust, allowing for a beautiful patina to develop over time. Its natural imperfections will add character to your wallet, making it truly one-of-a-kind.
How do I achieve a consistent stitch pattern when hand-stitching my leather wallet?
To achieve a consistent stitch pattern, I recommend using a stitching awl and a simple running stitch. Start by marking your leather with a ruler and a fine-tip pen, then use a consistent pace and gentle tug to maintain even spacing. Practice on a scrap piece first, and don’t worry if it’s not perfect – the imperfections will add character to your wallet.
Can I customize the wallet's design and add personal touches, such as monograms or unique shapes?
Absolutely, the beauty of handmade lies in its uniqueness. Feel free to experiment with custom designs, monograms, or unconventional shapes. I encourage you to sketch out your ideas, letting your personality shine through in every stitch and cut. This is your story, after all, and the wallet’s design should reflect that.