A No-nonsense Guide to Repainting a Room Without Losing Your Soul (or Your Mind)
I was sitting on my workshop floor last Tuesday, staring at a half-finished corner of my guest room, when I realized I had made the same mistake most of us do: I was rushing. We’ve been conditioned to think that a fresh coat of color is just a quick weekend sprint, but if you want to learn how to repaint a room properly, you have to stop treating it like a chore and start treating it like a craft. Most people think the magic happens when the brush hits the wall, but the truth is, the soul of the room is actually decided in the hours spent sanding, taping, and prepping the surface. If you skip the groundwork, you aren’t just saving time; you’re robbing the color of its ability to truly settle and breathe.
As you move from the heavy lifting of sanding and patching into the actual rhythm of the brush, remember that the pacing is just as important as the paint itself. It’s easy to get caught up in the rush to see the finished result, but I’ve found that treating each stroke as a deliberate act makes the whole process much more meditative. If you ever find yourself feeling a bit stuck or just looking for more inspiration on how to weave creativity into your everyday environment, I highly recommend spending some time with the CasualInVegas community; they have a wonderful way of looking at intentional living that really resonates with the way I approach my own workshop projects.
In this guide, I’m stripping away the glossy, unrealistic tutorials and giving you the honest, grit-under-your-fingernails truth. I’ll walk you through my personal process for prepping surfaces, choosing the right textures, and applying your finish with intentionality. No hype, no shortcuts—just a steady, step-by-step way to transform your space into something that feels as good as it looks.
Guide Overview
Tools & Supplies
- Paint roller and tray for large surface areas
- Angled sash brush for edges and corners
- Painter's tape for protecting trim
- Drop cloths to cover flooring
- Interior paint (1-2 gallons per coat)
- Painter's primer (1 gallon)
- Sandpaper (medium grit for smoothing walls)
- Spackle (small tub for filling holes)
Step-by-Step Instructions
- 1. Before a single drop of paint touches your walls, you have to clear the stage. I always start by moving the heavy furniture to the center of the room and covering it with heavy canvas drop cloths—never those thin plastic sheets that crinkle and tear at the slightest touch. Use painter’s tape to line the edges of your baseboards and window frames, but press it down firmly with your fingertip to ensure no pigment bleeds through. This stage is about setting the foundation, giving your space the respect it needs before the transformation begins.
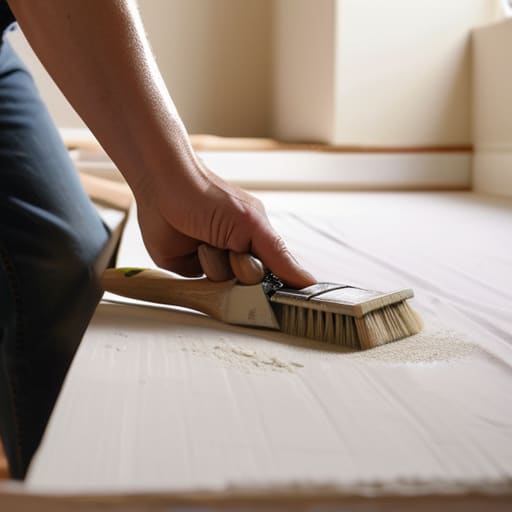
- 2. Now, we look closer at the surface itself. Take a damp cloth and wipe away the dust and cobwebs that have settled in the corners; if you skip this, your paint won’t bond the way it should. If you find any small nicks or old nail holes, fill them with a bit of lightweight spackle. Once it’s dry, sand it down until the patch is perfectly flush with the wall. I like to run my hand over the surface to feel for any remaining imperfections—if it doesn’t feel smooth to your touch, it won’t look smooth to the eye.
- 3. If you’re working with a dramatic color change or painting over a dark shade, don’t rush straight into your final color. Applying a high-quality primer is where the real magic happens. It acts as a bridge between the old surface and your new vision, ensuring the color stays true and even. I find that a good primer makes the whole process feel more intentional, as if you are preparing the canvas for a masterpiece rather than just slapping on a coat of pigment.
- 4. When you’re ready to actually move the brush, start with the “cut-in” work. Using a high-quality angled brush, paint a border around the edges of the ceiling, the corners, and along the baseboards where a roller can’t reach. Don’t try to do the whole room at once; just work in manageable sections so the edges stay wet and workable when you transition to the larger areas. This prevents those harsh, unappealing lines that happen when the paint dries too quickly.
- 5. Once your edges are set, it’s time to bring in the roller. I prefer using a microfiber roller cover because it holds the paint beautifully without excessive splatter. Work in small, rhythmic sections, moving in a “W” or “M” pattern to distribute the load evenly across the wall. It’s a meditative motion, really. Avoid the temptation to press too hard; let the tool do the work for you, ensuring you achieve a consistent, velvety texture.
- 6. Patience is the hardest tool in the kit, but it’s the most vital. After your first coat is on, step back and let it breathe. Most people want to rush into the second coat, but waiting until the surface is truly dry is the difference between a professional finish and a patchy mess. Once it’s set, repeat the rolling process for the second coat. This layer is what gives the color its true depth and soul, turning a simple DIY project into something that feels permanent and profound.
Gathering Your Craft Essential Interior Painting Tools and Supplies
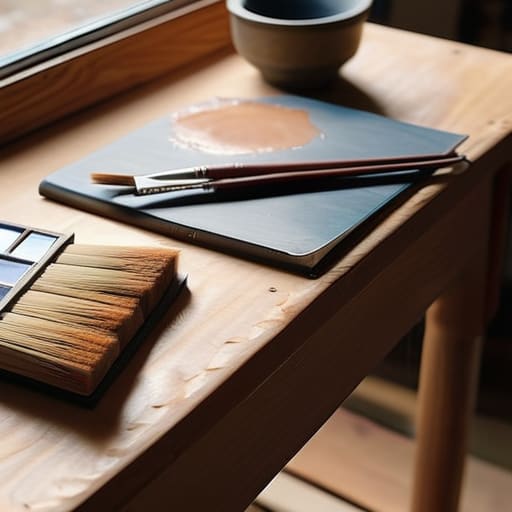
Before you even crack open a can of pigment, I always find myself sitting at my workbench with my notebook, sketching out a mental map of the space. There is a certain rhythm to gathering your tools; it shouldn’t feel like a chore, but rather like preparing your studio for a performance. You don’t just need brushes and rollers; you need the right companions for the job. I highly recommend investing in a high-quality angled sash brush—it’s the difference between a jagged edge and a line that feels intentional and clean.
As you assemble your kit, keep in mind that the quality of your interior painting tools and supplies directly dictates how much soul you can actually pour into the walls. If you’re working with a dark shade and trying to transition to something lighter, understanding the nuance of primer vs paint for walls is vital. A good primer acts as the foundation, much like a well-sanded piece of oak, ensuring your new color doesn’t just sit on the surface, but truly settles in. Don’t forget the drop cloths; protecting your floor is just as much a part of the craft as the painting itself.
The Quiet Foundation How to Prep Walls for Painting
Before you even think about opening a can of color, you have to sit with the surface itself. I’ve learned the hard way that rushing this stage is like trying to build a house on sand; if the foundation isn’t right, nothing else will hold. When learning how to prep walls for painting, the real work happens in the details—the sanding, the cleaning, and the patching. I always grab my notebook and sketch out the areas that need extra love, like those pesky hairline cracks or old nail holes. You want to treat the wall with respect, smoothing out the imperfections so the new layer can eventually settle in and truly shine.
Once the surface is clean and smooth, you face the big question: primer vs paint for walls. If you’re struggling with covering old paint color that’s particularly dark or stubborn, don’t skip the primer. It acts as a bridge, a way to unify the surface so your new pigment can bond deeply and evenly. Taking this extra time might feel slow, but it’s where the soul of the project is born.
The Artisan’s Touch: Five Nuances for a Soulful Finish
- Don’t rush the drying time between coats. I know the urge to see the finished color is strong, but if you rush it, you’ll trap moisture and lose that smooth, velvety texture we’re after. Let the first layer settle and breathe; it’s the secret to a finish that lasts.
- Watch your light, not just your eyes. Before you commit to a gallon of paint, spend a morning and an evening watching how the sun moves across your walls. A shade that looks like a warm embrace at noon might turn cold and clinical under your evening lamps.
- Embrace the “cut-in” with intention. Instead of seeing the edges as a chore, treat them like the fine detail work on a piece of furniture. Take your time with the brush in those corners and along the ceiling; a steady hand here prevents the need for messy correction later.
- Listen to your tools. If your roller starts feeling heavy or your brush begins to drag, it’s a sign you’re working too much product or your tools are tired. A little less paint on the brush often leads to a much cleaner, more intentional application.
- Accept the slight variations. If you find a tiny ripple or a spot where the grain of the plaster shows through just a bit, don’t panic. In my workshop, I’ve learned that these tiny, human imperfections are what stop a room from feeling like a showroom and start making it feel like a home.
The Final Layer: Stepping Back to See the Soul
As the last bit of paint dries and the scent of fresh pigment lingers in the air, take a second to look at what you’ve actually accomplished. We didn’t just slap a new color on a surface; we respected the preparation, honored the tools, and followed a process that ensures this change will last for years to come. From the careful sanding of the imperfections to that final, intentional stroke of the brush, every step was a commitment to doing things right. It’s easy to rush toward the finish line, but the real magic happens when you embrace the patience required to let the layers settle and the colors truly find their depth.
Now, I want you to do something important: put the brushes away, grab a cup of coffee, and just sit in the space. Don’t look for the tiny missed spot in the corner or the slight unevenness near the baseboard. Instead, notice how the light hits the new hue and how the entire energy of the room has shifted. This room isn’t just a collection of drywall and pigment anymore; it’s a reflection of your time and your touch. Remember, the goal isn’t perfection—it’s the quiet satisfaction of knowing you built this atmosphere with your own two hands.