A Guide on How to Choose the Right Lighting for Your Studio
As I sit in my own studio, surrounded by half-finished projects and scattered notes, I’m reminded of the countless hours I’ve spent searching for the perfect glow. How to choose the right lighting for your studio can be a daunting task, especially when everyone seems to be peddling their own “magic” solution. But let’s get real – there’s no one-size-fits-all answer. I’ve tried it all, from fancy smart bulbs to thrift store finds, and what I’ve learned is that the right lighting is all about creating a space that sparks joy.
In this article, I’ll share my personal favorites and practical tips for choosing the right lighting. You won’t find any flashy sales pitches or overly complicated jargon here – just honest, tried-and-true advice from one creative to another. I’ll walk you through my own process of selecting the perfect lighting for my studio, and provide you with the tools you need to do the same. By the end of this guide, you’ll be well on your way to illuminating your creative sanctuary and making it a space that truly inspires you to create your best work.
Table of Contents
- Guide Overview: What You'll Need
- Step-by-Step Instructions
- Illuminating Your Space
- Shining a Light on the Essentials: 5 Key Tips for Choosing the Perfect Studio Lighting
- Key Takeaways for Illuminating Your Studio
- Illuminating Wisdom
- Bringing it All Together: Your Perfectly Lit Studio
- Frequently Asked Questions
Guide Overview: What You'll Need
Total Time: 1 hour 15 minutes
Estimated Cost: $50 – $200
Difficulty Level: Intermediate
Tools Required
- Lumen Meter (for measuring light intensity)
- Tape Measure (for measuring room dimensions)
- Color Temperature Meter (optional)
Supplies & Materials
- LED Light Bulbs (various color temperatures)
- Table Lamps (for task lighting)
- Floor Lamps (for ambient lighting)
- Dimmer Switches (for adjustable lighting)
Step-by-Step Instructions
- 1. First, assess your studio’s natural light by observing how sunlight enters the space throughout the day. This will help you determine what type of artificial lighting you need to complement the natural light. Take note of any areas that receive direct sunlight, as this can impact the overall ambiance and temperature of your studio.
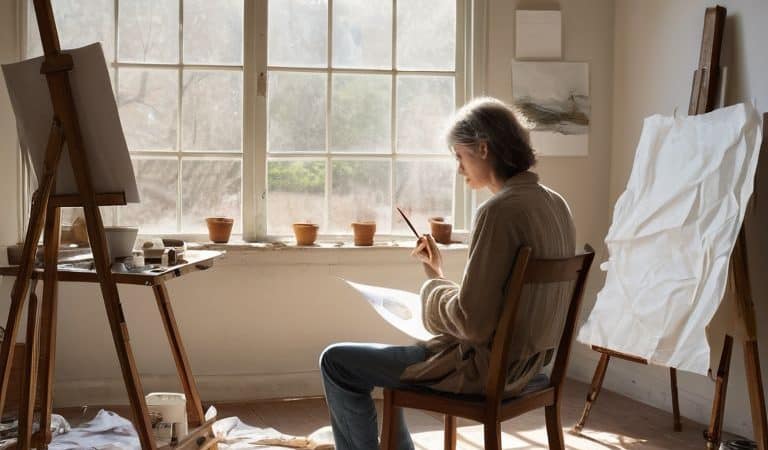
- 2. Next, identify your lighting goals. What type of activities will you be doing in your studio? If you’ll be painting or drawing, you may need more focused lighting to illuminate your work surface. If you’ll be writing or reading, softer, more ambient lighting might be preferable. Consider the mood and atmosphere you want to create in your studio.
- 3. Now, evaluate the color temperature of the lighting options you’re considering. Warm white light (2700K-3000K) can create a cozy, relaxing atmosphere, while cool white light (3500K-5000K) can be more energizing and stimulating. Think about the type of work you’ll be doing and the time of day you’ll be working to determine the most suitable color temperature.
- 4. Consider the layering of light in your studio. This involves using a combination of overhead lighting, task lighting, and accent lighting to create a visually interesting and functional space. Overhead lighting can provide overall illumination, while task lighting can be focused on specific work areas, and accent lighting can be used to highlight decorative elements or create ambiance.
- 5. Choose the right light fixtures for your studio. Consider the style and aesthetic you want to achieve, as well as the functionality of each fixture. Table lamps, floor lamps, and pendant lights can all be used to create a unique and functional lighting scheme. Don’t be afraid to mix and match different types of fixtures to create a look that reflects your personality and style.
- 6. Think about energy efficiency when selecting your lighting. LED bulbs are a great option, as they use significantly less energy than traditional incandescent bulbs and can last up to 25 times longer. Not only will this help reduce your environmental impact, but it will also save you money on your energy bill in the long run.
- 7. Finally, experiment and adjust your lighting scheme as needed. Don’t be afraid to try out different lighting configurations and see what works best for you. You may find that you need to adjust the lighting throughout the day to suit your changing needs, or that you prefer a certain type of lighting for specific tasks or activities. Remember, your studio is a reflection of your unique needs and preferences, so don’t be afraid to get creative and make adjustments until you find the perfect lighting solution.
Illuminating Your Space
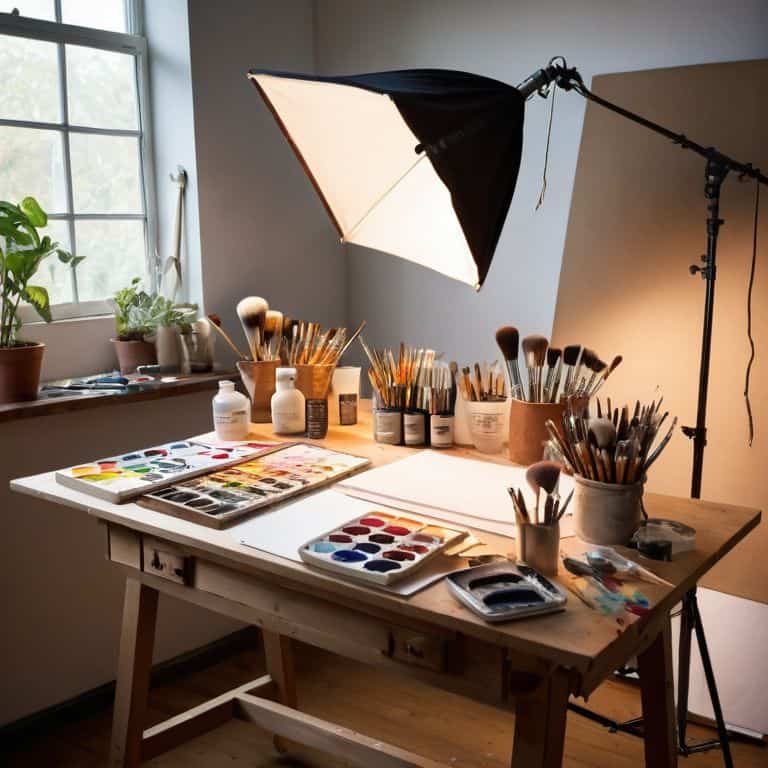
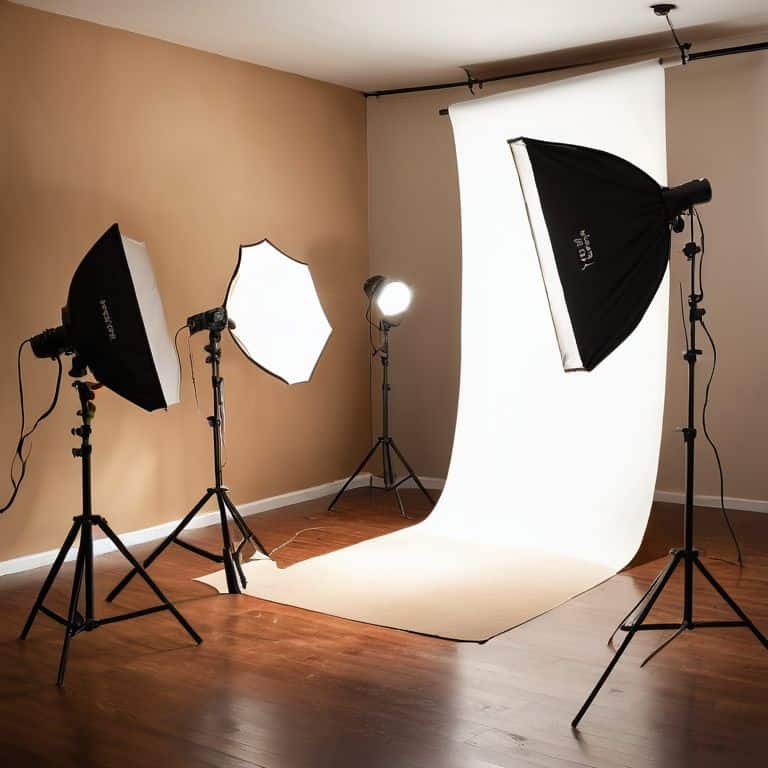
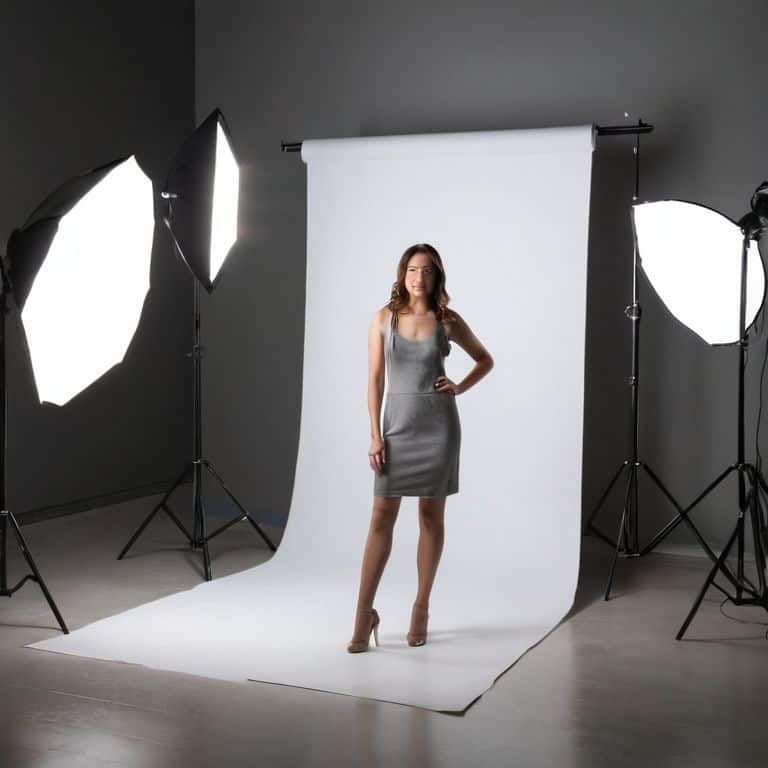
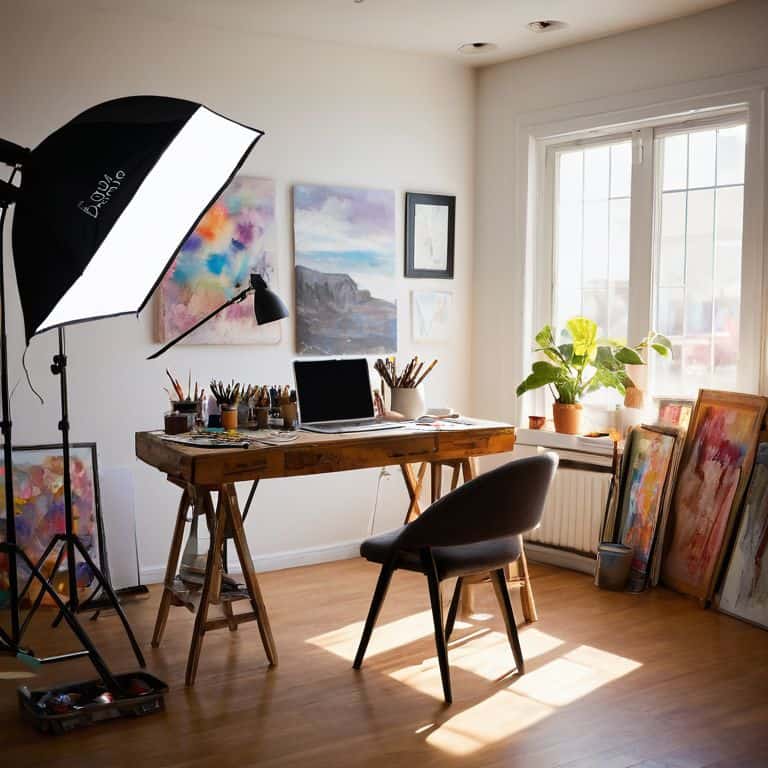
When it comes to illuminating your space, it’s essential to consider the type of lighting that will best suit your creative needs. As an artist, I’ve found that led lighting for artists can be a game-changer, providing a soft and gentle glow that’s easy on the eyes. I’ve experimented with both softbox and umbrella lights, and while they have their differences, both can be effective in creating a well-lit studio.
To achieve the perfect ambiance, I recommend playing with color correction for studio lighting. This can be as simple as using colored gels or filters to create a warm and inviting atmosphere. I’ve also found that natural light simulation techniques can be incredibly effective in creating a sense of warmth and comfort in my studio. By mimicking the soft, gentle light of the outdoors, I can create a space that feels cozy and inspiring.
In my own studio, I’ve opted for energy efficient studio lighting options, which not only help reduce my environmental footprint but also save me money on my energy bills. Whether you’re working on photography or videography projects, it’s crucial to have a lighting setup that can adapt to your needs. I’ve found that investing in versatile lighting solutions has been a worthwhile investment, allowing me to focus on my craft without worrying about the technical details.
Led Lighting for Artists Unleashed
As I delve into the world of LED lighting, I’m reminded of my own journey in setting up my home studio. I experimented with various options, but LEDs have been a game-changer. Not only are they energy-efficient, but they also provide a wide range of color temperatures to suit different artistic needs. For instance, a cool white LED can enhance the vibrancy of colors in your artwork, while a warm white LED can create a cozier atmosphere for more introspective pieces.
I’ve found that LED strip lights, in particular, offer incredible flexibility. You can place them under shelves, around your workspace, or even inside display cases to create a stunning ambiance. With LEDs, the possibilities are endless, and I’m excited to explore more ways to harness their creative potential in my own studio.
Softbox vs Umbrella the Ultimate Showdown
When it comes to soft, diffused lighting, two popular options reign supreme: softboxes and umbrellas. I’ve experimented with both in my own studio, and I must say, each has its unique charm. Softboxes provide a more controlled, directional light, which is perfect for accentuating specific textures or subjects. On the other hand, umbrellas offer a softer, more dispersed glow, ideal for creating a warm ambiance.
In my experience, softboxes are great for artists who require precise lighting, while umbrellas are better suited for those who want a more relaxed, organic feel. Ultimately, the choice between softbox and umbrella comes down to your personal preference and the specific needs of your project. By understanding the strengths of each, you can make an informed decision and unlock the full potential of your studio’s lighting.
Shining a Light on the Essentials: 5 Key Tips for Choosing the Perfect Studio Lighting
- Consider the color temperature: warm white light for a cozy atmosphere, cool white light for a focused work environment
- Assess your studio’s natural light: if it’s plentiful, supplement with lamps; if it’s scarce, invest in brighter overhead lighting
- Think about the task at hand: different lighting setups for painting, writing, or photography can greatly impact your creative output
- Don’t forget about shadows: use a combination of light sources to minimize harsh shadows and create a more visually appealing workspace
- Experiment and adjust: your ideal lighting setup may change over time, so be willing to try new configurations and find what works best for your unique creative flow
Key Takeaways for Illuminating Your Studio
Illuminate your space with intention: consider the type of lighting that suits your creative needs, whether it’s LED, softbox, or umbrella lighting
Experiment with layers of light: combine different lighting sources to achieve the perfect ambiance for your studio, and don’t be afraid to adjust as your needs change
Make lighting a part of your creative ritual: incorporate your lighting choices into your daily routine, and watch how it impacts your productivity, inspiration, and overall well-being as a creative
Illuminating Wisdom
The right lighting for your studio is not just about functionality, but about cultivating an atmosphere that nurtures your creative soul – it’s a dance between illuminating your space and illuminating your imagination.
Audrey Bell
Bringing it All Together: Your Perfectly Lit Studio
As we’ve explored the world of studio lighting, it’s clear that finding the right balance is key. From understanding the basics of lighting types to making informed decisions between softbox and umbrella setups, each choice plays a significant role in creating an environment that fosters creativity and productivity. Whether you’re an artist, writer, or any other type of creative, your studio’s lighting is not just about illumination; it’s about setting the tone for your work. By considering factors like color temperature, brightness, and the specific needs of your craft, you can tailor your lighting to inspire and support your artistic endeavors.
In the end, choosing the right lighting for your studio is about more than just technical specifications; it’s about creating a space that nurtures your creativity and helps you produce your best work. As you embark on this journey to illuminate your creative sanctuary, remember that it’s a process, and experimentation is key. Don’t be afraid to try new things, seek inspiration from others, and trust your instincts. With patience, practice, and a well-lit studio, you’ll be well on your way to unlocking your full potential and bringing your most vibrant ideas to life.
Frequently Asked Questions
What type of lighting is best suited for a small studio with limited natural light?
For a small studio with limited natural light, I swear by softbox lights – they provide a soft, even glow that’s easy on the eyes. Plus, they’re super versatile and won’t overwhelm the space. I use them in my own studio and love how they help me focus on my creative work.
How can I balance the color temperature of my studio lighting to ensure it doesn't affect the accuracy of my artwork?
To balance color temperature, I swear by the 50/50 rule: 50% warm white light (2700K-3000K) and 50% cool white light (5000K-6500K). This harmonious blend ensures your artwork’s colors remain true, and your eyes stay happy. Trust me, it’s a game-changer for maintaining accuracy and reducing eye strain.
Are there any energy-efficient lighting options that can help reduce my studio's environmental impact without compromising on quality?
I’m a huge fan of eco-friendly lighting, and I’ve found that LED bulbs and solar-powered lamps are fantastic options for reducing my studio’s carbon footprint. Not only do they use significantly less energy, but they also last longer and provide excellent color accuracy, making them perfect for artists who demand high-quality light.