A Guide on How to Edit Moody Portraits in Lightroom
I still remember the first time I tried to edit a moody portrait in Lightroom – it was a disaster. I had heard that mastering how to edit moody portraits in Lightroom was all about using the right presets and plugins, but the more I experimented, the more I realized that this approach was suffocating my creativity. The truth is, there’s no one-size-fits-all formula for editing moody portraits – it’s all about understanding the interplay of light and shadow and using that to tell a story.
As I delved deeper into the world of moody portrait editing, I discovered that it’s not just about tweaking sliders and adjusting curves, but about uncovering the emotional depth of the image. In this article, I’ll share my personal approach to how to edit moody portraits in Lightroom, including the practical tips and techniques I’ve learned from years of experimenting and teaching workshops. You’ll learn how to use Lightroom’s tools to enhance the mood and atmosphere of your portraits, and how to develop a unique visual style that sets your work apart. By the end of this guide, you’ll be equipped with the skills and confidence to edit moody portraits that truly capture the essence of your subjects.
Table of Contents
- Guide Overview: What You'll Need
- Step-by-Step Instructions
- Unveiling Moody Portrait Editing
- Mastering the Art of Moody Portraits: 5 Essential Editing Tips in Lightroom
- Key Takeaways for Mastering Moody Portraits in Lightroom
- The Essence of Moody Portraits
- Embracing the Art of Moody Portraits
- Frequently Asked Questions
Guide Overview: What You'll Need

Total Time: 1 hour 15 minutes
Estimated Cost: free – $10 per month for Adobe Lightroom subscription
Difficulty Level: Intermediate
Tools Required
- Computer (with Adobe Lightroom installed)
- Mouse (or touchpad)
- Keyboard (for shortcut keys)
Supplies & Materials
- Moody Portrait Images (in RAW or JPEG format)
- Adobe Lightroom Presets (optional)
Step-by-Step Instructions
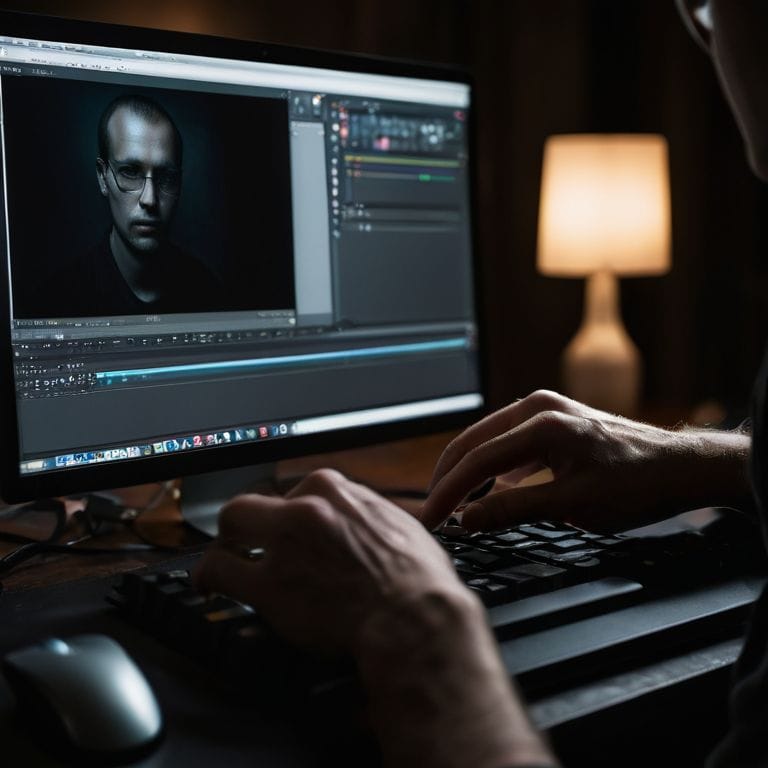
- 1. To start editing a moody portrait in Lightroom, import your image into the program and take a moment to assess the overall mood and atmosphere you want to convey. I like to think of this step as setting the stage for the story I’m about to tell with my photograph. Look for the emotional depth in the image, and consider what elements you can enhance or adjust to bring out that mood.
- 2. Next, head to the Basic panel in the Develop module, where you’ll find the fundamental tools for adjusting the exposure, contrast, and color balance of your image. I often start by adjusting the white balance to match the mood I’m aiming for – for example, a cooler tone for a more melancholic feel or a warmer tone for a more intimate atmosphere. This initial step lays the foundation for all the subsequent adjustments.
- 3. Now, let’s talk about contrast, which is crucial for creating moody portraits. By adjusting the contrast, you can add depth and dimension to your image. I usually decrease the highlight areas to add mystery and increase the shadow areas to create a sense of drama. This balance is key to achieving a moody effect without overdoing it.
- 4. The Tone Curve is another powerful tool in Lightroom for editing moody portraits. It allows you to adjust the brightness and contrast of different tonal ranges in your image. I often use the Point Curve mode to make precise adjustments, adding a slight S-curve to enhance the mid-tones and deepen the blacks, which helps in creating a more dramatic and moody effect.
- 5. Color Grading is essential for setting the mood of your portrait. Lightroom’s Split Toning feature is incredibly useful for this. By applying a cool tone to the shadows and a warm tone to the highlights, you can create a moody, cinematic effect. Experiment with different hue and saturation levels to find the perfect balance that complements your subject’s mood and atmosphere.
- 6. To add an extra layer of depth and moodiness to your portrait, consider applying a gradient filter or radial filter. These tools allow you to make local adjustments to exposure, contrast, and color, which can be used to draw attention to your subject or enhance the background in a way that supports the mood of the image. I often use these filters to subtly darken the edges of the frame, creating a vignette effect that focuses the viewer’s eye on the subject.
- 7. Finally, experiment with the details. Zoom in on your image and look for areas where you can refine the details to enhance the mood. This might involve using the noise reduction and sharpness tools to create a sense of clarity and intimacy, or the lens corrections to remove any distortions that might detract from the mood. Remember, the goal is to tell a story, so every adjustment should be made with the intention of enhancing that narrative.
Unveiling Moody Portrait Editing
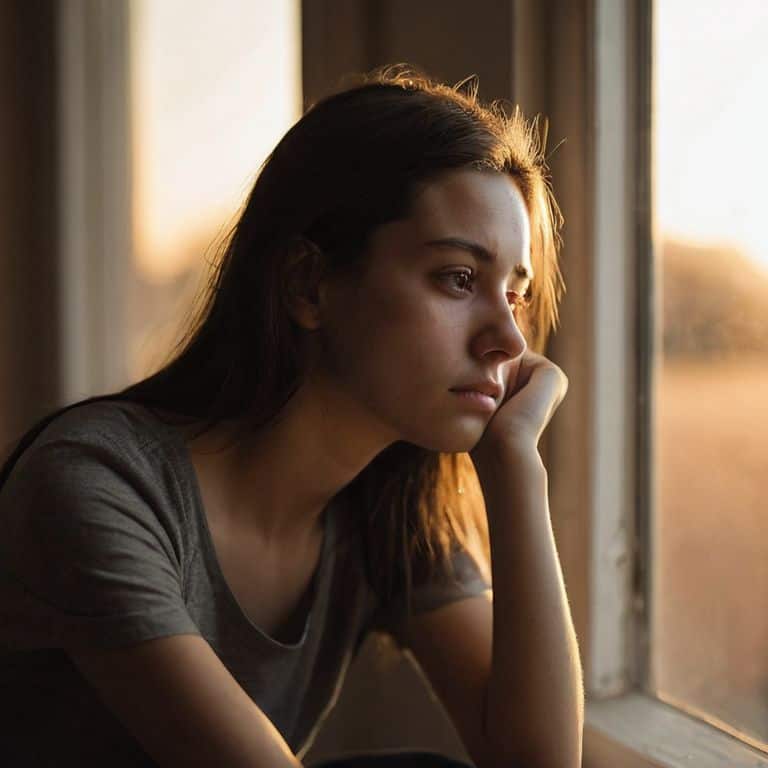
As I delve into the world of moody portrait editing, I’m reminded of the power of light in setting the tone for an image. When working with portraits, it’s essential to consider the interplay between light and shadow, and how this balance can be adjusted in Lightroom to create a moody atmosphere. I often find inspiration in the moody color palette of overcast skies or the warm, golden tones of sunset, which can be replicated using lightroom presets for portraits.
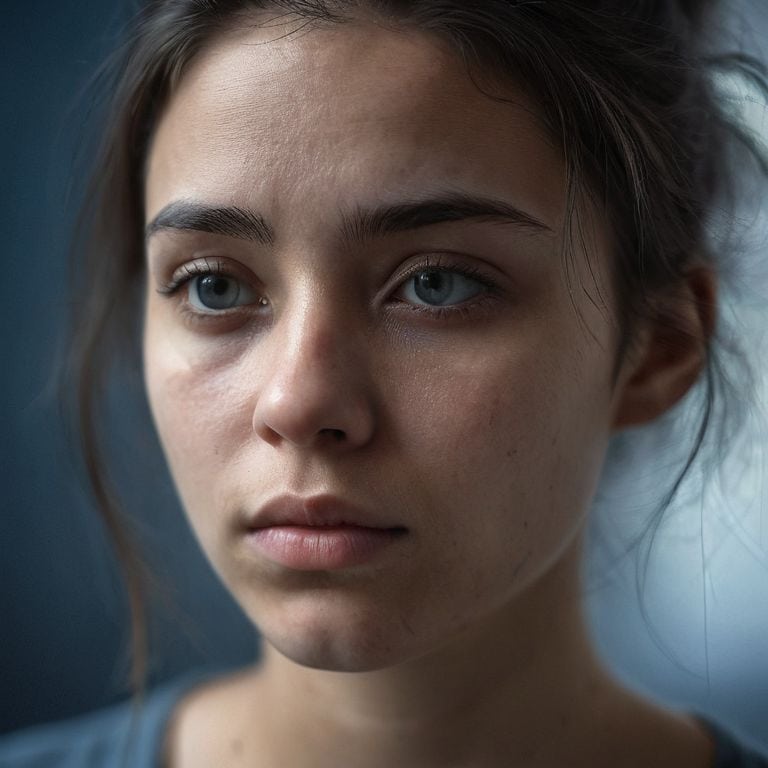
To add depth to your portraits, experiment with editing portraits with high contrast, emphasizing the nuances of your subject’s features. This technique can help create a sense of drama, drawing the viewer’s eye to the subject’s expression. When adjusting the contrast, be mindful of the enhancing shadows in lightroom, as this can make or break the mood of your image.
In my own workflow, I prioritize creating dramatic lighting effects by manipulating the light curves and tone mapping in Lightroom. This allows me to craft a unique, portrait editing workflow that brings out the emotional depth in my images. By focusing on the subtleties of light and shadow, you can uncover the hidden stories within your portraits, and reveal the essence of your subject in a way that’s both captivating and authentic.
Enhancing Shadows in Lightroom
When I’m editing a moody portrait, I always look for ways to enhance the shadows. This is where the magic happens, and the image starts to take on a life of its own. I use the Shadows slider in Lightroom to add depth and dimension to my subject’s face, drawing out the contours and textures that make them unique. By carefully adjusting this slider, I can create a sense of volume and nuance that pulls the viewer in.
I also experiment with the Blacks slider to add a touch of mystery to the image. By subtly darkening the shadows, I can create a sense of tension and intrigue that keeps the viewer engaged. It’s all about finding that delicate balance between light and dark, and using the shadows to tell a story that’s both personal and universal.
Moody Color Palette Inspiration
When it comes to creating a moody color palette, I find inspiration in the world around me. I’ll often take note of the way the golden hour casts a warm glow on my subjects, or the deep blues and greys that emerge in a rainy cityscape. These observations inform my editing decisions, helping me to craft a color palette that complements the mood and atmosphere of the image. I’ll also draw inspiration from the works of other photographers, studying how they use color to evoke emotion and tell a story.
For me, a moody color palette is all about subtlety and restraint. I’ll often desaturate certain colors or introduce a hint of cool tones to create a sense of tension or melancholy. The key is to find a balance between contrast and harmony, allowing the colors to work together in a way that enhances the overall mood of the image.
Mastering the Art of Moody Portraits: 5 Essential Editing Tips in Lightroom
- Embrace the Power of Presets: Start with a moody preset as a foundation, then tweak and refine it to fit your unique vision, just as I do with my own documentary photography projects
- Unleash the Drama of Contrast: Experiment with the tone curve to enhance the contrast between light and dark, creating a sense of depth and dimensionality in your portraits, much like the golden hour shots I love
- Unlock the Secrets of Color Grading: Apply a moody color grade to set the tone and atmosphere of your image, using the Split Tone panel to add a touch of warmth or coolness, depending on the story you want to tell
- Reveal the Beauty of Texture and Grain: Add a touch of film grain or texture to give your portraits a sense of authenticity and grit, reminiscent of my own experiences shooting with vintage camera lenses
- Conquer the Art of Subtle Adjustments: Make precise adjustments to the hue, saturation, and luminance of specific colors to refine the mood and emotion of your image, just as I do when developing my own film in the darkroom
Key Takeaways for Mastering Moody Portraits in Lightroom
Embracing the power of moody colors and shadows can elevate your portraits from ordinary to extraordinary, capturing the depth and emotion of your subjects
Understanding how to manipulate light and shadows in Lightroom is crucial for creating moody portraits, and it all starts with a deep dive into the ‘Basic’ and ‘Tone Curve’ panels to set the foundation for your edit
By experimenting with different color palettes and shadow enhancements, you can develop a unique visual style that sets your moody portraits apart, telling stories that resonate with viewers on a deeper level
The Essence of Moody Portraits
To truly edit a moody portrait in Lightroom is to dance with the shadows, to coax the light into a whispered secret, and to reveal the depths of the human experience in every nuanced tone and texture.
Julian Kade
Embracing the Art of Moody Portraits
As we conclude this journey into the world of editing moody portraits in Lightroom, remember that the key to unlocking emotional depth in your images lies in understanding how to balance light and shadow. We’ve explored the importance of a _moody color palette_ and delved into the techniques for _enhancing shadows_ to create a sense of mystery and intrigue. By mastering these elements, you’ll be well on your way to crafting portraits that not only capture the viewer’s attention but also tell a story that lingers long after the image is seen.
Your photography is a reflection of your unique perspective, and the art of editing moody portraits is about more than just technical skills—it’s about seeing the world in a way that resonates with others. As you continue to hone your craft, remember that every frame is an opportunity to share a piece of yourself and connect with those who view your work. Keep pushing the boundaries of what’s possible, and most importantly, never stop _chasing the light_ that inspires you.
Frequently Asked Questions
How can I achieve a balanced contrast between light and dark areas in my moody portraits without overexposing or underexposing the image?
To achieve balanced contrast, I adjust the ‘Exposure’ and ‘Contrast’ sliders in harmony, while keeping a close eye on the histogram. I also utilize the ‘Shadows’ and ‘Highlights’ sliders to refine the balance, ensuring that my moody portraits have depth without losing detail in the extremes.
What are some tips for choosing the right color grading and tone curve to enhance the mood and atmosphere of a portrait in Lightroom?
When it comes to choosing the right color grading and tone curve, I always consider the subject’s personality and the story I want to tell. I look for inspiration in the golden hour, with its warm, soft tones, and try to replicate that in Lightroom. Experimenting with the tone curve to add depth and dimension is also key – it’s all about finding the right balance to evoke the desired mood.
Are there any specific brush or gradient tools in Lightroom that can be used to subtly enhance or manipulate shadows and highlights in a moody portrait?
I love using the Adjustment Brush in Lightroom to subtly enhance shadows and highlights in moody portraits. It allows me to paint in precise adjustments, adding depth and nuance to my images. The Gradient Filter is also a favorite, enabling me to create natural-looking transitions between light and dark areas, and adding a sense of dimensionality to my photographs.