A Guide on How to Get Clean Audio With a Dslr

I still remember the first time I realized the importance of clean audio in filmmaking. I was working on a documentary project, and we had captured some amazing footage with our DSLR cameras. However, when we started editing, the audio was a mess – how to get clean audio with a dslr became my top priority. I learned the hard way that good audio can make or break a film, and it’s not just about the camera itself, but about the techniques and tools you use to capture high-quality sound.
As someone who’s passionate about storytelling through film, I want to share my knowledge with you on how to get clean audio with a dslr. In this article, I’ll give you honest and practical advice on how to ditch the built-in mic and get pristine audio on your DSLR shoots. We’ll cover the essentials, from choosing the right external microphone to tips and tricks for recording clean audio in different environments. By the end of this guide, you’ll be equipped with the knowledge to take your filmmaking to the next level and create videos that truly engage and inspire your audience.
Table of Contents
Guide Overview: What You'll Need
Total Time: 1 hour 15 minutes
Estimated Cost: $50 – $100
Difficulty Level: Intermediate
Tools Required
- External Microphone (e.g., lavalier or shotgun)
- Windscreen (for outdoor recording)
- Audio Recorder (optional, for dual-system recording)
- Headphones (for monitoring audio)
Supplies & Materials
- Microphone Windscreen
- Audio Cables (e.g., 3.5 millimeter to XLR)
- Camera Mount (for securing external microphone)
Step-by-Step Instructions
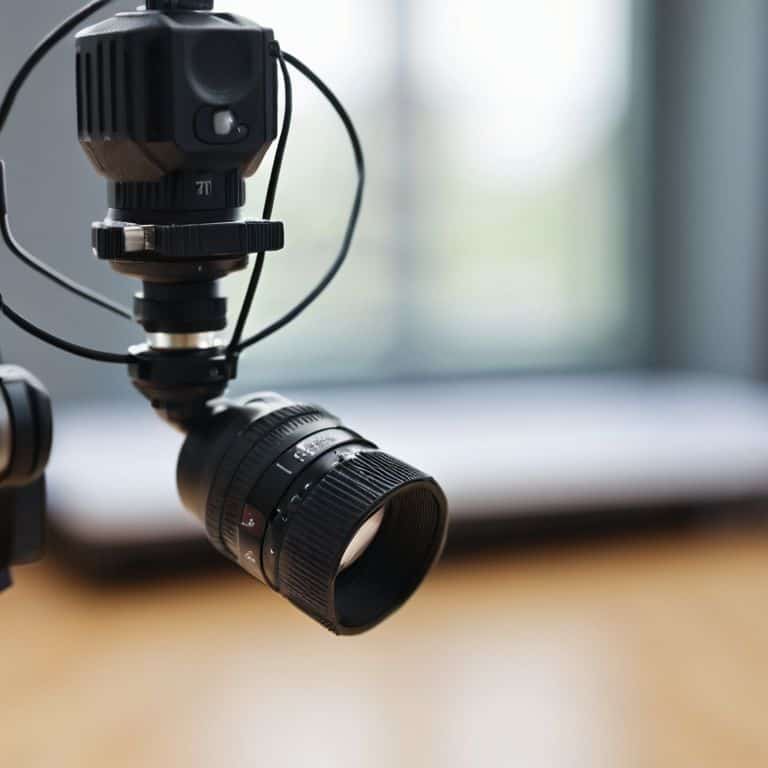
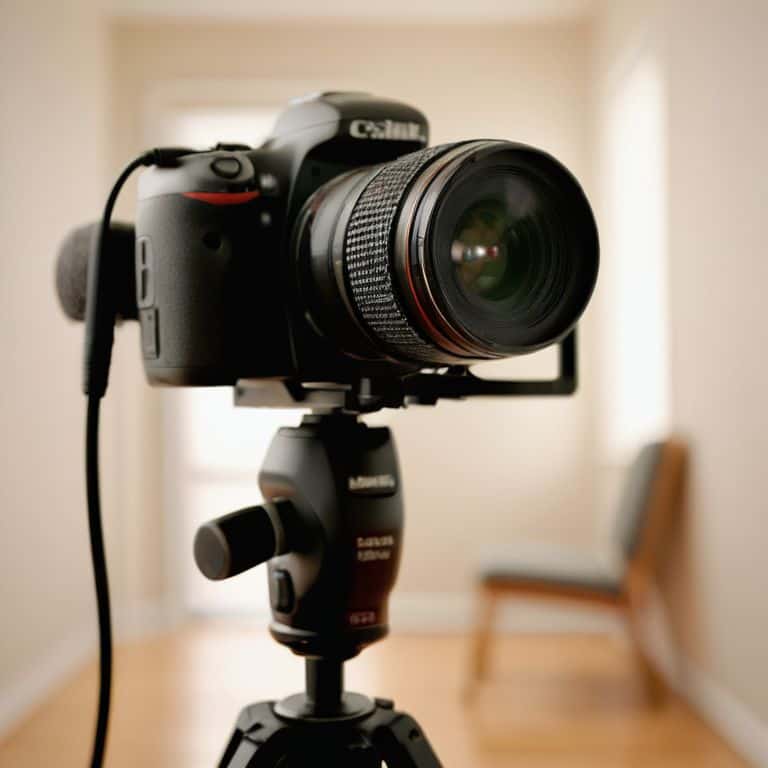
- 1. First, let’s talk about the importance of high-quality audio in filmmaking. I always say that sound design is 50% of the film, and it’s essential to get it right from the start. To capture clean audio with your DSLR, you’ll need to invest in an external microphone. I recommend using a lavalier or a shotgun mic, as they provide more focused and clearer sound compared to the built-in microphone.
- 2. Next, you’ll need to choose the right audio recording equipment for your DSLR. This includes an external microphone, a windscreen or windshield, and a reliable audio recorder or a mixer. When selecting a microphone, consider the type of sound you want to capture and the environment you’ll be filming in. For example, if you’re filming outdoors, you may want to use a microphone with a windscreen to reduce wind noise.
- 3. Now, let’s move on to the pre-production phase, where you’ll need to plan your audio setup. This includes deciding on the type of microphone to use, where to place it, and how to connect it to your DSLR or audio recorder. Make sure to test your equipment before the shoot to ensure everything is working properly and that you have the right cable management in place.
- 4. When it comes to recording audio, it’s essential to monitor your sound levels closely. Use a device like a mixer or an audio recorder to monitor your levels and adjust them as needed. You should also use headphones to listen to the audio in real-time and catch any potential issues. This will help you avoid distortion or picking up unwanted background noise.
- 5. To get the best possible audio, you’ll need to position your microphone correctly. For a lavalier microphone, this usually means clipping it to the subject’s lapel or collar, about 6-8 inches from their mouth. For a shotgun microphone, you’ll want to position it above or to the side of the subject, usually about 12-18 inches away. The key is to find the optimal microphone placement to capture clear and concise audio.
- 6. Another crucial aspect of capturing clean audio is to minimize background noise. This can be achieved by filming in a quiet location or using noise-reducing materials like acoustic panels or sound blankets. You can also use a windshield or pop filter to reduce wind noise or plosive sounds. By taking these steps, you can ensure that your audio is crystal clear and free from distractions.
- 7. Finally, it’s essential to backup your audio files regularly, especially during long shoots. This will help you avoid losing important recordings in case of equipment failure or other technical issues. Consider using an external hard drive or cloud storage to keep your files safe and easily accessible. By following these steps, you’ll be well on your way to capturing pristine audio with your DSLR and taking your filmmaking to the next level.
Clean Audio on Dslr

When it comes to capturing pristine audio on your DSLR shoots, there are a few extra considerations to keep in mind. One of the biggest challenges is reducing wind noise, which can quickly ruin an otherwise perfect take. To combat this, I always recommend using a windscreen or fur windjammer on your external microphone. It’s a simple solution that can make a huge difference in the quality of your audio.
In addition to using the right equipment, it’s also important to pay attention to your audio gain staging. This means adjusting the sensitivity of your microphone to ensure that your audio is loud enough, but not so loud that it becomes distorted. I like to think of it as finding the sweet spot where your audio is clear and crisp, without any unwanted noise or clipping. By getting this right, you can ensure that your audio is of the highest quality, and that it complements your visuals perfectly.
To take your audio to the next level, you might also consider using external preamps to boost your signal. This can be especially helpful if you’re using a lower-end microphone, or if you’re recording in a noisy environment. By investing in a good quality preamp, you can minimize echo and other unwanted sounds, and ensure that your audio is clean and clear. Whether you’re shooting a documentary, a wedding, or a commercial, good quality audio is essential for creating a professional-looking final product.
Best Dslr Audio Settings
When it comes to capturing pristine audio with your DSLR, the right settings can make all the difference. I always start by adjusting the audio levels to optimize my sound. This means monitoring the levels in real-time to ensure they’re not too hot or too cold. For dialogue, I aim for a peak level of around -6 dB to -3 dB. This gives me a clean signal with plenty of headroom for editing.
In terms of specific settings, I recommend using an external microphone and setting your DSLR to record in 24-bit or 32-bit float. This will give you a much higher quality audio signal than the built-in mic. Additionally, consider using a windscreen or pop filter to reduce plosive sounds and wind noise. By fine-tuning these settings, you’ll be well on your way to capturing professional-sounding audio that elevates your film to the next level.
Reducing Wind Noise Naturally
When shooting outdoors, wind noise can be a major obstacle to achieving clean audio. To reduce it naturally, I always look for ways to shield my microphone from the wind. One trick I use is to position my subject in a way that their body blocks the wind from hitting the mic. Alternatively, I’ll use natural barriers like buildings, trees, or hills to deflect the wind. It’s all about being mindful of your surroundings and using them to your advantage.
By taking a little extra time to consider the acoustic environment, you can significantly reduce wind noise and capture cleaner audio. It’s a simple yet effective technique that can make a big difference in the quality of your soundtrack.
Capturing Pristine Sound: 5 Essential Tips for Clean Audio with a DSLR
- Use an External Microphone: Ditch the built-in mic and invest in a quality external microphone to significantly improve your audio quality
- Monitor Your Audio: Keep an ear on your audio levels and sound quality during recording to catch any issues before they become major problems
- Choose the Right Audio Settings: Experiment with different audio settings on your DSLR to find the perfect balance for your specific recording environment
- Reduce Background Noise: Be mindful of your surroundings and take steps to minimize background noise, such as turning off fans or finding a quiet location
- Record in a Lossless Format: Use a lossless audio format to preserve the integrity of your sound and ensure it remains crisp and clean throughout the editing process
Key Takeaways for Capturing Pristine Audio
Use external microphones to significantly improve audio quality, as built-in DSLR mics can’t compete with dedicated audio equipment
Master the art of reducing wind noise naturally by using simple yet effective techniques like zeppelins, blimps, or even DIY furry windjammers
Optimize your DSLR’s audio settings by understanding the differences between manual and auto modes, and how to adjust levels for the best possible sound, making your film’s soundtrack truly unforgettable
The Sound of Perfection
Clean audio is not just a technical necessity, it’s an emotional gateway to your story – with a DSLR, it’s all about capturing the nuances that make your narrative resonate, and that starts with treating sound as a character in its own right.
Maya Jenson
Wrapping Up: Clean Audio for Timeless Stories
As we’ve explored the world of clean audio with a DSLR, remember that capturing pristine sound is all about balance – from choosing the right equipment to adjusting your settings and reducing unwanted noise. We’ve covered the importance of using external microphones, reducing wind noise naturally, and optimizing your DSLR audio settings for the best results. By applying these tips, you’ll be well on your way to creating videos with professional-grade audio that elevates your storytelling.
Now, go forth and weave your sonic tapestry – experiment with different techniques, and don’t be afraid to try new things. With practice and patience, you’ll develop an ear for what makes clean audio truly shine, and your films will be all the more captivating for it. As you embark on your next project, keep in mind that the pursuit of perfect sound is a journey, not a destination – and it’s one that will make your stories resonate deeply with your audience.
Frequently Asked Questions
What are the best types of external microphones to use with a DSLR for high-quality audio?
For high-quality audio with your DSLR, I swear by lavalier mics like the Rode Wireless Go or shotgun mics like the Sennheiser MKE 440. These bad boys capture crisp, clean sound and are super versatile – whether you’re filming interviews or capturing dialogue on the go. Trust me, the difference is night and day!
How can I effectively reduce echo and reverb when recording audio in a large or empty space with my DSLR?
To tame echo and reverb in large spaces, I swear by using directional microphones and positioning them close to your subject. You can also try adding some sound-absorbing materials to the space, like acoustic panels or even just a bunch of blankets, to soak up some of that excess sound.
Are there any specific DSLR camera settings or features that can help improve audio quality, such as adjusting the gain or using a wind filter?
When it comes to DSLR camera settings, I swear by adjusting the gain to optimize audio levels. Also, using a wind filter or enabling the camera’s built-in low-cut filter can be a total lifesaver for reducing rumble and hiss. Experiment with these features to find the perfect balance for your shoot.