A Guide to Glazing Pottery at Home for Beginners
As I sit amidst the earthy scent of clay and the soft glow of my workshop, I’m reminded of a common myth that has always frustrated me: that a guide to glazing pottery at home is a complicated, intimidating process. But I’m here to tell you that’s simply not true. With the right mindset and a few simple techniques, anyone can bring their ceramic creations to life with beautiful, unique glazes. I’ve spent years honing my craft, and I’m excited to share my knowledge with you, so you can experience the joy of creating something with your own hands.
In this article, I’ll walk you through my favorite ways to glaze pottery, from preparation to application, and share some of my own tips and tricks for achieving stunning, one-of-a-kind results. You’ll learn how to choose the right glaze for your piece, how to mix and apply it for optimal effect, and how to troubleshoot common issues that may arise. My goal is to empower you with the knowledge and confidence to take your ceramic creations to the next level, and to inspire you to see the process of a guide to glazing pottery at home as a fun, creative journey, rather than a daunting task.
Table of Contents
- Guide Overview: What You'll Need
- Step-by-Step Instructions
- A Guide to Glazing Pottery at Home
- Mastering Hand Painted Pottery Techniques for Unique Pieces
- Unlocking Ceramic Glaze Recipes With Natural Materials
- Bringing Your Vision to Life: 5 Essential Tips for Glazing Pottery at Home
- Embracing the Art of Handcrafted Ceramics: 3 Key Takeaways
- Bringing Soul to Your Ceramics
- Embracing the Art of Glazing Pottery at Home
- Frequently Asked Questions
Guide Overview: What You'll Need

Total Time: 2 hours 30 minutes
Estimated Cost: $50 – $100
Difficulty Level: Intermediate
Tools Required
- Kiln or home oven (with temperature control)
- Glaze application brush (various sizes)
- Gloves (for protection from glaze chemicals)
- Ventilation system (for safe fume removal)
- Pottery wheel (optional, for creating pottery pieces)
- Measuring cups and spoons (for accurate glaze mixing)
- Mixing bucket (stainless steel or plastic, for glaze preparation)
- Sieve or strainer (for removing lumps from glaze)
Supplies & Materials
- Pottery pieces (created or purchased for glazing)
- Glaze powder or liquid (various colors and types, dependent on desired finish)
- Water (for mixing with glaze powder)
- Underglaze pencils or stains (optional, for decoration and design)
- Wax resist (optional, for creating detailed designs and patterns)
- Kiln furniture (e.g., shelves, posts, for supporting pottery during firing)
Step-by-Step Instructions
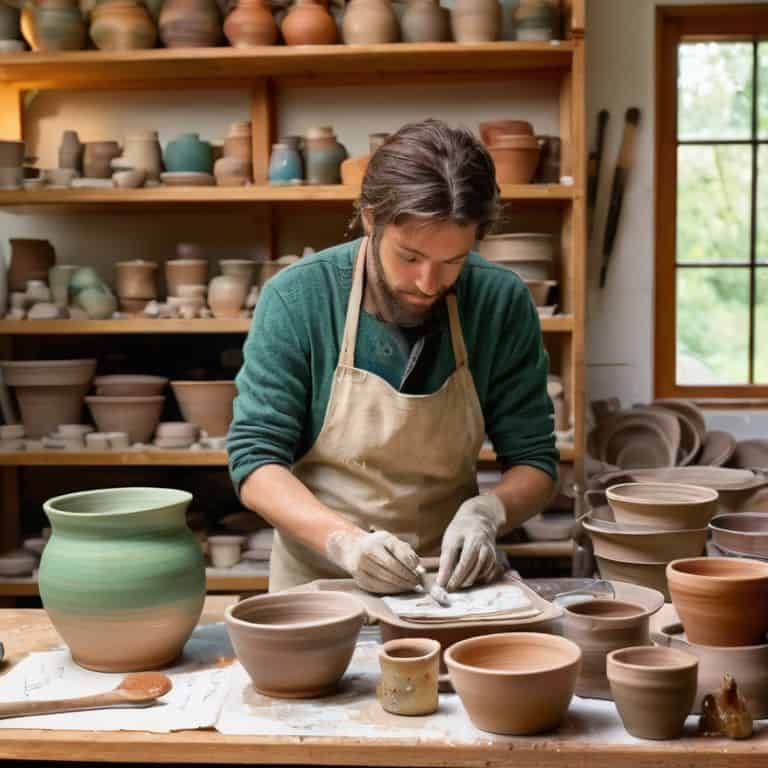
- 1. First, let’s start by preparing our workspace – a clean and well-ventilated area is essential for glazing pottery at home. I always begin by covering my work surface with a drop cloth or old sheets to protect it from any potential spills or stains. This might seem like a mundane step, but trust me, it’s crucial for a stress-free creative process.
- 2. Next, we need to select our glazes – this is where the magic happens, and our pottery pieces start to take on their unique personalities. I recommend experimenting with different colors and combinations to find the one that resonates with you. Remember, the glaze is what will bring out the natural beauty of the clay, so choose wisely. Don’t be afraid to try out new and unusual glaze recipes to add an extra layer of character to your pieces.
- 3. Now it’s time to prepare our pottery pieces for glazing – this involves making sure they are completely dry and free of any dust or debris. I use a soft brush to gently sweep away any imperfections, and then I wipe them down with a damp cloth to create a smooth surface for the glaze to adhere to. This step is all about attention to detail and setting ourselves up for success in the glazing process.
- 4. With our pieces prepared, we can start applying the glaze – this is the most exciting part of the process, as we get to see our vision come to life. I use a combination of brushing and pouring techniques to achieve the desired effect, and I always make sure to work in a well-lit area to ensure even coverage. Don’t worry if it gets a bit messy – that’s all part of the creative journey.
- 5. Once we’ve applied the glaze, it’s time to let it dry completely – this can take anywhere from a few hours to overnight, depending on the type of glaze we’re using. I like to use this time to reflect on the process so far and think about how I can push the boundaries of my creativity in the next step. Whether it’s experimenting with new colors or techniques, the drying process is the perfect opportunity to let our imagination run wild.
- 6. After the glaze has dried, we need to fire our pieces in a kiln – this is what will set the glaze and bring out its full vibrancy. I use a small kiln in my home studio, but there are also many community studios and classes that offer kiln access for those who don’t have one. The firing process can be a bit unpredictable, but that’s all part of the charm – it’s what makes each piece truly unique.
- 7. Finally, we get to see the fruits of our labor – the moment when our glazed pottery pieces emerge from the kiln is always a thrilling experience. I love the feeling of holding a finished piece in my hands, admiring the way the glaze has transformed the clay into something truly beautiful. It’s a sense of pride and accomplishment that never gets old, and it’s what keeps me coming back to this craft time and time again.
A Guide to Glazing Pottery at Home
As I delve deeper into the world of ceramic glaze recipes, I’m constantly amazed by the endless possibilities that arise from combining natural glaze materials. From the earthy tones of ochre and sienna to the vibrant hues of cobalt and copper, each material brings its unique character to the table. When experimenting with these ingredients, I always start by creating a test batch to ensure the desired consistency and color.
One of the most crucial aspects of glazing pottery is achieving the perfect glaze consistency. If the glaze is too thick, it won’t apply evenly; if it’s too thin, it may pool at the bottom of the piece. To get it just right, I recommend whisking the glaze thoroughly and adjusting the consistency with small amounts of water. It’s also essential to consider the firing process, whether you’re using a home oven or a dedicated kiln, as this will affect the final result.
When it comes to hand painted pottery techniques, I’m a firm believer in embracing the organic imperfections that arise from this process. The subtle variations in color and texture that occur during firing can add a depth and character to the piece that would be difficult to achieve with more uniform methods. By combining these techniques with a thoughtful approach to glazing, you can create truly unique and captivating pieces that tell a story of their own.
Mastering Hand Painted Pottery Techniques for Unique Pieces
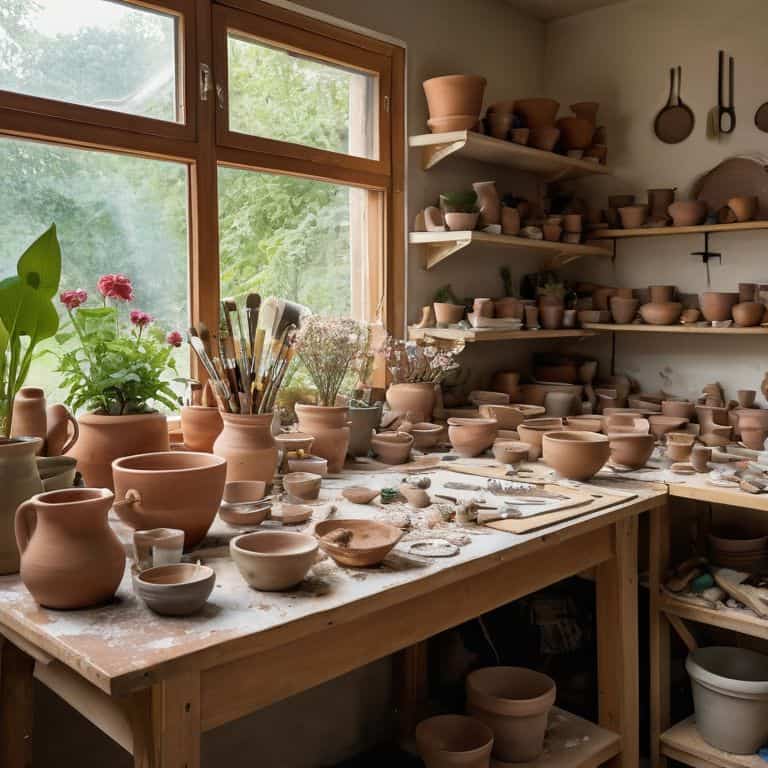
As I sit at my workbench, surrounded by half-finished pieces and sketches of future projects, I’m reminded that the true beauty of pottery lies in its imperfections. Hand-painted techniques offer a world of possibilities for unique, soulful pieces. I love experimenting with natural dyes and pigments, like indigo and turmeric, to create one-of-a-kind patterns and hues. The process is meditative, allowing me to connect with the earthy material and imbue each piece with a sense of story.
With a steady hand and a willingness to take risks, you can coax stunning designs from your pottery. I encourage you to play with different brushes, from soft sable to coarse bamboo, to achieve varied textures and effects. Remember, it’s the imperfections – the accidental drips, the uneven lines – that make each piece truly special, a reflection of the human touch that brought it to life.
Unlocking Ceramic Glaze Recipes With Natural Materials
As I experiment with ceramic glaze recipes, I find myself drawn to the unique qualities of natural materials. Infusing my glazes with elements like turmeric, indigo, and cinnamon not only adds depth to the colors but also tells a story of the earthy origins of my pieces. I love how a pinch of copper oxide can evoke the warmth of a sunset, or how a dash of spinach can bring forth a soft, mossy green. These subtle variations remind me that, just as a garden evolves with each season, my craft is also a reflection of the world around me.
By embracing the unpredictability of natural materials, I’ve discovered a sense of freedom in my glazing process. It’s no longer just about achieving a specific color, but about coaxing out the inherent beauty of the materials. As I mix and match these earthy ingredients, I feel like I’m uncovering hidden treasures, each one revealing a unique character that sets my pieces apart.
Bringing Your Vision to Life: 5 Essential Tips for Glazing Pottery at Home
- Start with a clear vision: Before you begin glazing, take a moment to consider the story you want your piece to tell – think about the colors, textures, and emotions you want to evoke
- Experiment with natural materials: Don’t be afraid to get creative with your glaze recipes – try incorporating natural materials like leaves, flowers, or spices to add unique textures and patterns
- Test your limits: Glazing is all about experimentation, so don’t be discouraged if your first attempts don’t turn out as expected – keep trying, and you’ll eventually stumble upon a combination that works for you
- Pay attention to the firing process: The way you fire your piece can greatly impact the final result – make sure you understand the basics of kiln firing, and don’t be afraid to try out different techniques to achieve the desired effect
- Embrace the imperfections: Remember, it’s the imperfections that give your handmade pieces their soul – don’t strive for perfection, but instead, let the natural beauty of the materials shine through
Embracing the Art of Handcrafted Ceramics: 3 Key Takeaways
I’ve found that the true magic of glazing pottery at home lies not just in the technical process, but in the stories and imperfections that emerge from working with natural materials and embracing the unpredictable nature of handmade craftsmanship
By experimenting with ceramic glaze recipes that incorporate natural elements, such as plant ashes and mineral oxides, you can create one-of-a-kind pieces that reflect your personal connection to the earth and its rhythms
Whether you’re a seasoned artisan or a curious beginner, mastering hand-painted pottery techniques can add a profound layer of depth and character to your work, allowing you to infuse each piece with your own unique energy and creative vision
Bringing Soul to Your Ceramics
As I dip my brush into the glaze, I’m not just coating a piece of clay – I’m infusing it with a moment, a memory, a fragment of my own story, and that’s what makes handmade pottery truly unforgettable.
Finn Rivera
Embracing the Art of Glazing Pottery at Home
As we conclude this journey through the world of glazing pottery at home, let’s take a moment to reflect on the key elements that make this craft so unique. From unlocking ceramic glaze recipes with natural materials to mastering hand-painted pottery techniques, we’ve explored the fundamentals of creating one-of-a-kind pieces. By embracing the imperfections and uncertainties of the glazing process, we can infuse our work with a sense of character and storytelling. Whether you’re a seasoned artisan or a beginner, the art of glazing pottery at home offers a creative outlet that allows you to express yourself and connect with the natural world.
As you continue to explore the world of glazing pottery, remember that the true beauty of this craft lies not in perfection, but in the imperfect, handmade quality of each piece. Don’t be afraid to experiment, take risks, and push the boundaries of what’s possible. With every brushstroke, every layer of glaze, and every firing, you’re not just creating a piece of pottery – you’re telling a story, and breathing life into earthy forms. So, let’s keep creating, and let the beauty of glazing pottery at home inspire us to slow down, appreciate the process, and cherish the journey.
Frequently Asked Questions
What are some common mistakes to avoid when glazing pottery at home to ensure a professional-looking finish?
When glazing pottery at home, I’ve found that common mistakes to avoid include uneven application, insufficient drying time, and using low-quality materials. These missteps can lead to a dull, cracked, or uneven finish. To achieve a professional-looking finish, take your time, and don’t rush the process – it’s all about patience and attention to detail.
How can I achieve consistent colors and textures when mixing my own ceramic glaze recipes?
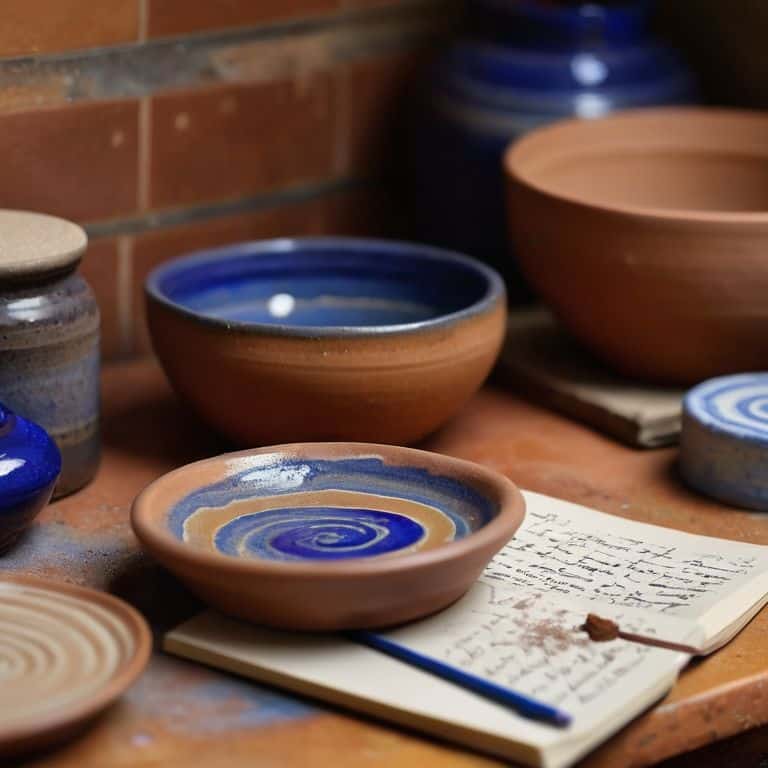
To achieve consistent colors and textures, I recommend testing small batches of your ceramic glaze recipes and recording the results in your notebook. This helps you refine the ratios of natural materials and oxides, allowing you to dial in the perfect hue and finish for your handmade pieces.
What are some tips for safely handling and storing ceramic glazes and materials in a home workshop or studio?
When handling ceramic glazes, I always prioritize caution – wearing gloves, working in a well-ventilated space, and labeling each material meticulously. For storage, I designate a specific area with sealed containers and shelves, keeping everything organized and out of reach from curious hands.


