A Guide to Physical Mood Boards for a Hands-on Approach
As I sit amidst my collection of vintage design books, I’m reminded of the countless times I’ve seen designers struggle with creating a cohesive visual identity. The myth that a guide to physical mood boards is only for beginners or a trivial part of the design process is a notion I’ve always found frustrating. In reality, a well-crafted physical mood board is the foundation upon which a strong brand is built, allowing designers to tap into the essence of their project and bring it to life.
In this article, I promise to share my practical, no-nonsense approach to creating a physical mood board that sparks inspiration and guides your design decisions. You’ll learn how to move beyond the digital realm and get hands-on with your ideas, crafting a board that is both a reflection of your project’s personality and a tool for exploring new creative avenues. By the end of this guide, you’ll be equipped with the knowledge to create a physical mood board that not only enhances your design process but also becomes a cornerstone of your creative workflow, helping you to think like a designer and bring clarity to your work.
Table of Contents
- Guide Overview: What You'll Need
- Step-by-Step Instructions
- A Guide to Physical Mood Boards
- Beyond the Board: 5 Essential Tips for Crafting Physical Mood Boards
- Key Takeaways for Crafting Effective Physical Mood Boards
- Beyond the Digital Haze
- Beyond the Board: A Lasting Impression
- Frequently Asked Questions
Guide Overview: What You'll Need
Total Time: 1 hour 45 minutes
Estimated Cost: $20 – $40
Difficulty Level: Easy
Tools Required
- Scissors (sharp)
- Glue Stick (acid-free)
- Ruler (for measuring and cutting)
- Pencil (for marking board)
- Craft Knife (with extra blades)
Supplies & Materials
- Foam Board (11 inches x 14 inches)
- Magazines (various titles for cutting images)
- Printed Photos (personal favorites)
- Fabric Swatches (optional)
- Ribbons or Twine (for added texture)
Step-by-Step Instructions
- 1. First, let’s start by gathering our materials, which will include a variety of items such as scissors, glue, magazines, and any other ephemera that sparks inspiration. I like to think of this process as a treasure hunt, where we’re on the lookout for anything that resonates with our design vision.
- 2. Next, we need to define our design objective, which will serve as the North Star for our mood board. What are we trying to achieve with our design? What emotions do we want to evoke? What message do we want to convey? By clearly articulating our objective, we can ensure that our mood board stays focused and on-point.
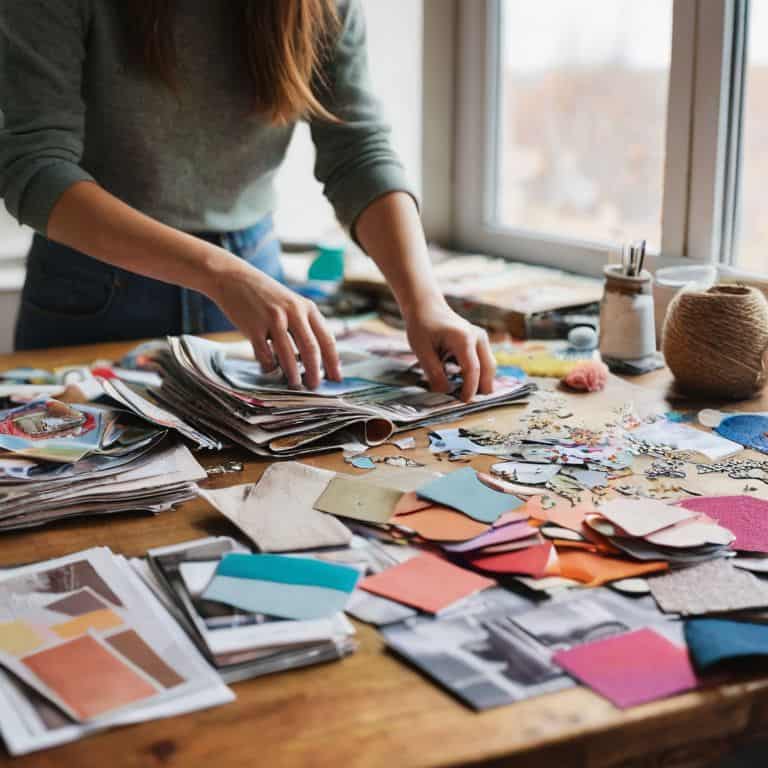
- 3. Now it’s time to start curating our visual references, which can include images, colors, textures, and patterns. I find it helpful to browse through books and magazines, tearing out pages that resonate with our design vision. We can also include personal artifacts, such as photographs or fabric swatches, to add an extra layer of depth and meaning.
- 4. With our materials and references in hand, it’s time to start building our mood board. I like to begin by creating a visual hierarchy, with our most important elements placed prominently at the center of the board. From there, we can start to add supporting elements, such as images and textures, that help to reinforce our design objective.
- 5. As we continue to build our mood board, it’s essential to experiment and iterate. Don’t be afraid to try out new combinations of images and materials, and to step back and evaluate our work in progress. Remember, the goal of a mood board is to spark inspiration and creativity, so don’t be too hard on yourself if it’s not perfect – it’s all about the process.
- 6. Once we’re happy with our mood board, it’s time to refine and edit. Take a step back and evaluate the board as a whole, making sure that it’s cohesive and effective. Ask yourself, does it evoke the right emotions? Does it communicate our design vision? If not, don’t be afraid to make adjustments and refinements until we get it just right.
- 7. Finally, let’s put our mood board to work, using it as a guiding force for our design decisions. By referencing our mood board throughout the design process, we can ensure that our work stays focused and on-track, and that we’re always moving closer to our design objective. Whether we’re working on a branding project, a website, or a print publication, our mood board can serve as a constant source of inspiration and guidance.
A Guide to Physical Mood Boards
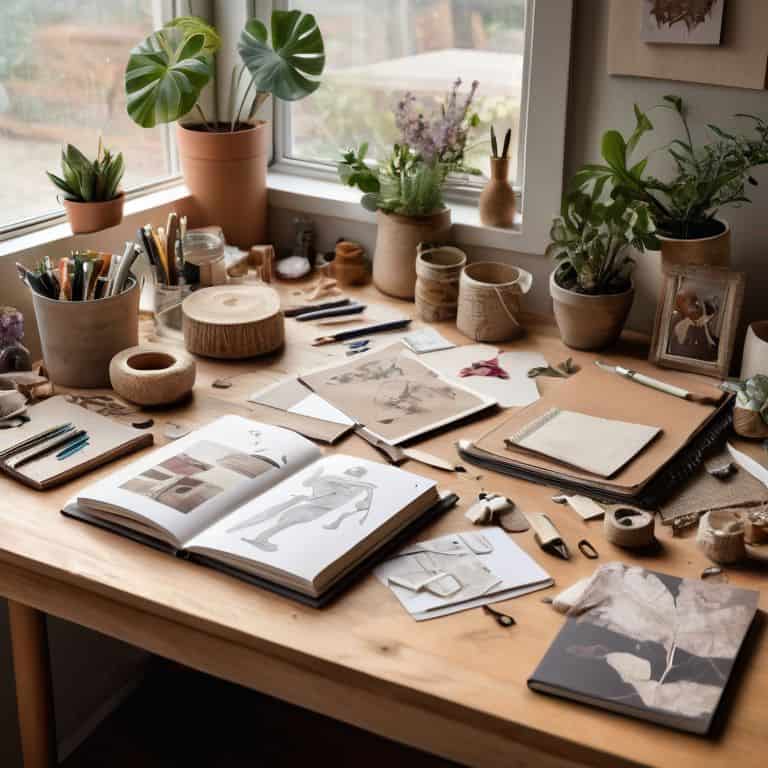
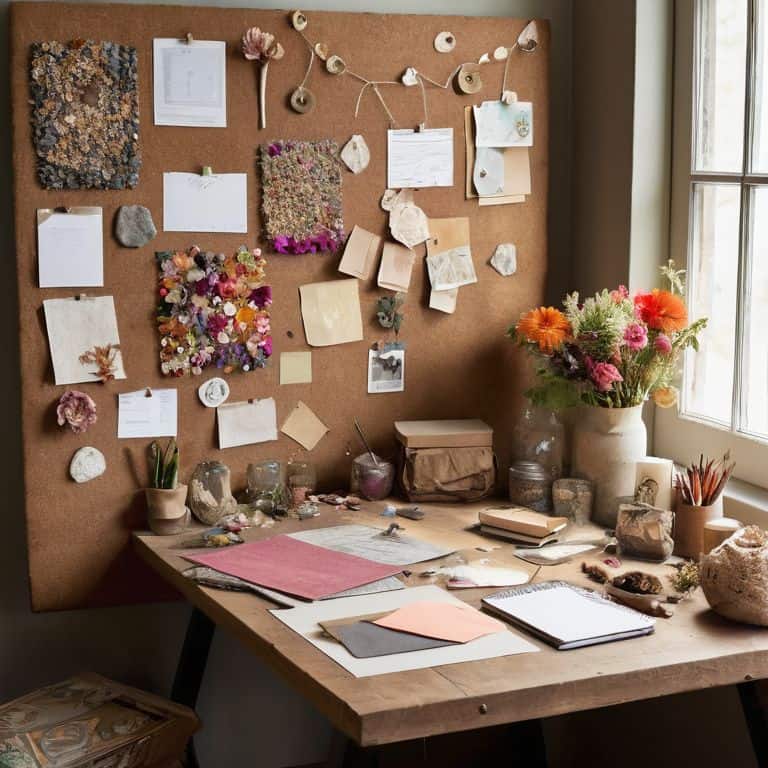
As I delve into the world of physical mood boards, I’m reminded of the wise words of Massimo Vignelli: good design is a matter of discipline. When creating a vision board for interior design, it’s essential to consider the tactile design elements that will bring your space to life. By incorporating various textures and materials, you can add depth and visual interest to your board.
One of my favorite techniques for adding texture is through collage techniques for mood boards. By layering different materials, such as paper, fabric, or found objects, you can create a rich and nuanced visual language. This approach also allows you to experiment with different colors and patterns, helping you to refine your design vision. As you work on your board, remember to balance your composition and typography to create a clear and cohesive visual narrative.
When presenting your physical mood board, consider the overall aesthetic you want to convey. Mood board presentation tips can make all the difference in effectively communicating your design intent. By carefully selecting the materials and textures you use, you can create a board that not only inspires your design process but also tells a story about the space you’re trying to create. Whether you’re working on a personal project or a client commission, a well-crafted physical mood board can be a powerful tool for using textures in physical mood boards to bring your vision to life.
Crafting Vision With Tactile Elements
As I delve into the world of physical mood boards, I’m reminded of Massimo Vignelli’s words on the importance of tactile experience. Crafting vision with tactile elements allows us to tap into our senses, to feel the texture of paper, the weight of ink, and the simplicity of a well-crafted grid. By incorporating elements like fabric, wood, or metal, we add depth and dimension to our boards, creating a truly immersive experience.
This intentional combination of textures and materials sparks inspiration, helping us to distill our ideas into a clear visual language. As a designer, I’ve found that the tactile nature of physical mood boards enables me to connect with my designs on a deeper level, to refine my thoughts, and to ultimately create something truly meaningful.
Elevating Spaces With Intentional Collage
As I delve into the world of physical mood boards, I’m reminded of Massimo Vignelli’s wise words on the importance of intention in design. Elevating spaces with intentional collage is about more than just arranging images – it’s about crafting a visual narrative that inspires and guides. By thoughtfully combining textures, colors, and typography, we can create a tactile experience that sparks creativity and fosters connection.
Through intentional collage, we can transform our spaces into reflections of our design ethos, where every element serves a purpose and contributes to the overall aesthetic. I recall my time at the minimalist design agency in Scandinavia, where we would often create physical mood boards to establish a visual language for our branding projects. By doing so, we were able to distill the essence of our design vision and create a cohesive visual identity that resonated with our clients.
Beyond the Board: 5 Essential Tips for Crafting Physical Mood Boards
- Start with a clear intention: define the project’s core message and desired atmosphere to guide your mood board’s direction
- Curate a diverse palette of tactile elements, including textured papers, fabrics, and found objects, to add depth and visual interest
- Experiment with contrasting scales and proportions to create a dynamic, layered composition that invites exploration
- Balance digital and physical elements by incorporating printed photographs, handwritten notes, or hand-drawn sketches to add a personal touch
- Embrace the iterative process: don’t be afraid to rearrange, refine, or even start anew – it’s all part of the journey to creating a mood board that truly resonates
Key Takeaways for Crafting Effective Physical Mood Boards
Embracing the tactile nature of physical mood boards allows designers to tap into a more intuitive and creative process, leveraging the unique qualities of physical materials to inspire innovative solutions
By applying principles of intentional collage and thoughtful composition, designers can transform their mood boards into powerful tools for communication and design direction, rather than just decorative pieces
Ultimately, the art of physical mood board crafting is about more than just aesthetics – it’s about cultivating a deep understanding of the design problem at hand, and using that understanding to inform a clear and compelling visual narrative
Beyond the Digital Haze
A physical mood board is not just a visual tool, but a tactile gateway to the essence of a design – it’s where intuition meets intention, and the boundaries of creativity are pushed by the beauty of the human touch.
Alistair Finch
Beyond the Board: A Lasting Impression

As we conclude this journey through the world of physical mood boards, it’s essential to reflect on the core principles that make them so effective. From crafting vision with tactile elements to elevating spaces with intentional collage, each step has been designed to help you tap into the full potential of this powerful design tool. By embracing the physicality of mood boards, you’ve learned to think beyond the screen and cultivate a deeper connection with your creative vision. Remember, the goal of a physical mood board is not just to create a visually appealing collection of items, but to distill the essence of your design into a tangible, inspiring manifestation.
As you continue to explore the realm of physical mood boards, I encourage you to push the boundaries of what’s possible. Don’t be afraid to experiment, to try new things, and to let your creativity shine. A physical mood board is more than just a design tool – it’s a gateway to a world of unbridled imagination and innovation. So, go forth and create, and always remember that the true power of design lies not in the tools themselves, but in the intention and passion that drives us to bring our vision to life.
Frequently Asked Questions
How do I ensure my physical mood board remains focused and doesn't become a cluttered mess?
To keep your physical mood board focused, establish a clear grid system and typographic hierarchy from the start. This will help you make intentional decisions about what to include and what to edit out, ensuring your board remains a cohesive visual statement rather than a cluttered mess.
What types of materials and elements are most effective to include in a physical mood board for maximum inspiration?
For maximum inspiration, I recommend incorporating a mix of textures, colors, and ephemera, such as vintage paper scraps, fabric swatches, and found objects. Intentionally chosen typography and imagery can also evoke emotions and spark ideas. As Massimo Vignelli once said, “The life of a designer is a life of fight: fight against the ugliness.
Can a physical mood board be adapted for digital use, and if so, how can I effectively translate the physical elements into a digital format?
As I always say, “the grid is the glue that holds design together.” To adapt a physical mood board for digital use, I recommend photographing the board and then using image editing software to enhance and refine the composition, ensuring the essence of the physical elements is preserved in the digital translation.