A Simple Guide on How to Switch From Auto to Manual Mode
I still remember the day I decided to ditch my camera’s auto mode and switch to manual – it was like a weight had been lifted off my shoulders. The freedom to control every aspect of my photography was exhilarating, and I quickly realized that how to switch from auto to manual mode was not just a technical hurdle, but a creative awakening. For years, I’d been told that manual mode was only for professionals, that it was too complicated for the average photographer. But I’m here to tell you that’s just not true – with a little practice and patience, anyone can master the basics of manual mode and unlock a whole new world of creative possibilities.
As you read this article, I want you to know that you’re not just learning a new skill, you’re unleashing your unique visual voice. I’ll share my own experiences, tips, and tricks for making the transition from auto to manual mode, and provide you with practical advice on how to overcome common obstacles. You’ll learn how to harness the power of light, composition, and emotion to create stunning images that tell a story. My goal is to inspire and empower you to take control of your photography, to experiment, and to push the boundaries of what’s possible. So, let’s get started on this journey together, and discover the freedom and creativity that comes with mastering manual mode.
Table of Contents
Guide Overview: What You'll Need
Total Time: 1 hour 15 minutes
Estimated Cost: $0 – $20
Difficulty Level: Intermediate
Tools Required
- Owner’s manual (for specific vehicle instructions)
- Clutch pedal (familiarization with its operation)
- Gearshift (understanding its function)
Supplies & Materials
- Practice area (empty parking lot or quiet street)
- Patience and dedication (to learn and master the skill)
Step-by-Step Instructions
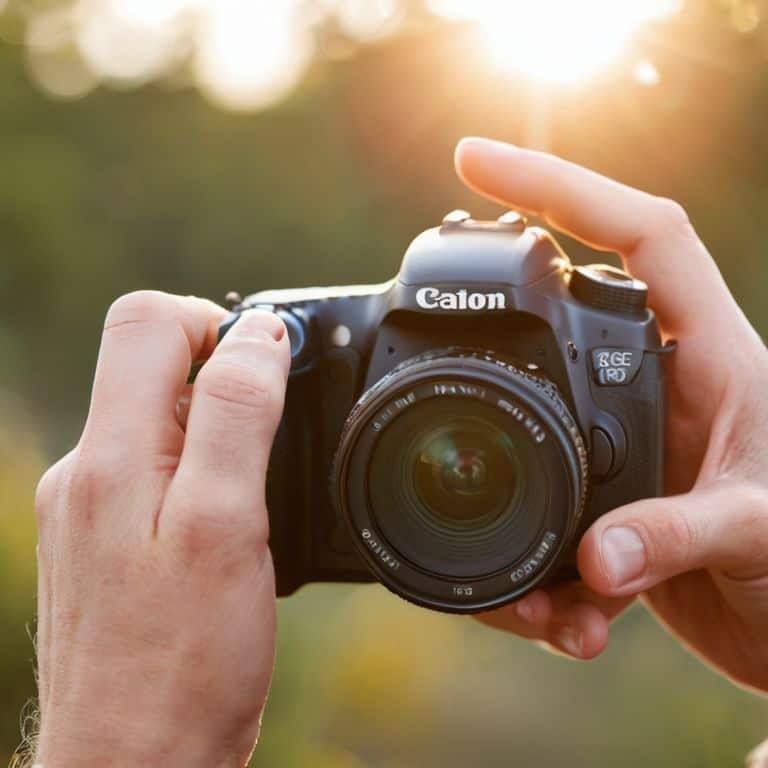
- 1. First, let’s start by understanding the basics of manual mode and why it’s essential for unlocking your creative potential as a photographer. To switch from auto to manual mode, you’ll typically find the mode dial on your camera, which is usually located on top of the camera body. It’s time to get familiar with this dial and the various modes it offers, including the coveted manual mode.
- 2. Next, take your camera and turn the mode dial to manual mode, often denoted by the letter ‘M’. This simple action is the first step towards unleashing your inner storyteller and taking control of your photography. As you switch, take a moment to appreciate the excitement of venturing into the unknown, where every shot is a discovery waiting to happen.
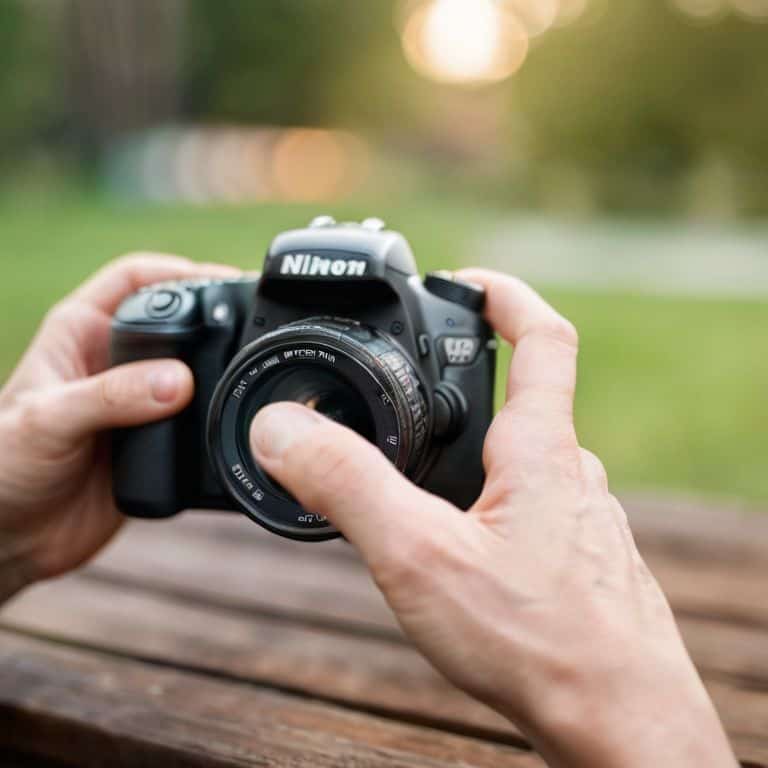
- 3. Now that you’re in manual mode, it’s time to understand the exposure triangle, which consists of aperture, shutter speed, and ISO. These three components are crucial for capturing the image you envision. Start by setting your ISO, which determines how sensitive your camera’s sensor is to light. A lower ISO, such as 100 or 200, is ideal for bright lighting conditions, while higher ISOs, like 1600 or 6400, are better suited for low-light situations.
- 4. With your ISO set, move on to adjusting the aperture, which controls the amount of light that enters the lens. Aperture is measured in f-stops (e.g., f/2.8, f/4, f/5.6), with smaller f-stops allowing more light into the lens and larger f-stops allowing less. For portraits, a smaller f-stop like f/2.8 is often preferred to create a shallow depth of field, blurring the background and emphasizing your subject.
- 5. The next step involves setting your shutter speed, which determines the length of time your camera’s shutter is open, measured in seconds or fractions of a second. Faster shutter speeds, like 1/1000th of a second, are ideal for freezing motion, while slower speeds, such as 1 second, can create a sense of motion or blur. Experiment with different shutter speeds to achieve the desired effect in your photographs.
- 6. Once you’ve set your ISO, aperture, and shutter speed, it’s essential to check your exposure. Look at the light meter in your camera’s viewfinder or on its LCD screen. If the meter is centered, your image should be properly exposed. However, if it’s leaning towards the plus or minus side, you may need to adjust one of the exposure triangle components to balance your exposure.
- 7. Now, it’s time to compose your shot. Look through your viewfinder or at your camera’s LCD screen, and consider the rule of thirds, leading lines, and framing elements that can enhance your photograph. Remember, the goal is to tell a story, so think about what elements in the scene are crucial to your narrative and how you can use composition to guide the viewer’s eye.
- 8. Finally, take a deep breath, press the shutter, and capture your moment. The thrill of shooting in manual mode isn’t just about the technical aspects; it’s also about the emotional connection you make with your subject and the story you’re trying to tell. As you review your image, consider what works and what doesn’t, and use that feedback to adjust your settings for the next shot, continually refining your craft.
Unleash Your Cameras Potential
As I reflect on my own journey with manual mode, I realize that mastering shutter speed control is crucial for capturing the essence of a moment. It’s not just about freezing time, but also about conveying emotion and movement. When I’m out on a photo walk, I love experimenting with different shutter speeds to create a sense of dynamism in my images. For instance, a slower shutter speed can add a sense of blur to a moving subject, while a faster speed can freeze it in time.
One of the common mistakes I see beginners make when transitioning to manual mode is not understanding how to balance their iso settings with aperture and shutter speed. It’s essential to remember that these three components work together in harmony to produce a well-exposed image. In low-light situations, I often find myself adjusting my iso settings to compensate for the lack of natural light. However, it’s equally important to be mindful of the potential for noise or grain when shooting at higher iso ranges.
As you continue to practice and refine your skills in manual mode, I encourage you to experiment with different focusing techniques to add depth and nuance to your images. Whether it’s using the zone focusing method or simply paying attention to your camera’s metering mode, the key is to develop a sense of intuition and trust your creative instincts. Remember, the goal is not to simply follow a set of rules, but to use manual mode as a means to express your unique vision and perspective.
Conquering Common Mistakes in Manual Mode
As I reflect on my own journey with manual mode, I remember the frustrations of overexposed skies and underexposed subjects. It’s easy to get discouraged, but the truth is, these mistakes are an integral part of the learning process. I’ve found that the key to overcoming them lies in understanding the delicate balance between aperture, shutter speed, and ISO. By paying attention to how these elements interact, you’ll begin to develop a keen sense of how to adjust them to capture the story you want to tell.
For me, the breakthrough came when I started shooting during the golden hour, when the soft, warm light seemed to forgive my mistakes and imbue my photos with a sense of depth and emotion. As you practice, you’ll start to notice the subtleties of light and how they impact your images, allowing you to make more intentional decisions and bring your unique perspective to life.
Mastering Aperture Priority for Storytelling
As I delved deeper into manual mode, I discovered the power of aperture priority. This mode allowed me to control the depth of field, blurring or sharpening elements to emphasize my subject. I recall a shot I took of a street performer, where I used a wide aperture to separate him from the crowded background. The result was a sense of intimacy, drawing the viewer’s eye to his passionate expression. By mastering aperture priority, you can add layers of meaning to your images, guiding the viewer’s attention and crafting a more compelling narrative.
For me, aperture priority is about more than just technicality – it’s an emotional tool. I use it to create a sense of connection with my subjects, to convey the feeling of being there. By adjusting the aperture, I can invite the viewer into the scene, or create a sense of distance, adding a layer of mystery to the story. Experimenting with aperture priority will help you develop your unique visual voice, and I encourage you to play with it, to see how it can enhance the storytelling in your photographs.
5 Essential Tips to Unlock Manual Mode
- Start by understanding your camera’s exposure triangle: aperture, shutter speed, and ISO, and how they interact to create the perfect exposure
- Shoot in RAW to capture the maximum amount of image data and give yourself more flexibility when editing
- Pay attention to the light and use it to your advantage – golden hour is my personal favorite for capturing portraits with a warm, soft glow
- Practice, practice, practice: the more you shoot in manual mode, the more comfortable you’ll become with adjusting your settings on the fly
- Study the work of other photographers and analyze what makes their images tick – is it the composition, the lighting, or something else entirely? Use that inspiration to inform your own shooting style
Unlocking Your Creative Potential: 3 Key Takeaways
I’ve found that switching to manual mode is a liberating experience, allowing you to harness the power of aperture, shutter speed, and ISO to tell unique stories through your photographs
Mastering aperture priority is crucial for capturing the essence of a scene, and it’s a technique I use extensively in my own documentary photography work to create images that are both intimate and revealing
By embracing the creative possibilities of manual mode and being mindful of common mistakes, you’ll be well on your way to developing your own distinct visual voice and capturing the fleeting moments that make life worth photographing
Unlocking Creative Freedom
The moment you switch from auto to manual mode is not just a technical shift, but a philosophical one – it’s when you start to see the world as a storyteller, not just a snapshot taker.
Julian Kade
Embracing the World of Manual Mode

As we’ve journeyed through the process of switching from auto to manual mode, it’s essential to reflect on the key takeaways. We’ve discussed the importance of understanding aperture, shutter speed, and ISO, and how mastering these elements can elevate your photography. By embracing manual mode, you’re not only gaining more control over your camera but also developing a deeper understanding of the artistic and technical aspects of photography. This transition may seem daunting at first, but with practice and patience, you’ll find yourself intuitively adjusting settings to capture the essence of your subjects.
As you continue on this photographic journey, remember that the true power of manual mode lies in its ability to help you tell compelling stories. Don’t be afraid to experiment and push the boundaries of what you thought was possible. With every click of the shutter, you’re not just capturing a moment, but crafting a narrative that can evoke emotions, spark imagination, and leave a lasting impression on your audience. So, go forth and unleash your creativity, and watch as your photographs transform into timeless tales that resonate with the world.
Frequently Asked Questions
What are the key differences between aperture priority and full manual mode?
For me, the key difference between aperture priority and full manual mode comes down to control and creativity. Aperture priority allows you to set the aperture, while the camera adjusts the shutter speed. In full manual mode, I have complete control over both, which is essential for capturing the unique light and mood I envision in my photographs.
How do I know which ISO setting to use in various lighting conditions?
For me, ISO is all about being attuned to the light around me. In bright conditions, I opt for low ISOs (100-400) to minimize noise and preserve detail. In low light, I bump it up (1600-6400) to capture the mood and atmosphere, but carefully, to avoid introducing too much grain. It’s a delicate dance, but one that makes all the difference in telling the story.
What are some common mistakes to avoid when first switching from auto to manual mode?
When I first switched to manual mode, I struggled with overexposing my shots – it was a frustrating but valuable lesson. Now, I always remind my students to keep an eye on their metering and adjust accordingly, especially during golden hour when the light can be unforgiving.