A Guide on How to Use the Exposure Triangle for Creative Effects
I still remember the day I realized that mastering the exposure triangle was the key to unlocking my creative vision in photography. I was on a photo walk, trying to capture the perfect shot, when I stumbled upon a quote that changed my perspective: “The camera is just a tool, but it’s the eyes that see the story.” This quote made me understand that learning how to use the exposure triangle for creative effects is not just about technical skills, but about developing your own unique voice. As I delved deeper into the world of photography, I discovered that the exposure triangle is not just a formula, but a gateway to expressing the emotional depth of a scene.
In this article, I’ll share my personal approach to how to use the exposure triangle for creative effects, focusing on the why behind the how. I’ll guide you through the process of mastering the exposure triangle, from understanding the basics to using it to create moody and evocative images. You’ll learn how to balance aperture, shutter speed, and ISO to capture the essence of a moment, and how to use light and composition to tell a story that resonates with your audience. By the end of this guide, you’ll be equipped with the knowledge and skills to take your photography to the next level and create images that truly speak to others.
Table of Contents
Guide Overview: What You'll Need
Total Time: 1 hour 30 minutes
Estimated Cost: $0 – $100
Difficulty Level: Intermediate
Tools Required
- DSLR Camera (or mirrorless camera)
- Tripod (for stability)
- Lenses (with varying focal lengths)
Supplies & Materials
- None No additional supplies required, just your camera equipment
Step-by-Step Instructions
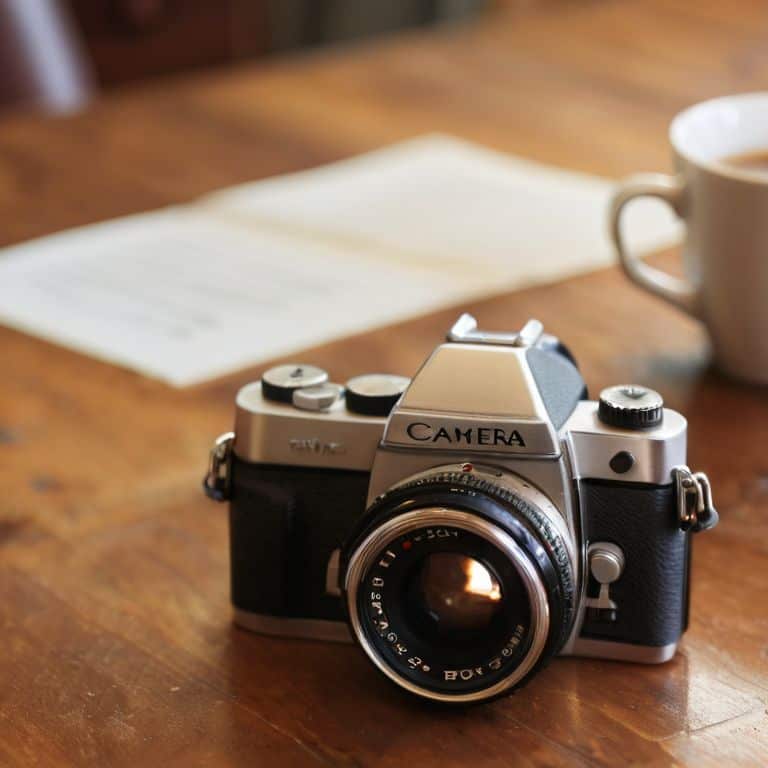
- 1. First, let’s dive into the basics of the exposure triangle, which consists of aperture, shutter speed, and ISO. Understanding how these three elements interact with each other is crucial for capturing images that tell the story you want to convey. I like to think of it as a delicate dance between light and darkness, where each step affects the overall mood of your photo.
- 2. To start experimenting with the exposure triangle, set your camera to manual mode and begin by adjusting the aperture. A lower f-stop value (like f/2.8) will create a shallow depth of field, separating your subject from the background, while a higher value (like f/16) will keep more of the image in focus. This is where you can get creative and decide what kind of story you want to tell with your photo.
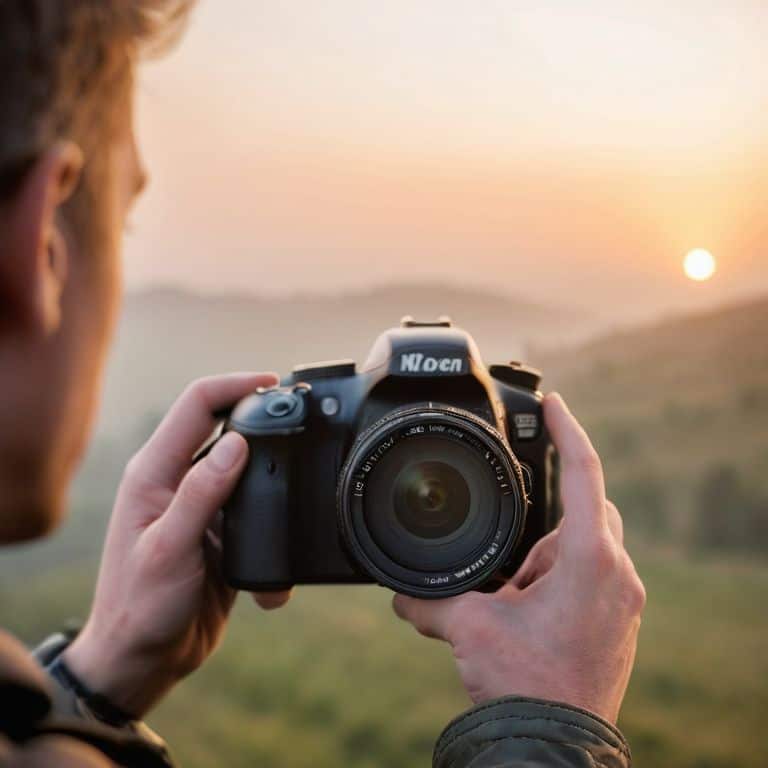
- 3. Next, play around with the shutter speed to control the amount of time your camera’s shutter is open. Faster shutter speeds (like 1/1000th of a second) are great for freezing fast-moving subjects, while slower speeds (like 1 second) can create a sense of motion or blur. I love using slower shutter speeds to capture the golden hour, when the light is soft and warm, and the world feels like it’s moving in slow motion.
- 4. Now, let’s talk about ISO, which determines how sensitive your camera’s sensor is to light. A lower ISO (like 100) is best for bright lighting conditions, while a higher ISO (like 6400) is better for low-light situations. However, be careful not to push your ISO too high, as it can introduce noise into your image, which can be distracting and take away from the story you’re trying to tell.
- 5. Once you have a good understanding of how each element of the exposure triangle works, it’s time to start experimenting with different combinations. Try setting a low aperture and fast shutter speed to create a dramatic portrait, or a high aperture and slow shutter speed to capture a dreamy landscape. Remember, the key is to find the right balance between light, composition, and emotion to convey the story you want to tell.
- 6. As you continue to experiment with the exposure triangle, pay attention to how the quality of light affects your images. Natural light, artificial light, and even the time of day can all impact the mood and atmosphere of your photos. I love shooting during the golden hour, when the light is soft and warm, and the world feels like it’s bathed in a warm glow.
- 7. Finally, don’t be afraid to take risks and try new things when working with the exposure triangle. It’s all about pushing the boundaries of what’s possible and finding your own unique visual style. Remember, the most important thing is to tell a story that resonates with you, and the technical aspects will follow naturally. With practice and patience, you’ll become a master of the exposure triangle, and your photos will start to speak for themselves.
Unleash the Storyteller
As I reflect on my own journey with photography, I realize that mastering the exposure triangle is just the beginning. It’s about developing an eye for the way light dances across your subject, and being able to capture that essence in a single frame. I often find myself shooting in aperture priority mode, as it allows me to control the depth of field and create a sense of intimacy with my subject.
When working with low light conditions, I always make sure to adjust my iso settings accordingly. It’s amazing how a slight tweak can make all the difference in capturing the mood and atmosphere of a scene. I’ve also experimented with shutter speed control, using slower speeds to create a sense of movement and blur, while faster speeds freeze the action. It’s all about finding the right balance to convey the story you want to tell.
In my experience, understanding camera metering modes is crucial for achieving the desired effect. By combining this knowledge with creative uses of depth of field, you can add a whole new layer of depth and emotion to your photos. Whether you’re shooting portraits or landscapes, the key is to experiment and find what works best for you. As you practice and hone your skills, you’ll start to see the world in a different light, and your photos will begin to tell a story that resonates with others.
Creative Uses of Shutter Speed Control
As I experiment with shutter speed, I’m reminded of the countless moments I’ve captured on the streets, where a split second can make all the difference. By manipulating this variable, I can convey a sense of dynamism or stillness, drawing the viewer’s eye to the heart of the story. For instance, a slower shutter speed can transform a bustling city scene into a blurred, impressionistic dance, while a faster speed can freeze the intensity of a moment, like the determination in a subject’s eyes.
I’ve found that shutter speed control is particularly effective in golden hour, when the soft, warm light seems to whisper secrets to those who listen. By adjusting my shutter speed, I can either accentuate the gentle glow or create a sense of movement, as if the light itself is in motion. It’s a delicate balance, but one that can elevate my photographs from mere snapshots to poignant, storytelling images that resonate with the viewer.
Mastering Aperture Priority Mode
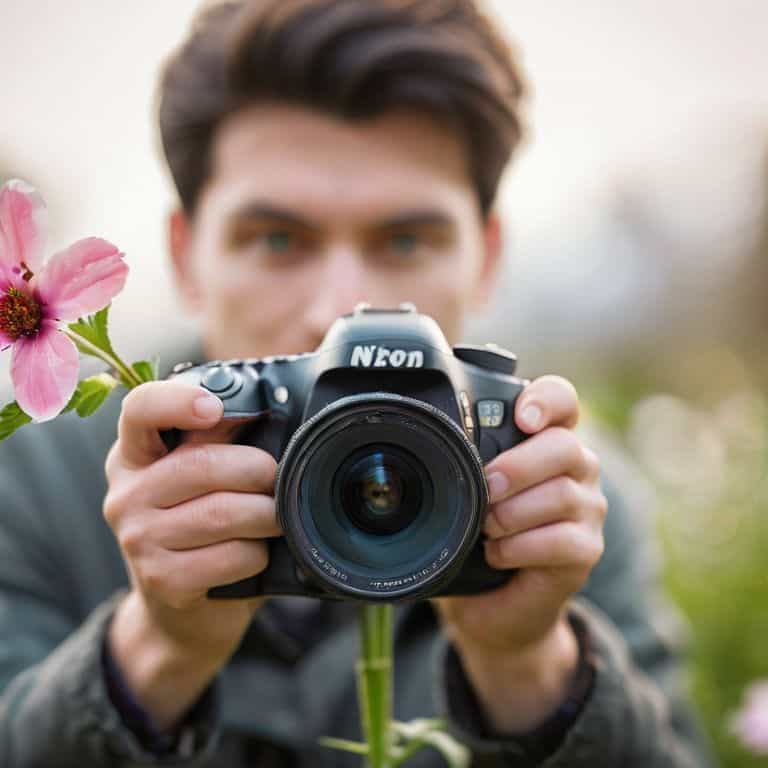
When I’m on a photo walk, I often find myself in aperture priority mode. There’s something about controlling the depth of field that allows me to tap into the emotional essence of a scene. By adjusting the aperture, I can create a sense of intimacy or expansiveness, drawing the viewer’s eye to the story I want to tell. I recall a shoot I did in a bustling market, where I used a wide aperture to isolate a street performer from the crowded background, emphasizing the beauty of his craftsmanship.
In aperture priority mode, I can focus on the ‘why’ behind the shot, rather than just the technical aspects. It’s about creating a mood, a feeling, that transcends the ordinary. By mastering this mode, you’ll be able to convey the nuances of human experience, to capture the subtleties of light and shadow that make a photograph truly unforgettable.
Unlocking the Exposure Triangle: 5 Tips to Elevate Your Photography
- Let light be your muse: understand how aperture, shutter speed, and ISO work together to capture the essence of a scene, especially during the golden hour when the light is soft and warm
- Master the art of aperture: use wide apertures to isolate your subject and create a sense of intimacy, or narrow apertures to bring the background into focus and add context to your story
- Play with time: experiment with shutter speeds to freeze or blur motion, adding a sense of dynamism or surrealism to your images, and remember, the key is to capture the moment, not just the subject
- Find balance in the shadows: learn to read the light and adjust your exposure compensation to bring out the details in both the brightest and darkest areas of your scene, creating a sense of depth and dimension
- Break the rules, not the image: don’t be afraid to push the boundaries of the exposure triangle and experiment with unusual combinations of aperture, shutter speed, and ISO to create unique, eye-catching effects that reflect your personal vision and style
Key Takeaways for Creative Exposure
By mastering the exposure triangle, you can unlock a world of creative possibilities and tell stories that resonate with your audience, making your photos more than just technically correct images
Understanding how to balance aperture, shutter speed, and ISO allows you to capture the essence of a moment, from the softness of a portrait to the dynamism of a street scene, and convey emotion through the thoughtful use of light and composition
Experimenting with different modes, such as aperture priority, and pushing the boundaries of shutter speed and ISO, will help you develop your unique visual voice and style, enabling you to create images that speak to others and reflect your perspective as a photographer
Unlocking Creative Vision
The exposure triangle is not just a technical tool, but a key to unlocking the stories that surround us – by mastering its nuances, we can transform the ordinary into the extraordinary, and capture the essence of the human experience in every frame.
Julian Kade
Unlocking the Power of the Exposure Triangle

As we conclude our journey through the exposure triangle, it’s essential to remember that mastering aperture, shutter speed, and ISO is just the beginning. By understanding how these elements interact, you’ll be able to unleash your creative vision and capture images that truly tell a story. From the intimacy of aperture priority mode to the dynamic effects of shutter speed control, each component of the exposure triangle offers a unique opportunity to elevate your photography and connect with your subjects on a deeper level.
As you continue to explore the world of photography, remember that the exposure triangle is a tool, not a rulebook. Don’t be afraid to experiment, to push boundaries, and to find your own unique voice. With practice, patience, and a willingness to take risks, you’ll discover that the exposure triangle is not just a technical concept, but a key to unlocking the full potential of your camera and telling the stories that need to be told.
Frequently Asked Questions
How can I use the exposure triangle to capture the perfect golden hour shot?
To capture the perfect golden hour shot, I swear by shooting in manual mode, with a wide aperture like f/2.8, and a slower shutter speed around 1/30s. This lets the soft, warm light dance across your subject, infusing the image with a sense of serenity. It’s all about embracing the fleeting magic of that hour, and letting your camera drink in the beauty.
What are some common mistakes to avoid when adjusting aperture, shutter speed, and ISO for creative effects?
When adjusting aperture, shutter speed, and ISO, beware of overcompensating – it’s easy to get carried away and lose the story in your image. I’ve fallen into this trap myself, ending up with a technically perfect but soulless photo. Remember, the exposure triangle is a tool, not a rulebook; trust your instincts and let your creative vision guide your adjustments.
Can you provide examples of how to use the exposure triangle to create moody, high-contrast portraits in low-light environments?
To capture moody, high-contrast portraits in low-light, I rely on the exposure triangle. I set a low ISO, around 400, and a wide aperture, like f/2.8, to create a shallow depth of field. Then, I adjust my shutter speed to around 1/125s, which adds a sense of intimacy and drama to the image, emphasizing the subject’s features and mood.