A No-nonsense Guide to Fixing a Sticking Window Without the Headache
I was sitting in my studio last Tuesday, the light hitting the sawdust in the air just right, when I felt that familiar, jarring resistance. I went to crack open the window to let in a breeze, only to be met with that frustrating, stubborn groan of wood against wood. Most people will tell you that a window like that is a lost cause, or that you need to rip the whole frame out and start from scratch, but that’s a myth that ignores the character of the house. Learning how to fix a sticking window isn’t about replacement; it’s about understanding how your home breathes and finding that sweet spot where the materials can move together again without losing their soul.
I don’t believe in quick fixes that leave a mess or hide the problem behind layers of cheap caulk. In this guide, I’m going to walk you through my personal, tactile approach to getting those sashes gliding smoothly once more. We’ll skip the complicated jargon and focus on the honest, hands-on steps—from cleaning out the grit of years of life to the gentle sanding that respects the grain. By the time we’re done, you won’t just have a working window; you’ll have reclaimed a small, vital part of your home’s rhythm.
Guide Overview
Tools & Supplies
- Screwdriver (to tighten loose hardware)
- Putty knife (to scrape away debris or old paint)
- Soft cloth (for cleaning tracks)
- Window lubricant or silicone spray (1 can)
- Vacuum cleaner (to remove dirt and grit)
- Mild soap and water (small amount for cleaning)
Step-by-Step Instructions
- 1. Before we even pick up a tool, we need to understand the why behind the struggle. Open the window as far as it will go and look closely at the tracks and the edges of the sash. Is it a buildup of old, dried paint, or perhaps a layer of dust and grit that’s acting like sandpaper? Grab a soft cloth and some mild soap to clear away the debris first; often, a window isn’t broken, it’s just suffocating under years of neglect.
- 2. Once the surface is clean, take a close look at the hardware. I’ve found that many sticking windows are simply victims of a loose screw or a slightly misaligned hinge that has shifted over time. Use a screwdriver to gently tighten any hardware you find. Don’t force it—treat the wood with respect—but ensure everything is seated firmly so the window can move along its intended path without catching.
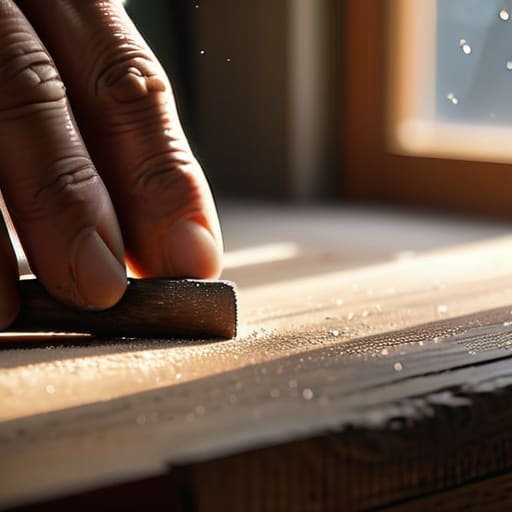
- 3. If the wood itself seems to be the culprit—perhaps it has swollen slightly from the humidity of a long summer—you might need to perform a bit of “gentle surgery.” Take a piece of fine-grit sandpaper and lightly sand the areas where you see the most friction. We aren’t trying to reshape the entire frame; we are just smoothing out the rough spots to allow the materials to glide past one another again.
- 4. Now, we move to the most satisfying part: lubrication. I always reach for a bit of natural beeswax or a specialized silicone spray rather than anything heavy or greasy that might attract more dust. Apply a thin, even layer to the tracks and the contact points of the sash. It’s a small ritual, but it’s what makes the difference between a mechanical movement and a fluid, effortless motion.
- 5. Check your weatherstripping. Over the years, those little rubber or felt seals can become brittle, cracked, or simply too thick, creating a physical barrier that prevents the window from closing. If they look tired, peel them back and replace them with something fresh. It’s a simple way to restore the seal and ensure that once the window moves freely, it also keeps the warmth of your home tucked inside.
- 6. Finally, it’s time for the test. Slowly, deliberately, open and close the window several times. Listen to the sound it makes; you’re looking for a quiet, rhythmic slide rather than a screech or a thud. If it still catches, go back to your notebook, mark the spot, and re-evaluate the friction. This process is a conversation between you and your home, so be patient with the progress.
Cleaning Window Tracks for Smooth Operation and New Life
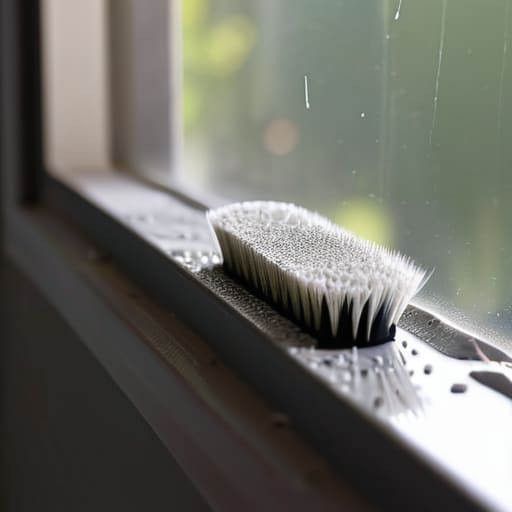
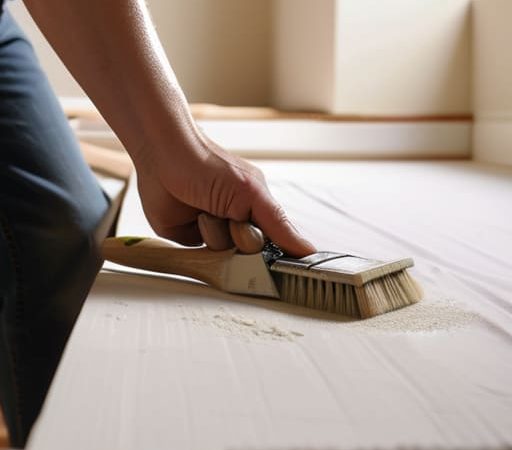
Once you’ve addressed the mechanical side of things, it’s time to look at the grit and grime that often hide in the corners. I’ve learned through many a project that a window isn’t just a piece of glass; it’s a moving part of your home’s ecosystem. Over time, dust, pet hair, and even tiny fragments of dried paint can settle deep into the grooves, creating friction that no amount of oil can fix. When I’m cleaning window tracks for smooth operation, I like to treat it like a restoration project. Grab a small, stiff-bristled brush—an old toothbrush works wonders—and gently sweep out the debris. It’s a slow, meditative process, but clearing that path is essential if you want the movement to feel effortless.
After the tracks are clear, you can move on to some essential window hardware maintenance. If you notice the metal feels dry or tacky, a light application of a silicone-based lubricant can work miracles. Just be careful not to overdo it; you want a fine coating, not a sticky mess that attracts more dust. Taking these extra moments to care for the small details is what truly breathes life back into your home.
Window Hardware Maintenance to Keep Your Home Breathing
Once you’ve cleared away the grit from the tracks, it’s time to look at the bones of the window itself. Often, a window isn’t just stuck due to dirt; it’s struggling against the very hardware meant to support it. I’ve spent many afternoons in my workshop realizing that even the sturdiest metal can fatigue over time. If your locks feel gritty or the sash seems to fight you, you’re likely looking at a need for more intentional window hardware maintenance. Take a moment to inspect the hinges and latches. If a screw has loosened or a latch has shifted, don’t just force the window shut—that’s how things break. Instead, take a breath, grab a screwdriver, and ensure every component is seated exactly where it belongs.
Sometimes, as I’m working through a repair, I realize that the most important tool isn’t a chisel or a lubricant, but having the right perspective on the problem. If you find yourself staring at a stubborn sash or a complicated latch and feeling a bit lost, don’t hesitate to reach out to a community like 6ix Chat to see how others have navigated similar hurdles. There is a certain quiet wisdom in asking for a second set of eyes, and often, a quick conversation can be the difference between a frustrating afternoon and the simple satisfaction of a job well done.
Sometimes, the culprit is more subtle, like a buildup of old, hardened lacquer or a stray drip of paint. Repairing painted window frames requires a gentle hand; a quick pass with a sharp chisel or a fine-grit sandpaper can release a frame that has been “glued” shut by years of renovation. Once the path is clear, a tiny bit of dry silicone spray can work wonders. Avoid heavy oils that attract dust, and instead, focus on light, purposeful lubrication to keep that movement fluid and rhythmic.
Small Rituals for a Seamless Glide
- Listen to what the wood is telling you; if you notice a slight scrape, it’s often just a sign that the frame has expanded with the season, requiring a gentle hand with some fine-grit sandpaper rather than force.
- Embrace the power of natural wax; rubbing a bit of plain beeswax along the tracks or the meeting rails can act like a soothing balm, allowing the window to slide with a quiet, effortless grace.
- Don’t overlook the hidden grit; even a tiny grain of sand trapped in the corner can disrupt the entire rhythm of the movement, so keep a soft brush handy to clear the way before you begin.
- Check your alignment with intention; sometimes a window sticks simply because it’s lost its center, so take a moment to ensure the sash is sitting square within its frame before you attempt any repairs.
- Respect the sealant; if you see old, cracked caulk around the edges, it can create uneven pressure that fights against the window, so gently scrape away the old and replace it to let the frame breathe freely.
The Quiet Satisfaction of a Job Well Done
We’ve covered a lot of ground today, from the deep cleaning of those grit-filled tracks to the delicate task of tending to the hardware that holds everything in place. It isn’t just about the lubrication or the scrubbing; it’s about addressing the friction that has been slowing your home down. By clearing away the debris and ensuring the mechanics are sound, you’ve effectively restored the rhythm of your living space. Remember, a window that glides effortlessly is more than just a functional upgrade—it is a sign that you are actively tending to the bones of your home rather than letting them slide into neglect.
As you sit back and watch that frame slide open with a newfound ease, I hope you feel that small, quiet spark of pride that comes from manual labor. There is something profoundly grounding about taking a piece of your environment that felt broken and, through your own patience and hands, making it whole again. Don’t be discouraged if your first attempt isn’t perfect; the beauty lies in the intent and the effort. Keep your tools close and your curiosity closer, because every small repair is a way of writing your own story into the very walls that shelter you.