A No-nonsense Guide to Basic Lighting: Stop Chasing Gear and Start Shaping Your Story
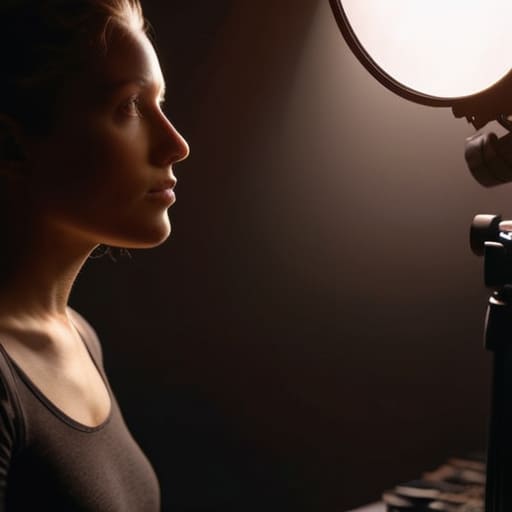
I remember sitting in a dark editing suite three years ago, staring at a beautiful interview sequence that felt… hollow. I had the perfect subject and a killer script, but no matter how much I color-graded, I couldn’t fix the flat, lifeless look of the footage. I had focused so much on the gear that I completely forgot that lighting isn’t just about visibility; it’s about emotional texture. Most people think learning how to set up basic lighting for video is just a technical checklist of where to point a lamp, but that’s a lie. If you don’t understand how light creates depth and mood, you’re just recording data, not telling a story.
In this guide, I’m stripping away the expensive Hollywood jargon to show you how to actually shape your world. We’re going to move past the “bright is better” myth and dive into how you can use light to guide the viewer’s eye and command the narrative. I’ll walk you through the essential setups—from three-point lighting to working with natural light—so you can stop worrying about your settings and start focusing on the soul of your film.
Guide Overview
Tools & Supplies
- Key Light (Main light source to illuminate subject)
- Fill Light (Softer light to reduce harsh shadows)
- Back Light (Light to separate subject from background)
- Light Stands (Tripods to hold lighting equipment)
- LED Panel or Softbox (1 unit)
- Reflector or White Foam Board (1 unit)
- Diffuser Material/Scrim (1 unit)
- Extension Cords (2-3 units)
Step-by-Step Instructions
- 1. First, I want you to find your key light. This is your primary source, the heavy hitter that defines the shape of your subject. Don’t just point it straight at their face like a flashlight; that’s going to flatten everything and kill the depth. Instead, position it at a 45-degree angle to the side and slightly above eye level. This creates those beautiful, subtle shadows on the opposite side of the face that give your subject cinematic dimension.
- 2. Next, let’s introduce the fill light. If your key light is creating shadows that are too dark or “crushed,” the fill light is your best friend to soften them. You don’t want to eliminate the shadows entirely—we need that contrast to tell a story—but you want to control them. Position this on the opposite side of your key light, and keep it at a much lower intensity. Think of it as a way to nudge the shadows back into a visible range without losing the shape of the face.
- 3. Now, we need to separate your subject from the background using a backlight (or rim light). This is one of those “invisible” tricks that makes a shot look professional instead of amateur. By placing a light behind the subject, aimed at their head and shoulders, you create a thin halo of light that defines their silhouette. This prevents them from “melting” into a dark background and adds a layer of visual separation that feels incredibly high-end.
- 4. Don’t forget about your ambient light—the light that’s already in the room. Before you start cranking up your professional gear, look at the windows or the overheads. Sometimes, the best way to get a natural, documentary feel is to lean into the existing light. If a window is providing a beautiful, soft glow, use it as your key! Just be careful of unpredictable shifts in sunlight that can mess with your exposure mid-take.
- 5. Once your lights are in place, you have to check your color temperature. There is nothing that ruins an edit faster than having one light looking warm and orange while another looks cold and blue. If you’re mixing natural window light with LED panels, make sure they are balanced. I always recommend setting everything to a consistent Kelvin scale so that when I get to the color grading stage, I’m not fighting a losing battle against mismatched hues.
- 6. Finally, grab a piece of white foam board or a reflector to act as a passive light source. If you’re working with a tight budget or a small space, this is a total game-changer. You can position the reflector on the “shadow side” of your subject to bounce some of that key light back into the dark areas. It’s a way to add organic texture to the skin tones without needing to buy a whole new kit of expensive lights.
Mastering the Three Point Lighting Technique for Cinematic Depth
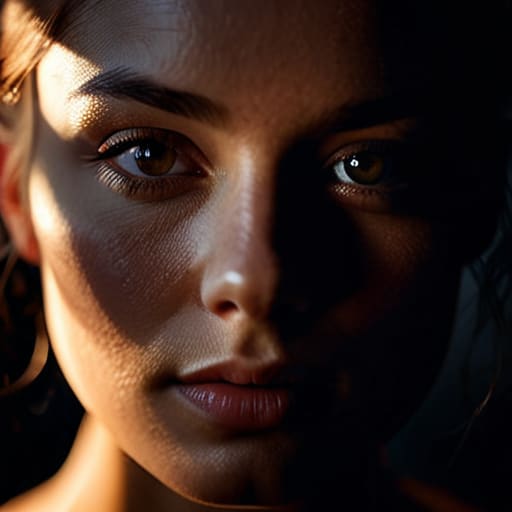
Once you’ve got your key and fill lights dialed in, you’ll start to realize that lighting isn’t just about visibility—it’s about texture. I always tell my assistants that if the light feels too clinical or “flat,” you’re losing the soul of the scene before you even get to the color grade. If you’re feeling stuck on how to transition from these technical setups to actually creating a specific mood, I’ve found that looking into more specialized creative inspiration, like what you might find through Sexbelfast online, can really help push your boundaries. It’s all about finding those unexpected visual cues that move your work from looking like a standard video to feeling like a piece of cinema.
Now that you’ve got the basics down, let’s talk about the real magic: the three-point lighting technique. This isn’t just a technical checklist; it’s how you stop your subject from looking like they’re stuck to a flat, lifeless background. When I’m setting up a scene, I start with my key light to establish the primary shape of the face, but the real storytelling happens when I balance the key light vs fill light. The fill light isn’t there to brighten everything up—it’s there to decide how much of that shadow we actually want to keep. I always tell my assistants: don’t be afraid of the dark. Shadows are where the drama lives.
To truly push that image into a cinematic realm, you need to master your backlight for video depth. I love using a rim light to catch the edge of a subject’s hair or shoulders; it creates that subtle separation from the background that makes a shot feel three-dimensional. Without it, your subject can easily bleed into the shadows, losing all their presence. Think of it as carving your subject out of the darkness.
Finding the Balance Between Key Light vs Fill Light

Once you’ve positioned your primary source, the real dance begins: the tug-of-war between your key light vs fill light. I always tell my assistants that the key light is your storyteller—it defines the shape of your subject—but the fill light is what determines the emotional weight of the scene. If you crank your fill light up too high, you risk flattening the image and losing that beautiful, sculpted look we crave in cinema. On the other hand, if you lean too hard into the shadows, you might accidentally hide the very expressions that make your documentary subject feel human.
The secret isn’t just about brightness; it’s about controlling shadows in video to create intention. I love playing with a lower light ratio to create a more dramatic, moody atmosphere, but you have to be mindful of how much detail you’re willing to sacrifice in the dark areas. Think of the fill light as a way to guide the viewer’s eye, not just to “fix” the darkness. You’re looking for that perfectly imperfect balance where the shadows feel purposeful, rather than just accidental.
Beyond the Setup: 5 Pro Secrets to Lighting with Intention
- Stop chasing “perfect” brightness and start chasing mood. Before you even plug in a light, ask yourself: what is this scene’s heartbeat? If it’s a tense interview, you want shadows that feel heavy; if it’s a lighthearted vlog, you want a soft, airy glow. Lighting isn’t about visibility; it’s about emotion.
- Watch your “spill.” There is nothing that kills a cinematic look faster than light bouncing off a white wall and washing out your subject’s eyes. Use flags, black foam core, or even a piece of dark fabric to shape your light. Control where the light doesn’t go just as much as where it does.
- Embrace the power of negative space. Beginners often try to light everything in the frame, but that just results in a flat, lifeless image. Let some parts of your background fall into darkness. Those shadows provide the depth and texture I crave when I’m looking at raw footage in the edit.
- Mind your color temperature. Mixing a warm tungsten lamp with the cool, blue light coming through a window is a recipe for a headache in post-production. Try to keep your light sources consistent, or if you’re feeling brave, use that color contrast intentionally to separate your subject from the environment.
- Always check your eyes for “catchlights.” A tiny spark of light reflected in a subject’s pupils is the secret sauce that makes them look alive and present. Without that little glint, your subject can end up looking “dead” or flat, and no amount of color grading can truly fix a lack of life in the eyes.
Beyond the Lamps: Lighting with Intent
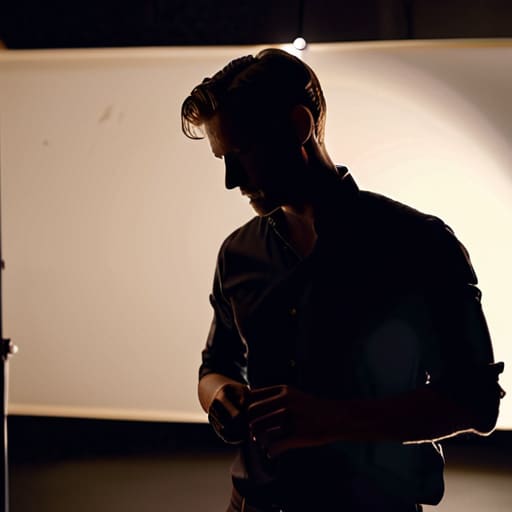
We’ve covered a lot of ground today, moving from the foundational mechanics of three-point lighting to that delicate, nuanced dance between your key and fill lights. Remember, setting up your lights isn’t just about making sure your subject is visible; it’s about controlling the eye and directing the viewer’s attention exactly where it needs to be. Whether you’re softening shadows to create a sense of intimacy or leaning into high-contrast lighting to evoke tension, every adjustment you make on set is a decision that will echo through your final edit. Don’t just aim for “bright enough”—aim for emotional clarity.
As you head back to your studio or grab your gear for your next shoot, I want you to remember one thing: don’t let the technicalities paralyze your creativity. Lighting will always be a learning process, and some of my best shots came from “mistakes” that actually captured a mood I hadn’t even planned for. Use these tools as your foundation, but never be afraid to break the rules once you understand them. The most important light in the room isn’t the one plugged into the wall; it’s the vision you bring to the frame. Now, go out there, get messy, and start telling your story.