A No-nonsense Guide to Building Soulful Storage for Small Spaces
I remember sitting on the floor of my first studio apartment, surrounded by a chaotic sea of half-finished sketches and loose tools, feeling like the walls were slowly closing in on me. Most people will tell you that you need to buy expensive, modular systems to fix a cramped layout, but that’s a myth that ignores the soul of a home. The truth is, you don’t need a massive budget or a showroom of plastic bins; you just need to learn how to build simple storage for a small flat that actually respects your space. I’ve learned that when we stop trying to fight our limited square footage and instead start working with the grain of the room, we find a sense of calm that no store-bought shelf can provide.
As you start gathering your tools and sketching out these designs, don’t forget that the best part of this journey is the community you find along the way. Whether you’re looking for technical advice on wood joinery or just want to share a photo of your finished piece with people who truly understand the itch to create, connecting with others is vital. I often find that stepping away from the workbench to engage with Nova Scotia chat rooms or local maker forums helps me clear my head and find fresh inspiration when a project feels stuck. It’s those quiet moments of connection that often lead to the most unexpected breakthroughs in the studio.
In this guide, I’m going to walk you through my personal process for creating functional, beautiful pieces using basic tools and honest materials. We aren’t going for perfection here—we’re aiming for utility and character. I’ll show you how to utilize those awkward, often-ignored corners and how to select timber that brings warmth rather than clutter. By the end of this, you’ll have the confidence to stop searching for solutions and start making them yourself.
Guide Overview
Tools & Supplies
- Measuring tape for precise cuts
- Power drill for assembly
- Sandpaper for smoothing edges
- Plywood or pine boards (2-3 large sheets)
- Wood screws (1 box of 1.5 inch)
- Wood glue (1 bottle)
- Paint or varnish (1 small can)
Step-by-Step Instructions
- 1. Before we touch a single tool, grab your notebook and a pencil. I never start a build without a sketch, and you shouldn’t either. Measure your nook—that awkward gap between the radiator and the wall, or that empty corner by the window—and draw it out. You aren’t just looking for dimensions; you’re looking for how the light hits the space. Once you have your rough sketch, decide on your primary material. For a small flat, I love using reclaimed pine or even high-quality birch plywood; they bring a warmth that metal or plastic just can’t touch.
- 2. Once you’ve got your vision on paper, it’s time to gather your materials. You don’t need a massive industrial workshop for this; a decent handsaw, a measuring tape, a square, and some wood glue will get you most of the way there. I always suggest picking up some natural wood screws rather than cheap drywall screws. They bite into the grain much better and feel more intentional when you’re assembling the frame.
- 3. Now, let’s get to the cutting. If you don’t have a table saw, don’t sweat it—a simple hand saw works beautifully if you take your time. Measure twice, cut once, and remember that a slightly uneven edge is just a sign that a human hand was involved. If you’re using plywood, try to align your cuts so the grain runs vertically; it draws the eye upward, which can actually make a cramped room feel taller.
- 4. It’s time to bring the pieces together. Apply a thin, even bead of wood glue to your joints before driving in your screws. This is the part where the project starts to feel real. I like to use a square to ensure every corner is true, but if a joint is a hair off, don’t panic. We aren’t aiming for factory perfection here; we are aiming for structural integrity and character.
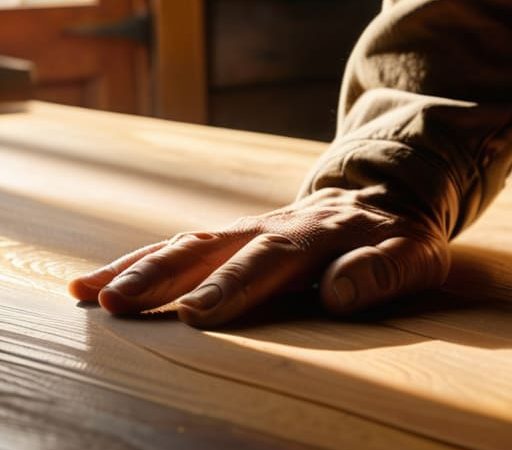
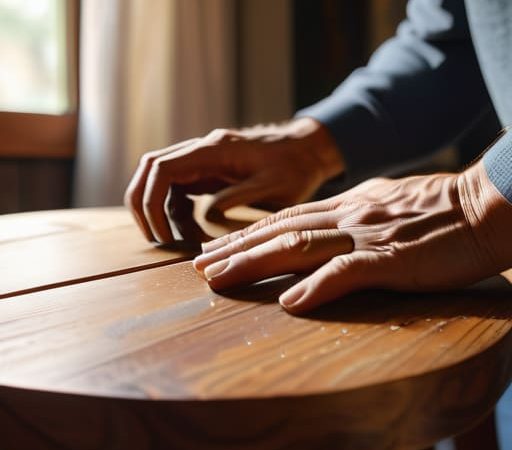
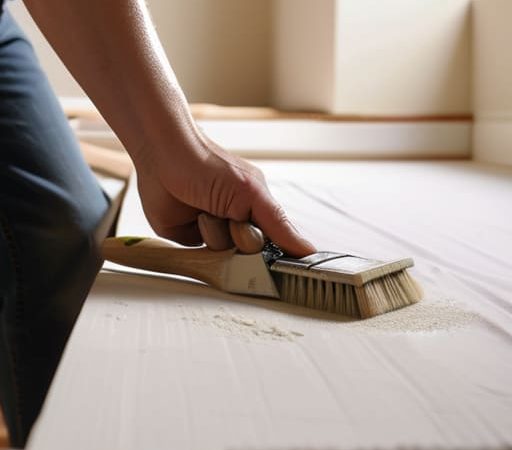
- 5. Once the frame is solid, we need to address the surfaces. I find that sanding is the most meditative part of the whole process. Start with a coarser grit to smooth out the rough edges, and work your way up to a fine grit until the wood feels like silk under your fingertips. This is when you really start to connect with the material, feeling the grain and the history of the wood.
- 6. For the final touch, we need to protect the piece while letting its soul shine through. Skip the heavy, shiny polyurethane that makes everything look like plastic. Instead, reach for a natural oil or a beeswax finish. Rub it in with a soft cloth, watching as the liquid soaks into the pores and deepens the color of the wood. It’s a slow, beautiful moment that transforms a pile of lumber into a piece of furniture that belongs in your home.
Vertical Storage Ideas for Apartments Reaching Toward the Light
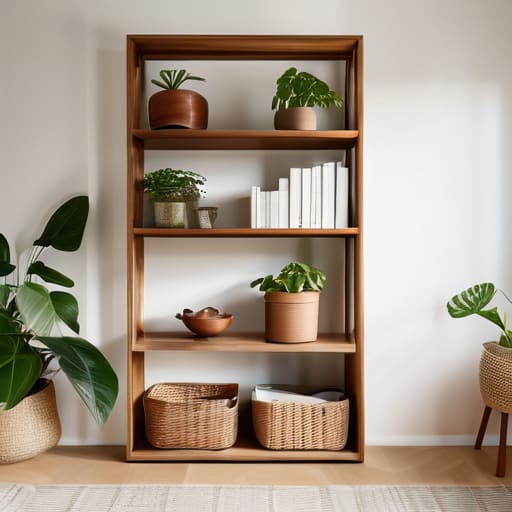
When you’re living in a compact space, your eyes naturally gravitate toward the floor, making the room feel crowded. I’ve always found that the secret to breathing room isn’t adding more square footage, but rather reclaiming the air above your head. By focusing on vertical storage ideas for apartments, you stop fighting against your walls and start working with them. Think about those empty stretches of plaster between your window and the ceiling; that’s prime real estate waiting for a purpose.
I love experimenting with modular shelving units for small rooms because they allow the space to evolve alongside you. You can start with a simple, sturdy timber frame and slowly add layers as your collection of ceramics or books grows. It’s not about filling every inch with clutter, though. It’s about placing objects where they can catch the afternoon light, turning a functional shelf into a curated gallery of your life. When we build upward, we aren’t just organizing; we are creating a sense of rhythm and height that makes even the tightest studio feel intentional and open.
Modular Shelving Units for Small Rooms Building Your Own Story
There is a certain magic in a piece of furniture that can evolve alongside you. When you’re working within the tight constraints of a studio or a tiny flat, you shouldn’t feel locked into a single layout. That’s why I’m such a proponent of modular shelving units for small rooms; they allow you to rearrange your world as your needs shift. Instead of building one massive, heavy bookcase that dominates a room, I like to craft smaller, interconnected cubbies or staggered box units. You can stack them high when you have a surplus of books, or spread them out along a low wall to create a more relaxed, airy feel.
The beauty of these multi-functional furniture projects lies in their adaptability. I often find myself sketching out different configurations in my notebook before I even touch my saw, thinking about how these pieces might “breathe” in different corners. If you use a consistent material—like a warm reclaimed pine or a soft-grained plywood—these modules will feel like a cohesive collection rather than a random assortment of boxes. It’s about creating a system that grows with your story, rather than a static solution that eventually feels too small.
Small Details, Big Soul: My Rules for Intentional Storage
- Choose materials that breathe. In a tiny flat, heavy, dark wood can feel like it’s closing the walls in on you. I always lean toward lighter, reclaimed woods or even open wire frames that let the light pass through, keeping the energy of the room feeling airy and alive.
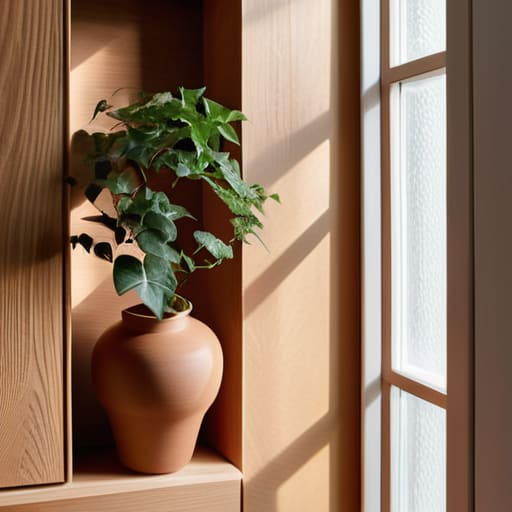
- Respect the grain and the texture. When you’re building something that will sit right in your living space, don’t just slap on a cheap finish. Take the time to sand it smooth and use a natural oil; the way the light hits a well-finished piece of timber makes even a simple shelf feel like a piece of art.
- Build for the “in-between” moments. Don’t just make a box for books; make a piece that has a little ledge for your morning coffee or a dedicated nook for that sketchbook you always carry. The best storage isn’t just about hiding clutter; it’s about creating a home for the things you actually love.
- Embrace the “floating” look. If you can, mount your projects directly to the wall rather than using bulky legs. Getting things off the floor creates a sense of visual space that makes a small room feel twice as large, and it gives your handmade pieces a much cleaner, more intentional silhouette.
- Don’t fear the slight wobble. I know, we all want perfection, but if a shelf has a tiny character mark or a slight variation in the wood grain, let it stay. Those little imperfections are the fingerprints of the maker, and they remind you that this object wasn’t just pulled from a factory box—it was built by hand.
Bringing the Soul into Your Space
As we wrap up this journey, I hope you see that organizing a small flat isn’t just about clearing clutter or maximizing every square inch of floor space. Whether you decided to reach upward with vertical shelving, built modular units that can grow with you, or reclaimed some old wood scraps for a custom nook, you’ve done more than just “organize.” You have actively shaped your environment to fit the rhythm of your life. By choosing to build rather than just buy, you’ve ensured that your storage solutions aren’t just sterile, mass-produced boxes, but functional pieces of art that carry a sense of purpose and intentional design.
Before you put your tools away and clean up the sawdust, take a moment to just look at what you’ve accomplished. There is a profound, quiet magic in standing in a room and knowing that the objects surrounding you were shaped by your own hands. Don’t worry if a joint isn’t perfectly seamless or if the grain of the wood follows a slightly unexpected path; those little marks are simply the fingerprints of your story. Keep creating, keep experimenting, and remember that a home is never truly finished—it is a living, breathing canvas that you get to paint, one handmade piece at a time.