A Guide to Spoon Carving: a Mindful Woodworking Craft

As I sit in my workshop, surrounded by the scent of freshly cut wood and the gentle hum of my tools, I’m reminded of the common myth that a guide to spoon carving is only for seasoned woodworkers. But the truth is, carving a spoon is an incredibly accessible and rewarding project for anyone willing to get their hands dirty. I’ve seen people from all walks of life create beautiful, functional spoons that tell a story of their own, and I believe that with the right guidance, you can do the same.
In this article, I promise to share my honest, no-hype approach to spoon carving, focusing on the simple, intuitive techniques that have worked for me and my students. You’ll learn how to select the right wood, sharpen your tools, and bring your spoon to life with nothing but your own two hands. By the end of this journey, you’ll have a deeper understanding of the craft and a beautiful, handmade spoon that reflects your own unique character. So, let’s get started and uncover the joy of creating something truly meaningful with a guide to spoon carving.
Table of Contents
Guide Overview: What You'll Need
Total Time: 2 hours 30 minutes
Estimated Cost: $20 – $40
Difficulty Level: Intermediate
Tools Required
- Carving Knife (with a straight or curved blade)
- Gouge (for removing small amounts of wood)
- Mallet (for tapping the gouge)
- Sandpaper (various grits for smoothing)
- Pencil (for marking the wood)
- Ruler (for measuring 6 inches or more of wood)
Supplies & Materials
- Wooden Spoon Blank (made from a hardwood like maple or cherry)
- Wood Finish (such as oil or wax for protecting the wood)
- Workbench (or other stable carving surface, approximately 12 inches by 24 inches)
Step-by-Step Instructions
- 1. First, let’s start by selecting the right wood for our spoon. I always look for woods with beautiful grain patterns, as they add a unique character to the spoon. Cherry, walnut, and maple are some of my favorites, but feel free to experiment with different types to find the one that resonates with you. Remember, the wood is the backbone of our story, so choose it wisely.
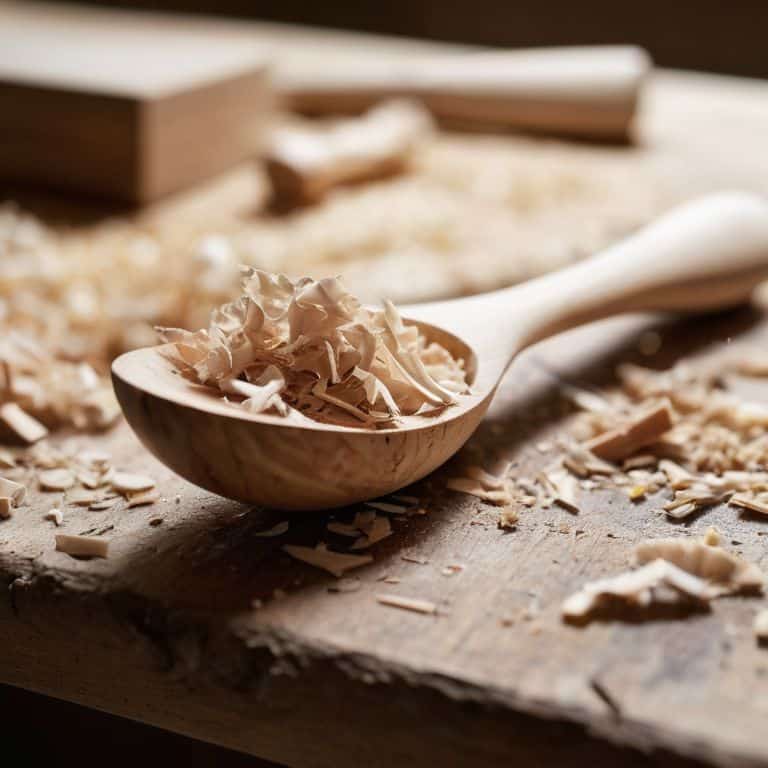
- 2. Next, we need to prepare our wood for carving. This involves cutting a blank from the wood, roughly the size and shape of the spoon we want to create. I use a band saw for this step, as it allows me to make precise cuts and get a feel for the wood’s texture. Don’t worry too much about the exact shape at this stage; we’ll refine it as we go along.
- 3. Now it’s time to start carving. Begin by roughing out the shape of the spoon, using a gentle touch and slow, deliberate strokes. I find that a combination of gouges and chisels works well for this step, as they allow me to remove small amounts of wood and create a smooth, flowing curve. Remember to always carve with the grain, as this will help prevent the wood from splitting.
- 4. With the basic shape of the spoon established, we can start to add some details. Use a smaller gouge or a detailing tool to create the bowl of the spoon, and a marking gauge to ensure the depth is even. Don’t be afraid to experiment and try out different shapes and sizes – after all, this is your story, and you get to decide how it unfolds.
- 5. As we continue to refine the shape of the spoon, it’s time to think about the handle. I like to use a tapered shape, as it fits comfortably in the hand and creates a sense of balance. Use a combination of sanding and carving to smooth out the handle, and remember to leave a small amount of extra material at the top, which we’ll use to create the final shape.
- 6. With the handle and bowl of the spoon complete, it’s time to add the final touches. Use a small chisel or a detailing tool to create a small notch at the top of the handle, and a fine-grit sandpaper to smooth out any rough edges. This is also a good time to add any decorative elements, such as a small pattern or design, which can help to make your spoon truly unique.
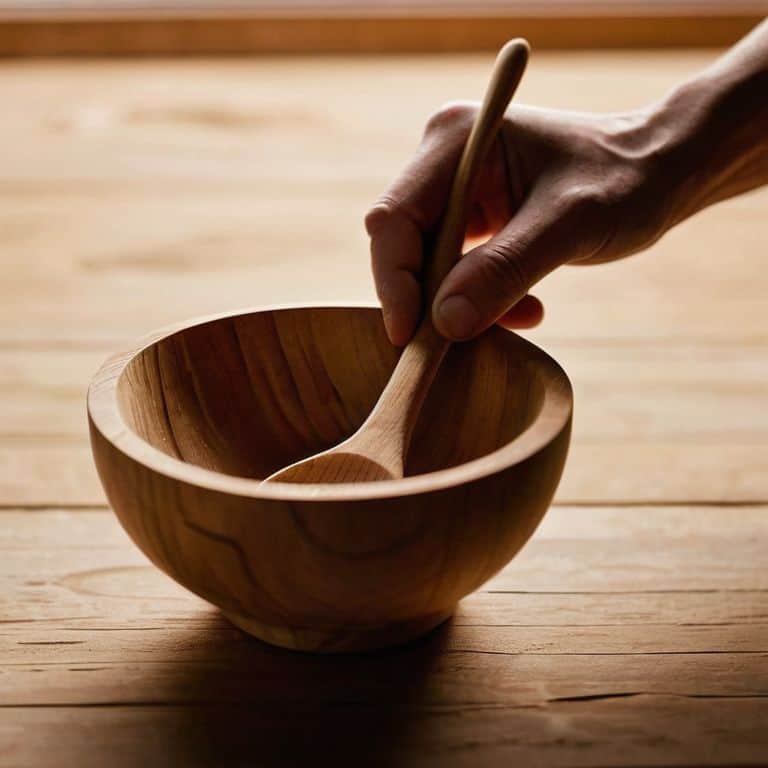
- 7. Finally, it’s time to apply a finish to our spoon. I like to use a natural oil, such as linseed or tung oil, as it brings out the beauty of the wood and creates a warm, inviting glow. Apply the oil using a clean cloth, and let it dry completely before handling the spoon. And that’s it – your handmade spoon is now ready to use, and tell its story in your kitchen.
A Guide to Spoon Carving

As I sit in my workshop, surrounded by the scent of freshly cut wood and the soft glow of natural light, I’m reminded of the importance of traditional spoon carving methods. These techniques, passed down through generations, not only ensure a beautiful and functional piece but also infuse the spoon with a sense of history and character. When it comes to choosing the right wood, I always recommend opting for hardwoods like walnut or cherry, as they offer a unique grain pattern and durability.
To bring out the best in your hand-carved wooden spoon, it’s essential to have the right tools, including a sharpener for whittling tools. A sharp blade makes all the difference in achieving a smooth, even finish. Additionally, when carving spoon handles for beginners, it’s crucial to focus on creating a comfortable grip, taking into account the natural curve of the hand. This attention to detail will make your spoon a joy to use and a treasure to behold.
As you embark on this creative journey, remember to prioritize safety tips for wood whittling, always keeping your fingers curled under and your eyes on the blade. With patience, practice, and a willingness to learn, you’ll be crafting beautiful, functional spoons that tell a story of their own. The process of shaping and smoothing the wood is almost therapeutic, allowing you to connect with the natural world and tap into your creative potential.
Sharpening Tales Safety Tips for Beginners
As I sit at my workbench, surrounded by the soft glow of lanterns and the scent of freshly cut wood, I’m reminded that safety is just as much a part of the crafting process as the materials themselves. When it comes to sharpening your tools, it’s essential to approach with intention and care. A dull tool can be more hazardous than a sharp one, as it requires more force and can slip more easily, leading to accidents.
I always start by inspecting my tools, checking for any damage or wear that could affect their performance. Then, with a steady hand and a keen eye, I begin the sharpening process, working slowly and methodically to hone the edge to a precise point. It’s a meditative process, one that requires patience and focus, but the end result is well worth the effort – a razor-sharp tool that glides effortlessly through even the toughest materials, making the crafting process a true joy.
Whittling Wood Hand Carved Techniques
As I sit at my workbench, surrounded by the scent of freshly cut wood, I’m reminded that whittling is an art form that requires patience and attention to detail. The gentle curve of a spoon’s bowl, the subtle taper of its handle – each element is a testament to the beauty of hand-carved techniques. I love how the wood grain seems to come alive under my tools, revealing hidden patterns and textures that guide my cuts.
With each stroke of the knife, I feel a sense of connection to the natural world and the stories that this wood could tell. The imperfections that arise during the process – a slight nick here, a uneven edge there – are what make each spoon truly unique, imbuing it with a character that machine-made objects can’t replicate. As I work, I’m not just shaping wood; I’m crafting a narrative that will be passed from hand to hand, a tangible representation of the human touch.
Handcrafting Wisdom: 5 Essential Tips for Spoon Carving
- Embrace the Grain: Always consider the natural texture and pattern of the wood when selecting your piece, as this will influence the overall character of your spoon
- Sharp Beginnings: A well-sharpened tool is not only safer but also makes the carving process more enjoyable and precise, so take your time to hone your blades
- Slow and Gentle: Resist the urge to rush through the carving process; instead, focus on slow, deliberate strokes that allow you to connect with the material and your creativity
- Imperfections are Perfections: Don’t strive for a spoon that looks machine-made – the small imperfections and unique touches are what make your handmade spoon truly special and personal
- Practice Patience: Spoon carving is a skill that develops over time, so don’t be discouraged if your first attempts don’t turn out as expected; every spoon tells a story, including those that didn’t quite go as planned
Embracing the Craft: 3 Key Takeaways
Carving a spoon is not just about shaping wood, it’s about telling a story through the imperfections and character that emerge during the process
Sharpening your tools and understanding the grain of the wood are crucial steps in bringing your spoon to life, requiring patience and a willingness to learn
Through the act of creating something with your own hands, you’re not only crafting a functional item, but also embedding a piece of yourself into the object, making it truly unique and personal
The Soul of the Spoon
As I carve into the wood, I’m not just shaping a spoon, I’m uncovering the story it wants to tell – a story of patience, of imperfection, and of the human touch that brings it to life.
Finn Rivera
Embracing the Art of Spoon Carving
As we conclude this journey through the world of hand-carved spoons, it’s essential to reflect on the key takeaways from our time together. We’ve delved into the fundamental steps of spoon carving, from selecting the perfect piece of wood to the final touches that bring your creation to life. The importance of patience cannot be overstated, as it allows you to truly connect with the material and guide it into the form you envision. Whether you’re a seasoned craftsman or a curious beginner, the process of carving a spoon is a testament to the human desire to create something with our own hands, to tell a story through the objects we make.
The true beauty of spoon carving lies not just in the end result, but in the journey itself. It’s about embracing the imperfections that make each piece unique, and finding solace in the rhythmic motion of the carving process. As you hold your finished spoon in your hands, remember that it’s not just a utensil, but a reflection of your creativity and perseverance. So, let the joy of creation be your guide, and may the simple act of carving a spoon inspire you to explore the countless wonders of handmade craftsmanship, where every object tells a story of its own.
Frequently Asked Questions
What types of wood are best suited for carving spoons and why?
For me, the best woods for spoon carving are those with a rich history and a story to tell – like walnut, cherry, or maple. These hardwoods have a tight grain that’s gentle on the hands, yet resilient enough to withstand the rigors of daily use. The imperfections in these natural materials are what bring character to the spoon, making each one truly unique.
How do I achieve a smooth finish on my handmade spoon?
To achieve a smooth finish on your handmade spoon, I recommend using a combination of sanding and oiling techniques. Start by sanding with progressively finer grits, then apply a natural oil like linseed or tung oil to bring out the wood’s character. This will not only smooth out the surface but also enhance the spoon’s natural beauty.
What are some common mistakes to avoid when sharpening my carving tools for spoon carving?
When sharpening my carving tools, I’ve learned to avoid applying too much pressure, which can damage the edge. Also, not checking the angle of the blade is a common mistake – it’s crucial to maintain the right angle for a sharp, even edge. And, of course, never sharpen towards your body, safety first!


