A Guide to the Basic Spoon Carving Knife Grips
I still remember the first time I held a spoon carving knife in my hands, feeling the weight of the wood and the thrill of creating something from scratch. It was a moment that sparked a passion in me, and I’ve been hooked on woodworking ever since. As I delved deeper into the craft, I realized that mastering the basic spoon carving knife grips was essential to bringing my ideas to life. That’s why I’m excited to share with you a guide to the basic spoon carving knife grips, a fundamental skill that will unlock a world of creative possibilities.
In this article, I’ll walk you through the practical techniques and tips I’ve learned over the years, helping you to develop a comfortable and confident grip with your spoon carving knife. You’ll learn how to choose the right grip for your project, how to adjust your stance for optimal control, and how to practice your skills to achieve smooth, flowing cuts. By the end of this guide, you’ll be well on your way to creating beautiful, handmade spoons that tell a story of their own, and you’ll have the skills to tackle more complex projects with ease.
Table of Contents
- Guide Overview: What You'll Need
- Step-by-Step Instructions
- A Guide to Basic Spoon Carving
- Grasping the Essentials: 5 Key Tips for Mastering Spoon Carving Knife Grips
- Embracing the Art: 3 Key Takeaways for Spoon Carving Enthusiasts
- The Heart of the Craft
- Embracing the Art of Spoon Carving
- Frequently Asked Questions
Guide Overview: What You'll Need
Total Time: 1 hour 15 minutes
Estimated Cost: $10 – $30
Difficulty Level: Intermediate
Tools Required
- Whittling Knife (with a straight or curved blade)
- Carving Gloves (for safety and grip)
- Sharpening Stone (to maintain knife edge)
- Cutting Board (for a stable carving surface)
Supplies & Materials
- Wooden Spoon Blank (approximately 6 inches long and 1 inch wide)
- Sandpaper (for smoothing out the carved spoon)
- Wood Finish (optional, for protecting the wooden spoon)
- Clamp (for holding the spoon blank in place)
Step-by-Step Instructions
- 1. To begin mastering the basic spoon carving knife grips, start by choosing the right wood for your project. Look for woods like basswood, pine, or cherry, which are soft and easy to carve. I personally love working with basswood for its smooth texture and forgiving nature.
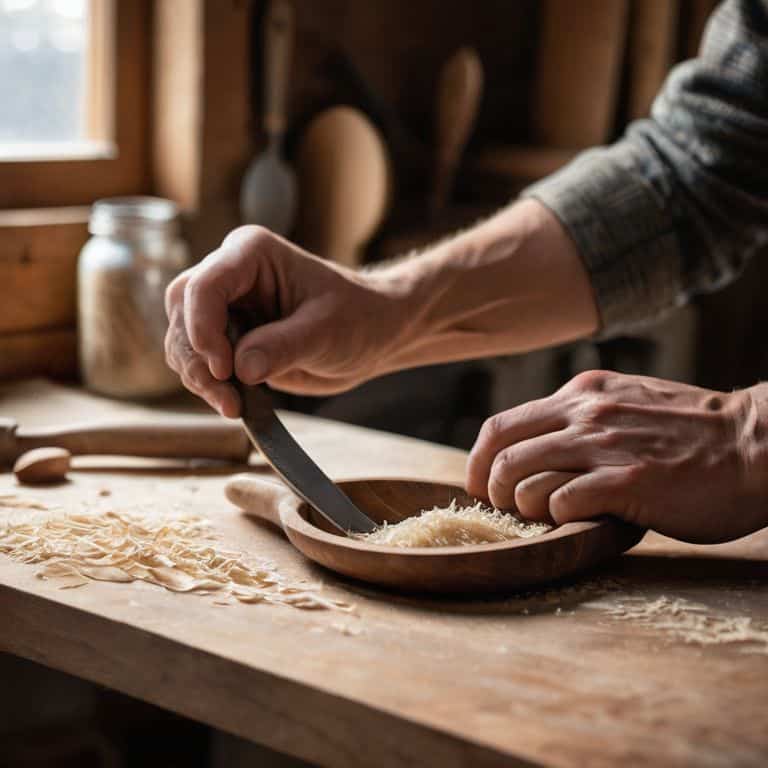
- 2. Next, prepare your workspace by clearing any clutter and setting up your carving area with good lighting. This is essential for seeing the details of your work and maintaining safety. I like to carve near a window with natural light, as it helps me connect with the natural world.
- 3. Now, let’s talk about the basic grip types. There are generally three main grips used in spoon carving: the pencil grip, the pinch grip, and the push grip. Each grip serves a specific purpose and is used for different stages of the carving process. Understanding these grips is fundamental to creating beautiful, functional spoons.
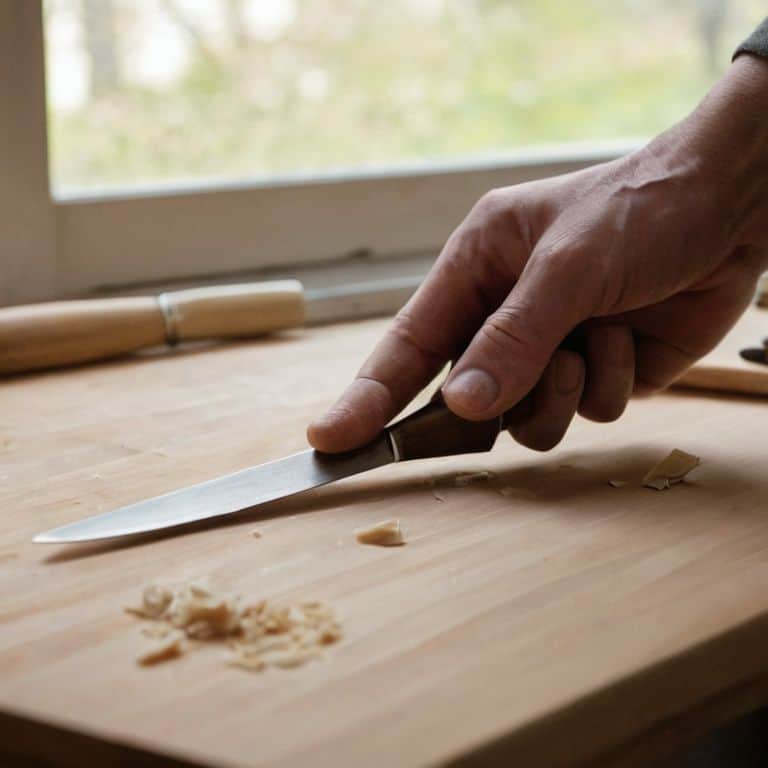
- 4. Hold the knife correctly by starting with the pencil grip. This grip is similar to how you would hold a pencil, with your thumb on top of the knife and your fingers wrapped around it. This grip gives you the most control and is ideal for detailed work, such as carving the spoon’s handle or intricate designs.
- 5. To transition into the pinch grip, adjust your finger placement so that your thumb is on the side of the knife and your index finger is on top, pinching the blade between them. Your other fingers provide support from the bottom. This grip is excellent for more forceful cuts, like removing larger chunks of wood from the spoon’s bowl.
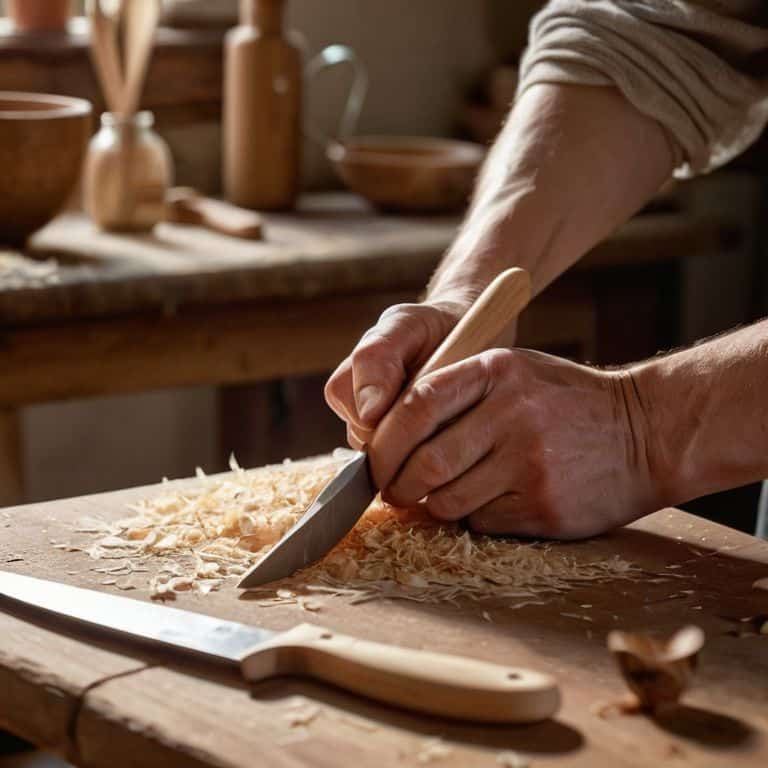
- 6. The push grip is used for roughing out the spoon’s shape. Hold the knife with a firm but not overly tight grip, allowing your wrist to remain straight and your arm to do the work. This grip helps in making smooth, even cuts through the wood, especially when you’re trying to achieve the spoon’s basic form.
- 7. Practice each grip with simple exercises before moving on to actual spoon carving. For example, try carving small, gentle curves with the pencil grip, and then move on to more aggressive cuts with the pinch and push grips. Remember, the key to mastery is practice, so don’t be discouraged if it takes time to feel comfortable with each grip.
- 8. As you become more comfortable with the grips, start applying them to your spoon carving project. Begin with roughing out the spoon’s shape using the push grip, then switch to the pinch grip for refining the shape, and finally use the pencil grip for the finer details. Always work with the grain of the wood to ensure smooth cuts and to prevent the wood from splitting.
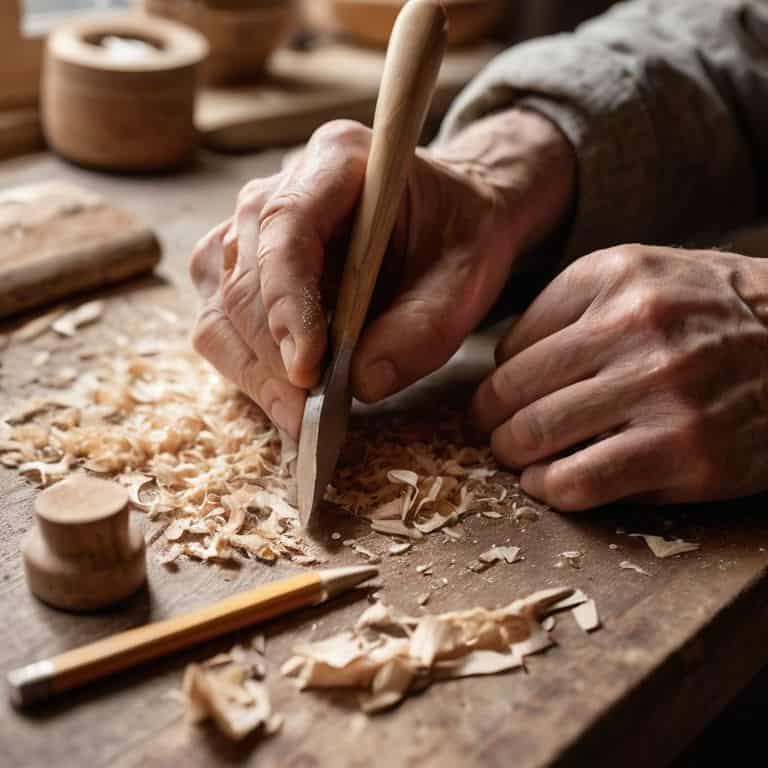
- 9. Lastly, refine your edges and details using the pencil grip. This is where you can add personal touches to your spoon, such as patterns or a smooth finish. Remember, the imperfections are what make your handmade spoon unique, so don’t be too hard on yourself if it’s not perfect – it’s the character that counts.
A Guide to Basic Spoon Carving
As I sit in my workshop, surrounded by the scent of freshly cut wood and the soft glow of natural light, I’m reminded that wood carving techniques for beginners are all about patience and practice. One of the most crucial aspects of spoon carving is safe handling of carving knives, as it can make all the difference between a beautiful, handmade spoon and a trip to the emergency room. I always advise my students to start with a gentle touch, feeling the weight and balance of the knife in their hands before making their first cuts.
When it comes to selecting the right tools for the job, I’m often asked about the best knives for whittling spoons. In my experience, a high-carbon steel knife with a comfortable, ergonomic handle is the way to go. Not only will it make the carving process more enjoyable, but it will also help you achieve a smoother, more even finish. Of course, even with the right tools, common mistakes in spoon carving can still occur – but that’s all part of the learning process, and I’ve found that it’s often the imperfections that give a handmade spoon its unique character.
As you continue to hone your skills and develop your own carving spoon designs and patterns, remember to take your time and enjoy the journey. Tips for smoothing wooden spoons include using a combination of sandpaper and natural oils to bring out the beauty of the wood grain. With practice and patience, you’ll be creating stunning, one-of-a-kind spoons that tell a story of their own – and that’s what it’s all about for me: creating something with your own hands that will be treasured for years to come.
Mastering Wood Carving Techniques
As I delve deeper into the world of spoon carving, I’m reminded that mastering wood carving techniques is an art that requires patience and dedication. It’s about understanding the grain, the texture, and the story that each piece of wood tells. For me, it’s essential to slow down and listen to the wood, allowing its natural beauty to shine through in every curve and cut. With each stroke of the knife, I feel a connection to the craft, and the wooden spoon begins to take shape, infused with the love and care that I’ve poured into it.
By embracing the imperfections and unique characteristics of the wood, I find that my spoons take on a life of their own, telling a story of their own creation. It’s a dance between the wood, the knife, and my hands, where every movement is intentional and every cut is a testament to the beauty of handmade craftsmanship.
Safe Handling of Whittling Knives
As I sit in my workshop, surrounded by the gentle curves of wooden spoons in various stages of creation, I’m reminded that safety is just as much a part of the storytelling process as the wood itself. When it comes to handling whittling knives, it’s essential to develop a mindful relationship with these tools. I always start by ensuring my knife is razor-sharp, as a dull blade is more likely to slip and cause accidents. A firm, but not overly tight, grip is also crucial – think of it as a gentle handshake with the knife.
With my knife in hand, I make it a point to keep my fingers curled under and out of the way of the blade, using my thumb to guide the knife as I carve. It’s a dance, really – one that requires patience, attention to detail, and a deep respect for the tool and the material. By embracing these safe handling practices, you’ll not only protect yourself from harm but also cultivate a sense of harmony with your whittling knife, allowing your creativity to flow freely.
Grasping the Essentials: 5 Key Tips for Mastering Spoon Carving Knife Grips
- Let your grip be firm but gentle, like you’re holding a small bird – you want to control the knife without choking it, allowing the blade to dance across the wood with ease
- Experiment with different grip styles until you find the one that feels like an extension of your hand, remembering that comfort is key to precision and control
- Pay attention to the position of your thumb – it’s the conductor of your grip, guiding the knife through the wood with finesse and intention
- Keep your wrists relaxed and your arms supported, allowing the weight of the knife to do the work, and letting the wood guide your strokes
- Practice, practice, practice – the more you carve, the more your grip will become second nature, and your spoons will start to tell the story of your hands and your heart
Embracing the Art: 3 Key Takeaways for Spoon Carving Enthusiasts
Mastering the grip is not just about technique, it’s about developing a personal connection with your tools and the wood you’re working with, allowing your unique story to unfold with each carve
Safe handling of whittling knives is paramount, not just for your physical well-being, but also for the longevity and quality of your craft, ensuring that each piece you create is a reflection of your dedication and care
Practice is not just about repetition, but about patience and observation – the more you work with wood, the more you’ll understand its nuances, and the more your carvings will embody the soul of the natural world, telling a story that’s both deeply personal and universally relatable
The Heart of the Craft
As I wrap my hands around the worn handle of my spoon carving knife, I’m reminded that the grip is not just a technique, but a gesture of intention – a promise to coax a story from the wood, and to let its imperfections shine.
Finn Rivera
Embracing the Art of Spoon Carving
As we conclude this journey through the basic spoon carving knife grips, remember that the key to mastering this craft lies in patience and practice. We’ve explored the fundamental grips, from the pinch grip to the pencil grip, and delved into the world of wood carving techniques and safe handling of whittling knives. Each step, each cut, and each shave of the wood is a testament to the human touch, a celebration of the imperfections that make a handmade spoon truly unique. By embracing these techniques and tips, you’re not just crafting a spoon, you’re crafting a story.
As you put down your spoon carving knife and admire your handmade creation, remember that the true beauty of DIY lies in its ability to transform and elevate. It’s about taking a raw piece of wood and turning it into something that holds meaning and character. So, don’t be afraid to experiment, to try new grips, and to push the boundaries of what’s possible with a spoon carving knife. For in the end, it’s not just about the spoon – it’s about the journey, the process, and the story you tell with every cut and every shave.
Frequently Asked Questions
What are the most common mistakes to avoid when learning basic spoon carving knife grips?
My friends, let’s talk about the pitfalls to avoid when mastering those sweet spoon carving knife grips. I’ve seen many a beginner (myself included) fall into the trap of applying too much pressure, or not keeping their knife sharp enough. This can lead to uneven cuts, and even worse, a mangled spoon. So, take it from me, start slow, stay gentle, and keep that blade sharp – your spoons (and your fingers) will thank you.
How do I choose the right type of wood for spoon carving to ensure it works well with my knife grip?
For me, the perfect wood for spoon carving is all about feel and character. I look for hardwoods like maple, cherry, or walnut – they’re sturdy, yet yielding to my knife. Softwoods can be too fragile, while dense woods might be too unforgiving. It’s all about finding that sweet spot where the wood whispers back to my blade.
Can I use a regular knife instead of a spoon carving knife, or are there specific features that make a spoon carving knife essential for mastering the grips?
While you could use a regular knife, my friend, a spoon carving knife’s curved blade and ergonomic handle are designed for comfort and control, making it a game-changer for mastering those precise grips and strokes. Trust me, the right tool makes all the difference in bringing your wooden creations to life.


