A Guide on How to Make Handmade Paper From Scraps
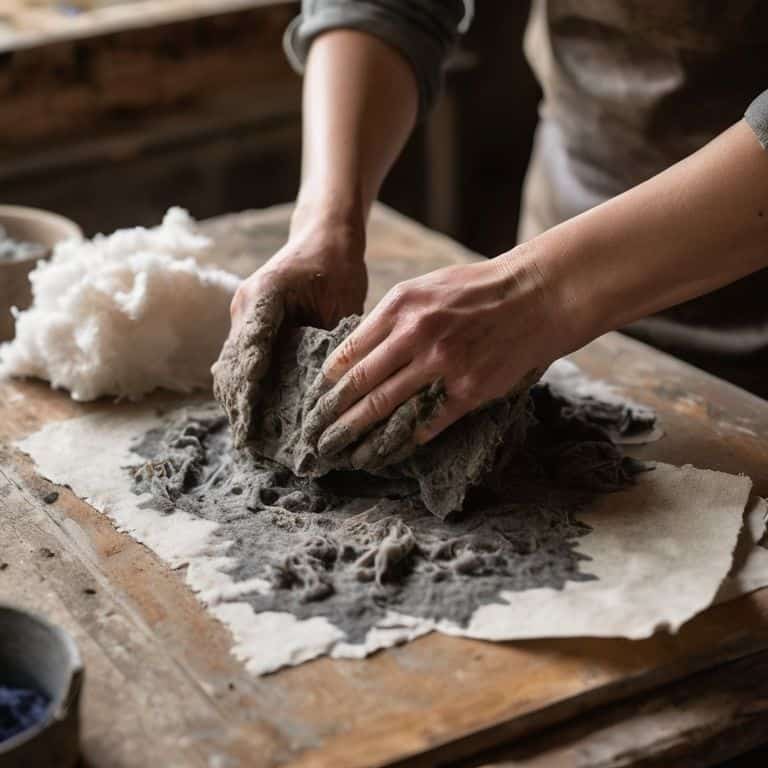
I still remember the first time I attempted to make handmade paper – it was a messy, chaotic process that left me questioning my sanity. The DIY tutorials I followed promised effortless, professional-grade results, but the reality was far from it. As I stood amidst the clutter of my workshop, surrounded by tangled cotton linters and mismatched dyes, I realized that the true beauty of handmade paper lies not in its perfection, but in its imperfections. The journey to creating something unique and personal is just as important as the end result, and that’s exactly what I want to share with you – how to make handmade paper that tells a story.
In this guide, I’ll walk you through the honest, no-frills process of crafting handmade paper that’s full of character. You won’t find any fancy equipment or unrealistic expectations here – just practical advice and a willingness to get your hands dirty. By the end of this article, you’ll know exactly how to make handmade paper that reflects your personality and style, from selecting the right materials to adding those special touches that make it truly one-of-a-kind. Whether you’re a seasoned crafter or a curious beginner, I invite you to join me on this creative journey and discover the joy of giving old materials a new story to tell.
Table of Contents
Guide Overview: What You'll Need
Total Time: 2 hours 30 minutes
Estimated Cost: $20 – $40
Difficulty Level: Intermediate
Tools Required
- Blender (for pulp creation)
- Mold and deckle (or a frame with a mesh screen)
- Sponge (for water removal)
- Iron (for drying and flattening paper)
- Cutting tool (such as scissors or a craft knife)
Supplies & Materials
- Old newspapers or cardboard (for pulp creation)
- Water (for mixing with pulp)
- Glue or starch (optional, for added strength)
- Colorants or dyes (optional, for coloring the paper)
- A surface for drying (such as a table or countertop, measuring 4 feet by 6 feet)
Step-by-Step Instructions
- 1. To start our handmade paper journey, let’s begin by gathering our materials, which include old newspapers, cardboard, water, a blender, a mixing bucket, a mold and deckle (or a simple frame with a mesh screen), and any natural dyes or additives we want to incorporate. I love using items like leaves, flowers, or even coffee stains to give my paper a unique touch.
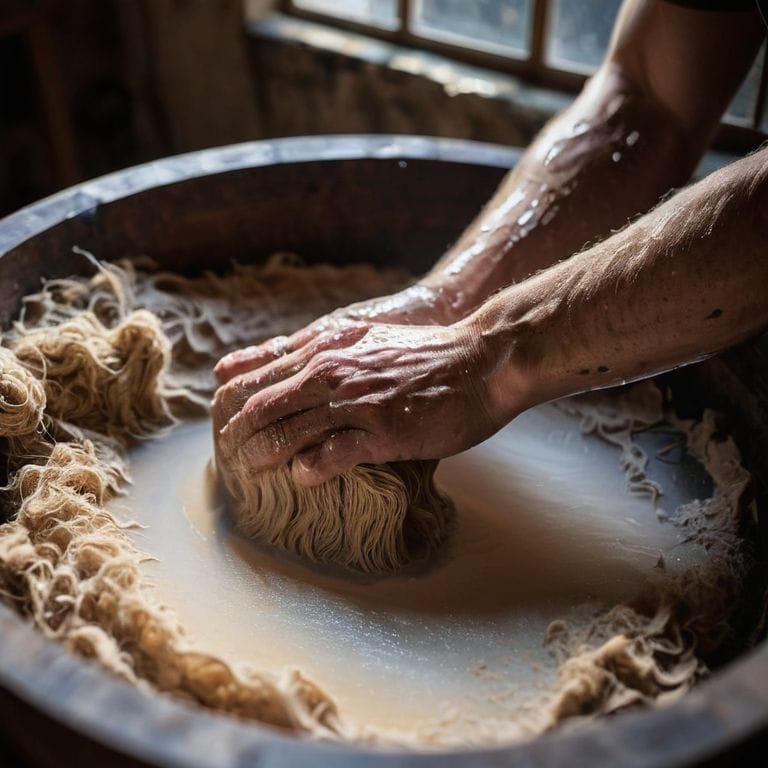
- 2. Next, we’ll be preparing our pulp by tearing the newspapers and cardboard into small pieces and soaking them in water for at least a day. This step is crucial as it allows the fibers to break down, making them easier to blend into a smooth consistency. I find that letting the mixture sit overnight helps to infuse the fibers with character, much like how a good story unfolds over time.
- 3. Now, it’s time to blend our pulp into a workable consistency. Using a blender, blend the soaked fibers with water until you get a smooth, consistent mixture. Be careful not to over-blend, as this can lead to a too-fine pulp that lacks texture. I aim for a mix that’s visually appealing, with slight variations in texture that will add depth to my final paper product.
- 4. With our pulp ready, we’ll move on to adding color and texture. This is where we can get creative, incorporating natural dyes like turmeric for a yellow hue, indigo for a blue shade, or even using coffee for a warm, earthy tone. I also like to add in small items like seeds, leaves, or glitter to give my paper an extra layer of visual interest.
- 5. The next step involves assembling our mold and deckle. If you’re using a frame with a mesh screen, make sure it’s securely attached to prevent any pulp from escaping. For those using a traditional mold and deckle, ensure all parts are well-secured and ready for the pulp. I find that paying attention to the details at this stage is key to achieving a high-quality paper.
- 6. Now, we’ll be pouring the pulp mixture into our prepared mold and deckle. Make sure to pour slowly and evenly, allowing the water to drain through the mesh or screen. Use a gentle stirring motion to distribute the pulp evenly, ensuring that your paper will have a uniform texture.
- 7. After the water has drained, it’s time to press our paper. Using a sponge or a brayer, gently press down on the pulp to remove any excess water. For a more textured look, you can also use a cloth or a paper towel to blot the paper, which helps to enhance the natural fibers and give the paper a more organic feel.
- 8. Finally, we’ll be drying and finishing our handmade paper. Carefully lift the paper off the mold and deckle, and place it on a flat surface to dry. Depending on the humidity, this can take anywhere from a few hours to a couple of days. Once dry, your paper is ready to use for writing, drawing, or any other creative project that comes to mind. I love the feeling of holding a piece of paper that I’ve made myself, knowing that it’s infused with my own story.
Crafting Handmade Paper
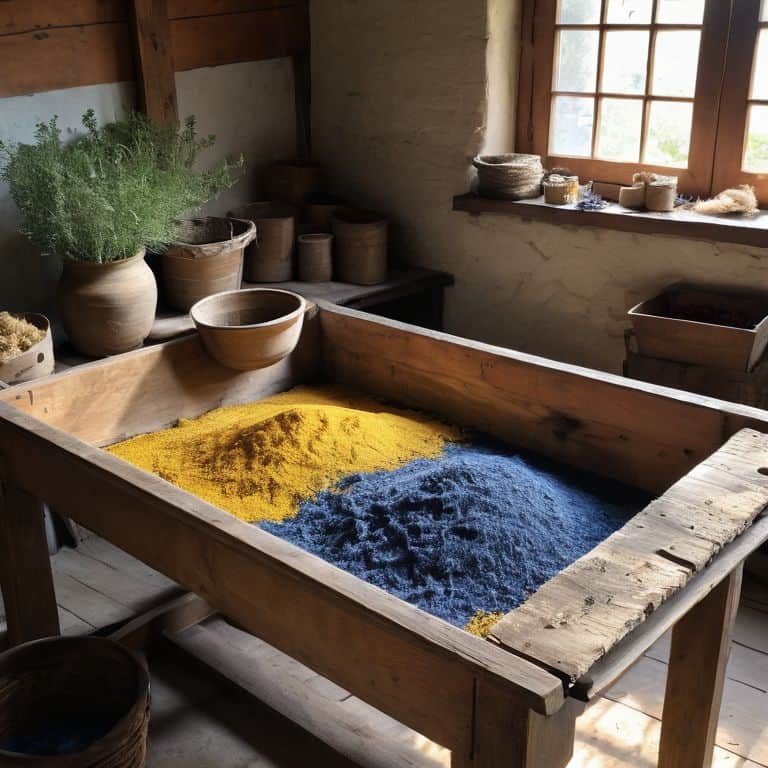
As I delve into the world of natural fiber paper making, I’m constantly amazed by the unique textures and colors that can be achieved. One of my favorite techniques is coloring handmade paper using plant-based dyes, which adds an extra layer of depth and character to the final product. By experimenting with different combinations of natural dyes, you can create a wide range of hues and shades that are perfect for various craft projects.
When it comes to shaping and molding the paper pulp, I’ve found that paper pulp molding techniques can be a bit tricky to master, but the results are well worth the effort. To achieve a smooth, even texture, it’s essential to ensure that the pulp is well-mixed and evenly distributed in the mold. I like to use a combination of traditional and modern tools to create unique patterns and designs, which can add an extra layer of visual interest to the final product.
For those looking to take their handmade paper to the next level, I recommend exploring embellishing handmade paper with various materials like seeds, leaves, or even fabric scraps. This can add a beautiful, organic touch to the paper, making it perfect for special occasions or as a unique gift. By embracing the imperfections and quirks of handmade paper, we can create truly one-of-a-kind pieces that tell a story and reflect our personal style.
Coloring and Embellishing With Soul
As I delve into the world of coloring and embellishing my handmade paper, I feel like a kid in a candy store – the possibilities are endless. I love experimenting with natural dyes like indigo, turmeric, and pomegranate to create unique, earthy hues. Adding a sprinkle of handmade ink or a delicate drawing can transform a simple sheet into a work of art. It’s in these moments that I feel most connected to the craft, like I’m infusing the paper with a piece of my own story.
The imperfections that arise during this process are what make each sheet truly special – a smudge of ink, a variation in color. These are the characteristics that give handmade paper its soul, and what make it so beautifully imperfect.
Natural Fiber Paper Making Techniques
As I delve deeper into the world of handmade paper, I find myself drawn to natural fiber paper making techniques. There’s something special about working with materials like cotton, hemp, and flax, feeling the texture and imperfections that make each sheet unique. I recall a project where I combined cotton linters with dried flowers, creating a delicate, ephemeral quality that seemed to whisper stories of its own.
By experimenting with different natural fibers, you can craft paper that not only reflects your personal style but also tells a story of its own. Whether you’re using recycled denim, old book pages, or plant fibers, the process is just as important as the end result. As you work with these materials, you’ll begin to appreciate the subtle variations in texture, tone, and transparency that make each sheet a one-of-a-kind treasure.
Weaving Stories into Every Sheet: 5 Essential Tips for Handmade Paper Makers
- Start with the heart of your paper: experimenting with different natural fibers like cotton, hemp, or bamboo to create unique textures and strengths
- Embrace the beauty of imperfection: don’t be too hard on yourself if your sheets aren’t perfectly uniform – it’s the quirks that make handmade paper truly special
- Infuse your paper with personal touches: try adding dried flowers, leaves, or even snippets of old book pages to give your creations an extra layer of depth and meaning
- Play with the alchemy of color: natural dyes from plants like indigo, turmeric, or pomegranate can add a rich, earthy palette to your paper, making each sheet a one-of-a-kind treasure
- Slow down and let the process unfold: making handmade paper is a journey, not a race – take your time, and let the rhythmic motion of mixing, screening, and pressing become a form of meditation
Embracing the Art of Handmade Paper: 3 Key Takeaways
As you experiment with handmade paper, remember that it’s the imperfections – the uneven textures, the unexpected color blends – that give your creations character and soul
Natural materials, from cotton linters to hemp, hold a world of possibility for crafting unique paper, each with its own story to tell through its inherent textures and hues
Whether you’re adding a splash of color with plant dyes or embellishing with handmade stamps, the process of crafting handmade paper is a journey of self-expression, inviting you to slow down, get creative, and tell your story, one sheet at a time
The Heart of Handmade
As I mix and mold the pulp, I’m reminded that handmade paper is not just a craft, but a canvas for our stories – every fiber, every texture, and every imperfection a testament to the human touch that brought it to life.
Finn Rivera
Embracing the Art of Handmade Paper
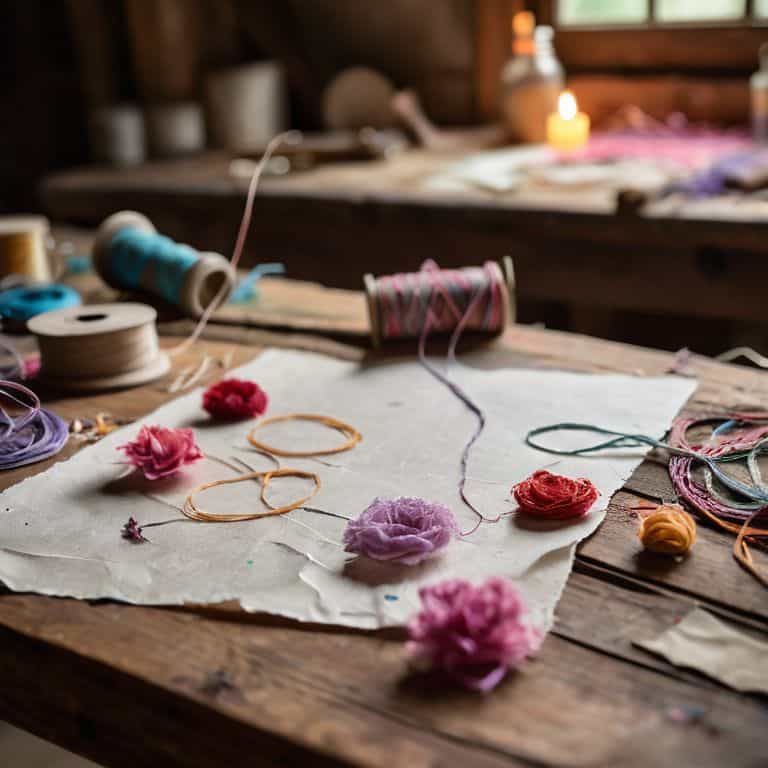
As we conclude this journey of creating handmade paper, let’s take a moment to reflect on the beauty of imperfection that makes each sheet unique. From the initial steps of gathering materials to the final touches of coloring and embellishing, we’ve explored the soulful process of giving old materials a new life. By embracing natural fiber paper making techniques and experimenting with different colors and embellishments, you’ve not only created something with your own hands but also told a story that’s deeply personal.
As you continue to explore the world of handmade paper, remember that the true magic lies not in the end product, but in the journey of creation. So, don’t be afraid to get your hands dirty, to experiment, and to make mistakes. For it’s in these moments of uncertainty that we discover our true creative potential, and the stories we tell through our handmade paper become a reflection of our own unique voice and spirit.
Frequently Asked Questions
What are some common mistakes to avoid when mixing and preparing the pulp for handmade paper?
When mixing pulp, I’ve found that over-blending can lead to a uniform, but soulless, texture. Avoid blending too much, as it can break down the fibers and result in a weak paper. Also, be mindful of the water ratio – too much or too little can affect the pulp’s consistency and the final paper’s quality.
How can I achieve consistent textures and colors in my handmade paper?
To achieve consistent textures and colors, I swear by keeping a ‘paper journal’ to track my recipes and experiments. Note the ratio of fibers, dyes, and additives used in each batch. This helps me identify patterns and make adjustments for a more uniform result.
What are some creative ways to embellish and finish handmade paper for use in journals, cards, or other craft projects?
For me, embellishing handmade paper is where the magic happens. I love adding subtle textures with natural dyes, or incorporating dried flowers and leaves for a whimsical touch. You can also experiment with handmade stamps, or even sew on small pieces of fabric for a unique, tactile element that adds depth to your journals, cards, or other craft projects.