A Simple Guide to Bookbinding for Beginners
I still remember the first time I stumbled upon an old, tattered book in a flea market. The worn leather cover and yellowed pages seemed to whisper stories of their own, and I was captivated by the idea of breathing new life into such a treasured object. As I delved deeper into the world of bookbinding, I discovered that many people believed it to be a daunting, impossible task – a notion that couldn’t be further from the truth. In reality, a guide to bookbinding is more about patience and passion than precision and perfection.
As you embark on this journey with me, I promise to share practical, hands-on advice that will guide you through the process of crafting your own unique, handmade books. From selecting the finest materials to mastering the art of stitching and binding, we’ll explore the intricacies of bookbinding together. My goal is to empower you with the knowledge and confidence to create something truly special – a one-of-a-kind book that reflects your personality and tells a story that’s uniquely yours. With this guide to bookbinding, you’ll discover that the true beauty lies not in the end result, but in the creative process itself.
Table of Contents
Guide Overview: What You'll Need
Total Time: 2 hours 30 minutes
Estimated Cost: $50 – $100
Difficulty Level: Intermediate
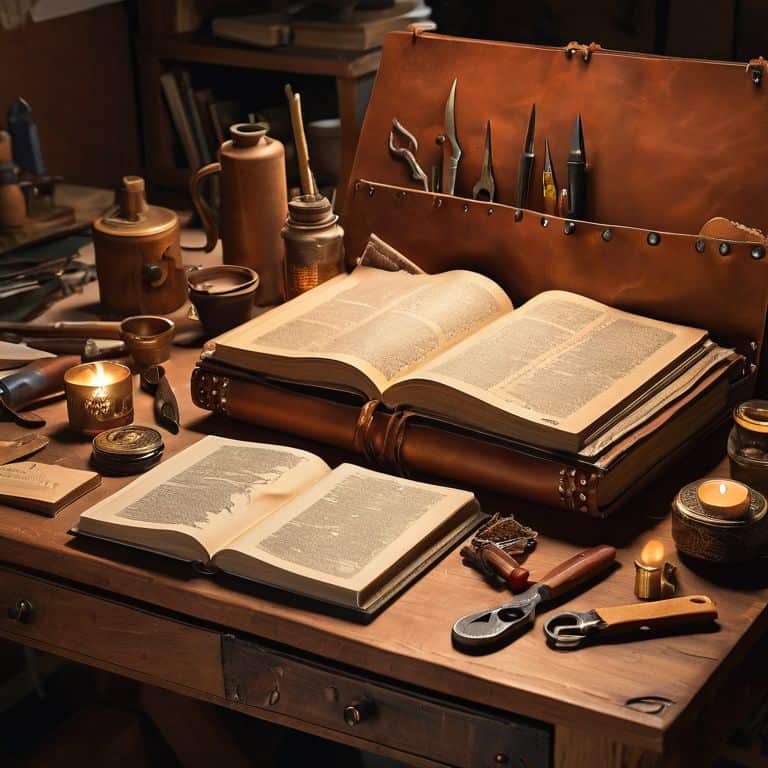
Tools Required
- Bone folder for creasing paper
- Ruler for measuring and cutting
- Utility knife with extra blades
- Scissors sharp and dedicated to cutting paper
- PVA glue for bonding paper and bookboard
- Weighs for pressing books
- Sewing needles for sewing book signatures
Supplies & Materials
- Bookboard thin, stiff board for covers
- Book cloth or paper for covering bookboard
- Paper for book pages, 8.5 inches x 11 inches
- Thread for sewing book signatures
- Headbands optional, for decorative edge
- Endpapers decorative paper for inside covers
Step-by-Step Instructions
- 1. To start our bookbinding journey, let’s begin with preparing the materials. I find that selecting the right paper is crucial, as it sets the tone for the entire project. Choose a paper that resonates with you, whether it’s a vibrant color or a classic, earthy tone. For this project, I’ll be using a beautiful, textured paper that I found at a local artisan market.
- 2. Next, we’ll move on to creating the book’s skeleton, which consists of the cover boards, spine, and pages. I like to think of this step as building a foundation, where every element works together to create a sturdy and beautiful book. Cut your cover boards to the desired size, making sure they’re slightly larger than the pages. This will give your book a comfortable, snug fit.
- 3. Now it’s time to prepare the spine of the book, which is essentially the backbone that holds everything together. Cut a piece of sturdy material, such as bookboard or thick cardboard, to the same height as your cover boards. This will provide the necessary support for your book’s pages. I find that using a bone folder helps to create a crisp, sharp fold in the material.
- 4. With our spine ready, let’s move on to attaching the cover boards. Apply a thin layer of adhesive, such as PVA glue or a similar bookbinding glue, to the spine and carefully attach the cover boards. Make sure they’re evenly spaced and securely attached. I like to use clamps to hold everything in place while the glue dries.
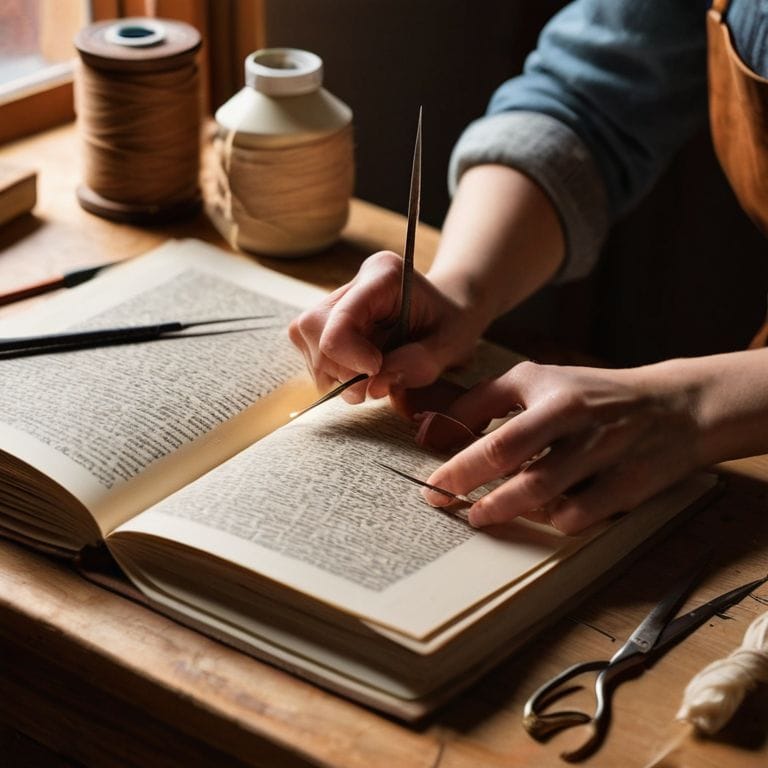
- 5. It’s now time to add the pages to our book. This is the part where your story comes alive, as you fill the pages with your thoughts, ideas, and creativity. Use a sewing technique, such as the Coptic stitch or the longstitch, to attach the pages to the spine. I find that using a sewing frame helps to keep the pages aligned and evenly spaced.
- 6. As we near the end of our bookbinding journey, let’s add a decorative touch to the cover. You can use a variety of materials, such as leather, fabric, or paper, to create a unique and eye-catching design. I’ll be using a beautiful, hand-tooled leather that I’ve been saving for a special project. Apply the decorative material to the cover boards, making sure it’s evenly spaced and securely attached.
- 7. Finally, let’s add the finishing touches to our book. This can include adding a title, author name, or other decorative elements. I like to use a gold leaf or a similar metallic paint to add a touch of elegance to the cover. With our book now complete, take a step back and admire your handiwork. You’ve created something truly special – a one-of-a-kind, handmade book that tells a story all its own.
A Guide to Bookbinding
As I delve deeper into the world of bookbinding, I’ve come to realize that it’s not just about binding pages together, but about creating a unique piece of art that tells a story. For beginners, it’s essential to start with simple bookbinding techniques for beginners, such as the Coptic stitch or the longstitch. These methods allow you to create a beautiful, handmade journal that can be treasured for years to come.
One of my favorite aspects of bookbinding is the ability to experiment with different materials and techniques, such as leather bookbinding tutorial or paper marbling for book covers. These techniques can add an extra layer of depth and character to your handmade journals, making them truly one-of-a-kind. When it comes to book conservation methods, it’s crucial to handle the materials with care and attention to detail to ensure that your creations stand the test of time.
As you continue on your bookbinding journey, don’t be afraid to explore and try out new bookbinding tools and materials. Remember, the imperfections and unique characteristics of handmade objects are what give them their soul. By embracing the process and experimenting with different techniques, you’ll be able to create beautiful, functional pieces that reflect your personality and style, making each handmade journal a true reflection of yourself.
Crafting Leather Book Covers
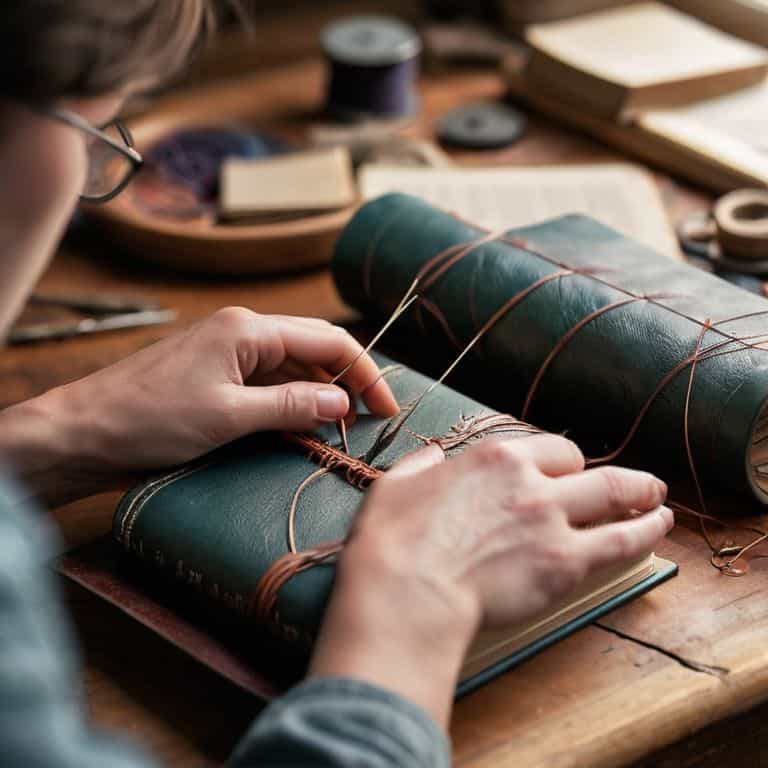
As I work with leather, I feel a deep connection to the natural world. The smell of the hide, the feel of the grain beneath my fingers – it’s almost meditative. To craft a leather book cover, I start by selecting a piece of leather that speaks to me, often with unique imperfections that will become part of the story. I then cut and shape it to fit the book, using a combination of traditional tools and techniques passed down through apprenticeships. The process is deliberate and slow, allowing me to fully immerse myself in the craft.
With the leather cut and shaped, I begin to add the details – the stitching, the embossing, the subtle touches that bring the cover to life. It’s a dance between the leather and my hands, each step informing the next. The result is a cover that not only protects the book but also becomes a part of its narrative, a tangible expression of the love and care that goes into creating something by hand.
Unfolding Bookbinding Techniques
As I delve deeper into the world of bookbinding, I’m constantly fascinated by the array of techniques that can be used to bring a book to life. From the simplicity of a single-section binding to the complexity of a multi-section sewn binding, each method tells a unique story. I’ve found that experimenting with different techniques not only hones my craft but also allows me to connect with the materials on a deeper level.
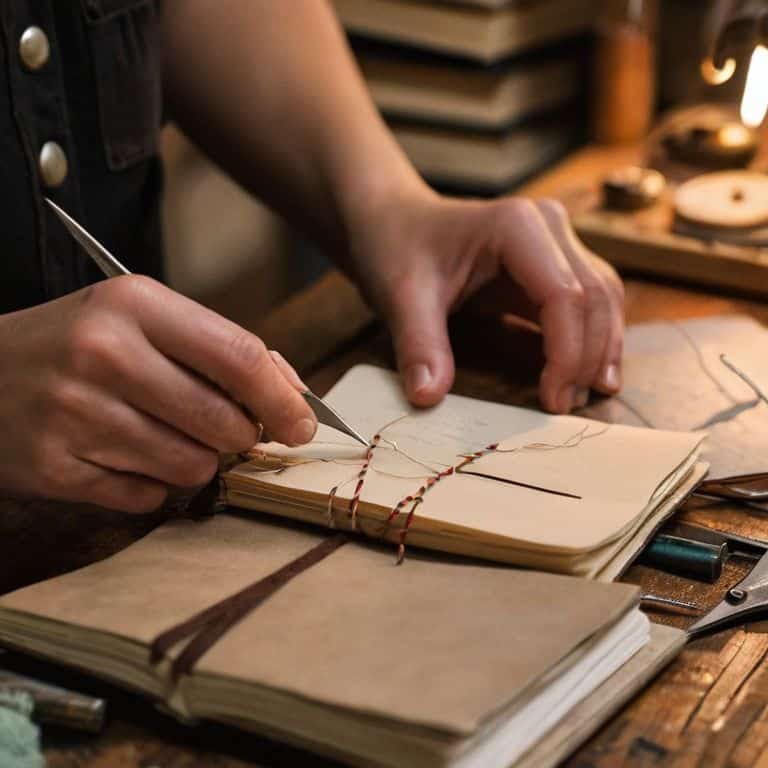
My favorite technique to teach in workshops is the longstitch method, which involves sewing the sections of the book together using a simple yet elegant stitch. There’s something therapeutic about the process, and the end result is always a beautifully crafted book that feels truly handmade.
Binding Wisdom: 5 Essential Tips for the Aspiring Bookbinder
- I always start by selecting the perfect paper, considering factors like texture, weight, and color to ensure it complements the story within
- Investing in quality bookbinding tools, such as a bone folder and a sewing frame, will make all the difference in achieving professional-looking results
- Don’t be afraid to experiment with unique materials for your book covers, like reclaimed wood, vintage fabrics, or even handmade ceramics
- Taking the time to properly measure and cut your bookboard and paper will save you from frustrating mistakes and ensure a beautiful, lasting bind
- Embracing the imperfections that come with handmade bookbinding, like slight variations in stitch spacing or cover texture, is what gives your creations character and soul
Embracing the Art of Bookbinding: 3 Key Takeaways
I’ve found that the most beautiful books are those that bear the imperfections of human touch, reminding us that it’s the imperfections that make a handmade object truly unique and soulful
By combining traditional bookbinding techniques with personal touches, such as custom leather covers or hand-stitched pages, you can create a one-of-a-kind book that tells a story of its own
Whether you’re restoring an old classic or crafting a new journal from scratch, the process of bookbinding is a journey that invites you to slow down, appreciate the beauty of natural materials, and infuse your creations with a piece of yourself
The Heart of Bookbinding
For me, bookbinding is about more than just threads and pages – it’s about weaving stories, preserving memories, and giving old tales a new voice, one carefully crafted stitch at a time.
Finn Rivera
Embracing the Art of Bookbinding
As I reflect on our journey through the world of bookbinding, I’m reminded of the importance of patience and attention to detail that this craft demands. From the initial steps of preparing your materials to the final touches of crafting a beautiful leather book cover, every moment is an opportunity to infuse your project with personality and character. By embracing the imperfections that arise during the process, you’re not only creating a unique piece but also telling a story that is deeply personal. Whether you’re a seasoned artisan or just beginning to explore the realm of DIY, bookbinding offers a profound sense of accomplishment and connection to the physical world.
As you close this guide and perhaps look at the books on your shelf with new eyes, I hope you’re inspired to unleash your creativity and give old stories new life. Remember, the true beauty of bookbinding lies not just in the end result, but in the journey itself—the smell of leather, the feel of paper between your fingers, and the knowledge that you’ve created something with your own hands. So, take a deep breath, gather your materials, and start your next project, for in the world of bookbinding, every new page is a chance to write a piece of yourself into existence.
Frequently Asked Questions
What are some common mistakes to avoid when first starting out with bookbinding?
When I first started bookbinding, I’d often rush the drying process or overtighten the stitches, causing the pages to pucker. Now, I make sure to take my time and let each step set properly, allowing the materials to guide my hands. It’s all about patience and gentle touch – remember, it’s a conversation with the paper, leather, and thread.
How do I choose the right type of leather for my book cover?
Choosing the right leather for your book cover is all about feel and character. I look for hides with unique imperfections – scars, wrinkles, or natural textures that tell a story. Consider the color, thickness, and suppleness you want, and don’t be afraid to experiment with different types, like suede or distressed leather, to find the one that speaks to you.
Can I use recycled or repurposed materials for the pages and covers of my handmade book?
I love experimenting with recycled materials, and yes, you can definitely use them for your book’s pages and covers. Old maps, music sheets, or even fabric scraps can add a unique character to your handmade book, giving it a story of its own. Get creative and see what treasures you can upcycle into your project!


