A Crafter’s Guide on How to Make Scented Candles
As I sit in my workshop, surrounded by the soft glow of candles and the scent of wax and essential oils, I’m reminded of the joy that comes from creating something with your own hands. Learning how to make scented candles is often perceived as a complicated process, but I’m here to tell you that it’s quite the opposite. With a few simple materials and some patience, you can craft your own unique candles that tell a story and fill your home with warmth.
In this guide, I’ll share my personal approach to making scented candles, one that emphasizes the importance of natural materials and the value of handmade imperfections. You’ll learn how to select the right waxes, essential oils, and colors to create a truly personalized candle. I’ll walk you through each step, from preparing the melted wax to adding the perfect blend of scents. By the end of this journey, you’ll have the confidence to create your own scented candle masterpieces, each one infused with your own story and character.
Table of Contents
- Guide Overview: What You'll Need
- Step-by-Step Instructions
- Crafting Scented Candle Magic
- Illuminating Insights: 5 Essential Tips for Crafting Enchanting Scented Candles
- Embracing the Art of Scented Candle Making: Key Takeaways
- The Heart of Candle Making
- Embracing the Art of Scented Candle Making
- Frequently Asked Questions
Guide Overview: What You'll Need

Total Time: 2 hours 30 minutes
Estimated Cost: $20 – $40
Difficulty Level: Intermediate
Tools Required
- Double Boiler (or a heat-resistant glass bowl)
- Candle Mold (available in various shapes and sizes)
- Colorant (optional, for colored candles)
- Thermometer (for monitoring temperature)
- Wick Trimmer (for trimming the wick to 1/4 inch
Supplies & Materials
- Wax (available in various types, such as soy or paraffin)
- Wick (made of cotton, paper, or another material)
- Melting Pot (a dedicated pot for melting wax)
- Fragrance Oils (for scenting the candle)
- Rubber Spatula (for stirring and pouring wax)
Step-by-Step Instructions
- 1. To start our journey into the world of scented candles, we need to gather our materials. This includes wax, which is the foundation of our candle. I prefer using soy wax or beeswax for their unique textures and eco-friendly properties. Alongside the wax, we’ll need a wick, melting pot, colorants (if desired), and fragrance oils. The quality of these materials will significantly impact the final product, so choose them wisely.
- 2. Next, we’ll prepare our melting pot. This is where the magic begins, as we transform solid wax into a liquid, pliable state. Ensure your melting pot is clean and dry to avoid any contamination. Place the wax into the pot and heat it until it reaches the melting point. This process requires patience, as rushing it can lead to uneven heating and potentially ruin our wax.
- 3. Once the wax is fully melted, it’s time to add the fragrance oils. This is where you get to infuse your candle with personality. Choose scents that evoke emotions or remind you of special places. The general rule of thumb is to use about 5-10% of the total weight of the wax in fragrance oils. However, this can vary depending on the strength of the scent and your personal preference.
- 4. With our wax melted and fragranced, we can now add colorants if we wish to give our candle a unique hue. This step is optional, but it can add an extra layer of character to our final product. Use candle dye blocks or powders specifically designed for candle-making to ensure they melt evenly and don’t affect the burn of the candle.
- 5. It’s now time to prepare our mold. This will give our candle its shape. Before pouring the wax mixture into the mold, make sure it’s clean and dry. If you’re using a silicone mold, you can lightly spray it with cooking spray to ensure the candle will release easily once it’s set.
- 6. Carefully pour the wax mixture into the mold, making sure to fill it to the top. Then, take a moment to center the wick. This is a crucial step, as an off-center wick can lead to an uneven burn. Use a wick tab or a wick clip to secure it in place if your mold doesn’t have a built-in wick holder.
- 7. Allow the wax to cool and solidify. This is the hardest part – waiting. Depending on the size of your candle, this can take anywhere from 30 minutes to several hours. Once the wax is solid, your candle is ready to be removed from the mold. If it doesn’t come out easily, you can gently heat the outside of the mold or place it in the freezer for a few minutes to help it release.
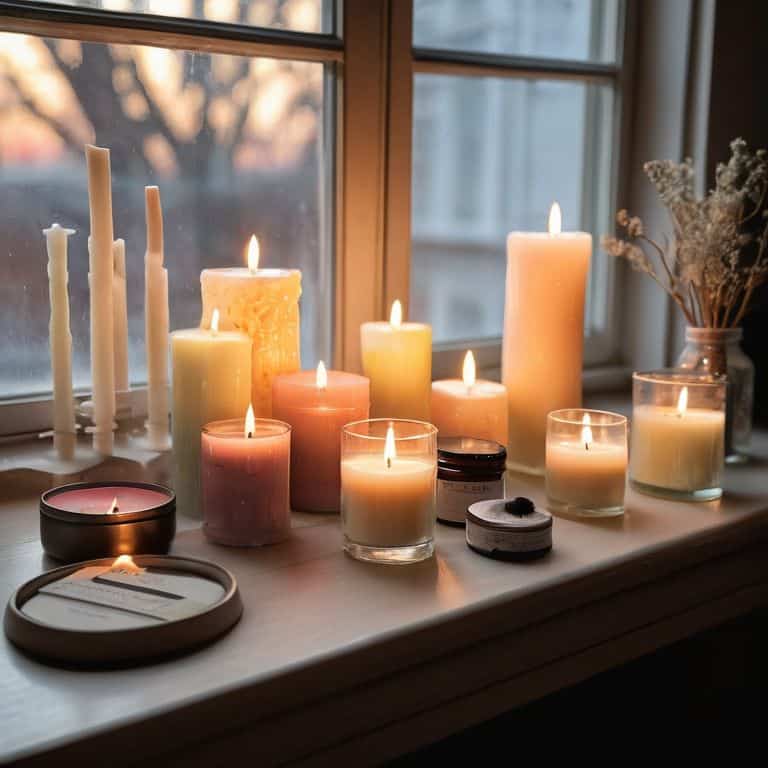
- 8. Finally, trim the wick to about 1/4 inch to ensure a clean, even burn. Your scented candle is now ready to use. Place it in a spot where it can safely burn, and enjoy the ambiance and fragrance it brings to your space. Remember, the first burn is crucial, as it sets the memory of the wick. Allow it to burn until the wax pool reaches the edges of the candle to prevent tunneling.
Crafting Scented Candle Magic
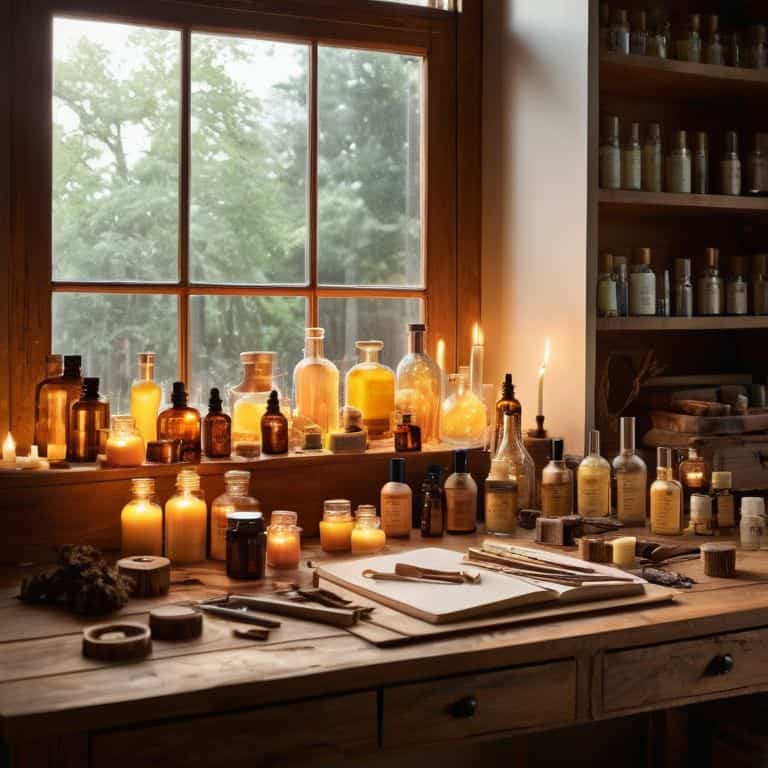
As I delve deeper into the world of candle making, I’ve come to realize that it’s not just about following a set of instructions, but about crafting an experience. The right _scented candle fragrance options_ can evoke emotions, spark memories, and even influence our mood. When selecting fragrances, consider the ambiance you want to create – whether it’s the warmth of vanilla or the invigoration of citrus.
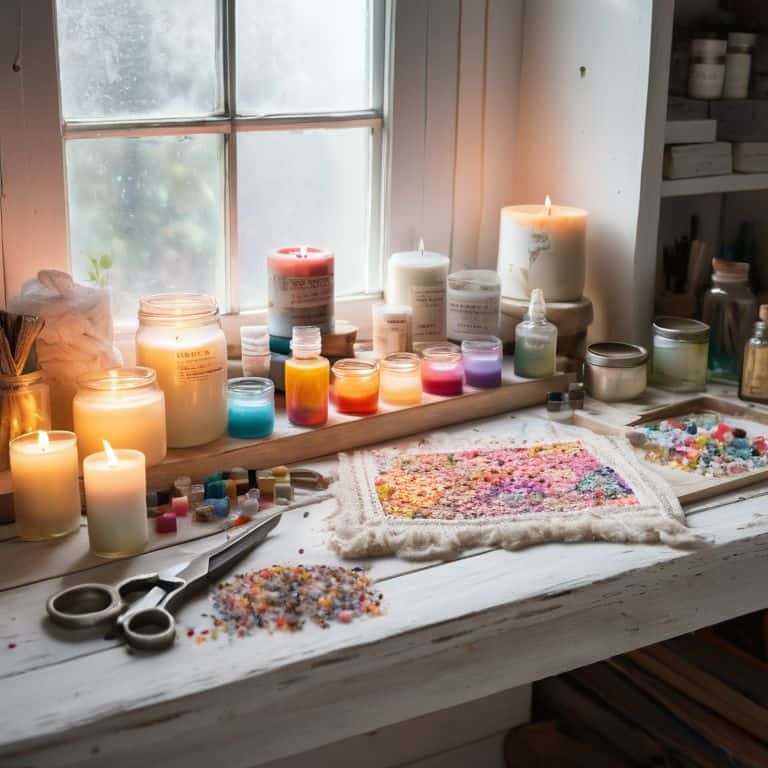
To add an extra layer of personalization, you can experiment with _coloring scented candles with dyes_. This technique allows you to match your candle to your home decor or reflect the mood of the fragrance. Just remember to use high-quality dyes that are specifically designed for candle making to ensure even color distribution and a smooth finish.
As you refine your candle making skills, don’t forget to prioritize _safety precautions for candle making_. This includes working in a well-ventilated area, keeping flammable materials away, and never leaving a burning candle unattended. By taking these precautions, you can focus on the therapeutic benefits of scented candles, from reducing stress to promoting relaxation, and enjoy the fruits of your labor in peace.
Exploring Scented Candle Fragrance Options
As I delve into the world of scented candles, I’m constantly fascinated by the array of fragrance options available. From the sweetness of vanilla to the earthiness of lavender, each scent has the power to evoke a unique emotion or memory. When selecting a fragrance, I consider the ambiance I want to create – a relaxing atmosphere, a energizing vibe, or a cozy warmth. The choices are endless, and I love experimenting with different essential oils to craft one-of-a-kind scents that tell a personal story.
I’ve found that combining fragrances can lead to incredible results, like pairing citrus notes with herbal undertones to create a refreshing and uplifting aroma. The key is to balance and harmonize the scents, allowing each to complement the others and fill the space with a captivating fragrance that’s truly yours.
Unlocking Candle Making Techniques
As I delve deeper into the world of candle making, I’ve come to realize that it’s not just about melting wax and adding fragrances. It’s an art form that requires patience, attention to detail, and a willingness to experiment. To unlock the full potential of candle making, one must be willing to try new techniques, such as layering different colors or textures, to create unique and captivating visual effects. By embracing the unknown and pushing the boundaries of traditional candle making, we can create truly one-of-a-kind pieces that reflect our personalities and styles.
Through my own journey, I’ve discovered that the key to mastering candle making lies in understanding the nuances of wax, fragrance, and heat. By controlling these elements, we can coax out the full beauty of our creations, from the subtle dance of the flame to the intoxicating aroma that fills the air.
Illuminating Insights: 5 Essential Tips for Crafting Enchanting Scented Candles
- Let the scent of your candle tell a story – choose fragrances that evoke memories or emotions, like the smell of old books or a walk in the forest
- Experiment with unique wax blends, such as combining soy and beeswax, to create a truly distinctive texture and burn
- Pay homage to the imperfections – embrace the natural, handmade quality of your candle by leaving some edges rough or intentionally imperfect
- Consider the ambiance you want to create – from soft, warm glows for cozy nights in to vibrant, uplifting scents for morning motivation
- Make it a sensory experience – add herbs, spices, or botanicals to your melted wax for an extra layer of depth and visual interest
Embracing the Art of Scented Candle Making: Key Takeaways
Ignite your space with love and light by crafting scented candles that tell a story, using simple, heartfelt techniques to give new life to everyday materials
Unlock the magic of candle making by exploring various techniques, from layering colors to creating unique fragrance blends that evoke memories and emotions
Transform your home into a sanctuary by filling it with the warm, inviting glow of handmade scented candles, each one a reflection of your personal touch and creativity
The Heart of Candle Making
As we pour the wax, we’re not just filling a mold, we’re filling a space with stories, with memories, and with the essence of our being; the gentle flicker of a scented candle is a reminder that even in stillness, there is warmth and life.
Finn Rivera
Embracing the Art of Scented Candle Making
As we conclude our journey through the world of scented candles, let’s reflect on the key elements that bring this craft to life. From the careful selection of wax and wicks to the artistic blending of fragrances, each step is a testament to the beauty of handmade objects. We’ve explored various techniques, from basic pouring methods to more intricate designs, and delved into the vast array of scents that can evoke emotions, memories, and atmospheres. By mastering these skills, you’re not just creating scented candles; you’re crafting ambient experiences that can transform any space into a sanctuary of warmth and comfort.
The true magic of making scented candles lies not just in the end product, but in the creative process itself. It’s about embracing the imperfections, the experimentation, and the joy of bringing something into being with your own hands. As you continue on your candle-making journey, remember that every candle you craft is a story told through scent and light. So, let your imagination glow bright, and may the soft flicker of your handmade candles inspire you to create, to dream, and to fill your life with the beauty of the handmade.
Frequently Asked Questions
What are the safest practices for melting wax when making scented candles?
When melting wax, safety is paramount. I always use a double boiler or a dedicated candle-making pot to avoid direct heat, which can cause wax to burn or become discolored. Keeping the temperature low and steady, around 180-200°F, ensures a smooth melt and helps prevent accidents.
How can I ensure that my scented candles have a consistent and strong fragrance throw?
To achieve a consistent and strong fragrance throw, I recommend using high-quality essential oils and ensuring the right wax-to-fragrance ratio. Experiment with different percentages, but generally, 6-8% fragrance load works well. Also, consider the melting point of your wax and the strength of your scent – a well-balanced blend will fill your space with a warm, inviting aroma.
What are some unique and creative ways to customize the color and texture of my handmade scented candles?
To add a personal touch, I love experimenting with natural colorants like beetroot, turmeric, and spirulina, and incorporating textures from herbs, spices, and botanicals – it’s amazing how a sprinkle of dried rose petals or a drizzle of honey can elevate a candle’s character.


