A Guide to Video Editing Software: Which Is Right for You?
I still remember the first time I sat in front of a video editing software, feeling both excited and overwhelmed by the endless possibilities. As a documentary filmmaker, I’ve learned that a good a guide to video editing software is not just about technical skills, but about understanding the emotional core of your story. So, let’s debunk a common myth: you don’t need to be a tech genius to master video editing. With the right tools and a clear vision, anyone can turn their raw footage into a cinematic masterpiece.
In this article, I’ll share my personal experience and practical advice on how to navigate the world of a guide to video editing software. You’ll learn how to tame the timeline, choose the right software for your project, and bring your story to life with color grading and sound design. My goal is to demystify the editing process and provide you with honest, no-hype guidance on how to create videos that have a real emotional impact. Whether you’re a beginner or an experienced filmmaker, this guide will help you unlock the full potential of your footage and tell the story that matters most to you.
Table of Contents
Guide Overview: What You'll Need

Total Time: 2 hours 30 minutes
Estimated Cost: $0 – $100
Difficulty Level: Intermediate
Tools Required
- Computer (with internet connection)
- Video Editing Software (free or paid versions)
Supplies & Materials
- Video Footage (personal or stock footage)
- Audio Files (music or sound effects)
- Storage Space (at least 256 gigabytes)
Step-by-Step Instructions
- 1. First, let’s start by choosing the right video editing software for your project. With so many options available, it can be overwhelming to decide which one to use. I recommend exploring popular options like Adobe Premiere Pro, Final Cut Pro, or DaVinci Resolve, and reading reviews to find the one that best fits your needs and skill level. Consider factors like compatibility, user interface, and the types of effects and transitions you want to achieve.
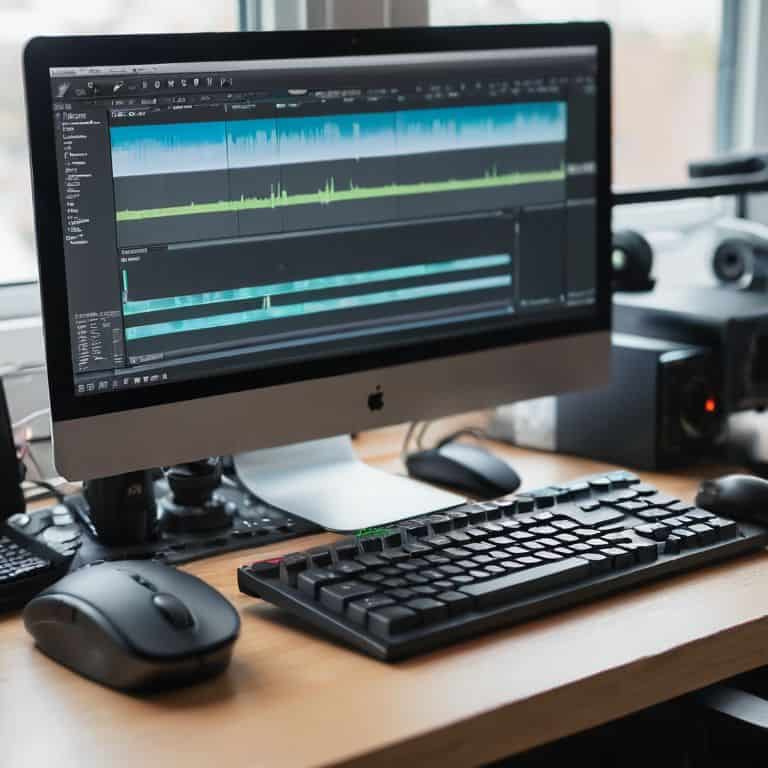
- 2. Next, familiarize yourself with the software’s interface. Take some time to explore the different panels, menus, and tools. Understand how to import media, create a new project, and set up your timeline. Don’t be afraid to watch tutorials or online courses to get a better grasp of the software’s capabilities and shortcuts. I personally love watching director’s commentary tracks to learn from other filmmakers and get inspiration for my own projects.
- 3. Now, let’s import your media into the software. This can include video clips, audio files, images, and any other elements you want to include in your project. Make sure to organize your media in a logical and consistent way, using folders and labels to keep track of your assets. I like to create a separate folder for each scene or location to keep my media tidy and easily accessible.
- 4. Once your media is imported, it’s time to start building your timeline. This is where the magic happens, and your story starts to take shape. Begin by creating a rough cut, arranging your clips in a basic order and trimming them to the right length. Don’t worry too much about perfection at this stage – just focus on getting the overall flow and pacing of your project right.
- 5. With your rough cut in place, you can start to add transitions and effects to enhance the visual flow of your project. Be careful not to overdo it, as too many transitions can be distracting and take away from the emotional impact of your story. I like to use subtle fades and dissolves to create a sense of continuity between scenes. Remember, the goal is to serve the story, not to show off your software skills.
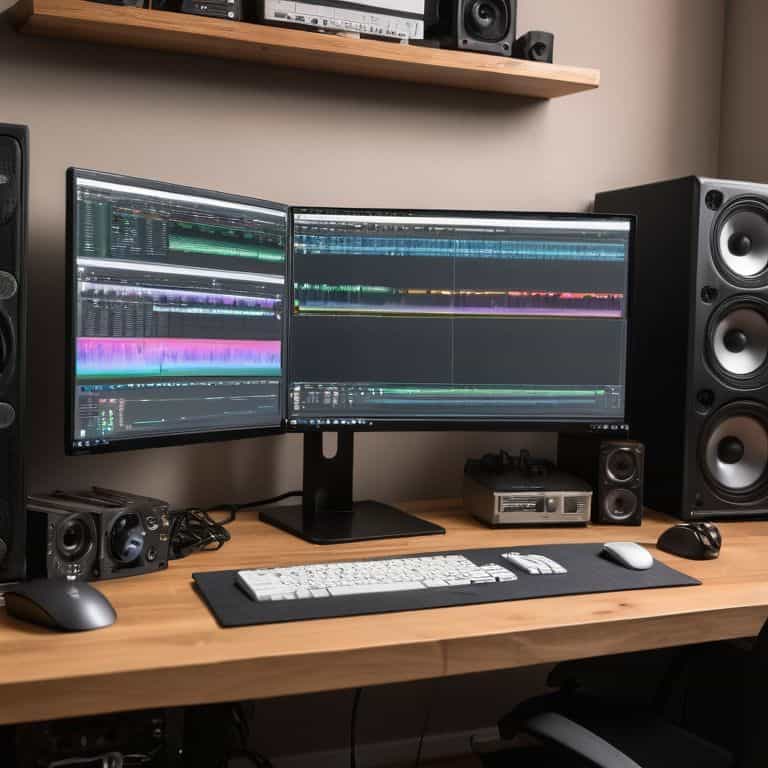
- 6. Next, let’s talk about sound design, which I believe is 50% of the film. Good sound design can make or break the emotional impact of your project. Start by adding music and sound effects to your timeline, and experiment with different levels and panning to create a immersive audio experience. Don’t forget to add subtitles and closed captions to make your project more accessible to a wider audience.
- 7. As you continue to refine your project, it’s essential to experiment with color grading to create a consistent look and feel. Color grading can completely transform the mood and atmosphere of your project, and it’s an area where I personally love to get creative. Use the software’s built-in color tools to adjust the brightness, contrast, and saturation of your clips, and don’t be afraid to try out different presets and LUTs to find the perfect look for your project.
- 8. Finally, let’s preview and export your final project. Make sure to review your work carefully, checking for any errors or inconsistencies. Once you’re happy with the result, export your project in the desired format, whether it’s for online streaming, DVD, or film festival submission. I always take a deep breath before hitting the export button, knowing that my project is ready to be shared with the world.
A Guide to Video Editing Software
As I dive deeper into the world of video editing, I want to share some advanced video editing tips that have helped me refine my craft. One of the most crucial aspects of editing is developing a consistent video editing workflow optimization strategy. This means organizing your footage, audio, and visual effects in a way that streamlines your process and saves you time in the long run.
When it comes to color grading techniques, I’m obsessed with the emotional impact it can have on a scene. By adjusting the color palette, you can completely transform the mood and atmosphere of your film. For example, a warm color grade can evoke feelings of nostalgia and comfort, while a cool color grade can create a sense of tension and unease. As a filmmaker, it’s essential to understand how to use color to tell your story and engage your audience.
For those just starting out, I recommend exploring beginner video editing tutorials to get a feel for the basics. Once you’ve mastered the fundamentals, you can start experimenting with more advanced techniques, such as multi-camera editing and video editing for social media. Remember, the key to creating compelling videos is to focus on the story and emotional resonance, rather than just the technical aspects of editing.
Mastering Advanced Color Grading Techniques
As I dive into the world of advanced color grading, I’m reminded of the iconic films that have mastered this art. Think of the eerie tones in “Blade Runner” or the vibrant hues in “The Grand Budapest Hotel”. Color grading is not just about correcting exposure, it’s about evoking emotions and setting the tone for your story. With the right video editing software, you can unlock a world of creative possibilities and take your footage from ordinary to extraordinary.
By experimenting with different color palettes, curves, and LUTs, you can add depth and nuance to your narrative. I love using color grading to enhance the mood and atmosphere of a scene, drawing the viewer into the world I’ve created. Whether it’s a subtle tweak or a bold transformation, advanced color grading techniques can make all the difference in bringing your vision to life.
Unleashing Beginner Video Editing Magic
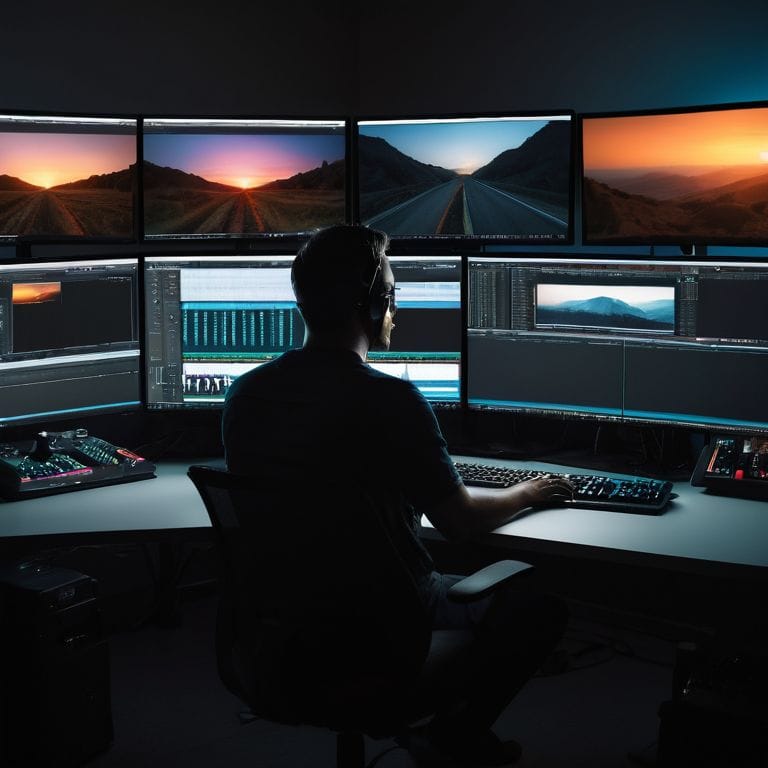
As I sit in my editing suite, surrounded by vintage cinema lenses and sound design equipment, I’m reminded that the true magic of filmmaking happens in the edit. For beginners, video editing software can seem daunting, but trust me, it’s the key to unlocking your unique voice. I’ve worked with numerous editing tools, and I’m excited to share my insights on how to choose the right one for your project. Whether you’re working on a short film, documentary, or branded content, the right software will help you shape your story and evoke emotions in your audience.
When selecting video editing software, consider your project’s specific needs and your personal workflow. Do you need advanced color grading tools or multi-camera editing capabilities? Are you working on a tight deadline or have the luxury of time to experiment? By understanding your needs and the software’s capabilities, you’ll be able to unleash your creative vision and bring your story to life.
Unlocking the Power of Video Editing: 5 Essential Tips
- Taming the Timeline: Understanding the fundamentals of video editing software is crucial, from navigating the interface to mastering the art of cutting and arranging clips
- Coloring Outside the Lines: Advanced color grading techniques can make or break the mood of your film – learn how to harness the power of color to evoke emotions and set the tone
- Soundscaping 101: Remember, sound design is 50% of the film – discover the secrets of creating an immersive audio experience that complements your visuals and draws the viewer in
- Finding the Rhythm: Pacing is everything in video editing – learn how to create a sense of tension and release, and how to use music and sound effects to enhance the emotional impact of your story
- Beyond the Basics: Experimenting with advanced video editing features like multi-camera editing, 360-degree video, and motion graphics can take your filmmaking to the next level – don’t be afraid to push the boundaries and try new things
Key Takeaways for Aspiring Filmmakers
Embracing the right video editing software can elevate your storytelling, transforming raw footage into a captivating cinematic experience
Mastering advanced color grading techniques and sound design can make up 50% of your film’s emotional impact, drawing your audience into the narrative
By focusing on the editing process, rather than just the footage, you can unlock the true potential of your film, creating a compelling story that resonates with viewers
Unlocking the Power of Video Editing
The edit is where the real storytelling begins, and with the right video editing software, you can transform your footage into a cinematic experience that resonates with your audience on a deeper level.
Maya Jenson
Bringing Your Vision to Life
As we conclude this journey through the world of video editing software, remember that the key to unlocking your full creative potential lies in understanding the intricacies of storytelling. We’ve explored the foundational steps of video editing, from the initial import of your footage to the final export of your masterpiece. Along the way, we’ve touched on advanced color grading techniques and the importance of sound design in elevating your narrative. By mastering these elements, you’ll be well on your way to crafting compelling stories that resonate with your audience.
As you embark on your own video editing endeavors, keep in mind that the true magic happens in the edit. It’s where your vision comes to life, and your story takes on a rhythm and emotion all its own. Don’t be afraid to experiment, to try new things, and to push the boundaries of what’s possible. With dedication and practice, you’ll find that your videos are not just a collection of clips, but a symphony of sound and image that leaves a lasting impact on all who experience them.
Frequently Asked Questions
What are the key features I should look for when choosing a video editing software?
When selecting a video editing software, I look for key features like intuitive interface, advanced color grading tools, and seamless audio design integration. Consider the software’s compatibility with your camera’s file format, as well as its ability to handle 4K resolution and high frame rates.
How do I ensure a seamless transition between different clips and scenes in my edit?
To ensure seamless transitions, I swear by the power of matching action and continuity between clips. It’s all about creating a visual flow that guides the viewer’s eye. I also love using L-cuts and J-cuts to blend audio and video, making the edit almost invisible. Experiment with different techniques to find what works best for your story.
Can you recommend any specific video editing software for beginners that is both user-friendly and affordable?
For beginners, I swear by Adobe Premiere Elements or DaVinci Resolve – both are incredibly user-friendly and affordable. Premiere Elements is great for those new to editing, with intuitive tools and guided workflows, while DaVinci Resolve offers a free version with impressive color grading capabilities.