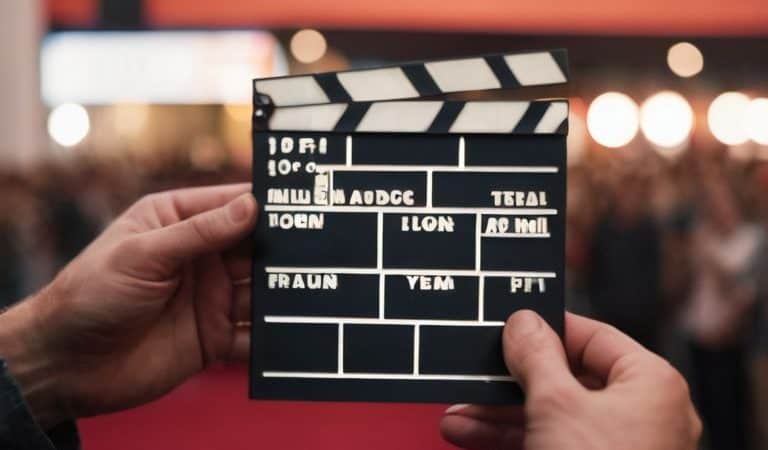
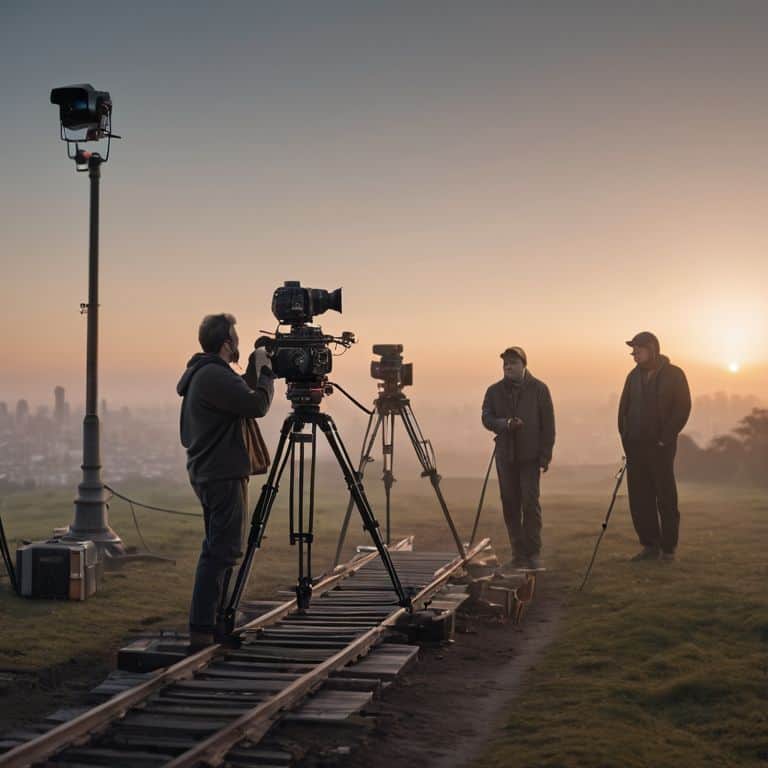
A Guide to Cinematography: the Art of Visual Storytelling
I still remember the first time I realized that a guide to cinematography wasn’t just about pointing a camera and capturing beautiful footage. I was working on a documentary project, and my team was struggling to bring the story to life. We had all the technical skills, but something was missing. That’s when I learned that cinematography is not just about the camera; it’s about creating a mood and evoking emotions in your audience. As I delved deeper into the world of cinematography, I discovered that it’s an art form that requires a deep understanding of lighting, composition, and movement.
In this article, I’ll share my honest, no-hype advice on how to create stunning cinematography that tells a story. You’ll learn how to balance technical skills with creative vision, and how to use cinematography to enhance the narrative of your film. I’ll take you through my personal approach to cinematography, from pre-production to post-production, and share practical tips on how to bring your footage to life. Whether you’re a beginner or an experienced filmmaker, this guide will help you unlock the secrets of cinematography and take your storytelling to the next level.
Table of Contents
Guide Overview: What You'll Need
Total Time: 3 hours 45 minutes
Estimated Cost: $100 – $500
Difficulty Level: Intermediate
Tools Required
- Camera (DSLR or Mirrorless)
- Lenses (prime and zoom lenses)
- Tripod (sturdy and adjustable)
- Lighting Kit (basic lighting equipment)
- Color Grading Software (for post-production editing)
Supplies & Materials
- Memory Cards (high-capacity storage)
- Batteries (extra power for camera and equipment)
- Lens Filters (polarizing and neutral density filters)
- Reflectors (for bounced lighting)
- Gaffer Tape (for securing cables and equipment)
Step-by-Step Instructions
- 1. First, let’s talk about the importance of understanding your story before you even pick up a camera. As a documentary filmmaker, I’ve learned that the best cinematography is the kind that serves the narrative, rather than the other way around. Take some time to develop your concept, and think about the visual themes and motifs that will help bring your story to life.
- 2. Next, it’s time to start thinking about your visual aesthetic. This includes everything from the color palette to the lighting style, and even the type of camera equipment you’ll use. I like to create a mood board to help guide my decisions and ensure that everything is cohesive. For example, if you’re making a film about nature, you might want to focus on earthy tones and natural light.
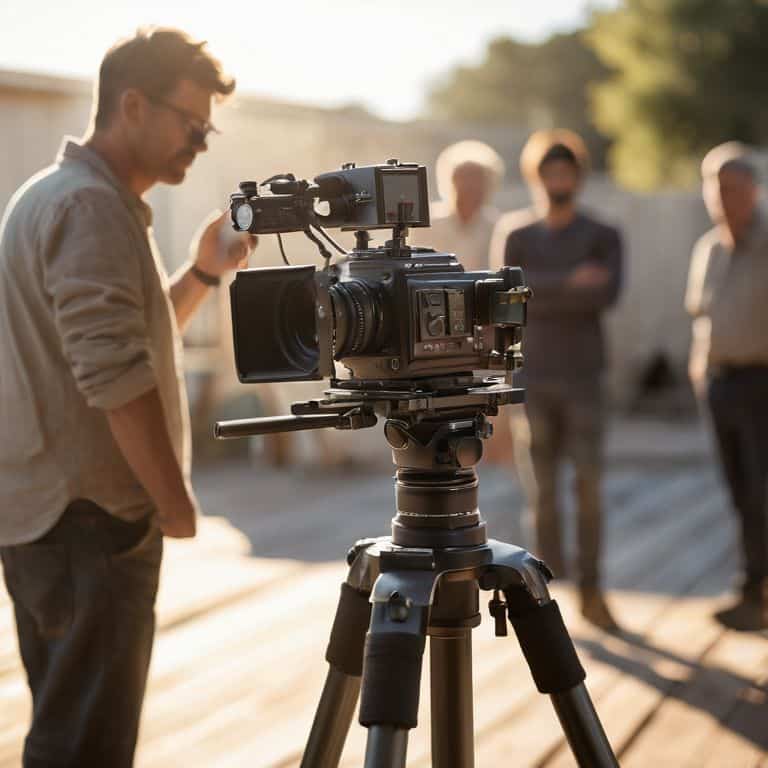
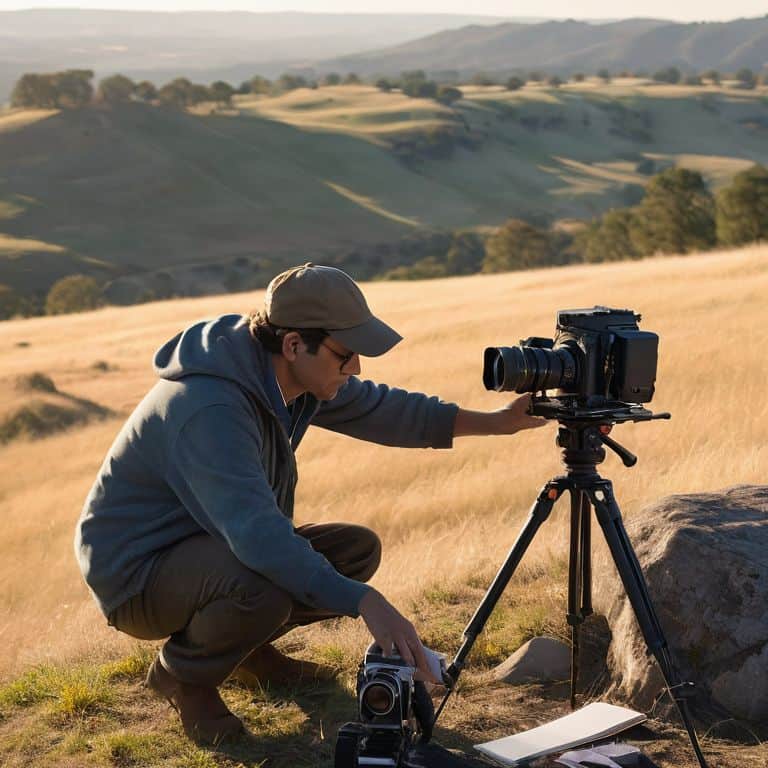
- 3. Now that you have a sense of your visual aesthetic, it’s time to start scouting locations. This is one of my favorite parts of the process, because it’s all about finding the perfect backdrop for your story. Consider the time of day, the weather, and even the surrounding environment when evaluating potential locations. And don’t be afraid to get creative – sometimes the most unlikely locations can end up being the most interesting.
- 4. Once you’ve found your locations, it’s time to start thinking about camera movement. This can be anything from a simple pan or tilt to a complex dolly shot, and it’s all about creating a sense of energy and tension in your scene. I like to experiment with different camera movements to see what works best for the scene, and to make sure that it’s not distracting from the story.
- 5. Lighting is another crucial aspect of cinematography, and it’s all about creating depth and dimension in your scene. As a general rule, I like to use a combination of natural and artificial light to create a sense of depth and visual interest. And don’t forget about the importance of color temperature – warm colors can create a cozy and intimate atmosphere, while cool colors can make a scene feel cold and distant.
- 6. Now it’s time to start thinking about your shot composition. This includes everything from the rule of thirds to the use of negative space, and it’s all about creating a sense of visual balance in your scene. I like to experiment with different composition techniques to see what works best for the scene, and to make sure that it’s not too busy or distracting.
- 7. As you start filming, it’s essential to keep track of your footage and organize your assets. This includes everything from labeling your shots to creating a shot list, and it’s all about making the editing process as smooth as possible. I like to use a combination of digital tools and old-fashioned paperwork to stay organized, and to make sure that I don’t lose track of any important details.
- 8. Finally, it’s time to start editing your footage, and this is where the magic happens. As a documentary filmmaker, I’ve learned that the edit is where you can really start to shape your story and create a sense of emotional resonance with your audience. Don’t be afraid to experiment and try new things – and always keep your story and visual aesthetic in mind as you work.
A Guide to Cinematography
As I delve into the world of cinematography, I’m reminded that mastering camera angles and composition is crucial for creating visually stunning footage. It’s not just about pointing a camera and capturing a scene, but about carefully crafting each frame to evoke a specific emotion or mood. I recall working on a documentary where we used a mix of close-ups and wide shots to create a sense of intimacy and grandeur, respectively.
When it comes to understanding color grading in film, I believe it’s essential to consider the emotional impact of different hues and tones on the viewer. For instance, a warm color palette can create a cozy and inviting atmosphere, while a cool tone can evoke a sense of tension or unease. By carefully selecting the right color grade, you can enhance the mood and tone of your film, drawing the audience into the story.
In my experience, practical tips for filming on location can make all the difference in capturing high-quality footage. This includes scouting locations, planning for lighting, and being prepared for unexpected challenges. By being meticulous and adaptable, you can ensure that your cinematography is not only visually stunning but also serves the story, ultimately elevating the film to a whole new level.
Mastering Color Grading for Mood
For me, color grading is where the emotional depth of a film truly comes alive. It’s not just about making your footage look pretty – it’s about creating a mood that draws your audience in. I’ve spent hours perfecting the color palette for my own documentaries, and I can tell you, it’s worth the effort. A well-crafted color grade can elevate your story, conveying the tone and atmosphere you want your viewers to feel.
I love experimenting with different color temperatures and saturation levels to evoke a specific emotional response. For example, a warm, golden light can create a sense of nostalgia, while a cool, blue tone can evoke a feeling of melancholy. By carefully considering your color grade, you can add layers of meaning to your story, and invite your audience to connect with it on a deeper level.
Unleashing Emotion Through Camera Angles
When it comes to cinematography, camera angles are a powerful tool for evoking emotions. By carefully selecting the right angle, you can create a sense of intimacy, tension, or wonder. For example, a low-angle shot can make your subject appear powerful, while a high-angle shot can convey vulnerability. I remember working on a documentary where we used a Dutch angle to convey the subject’s unease, and it completely transformed the scene.
Experimenting with different camera angles can help you find the right emotional resonance for your story. Don’t be afraid to get creative and try out unusual angles – it’s often the unexpected choices that lead to the most compelling footage. By leveraging camera angles, you can add depth and nuance to your narrative, drawing your audience into the world of your film.
Bringing Your Vision to Life: 5 Cinematography Tips to Elevate Your Story
- Let your footage breathe: don’t be afraid to use negative space to create a sense of intimacy or vastness, depending on the mood you’re trying to convey
- Play with light: natural or artificial, light can make or break the ambiance of a scene – experiment with different sources and intensities to find the perfect fit
- Get creative with camera movement: from smooth dolly shots to handheld chaos, the way you move your camera can add energy and tension to your narrative
- Color is key: grading your footage to enhance the mood and atmosphere of a scene can be the difference between a flat image and a captivating one
- Sound design is half the picture: don’t underestimate the power of a well-crafted soundtrack – it can transport your audience to new worlds and evoke emotions that visuals alone can’t
Bringing Your Vision to Life: 3 Key Takeaways
Embracing the power of cinematography as a storytelling tool, rather than just a technical aspect, can elevate your film and evoke emotions in your audience
Carefully considering camera angles, movement, and color grading can make or break the mood and atmosphere of a scene, and it’s essential to experiment and find what works best for your narrative
By understanding the intricacies of cinematography and how it intersects with editing and sound design, you can unlock the full potential of your footage and create a truly immersive cinematic experience
The Heart of Cinematography
Cinematography is not just about capturing life, it’s about revealing the rhythm and emotion that lies beneath the surface of every frame, waiting to be set free in the edit.
Maya Jenson
Bringing Your Vision to Life
As we’ve explored the world of cinematography together, I hope you’ve gained a deeper understanding of how to unleash the emotional power of your footage through careful consideration of camera angles, color grading, and sound design. We’ve discussed the importance of mastering the fundamentals of cinematography, from the basics of composition to the art of lighting, and how these elements can be woven together to create a compelling narrative. By applying these principles, you’ll be well on your way to crafting visually stunning and emotionally resonant films that leave a lasting impact on your audience.
As you continue on your cinematic journey, remember that the true magic happens in the edit suite, where you get to shape your raw footage into a cohesive and impactful story. Don’t be afraid to experiment, take risks, and push the boundaries of what’s possible – it’s often the most unexpected moments that lead to the greatest breakthroughs. With dedication, passion, and a willingness to learn, you’ll be bringing your unique vision to life in no time, and sharing it with the world for all to see.
Frequently Asked Questions
How can I effectively use natural light to enhance the mood of my scene?
Natural light is a gift – it can instantly elevate the mood of your scene. I love using the golden hour to create a warm, nostalgic feel. Position your subject near a window or outside during this time, and watch how the soft, diffused light adds depth and emotion to your footage.
What are some common mistakes to avoid when experimenting with unconventional camera angles?
When experimenting with unconventional camera angles, I see many filmmakers fall into the trap of using them just for the sake of being different. Remember, every angle should serve the story. Avoid using Dutch angles or extreme close-ups if they don’t enhance the emotional impact of the scene.
Can you provide examples of how color grading has been used to completely transform the tone of a film?
I love digging into the world of color grading. Take the film “Mad Max: Fury Road” for example – the vibrant, high-contrast colors completely flipped the tone from dark and gritty to an adrenaline-fueled thrill ride. The same technique was used in “The Matrix” to create a dystopian feel with a greenish tint, proving how color grading can make or break a film’s emotional impact.