A Guide to Japanese Stab Binding for Beautiful Books
As I sit amidst the chaos of my workshop, surrounded by scraps of leather, wood shavings, and half-bound books, I’m reminded of the simple beauty of traditional craftsmanship. I’ve often been told that a guide to japanese stab binding is a daunting, complex process, only suited for the most skilled artisans. But I’m here to tell you that this couldn’t be further from the truth. With patience, dedication, and the right guidance, anyone can master the art of Japanese stab binding, and breathe new life into their beloved books.
In this article, I’ll share my personal journey with a guide to japanese stab binding, and provide you with practical, step-by-step advice on how to get started. From selecting the perfect materials to executing the final stitches, I’ll walk you through the entire process, highlighting the key techniques and common pitfalls to avoid. My goal is to empower you with the knowledge and confidence to create something truly unique and meaningful, a testament to the beauty of handmade craftsmanship. Whether you’re a seasoned bookbinder or a curious beginner, I invite you to join me on this journey, and discover the joy of Japanese stab binding for yourself.
Table of Contents
- Guide Overview: What You'll Need
- Step-by-Step Instructions
- A Guide to Japanese Stab Binding
- Weaving Stories: 5 Essential Tips for Mastering Japanese Stab Binding
- Embracing the Art of Japanese Stab Binding: 3 Key Takeaways
- The Soul of the Stitch
- Embracing the Art of Japanese Stab Binding
- Frequently Asked Questions
Guide Overview: What You'll Need
Total Time: 2 hours 30 minutes
Estimated Cost: $20 – $40
Difficulty Level: Intermediate
Tools Required
- Awl (for making holes)
- Scissors (sharp)
- Bone folder or similar tool (for creasing paper)
- Ruler (for measuring and cutting)
- Pencil (for marking paper and covers)
- Cutting mat (for protecting work surface)
- Weight (for holding book in place)
Supplies & Materials
- Bookboard or thick cardstock (for covers, approximately 6 inches by 9 inches)
- Paper or journal pages (for book content, A6 size or similar)
- Thread or bookbinding thread (for sewing book together)
- Needle (sharp, for sewing)
- Glue (PVA or similar, for attaching covers)
- Decorative paper or fabric (optional, for cover decoration)
Step-by-Step Instructions
- 1. To begin our journey into Japanese stab binding, we first need to prepare our materials. This includes a few basic tools: a bone folder or similar blunt instrument, a ruler, a pencil, and of course, the book itself that we’re looking to bind. It’s also essential to have your thread or cord ready, as well as a needle that’s suitable for sewing through paper and any cover materials you’ve chosen, such as leather or wood.
- 2. Next, we need to measure and mark the spine of our book where the stitches will go. This is a crucial step as it determines the aesthetic and functional integrity of our binding. Using a ruler and pencil, carefully mark the points where you want your stitches to be, making sure they are evenly spaced and symmetrical. Precision is key here to ensure your book looks professionally bound.
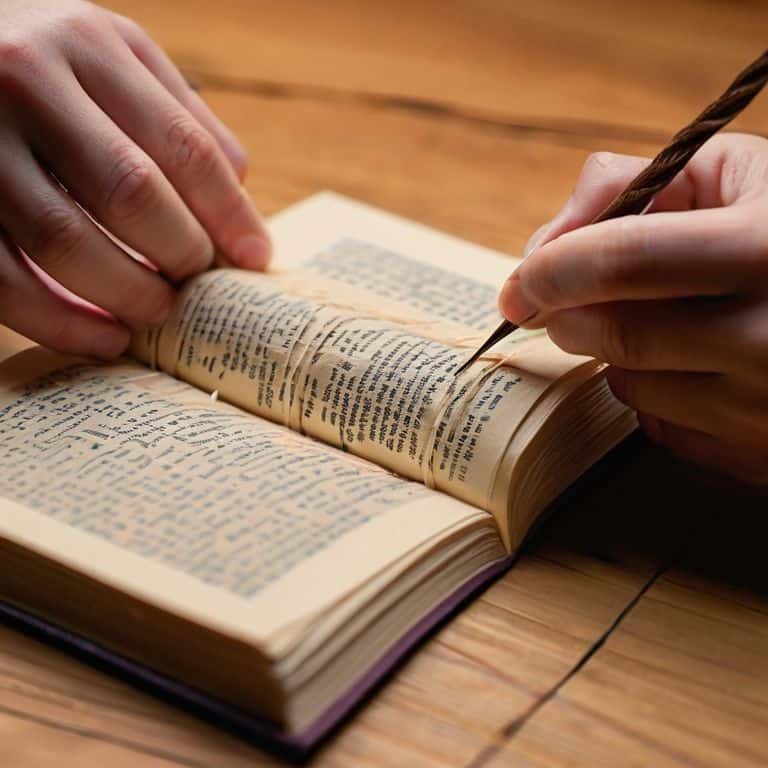
- 3. With our marks in place, it’s time to start sewing. Thread your needle with your chosen thread or cord and tie a knot at the end to prevent it from pulling through the paper. Bring your needle up through the first mark from the inside of the book, then back down through the next mark, creating the first stitch. This initial stitch sets the foundation for the rest of your binding, so take your time.
- 4. Continue sewing, moving up and down through each mark you’ve made, creating a series of stitches that will hold your book together. As you sew, make sure to keep your tension even, not pulling too tightly as this can cause the paper to tear. The process is meditative, allowing you to focus on the simple, repetitive motion of the needle and thread.
- 5. Once you’ve completed the stitching, tie off your thread on the inside of the book, making sure it’s secure and won’t come undone. This is an important step as it ensures the longevity of your book’s binding. Use a couple of loops and a knot to secure the thread, then trim the excess.
- 6. Now, it’s time to add any cover materials you’ve chosen. This could be a piece of leather, wood, or even a beautifully decorated paper. Cut your material to size, ensuring it covers the spine and any additional area you wish to protect or decorate. Apply an appropriate adhesive, such as glue or a strong tape, and carefully attach your cover, smoothing out any air bubbles or wrinkles as you go.
- 7. Finally, to complete your Japanese stab binding, allow your adhesive to dry completely, following the manufacturer’s instructions for drying time. Once dry, your book is ready to be handled. Take a moment to appreciate the simple beauty of your handmade binding, knowing that the imperfections and uniqueness of your stitches and cover are what give your book its character and soul.
A Guide to Japanese Stab Binding
As I delve deeper into the world of Japanese bookbinding techniques, I’m reminded of the importance of attention to detail. When it comes to stab binding, the choice of thread and needle can make all the difference. I prefer to use a simple, waxed thread that can be easily manipulated by hand. This allows for a more organic, handmade feel that is hard to replicate with machine-bound books. For beginners, I recommend starting with a stab binding tutorial that emphasizes the basics of thread tension and knotting.
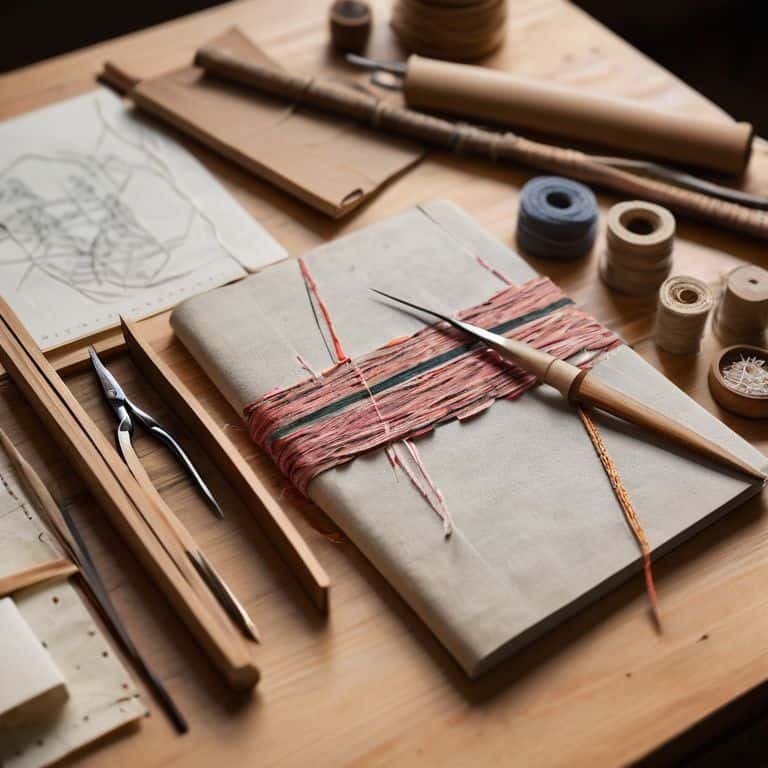
One of the most beautiful aspects of Japanese stab binding is the opportunity to incorporate decorative paper choices into your design. From traditional washi papers to modern, handmade designs, the possibilities are endless. I love to experiment with different patterns and textures, combining them in unique ways to create one-of-a-kind books. When selecting papers, consider the overall aesthetic you want to achieve, as well as the durability and weight of the paper.
In addition to the basic tools required for stab binding, such as a needle and thread, I also recommend investing in a few simple bookbinding tools, like a bone folder and a ruler. These will help you achieve crisp, clean folds and precise measurements, ensuring that your book lies flat and is easy to handle. By combining these tools with a range of japanese stab binding patterns, you can create truly unique and functional books that are both beautiful and durable.
Simple Bookbinding Tools for Beginners
As I sit in my workshop, surrounded by the gentle scent of leather and wood, I’m reminded that the beauty of Japanese stab binding lies not just in the technique, but in the simple, intentional tools used to bring it to life. For beginners, it’s essential to start with the basics: a sharp utility knife, a bone folder or similar tool for creasing, and a sewing needle. These humble instruments, often overlooked, are the foundation upon which your bookbinding journey is built.
With these simple tools, you’ll find that the process of Japanese stab binding becomes almost meditative, each cut and stitch a testament to the human touch. As you work, remember that it’s the imperfections—the slight variations in stitch length, the gentle wear on your tools—that give your creations their unique character. In the stillness of your workshop, with these basic tools by your side, you’ll uncover the joy of crafting something truly meaningful, one careful stitch at a time.
Unwrapping Japanese Bookbinding Techniques
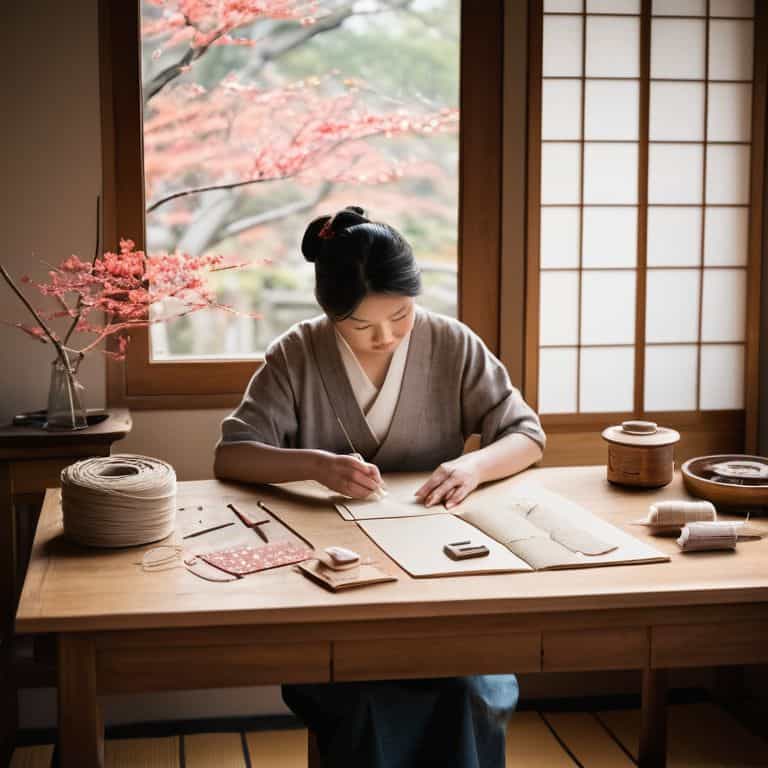
As I delve deeper into the world of Japanese bookbinding, I’m constantly fascinated by the intricacies of this ancient craft. The attention to detail, the precision, and the patience required to create these handmade books are truly inspiring. From the selection of handmade paper to the careful threading of the stab binding, each step is a meditation on the beauty of traditional craftsmanship.
In my own workshop, I’ve experimented with various techniques, merging traditional methods with modern materials and tools. The result is a unique blend of old and new, where the simplicity of Japanese design meets the creativity of contemporary making. By embracing these traditional techniques, we can breathe new life into our books, giving them a soul that transcends mere functionality.
Weaving Stories: 5 Essential Tips for Mastering Japanese Stab Binding
- Start with the right materials: Choose high-quality paper, thread, and a suitable needle to ensure a beautiful and durable binding
- Prepare your signatures: Fold and gather your pages with precision, as this will be the foundation of your book’s structure and aesthetic
- Measure and mark with care: Accurate measurements and markings are crucial for a professional-looking finish, so take your time and double-check your work
- Thread with intention: The way you thread your needle and weave your stitches can make or break the overall look of your binding, so practice patience and attention to detail
- Embrace the imperfections: Remember, it’s the subtle imperfections and unique character of handmade Japanese stab binding that give it soul, so don’t be too hard on yourself if things aren’t perfect – it’s all part of the story
Embracing the Art of Japanese Stab Binding: 3 Key Takeaways
By understanding and applying the traditional Japanese stab binding technique, you can revitalize old books or create new ones that tell a story of craftsmanship and dedication
Starting with simple, essential tools and gradually experimenting with various materials and designs can help you develop a unique voice in bookbinding, making each piece a reflection of your journey
Embracing the imperfections that come with handmade bookbinding, rather than striving for perfection, allows the character and soul of the book to shine through, making it a truly personal and meaningful creation
The Soul of the Stitch
As I weave the threads of Japanese stab binding, I’m reminded that the true beauty of a handmade book lies not in its perfection, but in the gentle imperfections that tell the story of its creation.
Finn Rivera
Embracing the Art of Japanese Stab Binding
As we conclude this journey through the ancient art of Japanese stab binding, let’s reflect on the key elements that make this technique so unique and captivating. From the simple, yet elegant tools required, to the meticulous process of threading and binding, each step is a testament to the beauty of traditional craftsmanship. We’ve explored the various techniques, such as *Koho_ and _Hanko_, and delved into the world of handmade paper and natural materials. By embracing these traditional methods, we not only preserve a part of history but also infuse our creations with a sense of character and story.
Now, as you embark on your own Japanese stab binding adventures, remember that the true magic lies not in the perfection of the final product, but in the imperfections that make each piece uniquely yours. The stories we tell through our handmade creations are what give them soul, and it’s this narrative that makes the journey so rewarding. So, don’t be afraid to experiment, to try new things, and to make mistakes – for it’s in these moments that we truly tap into the essence of DIY and the joy of creating something with our own hands.
Frequently Asked Questions
What type of paper is best suited for Japanese stab binding?
For Japanese stab binding, I recommend using traditional washi paper or a high-quality, textured paper with a natural fiber content, such as cotton or hemp. These papers will not only add an organic feel to your book, but also respond beautifully to the binding process, creating a unique and tactile experience.
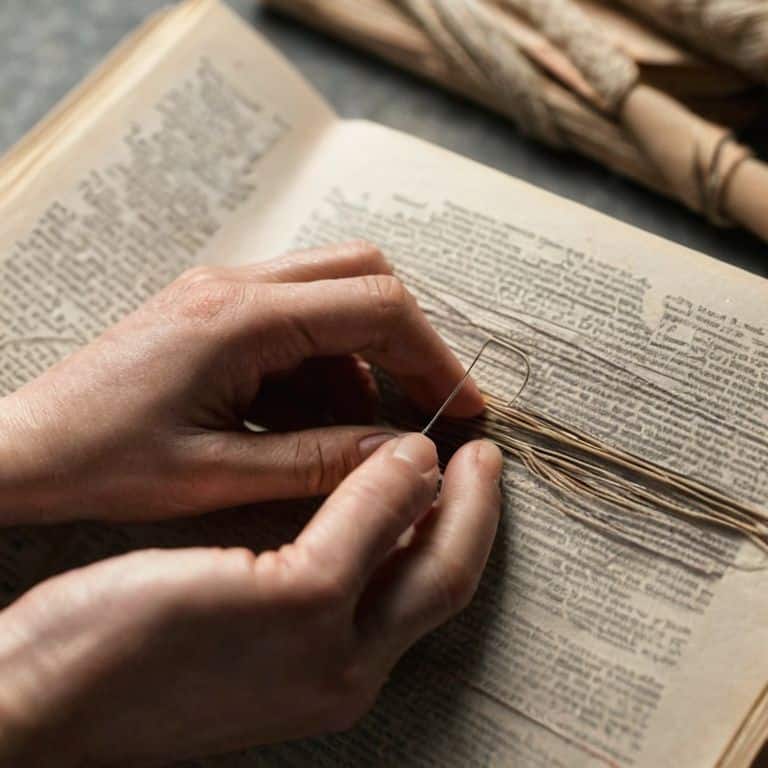
How do I ensure that my stitches are evenly spaced and consistent?
To achieve evenly spaced stitches, I use a simple trick: marking my sewing holes with a ruler and a fine-tip pencil beforehand. This creates a subtle guideline, allowing me to maintain a consistent rhythm as I weave my thread through the pages. It’s all about patience and attention to detail – the key to giving your book a soulful, handmade touch.
Can I use Japanese stab binding for large or thick books, or is it better suited for smaller volumes?
While Japanese stab binding is often associated with smaller books, it can be adapted for larger volumes. However, it’s essential to consider the thickness and weight of the book, as traditional stab binding may not provide enough support. I’ve found that modifying the technique with additional stitches or using heavier thread can help, but it’s crucial to test and ensure the binding can withstand the weight.


