A Guide to the Best Types of Wood for Spoon Carving
As I sit in my workshop, surrounded by the sweet scent of freshly cut wood, I’m reminded of a common myth that frustrates me: that only a few, exotic types of wood are worthy of spoon carving. But the truth is, the best types of wood for spoon carving are often the ones found right in our own backyard. I’ve spent years experimenting with different woods, and I’ve come to realize that it’s not about the rarity or expense of the material, but about the story it tells and the character it brings to the craft.
In this guide, I’ll share my honest, no-nonsense advice on how to choose the perfect wood for your spoon carving projects. I’ll take you through my favorite types of wood, from the warm, golden tones of cherry to the cool, silvery hues of maple. You’ll learn how to identify the unique characteristics of each wood, and how to bring out their natural beauty in your carvings. Whether you’re a seasoned craftsman or just starting out, this guide will give you the confidence to create something truly special with the best types of wood for spoon carving.
Table of Contents
Guide Overview: What You'll Need
Total Time: 1 hour 30 minutes to several hours
Estimated Cost: $10 – $30
Difficulty Level: Intermediate
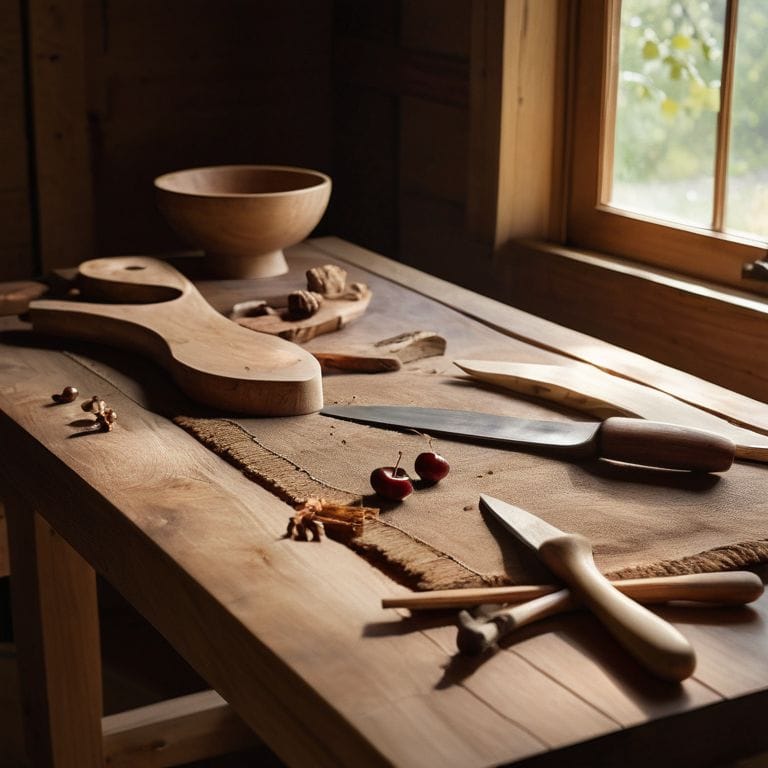
Tools Required
- Carving Knife (with a straight or curved blade)
- Gouge (for removing small amounts of wood)
- Sandpaper (various grits for smoothing)
- Marking Gauge (for measuring and marking wood)
- Mallet (for tapping and shaping)
- Whittling Knife (for detailed work and fine tuning)
Supplies & Materials
- Basswood softwood, ideal for beginners, 6 inches x 1 inch x 1 inch pieces
- Cherry hardwood, durable, 6 inches x 1 inch x 1 inch pieces
- Walnut hardwood, dense, 6 inches x 1 inch x 1 inch pieces
- Maple hardwood, resistant to scratches, 6 inches x 1 inch x 1 inch pieces
- Oil or Wax for finishing and protecting the wood
Step-by-Step Instructions
- 1. First, let’s start by selecting the right wood type for our spoon carving project. I always begin by considering the desired texture and durability of the spoon. For a beginner-friendly option, I recommend exploring woods like basswood or pine, which are soft and easy to carve. As I sketch out my design in my notebook, I think about the story I want this spoon to tell – will it be a rustic, earthy tale or a smoother, more refined one?
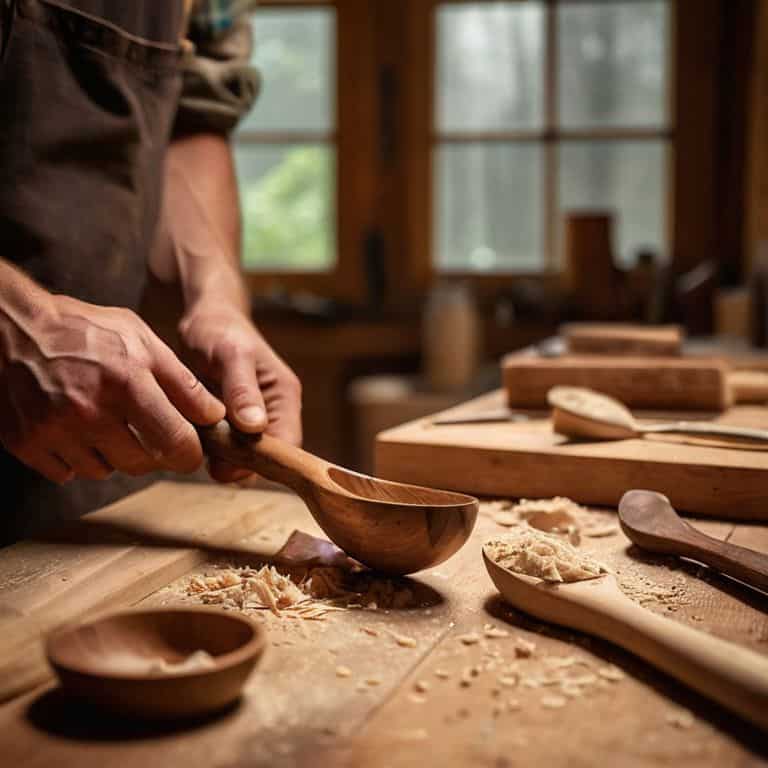
- 2. Next, we need to prepare our wood blank. This involves cutting the wood into a manageable size and shape for carving. I love this part of the process, as it’s where the wood begins to transform from a raw material into a tangible object. When cutting, remember to always work with the grain to avoid any potential tears or splits in the wood. As I work, I find myself lost in the meditative rhythm of the saw, the sound of the blade gliding through the wood a soothing accompaniment to my thoughts.
- 3. Now, let’s move on to roughing out the spoon shape. Using a combination of gouges and mallets, I begin to remove excess wood and define the basic form of the spoon. It’s essential to work patiently and carefully during this stage, as the shape and proportions of the spoon will greatly impact its functionality and aesthetic appeal. I often find myself stepping back from the workbench to assess the spoon’s progress, making any necessary adjustments to ensure it’s taking the form I envision.
- 4. With the basic shape established, we can proceed to refine the spoon’s details. This is where the real magic happens, as we start to see the spoon come to life. Using smaller, more precise tools, I carefully craft the handle, bowl, and any other features that will make this spoon unique. It’s a delicate dance between removing material and preserving the integrity of the wood, requiring a deep understanding of the wood’s properties and my own creative vision.
- 5. As we near the final stages of our project, it’s time to sand and smooth the spoon. This is a crucial step, as it will determine the overall feel and finish of the spoon. I start with coarse grit sandpaper and gradually move to finer grits, carefully removing any imperfections or scratches. The process can be therapeutic, the gentle scratching of the sandpaper against the wood a reminder that even the smallest details matter in the pursuit of craftsmanship.
- 6. Once the spoon is sanded to perfection, we can apply a natural finish to protect and enhance the wood. I’m particularly fond of using beeswax or plant-based oils, as they not only provide a durable barrier against the elements but also bring out the inherent beauty of the wood. When applying the finish, be sure to follow the manufacturer’s instructions and apply thin, even coats, allowing each layer to dry before adding the next.
- 7. Finally, our spoon is ready for final assembly and inspection. This is the moment of truth, where we get to see our creation in its completed form. I take a step back to admire the spoon, checking for any imperfections or areas that may require additional attention. If everything looks good, I’ll add any final touches, such as a leather strap or decorative element, and our handmade spoon is ready to be used and cherished. As I hold the finished spoon in my hands, I feel a deep sense of pride and accomplishment, knowing that this object will tell a story of its own, one of craftsmanship, care, and the human touch.
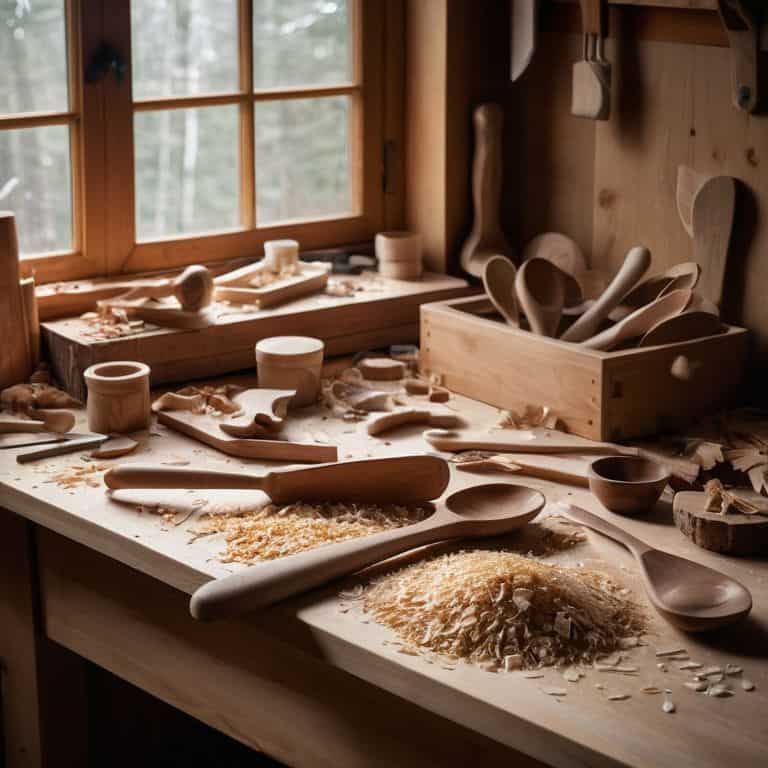
Unveiling Best Woods
As I delve into the world of spoon carving, I’m constantly fascinated by the diversity of wood grain patterns that can elevate a simple spoon into a work of art. For beginner carvers, it’s essential to start with woods that are forgiving and easy to work with, such as basswood or pine. These types of wood allow for a more gentle learning curve, enabling you to develop your skills without becoming discouraged by difficult materials.
When working with green wood, it’s crucial to understand the process of drying it properly to prevent cracking or warping. This can be a patience-testing process, but the end result is well worth the wait. I’ve found that carving wooden spoons with hand tools not only allows for a deeper connection with the material but also enables me to appreciate the subtle nuances of the wood grain. By taking the time to carefully select and prepare your wood, you’ll be able to create truly unique and functional pieces.
For those looking to explore sustainable wood sources, consider sourcing materials from local tree trimmers or arborists. Not only does this reduce waste, but it also provides an opportunity to work with a wide range of types of wood for decorative carving. By embracing the imperfections and character of these reclaimed materials, you’ll be able to craft spoons that tell a story and reflect your personal connection to the natural world.
Sustainable Sources Explored
As I delve deeper into the world of spoon carving, I find myself drawn to sustainable sources that not only provide exceptional material but also contribute to the well-being of our planet. I’ve had the privilege of working with locally sourced woods, such as maple and cherry, which are not only beautiful but also abundant in my region. There’s something special about creating a spoon from a tree that grew just a few miles away from my workshop.
I’ve also explored reclaimed and salvaged woods, like old barn wood or fallen branches, which add a unique character to each spoon. These sources reduce waste and give new life to materials that would otherwise be discarded. By choosing sustainable sources, I’m not only creating functional pieces of art but also telling a story of environmental stewardship and community connection.
Wood Grain Secrets Revealed
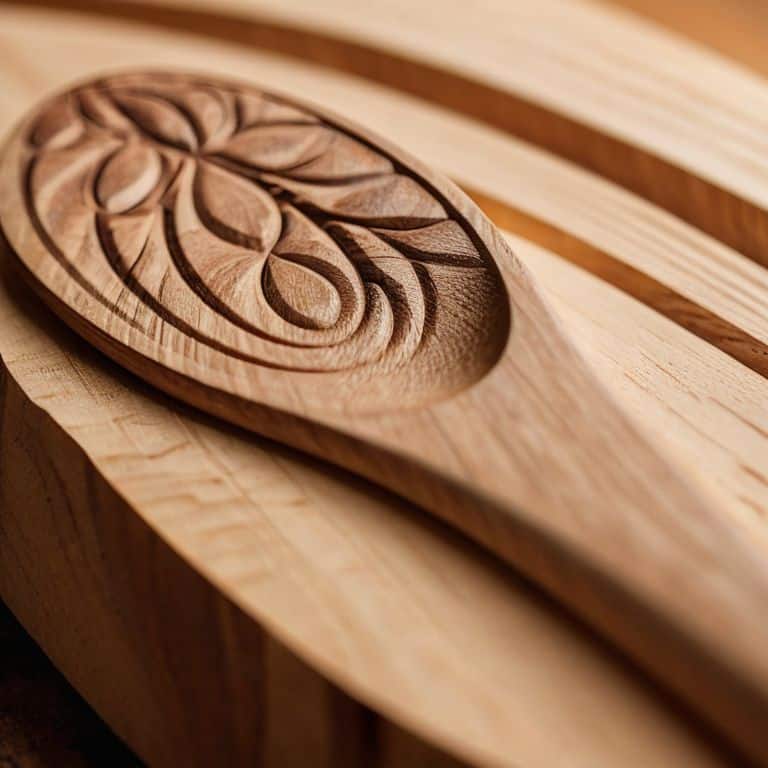
As I delve deeper into the world of spoon carving, I’ve come to appreciate the unique characteristics of different wood grains. The way the light dances through the intricate patterns of a well-crafted spoon is truly mesmerizing. I’ve found that woods like birch and beech have a subtle, gentle grain that lends itself perfectly to the smooth curves of a spoon. On the other hand, woods like walnut and cherry have a more pronounced grain that adds a touch of rugged elegance to the finished piece.
By understanding and embracing the natural beauty of the wood grain, I believe we can create spoons that are not only functional but also truly one-of-a-kind. The imperfections and quirks of the grain become a testament to the handmade nature of the spoon, telling a story of their own.
Harvesting Wisdom: 5 Essential Tips for Selecting the Best Woods for Spoon Carving
- Consider the grain pattern: Look for woods with a straight or slightly curved grain, as these will be easier to carve and less prone to splitting
- Think about durability: Hardwoods like maple, walnut, and cherry are popular choices for spoon carving because they’re durable and can withstand the wear and tear of daily use
- Don’t overlook the beauty of softwoods: While they may be softer than hardwoods, woods like pine or fir can still produce beautiful, functional spoons with a unique character
- Explore the world of figured woods: Woods with distinctive figure patterns, like birdseye or curl, can add an extra layer of visual interest to your spoons
- Remember to always work with sustainably sourced materials: Not only is it better for the environment, but it can also help ensure that your spoons have a clear conscience and a richer story to tell
Key Takeaways from the Woodpile
When selecting wood for spoon carving, remember that the story of the tree lives on in the grain, so choose types that speak to you, like the gentle swirls of cherry or the robust rings of oak
The journey to a perfect spoon is as much about the wood’s character as it is about your craft – embracing the imperfections and natural beauty of the material will make each piece uniquely yours
Whether you’re a seasoned carver or just beginning, the world of sustainable, responsibly sourced woods is full of hidden gems waiting to be uncovered, from the durability of maple to the warmth of walnut, each with its own story to tell
A Wooden Epiphany
The best types of wood for spoon carving aren’t just about durability or ease of use – they’re about the stories they hold, the textures they offer, and the character they impart to the spoon, making each one a unique, handmade tale of wood and craft.
Finn Rivera
Carving a Legacy, One Spoon at a Time
As I reflect on our journey through the world of spoon carving, I’m reminded of the importance of patience and attention to detail. We’ve uncovered the best types of wood for this craft, from the durability of hardwoods like maple and walnut, to the unique characteristics of softer woods like pine and cherry. We’ve also delved into the secrets of wood grain, learning how to read the natural patterns and imperfections that make each spoon truly one-of-a-kind. By choosing sustainable sources and honoring the natural beauty of the wood, we’re not only creating functional pieces, but also telling a story of craftsmanship and care.
As you embark on your own spoon carving journey, I encourage you to embrace the imperfections and surprises that come with working with natural materials. Remember, it’s the human touch that gives these handmade objects their soul. Don’t be afraid to experiment, to try new things, and to make mistakes – for it’s in these moments that we discover our true creative potential. So, take a deep breath, pick up your tools, and let the wood guide you. For in the end, it’s not just about carving a spoon, but about crafting a story that will be passed down for generations to come.
Frequently Asked Questions
What are the most durable types of wood for spoon carving that can withstand daily use?
For me, it’s all about woods that can withstand the test of time. I swear by hardwoods like maple, walnut, and cherry – they’re not only stunning, but also incredibly resilient. These woods can handle the daily wear and tear, and with proper care, they’ll only grow more beautiful with age.
How do different wood grains affect the overall texture and feel of a handmade spoon?
The texture and feel of a handmade spoon are deeply influenced by the wood grain. I’ve found that tighter grains, like those in maple or cherry, yield a silky smoothness, while looser grains, like oak or ash, create a more tactile experience. It’s as if the wood’s natural rhythm is transferred to the spoon, making each one uniquely characterful.
Are there any specific types of wood that are best suited for beginners to start with when it comes to spoon carving?
For beginners, I recommend starting with softer woods like basswood or pine – they’re forgiving and easy to carve. You can also try birch or beech, which offer a great balance of durability and workability. These woods will help you build confidence and develop your skills, allowing you to create beautiful, functional spoons.


