The Best Camera Settings for Dslr Video

I still remember the first time I shot a documentary with my DSLR camera – I was so excited to capture the story, but I had no idea what best camera settings for dslr video to use. I thought that just pointing the camera at my subject and hitting record would be enough, but boy was I wrong. The footage was dull, the sound was poor, and the whole thing just felt… flat. It wasn’t until I started experimenting with different camera settings that I realized the power of cinematic storytelling.
As a documentary filmmaker, I’ve learned that it’s not just about capturing the action, but about creating a mood, a atmosphere, and an emotional connection with your audience. In this article, I’ll share my personal tips and tricks for getting the best camera settings for dslr video, from aperture and shutter speed to white balance and ISO. I’ll cut through the jargon and give you practical, no-hype advice on how to capture stunning video that will elevate your story and leave your viewers wanting more. Whether you’re a beginner or an experienced filmmaker, I promise you’ll learn something new and valuable from my experience, and you’ll be well on your way to creating compelling cinematic content that resonates with your audience.
Table of Contents
- Guide Overview: What You'll Need
- Step-by-Step Instructions
- Mastering Best Camera Settings for Dslr Video
- Optimizing Exposure and White Balance for Indoor Films
- Unleashing Cinematic Magic Dslr Video Recording Tips
- Bringing Your Vision to Life: 5 Essential DSLR Video Settings to Master
- Key Takeaways for Capturing Stunning DSLR Video
- Finding the Perfect Shot
- Bringing Your Vision to Life
- Frequently Asked Questions
Guide Overview: What You'll Need
Total Time: 1 hour 30 minutes
Estimated Cost: $0 – $100
Difficulty Level: Intermediate
Tools Required
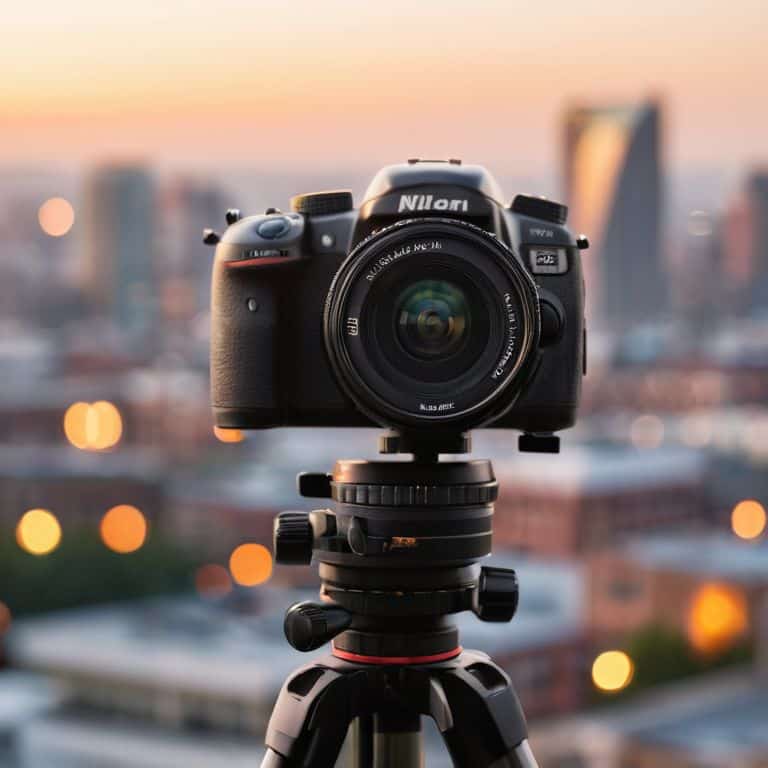
- DSLR Camera (with manual controls)
- Tripod (for stabilization)
- Lenses (with various focal lengths)
- Memory Cards (with sufficient storage)
- Camera Remote (or camera timer)
Supplies & Materials
- Extra Batteries (for extended shoots)
- Lens Cleaning Kit (for maintenance)
- SD Card Reader (for data transfer)
- Camera Strap (for comfort and security)
Step-by-Step Instructions
- 1. First, let’s start with the basics: understanding your DSLR camera’s manual mode. This is where the magic happens, and you get to take control of your footage. I always say that manual mode is like being the conductor of an orchestra – you get to decide the tempo, the tone,, and the overall mood of your film.
- 2. Next, you’ll want to adjust your camera’s white balance settings. This is crucial for capturing natural-looking colors, especially when shooting indoors or outdoors with mixed lighting. I like to think of white balance as the secret ingredient in your favorite recipe – it makes all the difference in the world. For example, if you’re shooting a scene with warm lighting, you’ll want to adjust your white balance to match that warmth.
- 3. Now, let’s talk about _aperture priority_ mode. This mode allows you to control the depth of field in your shot, which can add a lot of visual interest to your footage. I love using aperture priority mode to create a sense of intimacy or to emphasize certain elements in the scene. For instance, if you’re shooting a close-up of a person, you might want to use a wide aperture to blur the background and focus attention on your subject.
- 4. Moving on to _shutter speed_, this is where things can get really creative. Your shutter speed determines the motion and blur in your footage, so it’s essential to get it just right. I like to experiment with different shutter speeds to achieve unique effects, like a slow-motion feel or a sense of urgency. For example, if you’re shooting a scene with a lot of movement, you might want to use a faster shutter speed to capture the action.
- 5. Another critical setting is your camera’s ISO. This controls the sensitivity of your camera’s sensor, and it can make a big difference in the quality of your footage. I always try to keep my ISO as low as possible to minimize noise and grain, but sometimes you need to compromise to get the shot. For instance, if you’re shooting in low light, you might need to bump up your ISO to get a usable image.
- 6. Now that we’ve covered the basics, let’s talk about _frame rates_. This determines how many frames per second your camera captures, and it can affect the overall look and feel of your footage. I like to use a high frame rate to create a smooth, cinematic look, especially when shooting scenes with a lot of movement. For example, if you’re shooting a scene with a lot of action, you might want to use a higher frame rate to capture the motion.
- 7. Finally, let’s not forget about _audio_ settings. As a filmmaker, I believe that sound design is _at least 50%_ of the film, so it’s essential to get it right. I always try to capture high-quality audio on set, whether it’s using an external microphone or monitoring my camera’s built-in audio. For instance, if you’re shooting an interview, you might want to use a lavalier microphone to get crisp, clear sound.
Mastering Best Camera Settings for Dslr Video
As I dive deeper into the world of DSLR video recording, I’ve come to realize that optimal camera settings for filmmaking are just the beginning. To truly capture cinematic gold, you need to understand the intricacies of exposure compensation and how it can make or break your shot. I’ve learned that even the slightest adjustments can have a profound impact on the mood and atmosphere of your film.
When it comes to indoor video, white balance is a crucial aspect to consider. I’ve found that using the right white balance settings can help to create a more immersive and engaging visual experience. By tweaking these settings, you can add a touch of warmth or coolness to your footage, which can greatly enhance the emotional impact of your story. For instance, a warmer tone can create a sense of intimacy, while a cooler tone can evoke a feeling of detachment.
To take your DSLR video recording to the next level, don’t forget to experiment with stabilization techniques. I’ve discovered that even the slightest camera shake can be distracting and take away from the overall viewing experience. By using a combination of handheld stabilizers and audio settings for dslr video recording, you can create a more polished and professional-looking film. Remember, it’s all about finding the right balance between technical proficiency and creative vision.
Optimizing Exposure and White Balance for Indoor Films
When filming indoors, I always stress the importance of optimizing exposure and white balance. It’s astonishing how a slight adjustment can transform the mood of your scene. For indoor films, I recommend using a lower ISO, around 400-800, to minimize grain and ensure a cleaner image. Additionally, pay attention to your white balance settings – auto white balance can sometimes produce unflattering results, so consider using a preset or custom white balance to match your lighting conditions.
By fine-tuning these settings, you’ll be able to capture a more nuanced and visually appealing image. I recall working on a documentary project where we shot an interview in a dimly lit room – by adjusting the exposure and white balance, we were able to create a warm and intimate atmosphere that drew the viewer in. It’s these small details that can make a significant difference in the overall impact of your film.
Unleashing Cinematic Magic Dslr Video Recording Tips
To truly unleash cinematic magic, it’s essential to consider the symbiotic relationship between camera settings and the story you’re trying to tell. I always think about the mood and atmosphere I want to create – is it a vibrant, energetic scene or a moody, introspective one? Adjusting settings like aperture, shutter speed, and ISO can dramatically impact the emotional resonance of your footage. For example, a lower aperture can create a beautiful bokeh effect, drawing the viewer’s eye to your subject, while a higher shutter speed can add a sense of urgency and dynamism.
By experimenting with these settings and paying attention to how they interact, you can start to develop a visual language that enhances your narrative and draws your audience in. Remember, the goal is to create a cohesive visual aesthetic that supports your story, rather than just following a set of technical rules.
Bringing Your Vision to Life: 5 Essential DSLR Video Settings to Master
- Set your camera to manual focus to avoid autofocus hunting and ensure precise control over your subject
- Use the 180-degree shutter rule to achieve a cinematic look by setting your shutter angle to 180 degrees and adjusting your shutter speed accordingly
- Shoot in a flat color profile to capture the most dynamic range and flexibility in post-production, allowing for a more precise color grade
- Enable zebras or highlight warnings to monitor and adjust your exposure in real-time, preventing blown-out highlights and preserving detail in your footage
- Record in 24fps or 25fps to create a cinematic feel, as these frame rates are closest to the traditional film standard and will add a touch of authenticity to your video
Key Takeaways for Capturing Stunning DSLR Video
Understand that the best camera settings for DSLR video are those that balance aperture, shutter speed, and ISO to capture the desired mood and aesthetic, whether you’re shooting a documentary, a short film, or branded content
Mastering exposure and white balance is crucial, especially for indoor films, where optimizing these settings can make a significant difference in the overall look and feel of your footage, and don’t underestimate the power of color grading in post-production
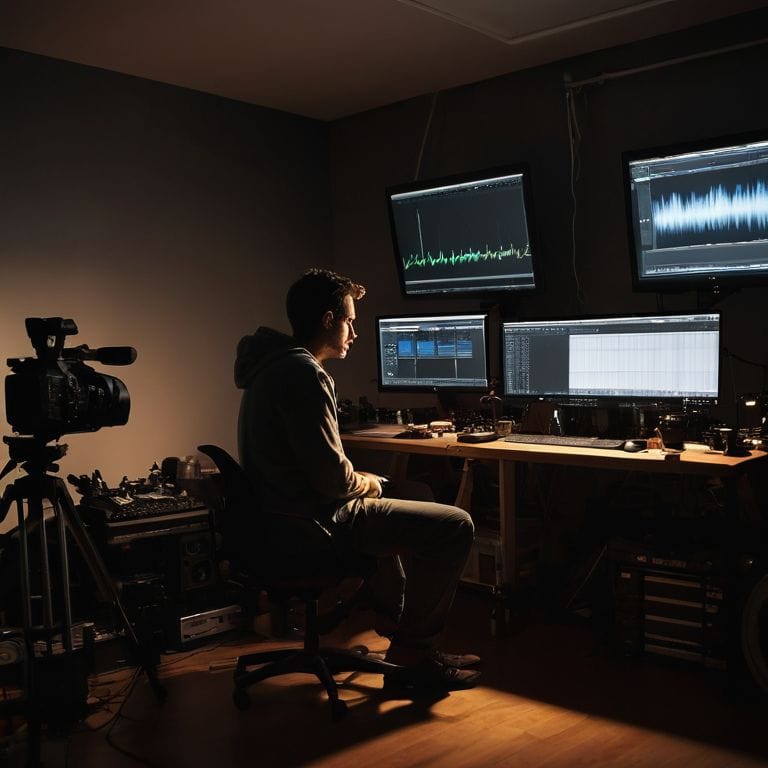
Experiment with different camera settings and techniques, such as playing with depth of field, using natural light, and capturing high-quality sound, to develop your unique visual style and storytelling voice, and remember, the real magic happens in the edit
Finding the Perfect Shot
The best camera settings for DSLR video are not just about the numbers, they’re about capturing the essence of the story – it’s where technicality meets artistry, and that’s where the magic happens.
Maya Jenson
Bringing Your Vision to Life
As we’ve explored the best camera settings for DSLR video, it’s clear that mastering these techniques is just the beginning. From understanding how to optimize exposure and white balance for indoor films, to experimenting with different frame rates and resolutions, the key to unlocking cinematic magic lies in attention to detail. By following these steps and practicing your craft, you’ll be well on your way to creating visually stunning videos that captivate and inspire your audience.
So, what’s the ultimate goal of all this technical wizardry? For me, it’s about telling stories that resonate. When you combine the right camera settings with a deep understanding of your subject and a passion for storytelling, the results can be truly transformative. Remember, the art of filmmaking is a journey, not a destination – and with these tools and techniques at your disposal, the possibilities are endless.
Frequently Asked Questions
What are the ideal aperture and shutter speed settings for capturing a cinematic look with my DSLR?
For a cinematic look, I swear by a low aperture like f/2.8 or f/4 to create a shallow depth of field, and a shutter speed of 1/50th of a second to add a touch of motion blur, giving your footage a film-like feel. Trust me, it’s a game-changer!
How do I balance ISO and exposure compensation to achieve the perfect shot in low-light conditions?
To balance ISO and exposure compensation in low-light, I start by setting my ISO to 1600 or 3200, depending on the camera’s noise handling. Then, I adjust the exposure compensation to fine-tune the brightness, usually between -1 to +1 stops. This delicate dance helps me capture a perfectly exposed shot without introducing too much noise or blowing out the highlights.
Are there any specific white balance presets or custom settings that can enhance the mood and atmosphere of my indoor films?
For indoor films, I swear by custom white balance settings to evoke a specific mood. Try using a grey card or a white sheet to set a custom balance that complements your lighting. For a warm, cozy feel, I often use the ‘incandescent’ preset, while ‘fluorescent’ can create a cooler, more sterile atmosphere. Experiment with different settings to find the perfect tone for your story.